With the help of stock receipt, you can control the products and work with vendors.
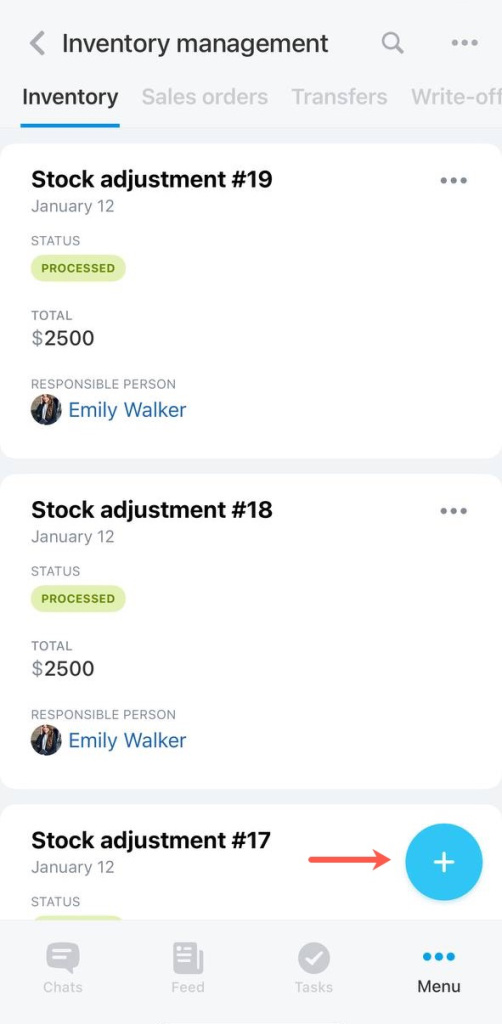
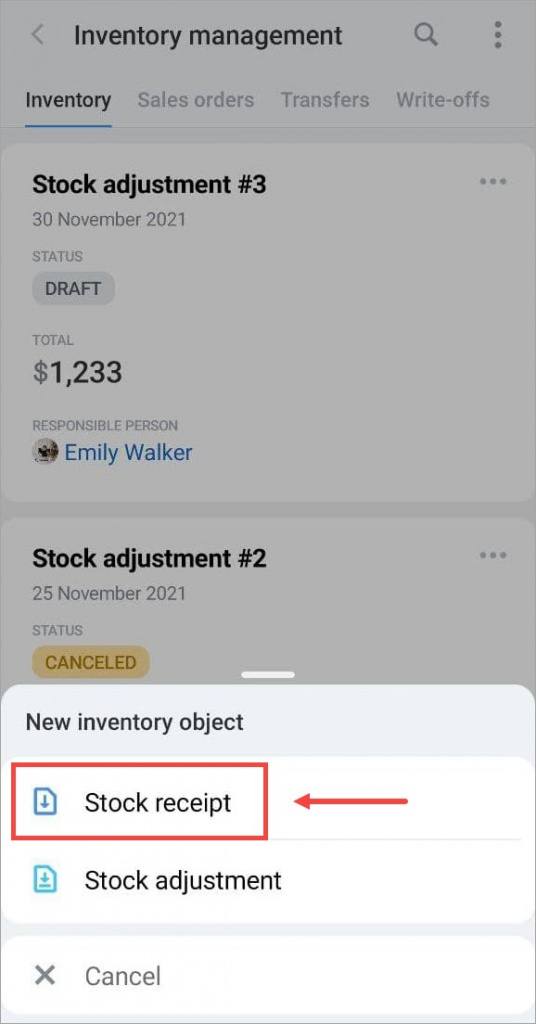
Press + and select stock receipt.
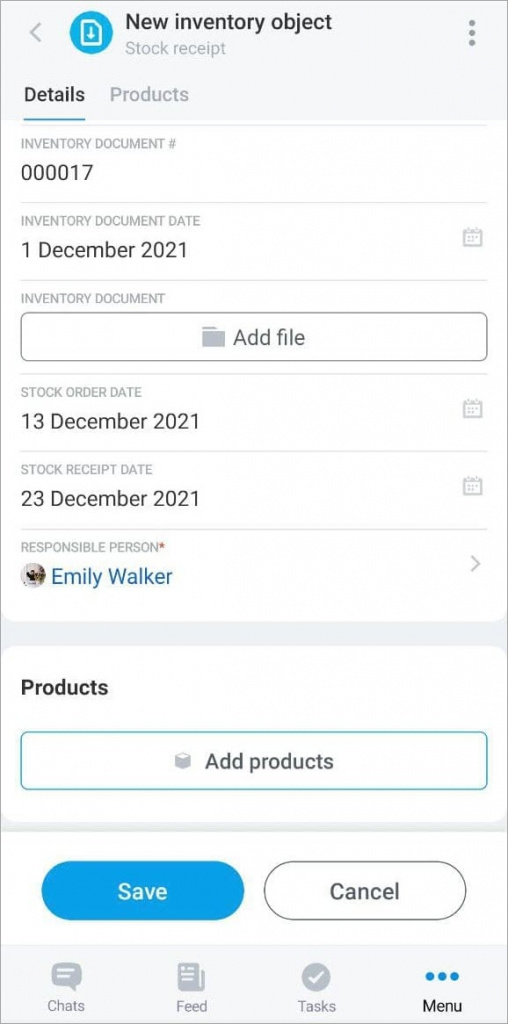
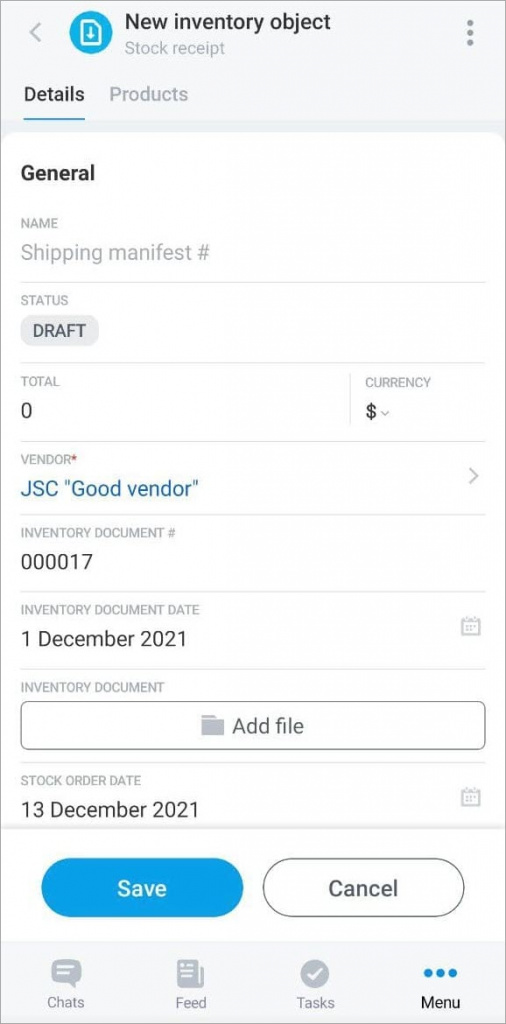
Then fill in the fields.
- Name – write the name of the Stock receipt.
- Inventory document number – specify the number of the document under which the delivery is made.
- Inventory document date – specify the date when the document was created.
- Inventory document – add a photo or PDF file with the document.
- Stock order date – specify the date when the product was ordered from the vendor.
- Stock receipt date – specify the date when the product was received in the warehouse.
The Vendor and Responsible person fields are obligatory. They must be filled out in order to understand from whom the product came and which employee is responsible for the delivery.
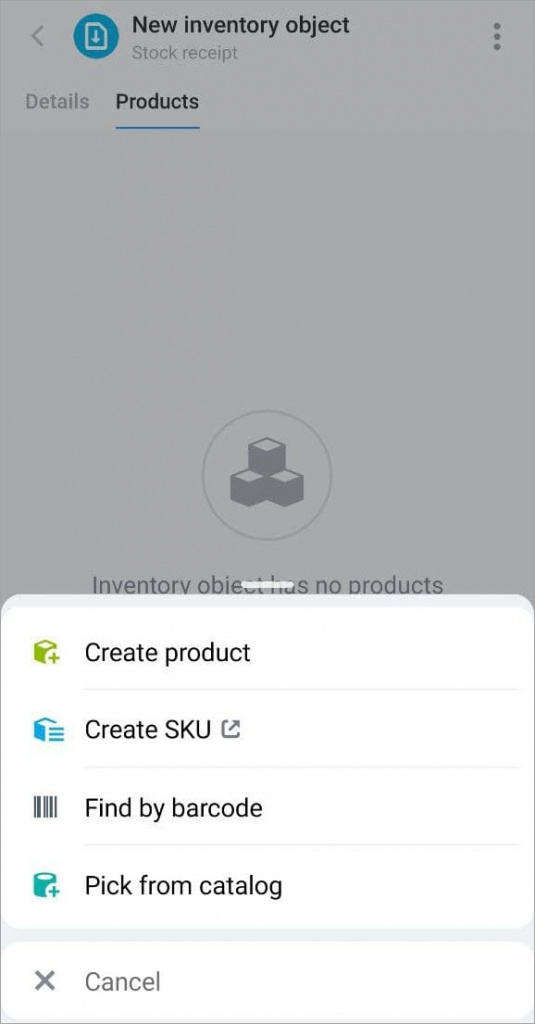
Then open the Products tab. Add a product.
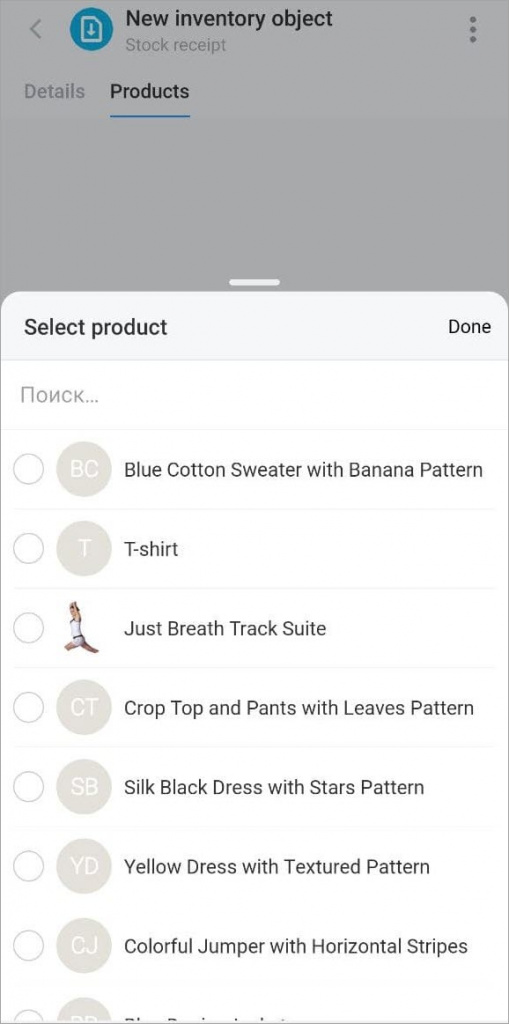
In the mobile app, you can create a new product, find the product by the barcode or select it from the catalog.
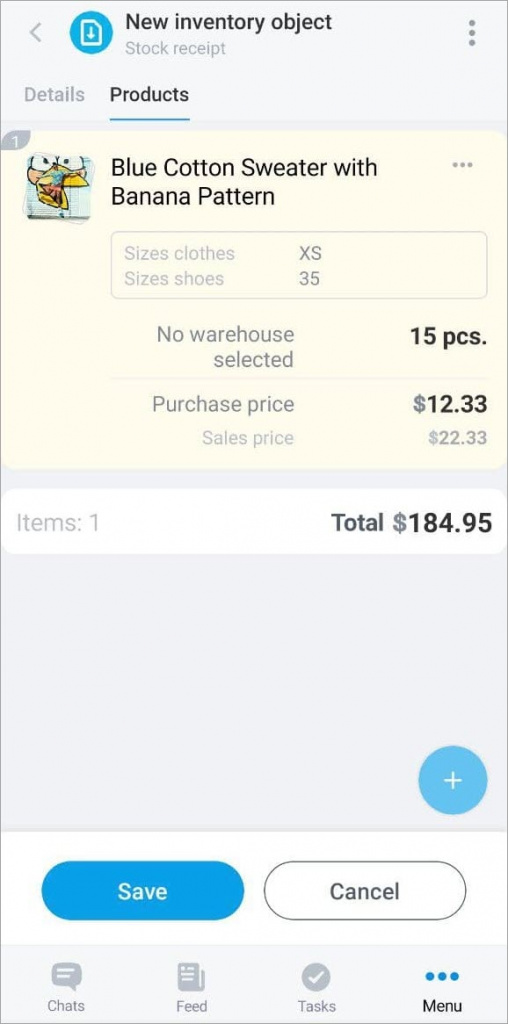
For example, let's choose a product from the catalog and specify the basic information about it.
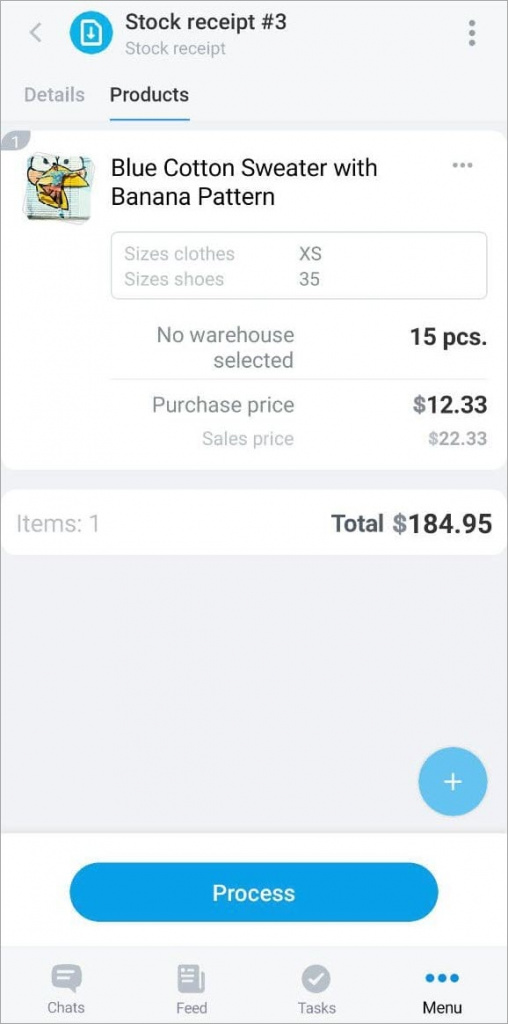
Save the document. It will be available in a draft status. When the product arrives to the stock, process the document to update inventory balances.

