Automation rules and triggers can help you automate processes for client and employee interactions.
Automation rules perform routine actions, like creating tasks or sending emails and notifications. They activate when an item reaches a specific stage.
Triggers track client actions and changes to items, such as email views or invoice payments. When the specified action occurs, the trigger moves the item to the designated stage.
In Bitrix24, you can use automation rules and triggers with these tools:
- CRM
- Tasks
- e-Signature
- Automated solutions
Bitrix24 pricing and plans
Automation rules and triggers in CRM
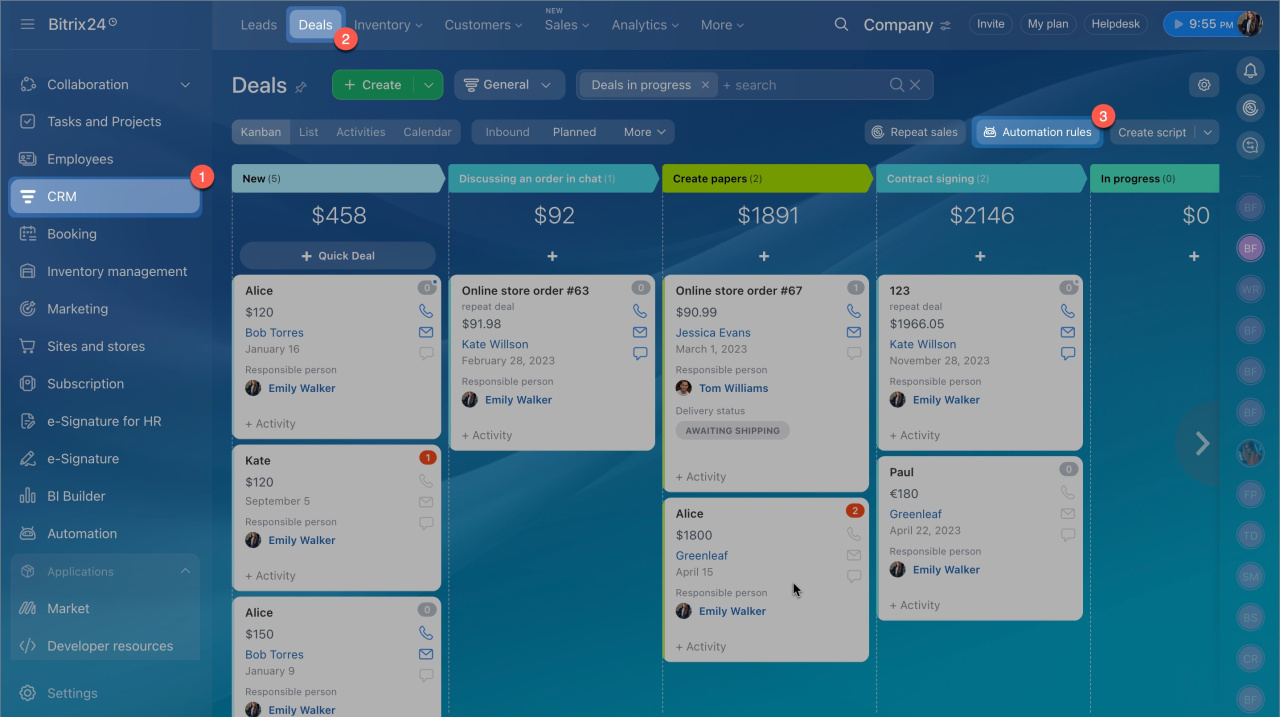
- Go to the CRM section.
- Select the desired item, such as Leads or Deals.
- Open the Sales automation section.
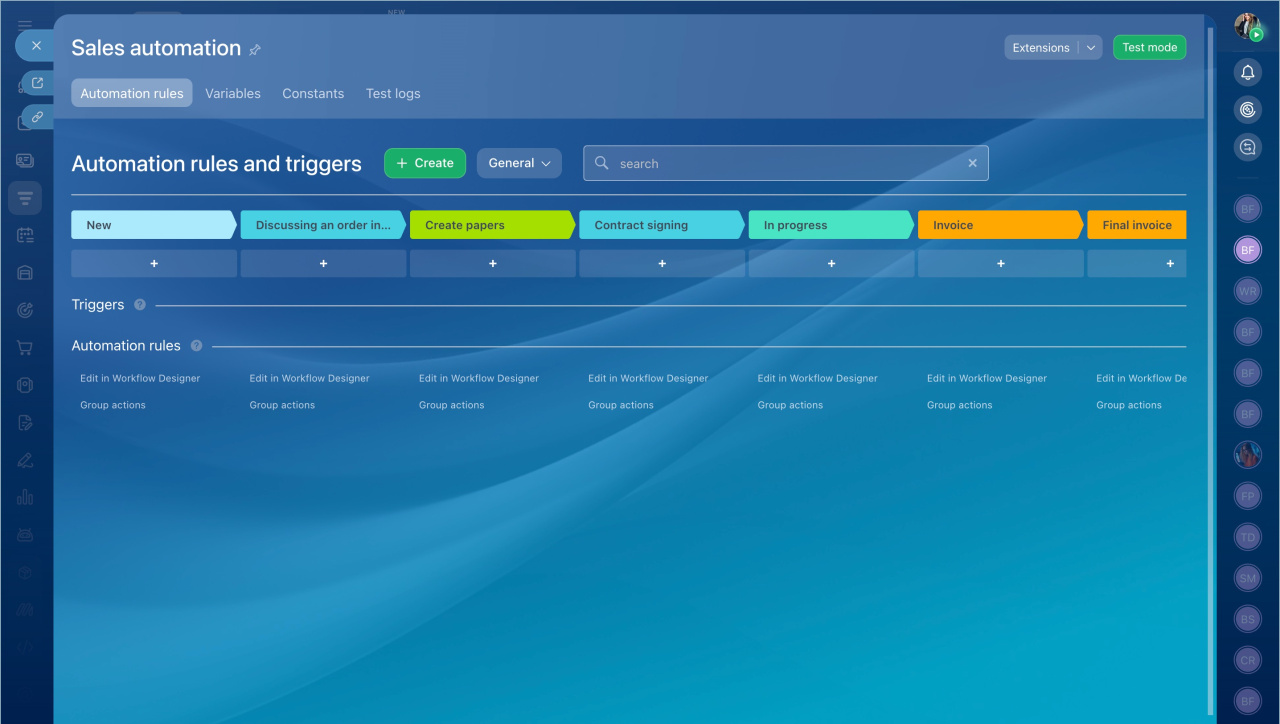
Automation rules in CRM perform actions like sending emails or creating documents when an item reaches a specific stage.
Triggers in CRM track client actions and changes to items, like email clicks or invoice payments. When the specified action occurs, the trigger moves the CRM item to another stage. For example, when a rule sends an estimate and the client reads the email, the trigger moves the deal to the In progress stage.
You can set up automation rules and triggers in:
- Leads
- Deals
- Estimates
- Invoices
- SPAs
Automation rules in CRM
Triggers in CRM
Automation rules and triggers in tasks
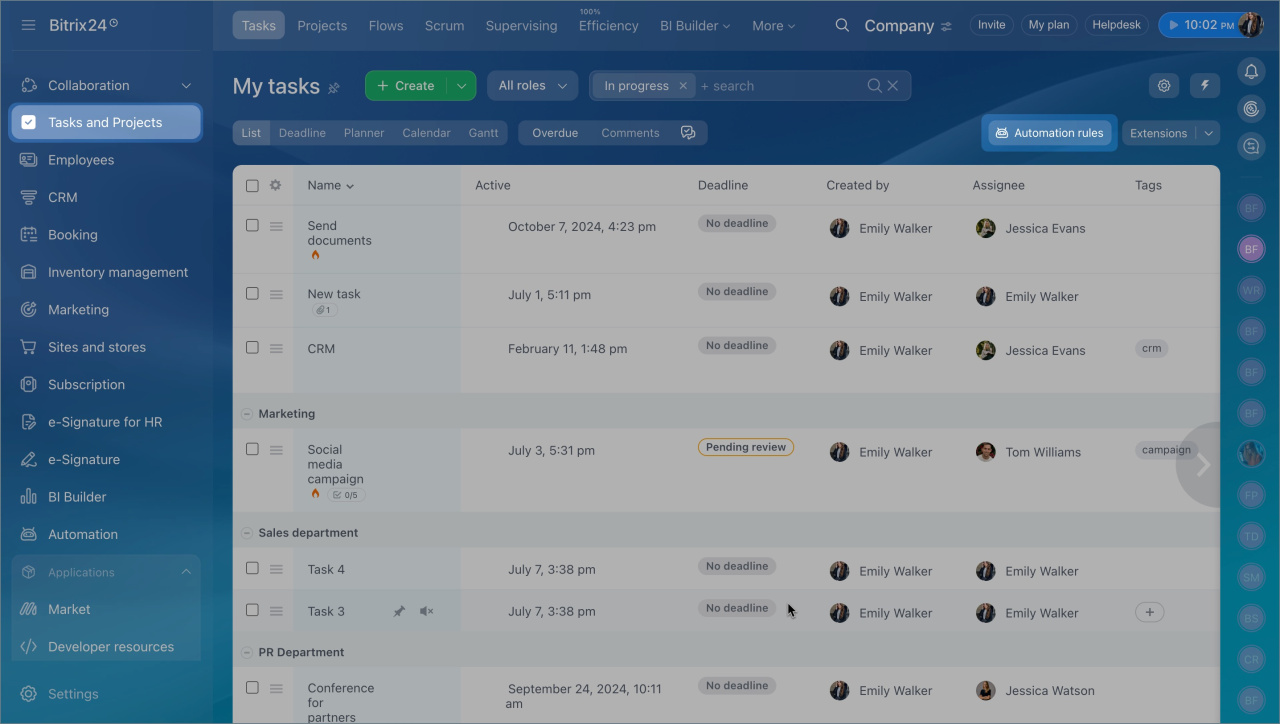
Go to the Tasks and Projects section and click the Automation rules button.
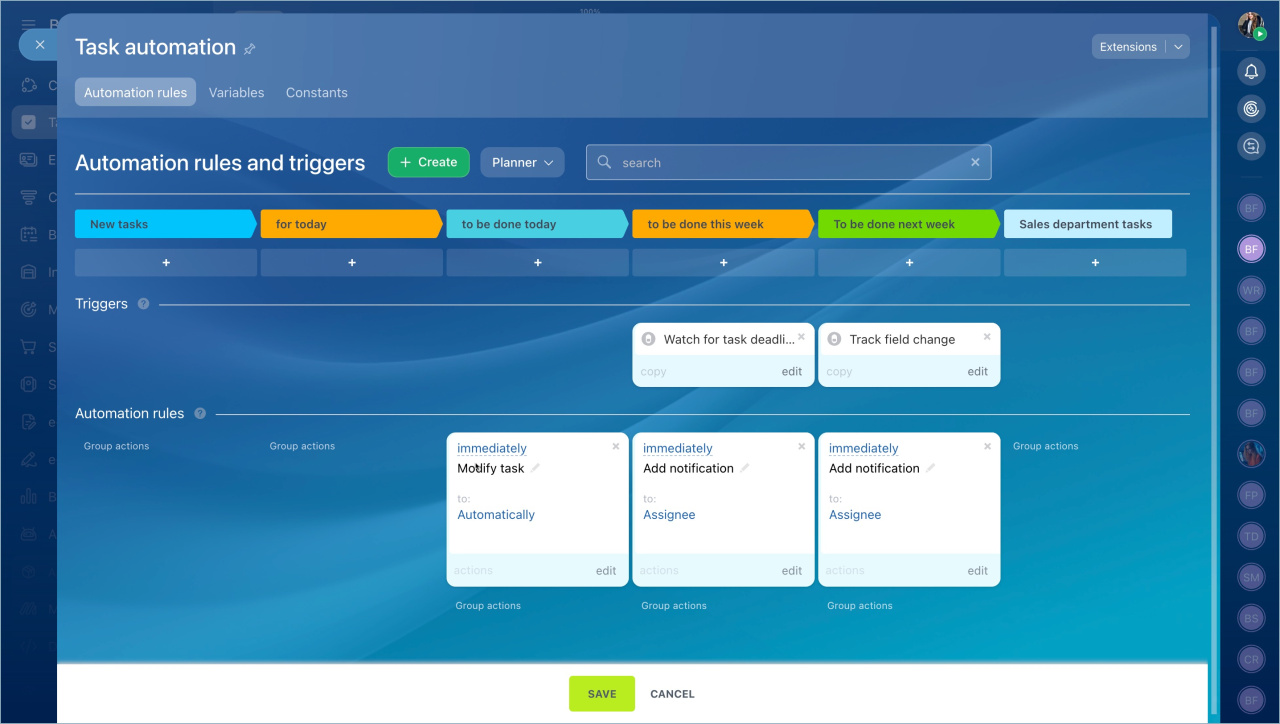
Use automation rules in tasks to send notifications to employees, assign tasks, add participants, and more. Rules will activate when a task is moved to a specific stage.
Triggers monitor updates in tasks, like changes in deadlines or status. They automatically move tasks to the right stage when these changes happen. For example, you can set a trigger to move a task to the Urgent stage when there's one day left until the deadline. At this stage, you can also add a rule to notify the supervisor that the task is still incomplete.
Automation rules and triggers in tasks
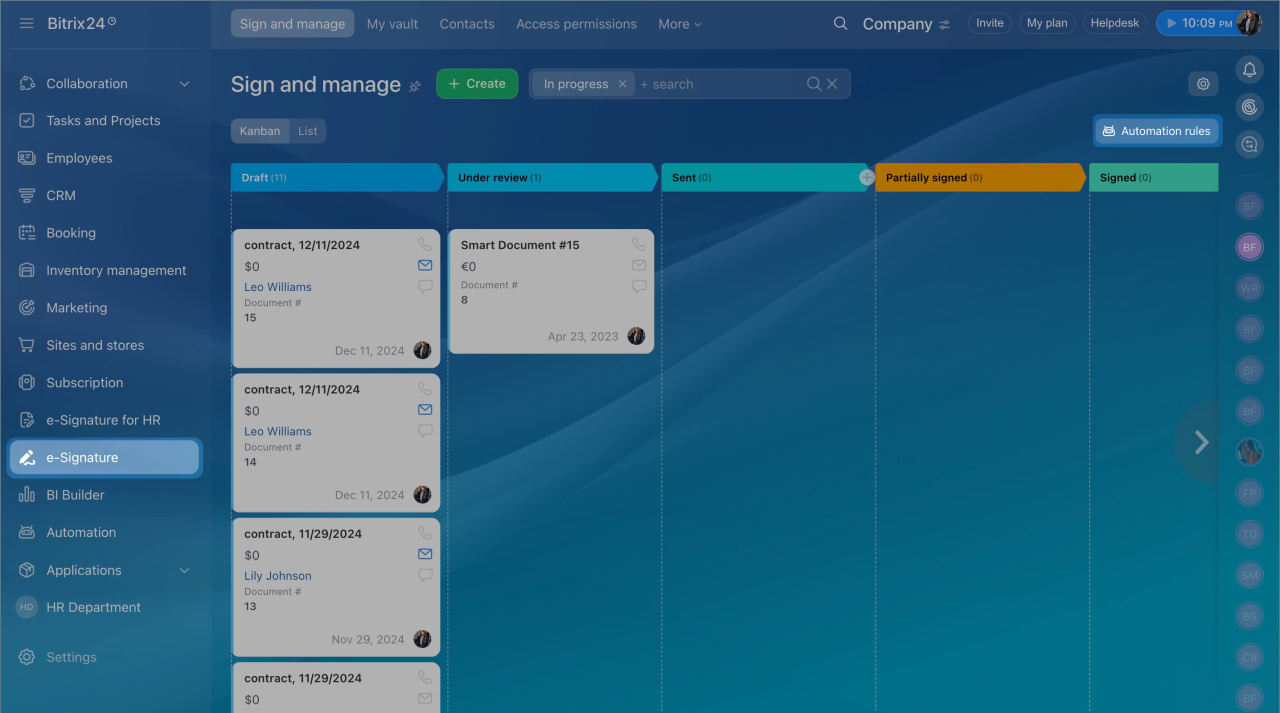
Automation rules and triggers in the e-Signature section
With automation rules and triggers, you can automate the document signing process with clients. Go to the e-Signature section and click Automation rules.
Automation rules send emails to clients, assign tasks for document preparation, and more. Triggers monitor document signing, field changes, and other actions. For example, when a client signs a document, the automation rule will send them an invoice, and the trigger will move the deal to the Wait for payment stage.
Automation in e-Signature
Automation rules and triggers in automated solutions
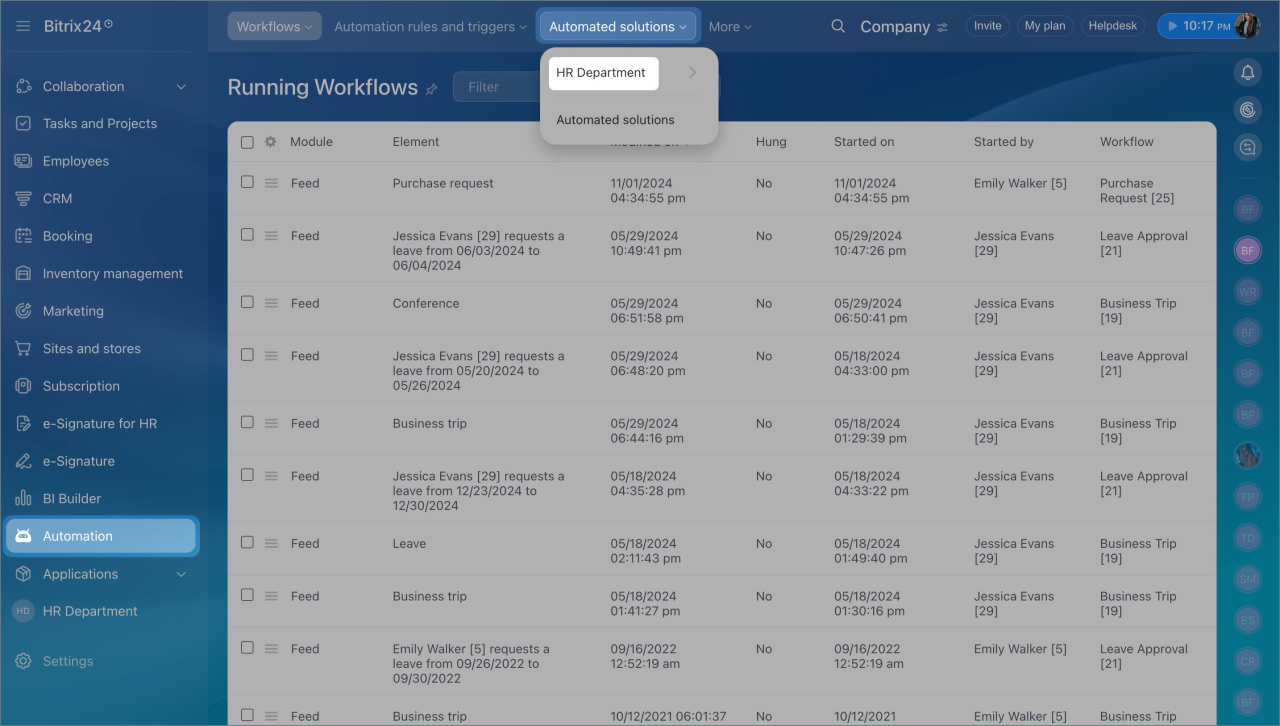
Use automation rules and triggers to automate processes in SPAs that aren't linked to CRM. You can do this in the Automated solutions section.
- Go to the Automation section.
- Expand Automated solutions.
- Select an automated solution.
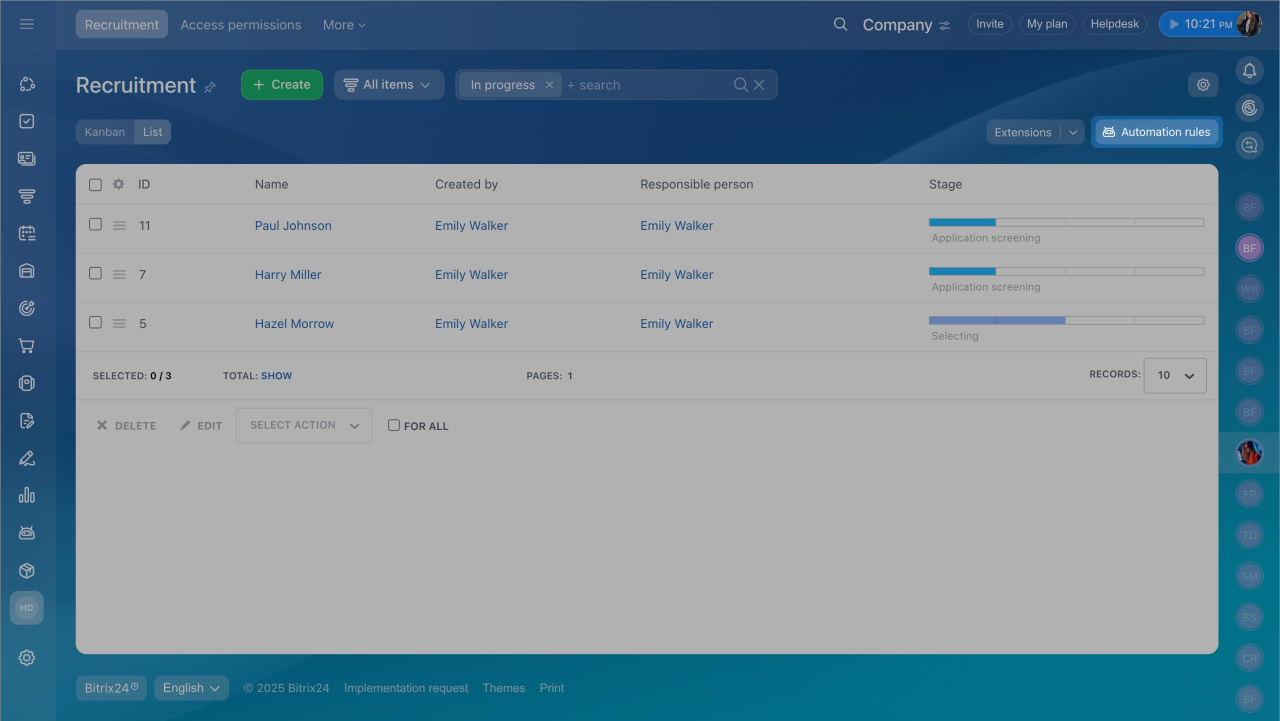
- Choose the SPA for automation setup.
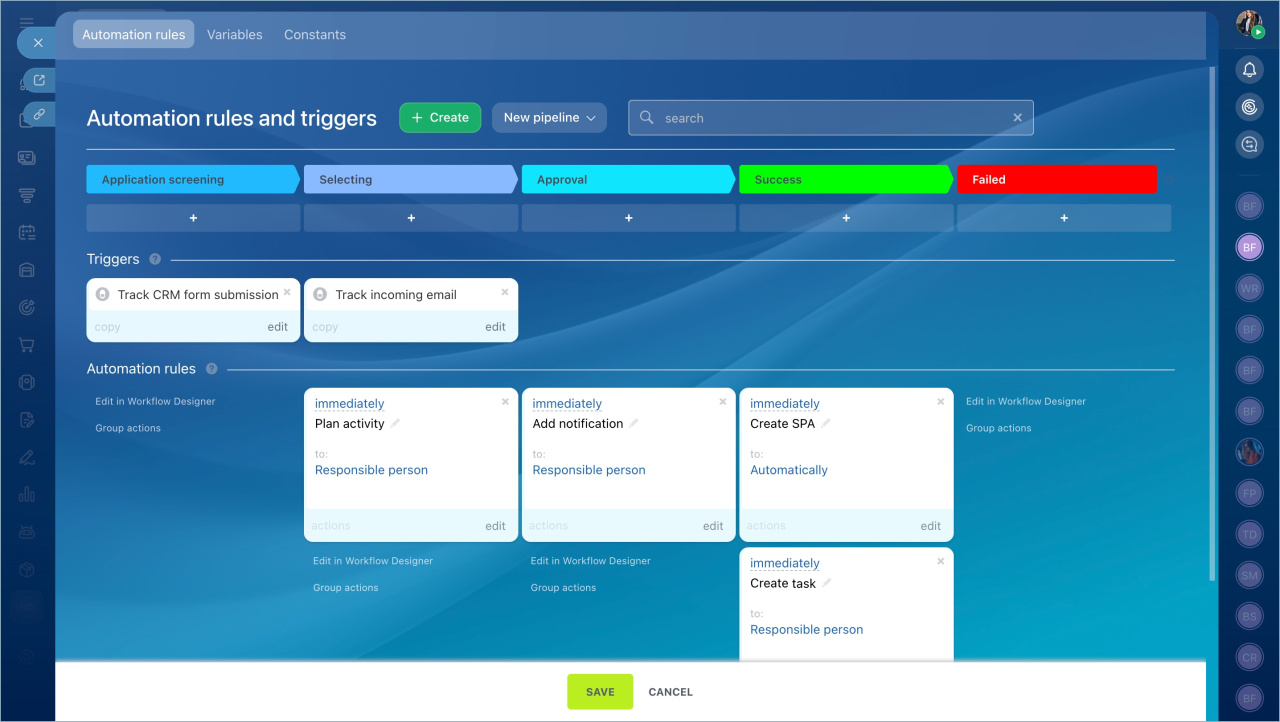
- Open the Automation rules section.
For example, use automation rules to link different automated solutions, creating equipment requests in the IT department for the HR department.
Automation rules: Workflow automation
In brief
-
Automation rules and triggers can help you automate processes for client and employee interactions.
-
Automation rules perform routine actions like creating tasks or sending emails and notifications. They activate when an item reaches a specific stage.
-
Triggers track client actions and changes to items, such as email views or invoice payments. When the specified action occurs, the trigger moves the item to the designated stage.
-
In Bitrix24, you can use automation rules and triggers with these tools: CRM, tasks, sign, and automated solutions.
-
Each tool has its own set of automation rules and triggers.

