You can connect an email service to Bitrix24. Once connected, emails will be delivered directly to your account. You can reply to them, attach conversations to tasks, discuss them with colleagues in chats, or create leads or deals in CRM from emails.
Connect a mailbox
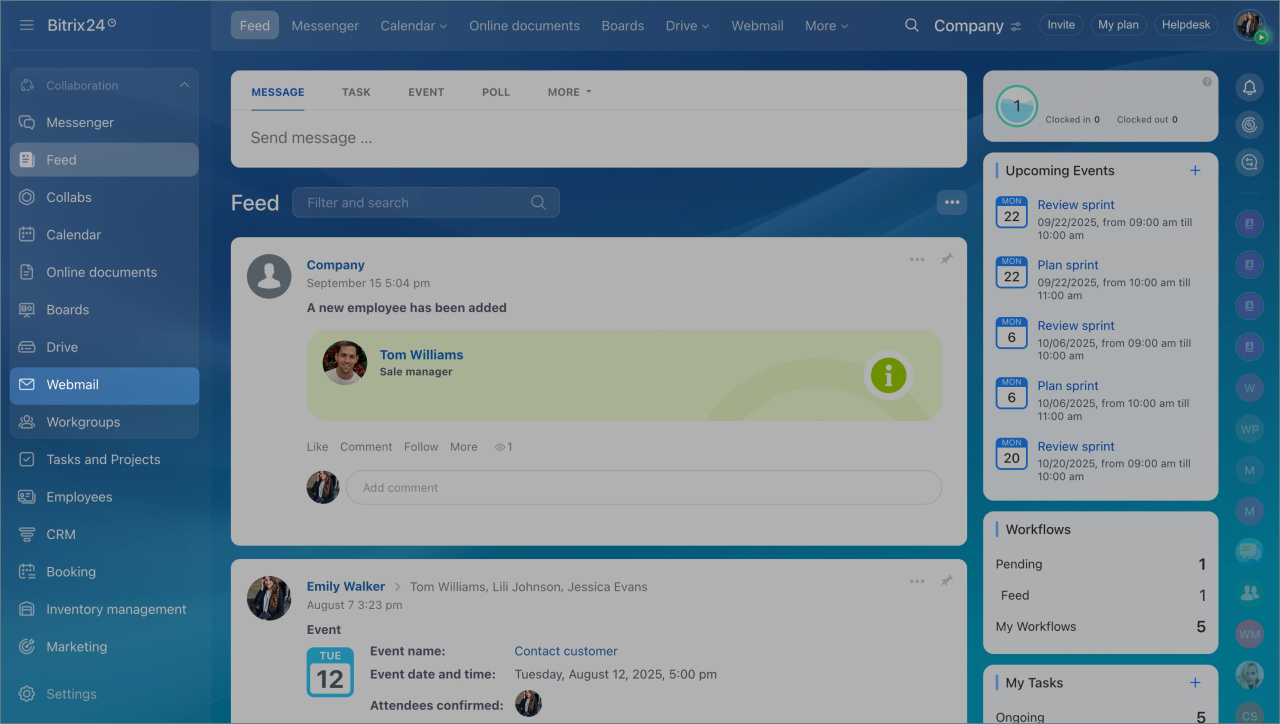
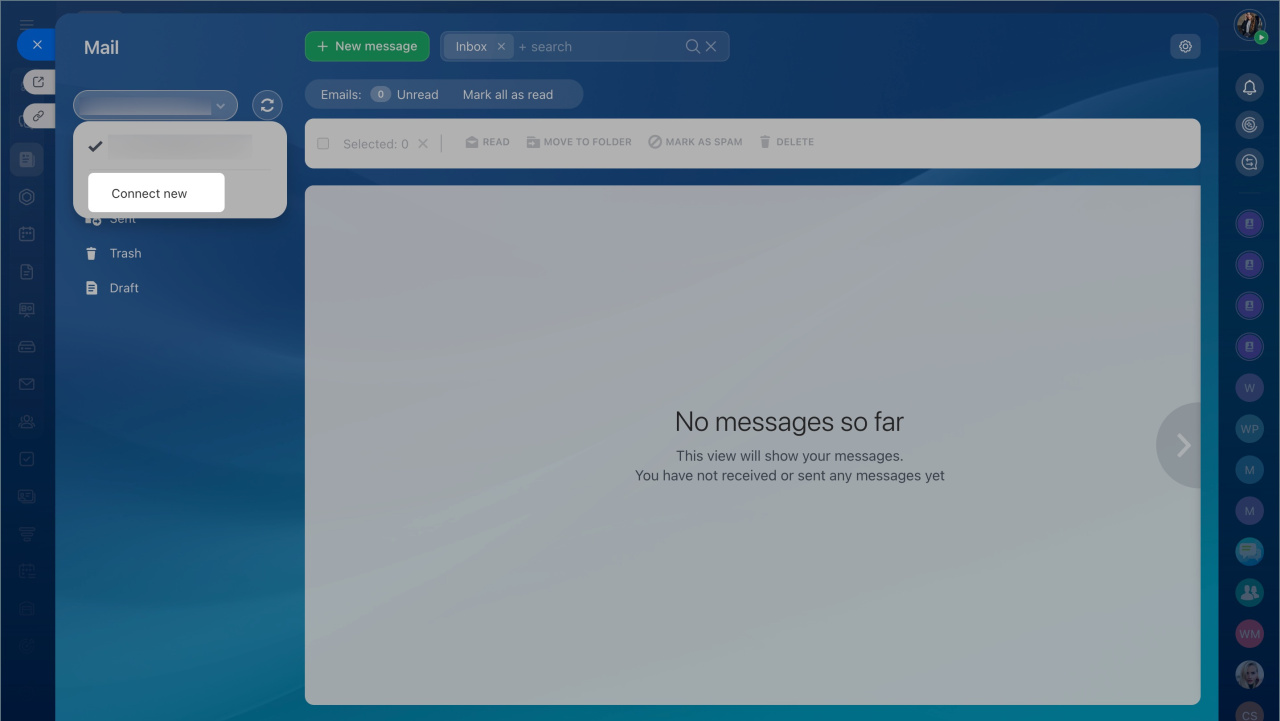
- Go to the Webmail section and select Gmail. If you already have a connected mailbox, click the email address in the top left corner and select Connect new.
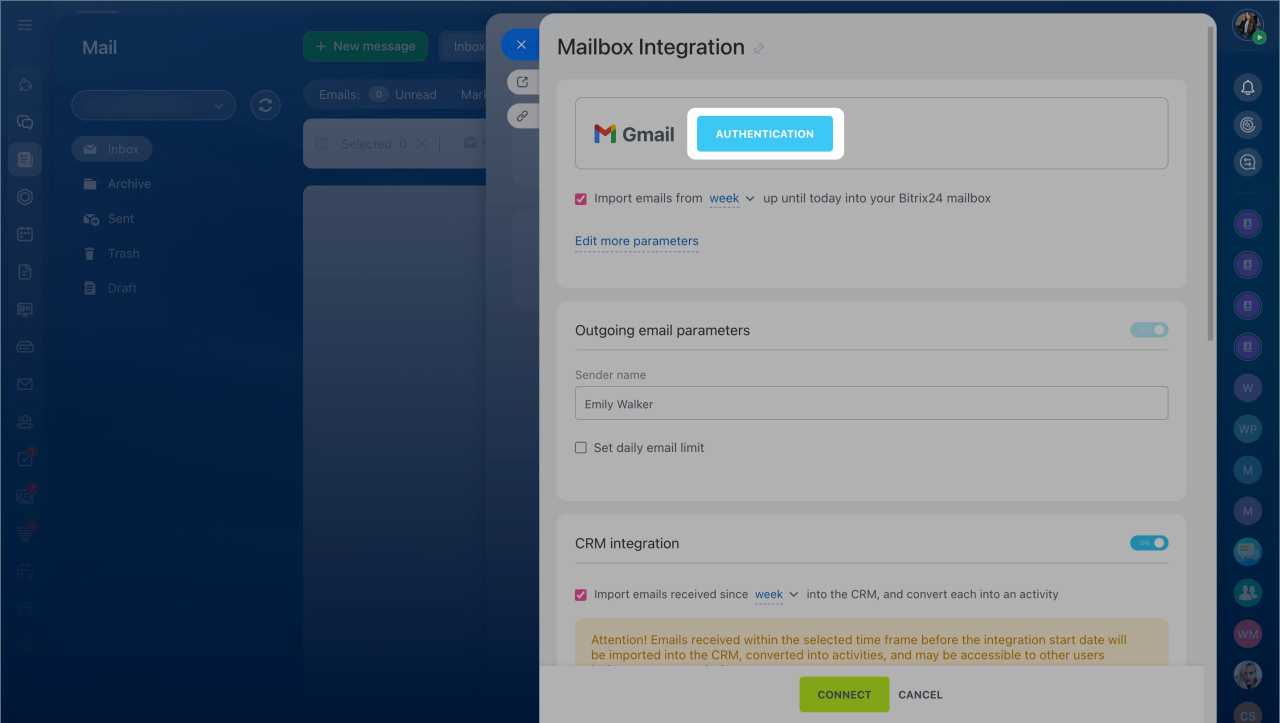
- Click Authentication.
- Select the account you want to connect.
- Enter your password and click Next.
- Confirm the login if two-step authentication is enabled.
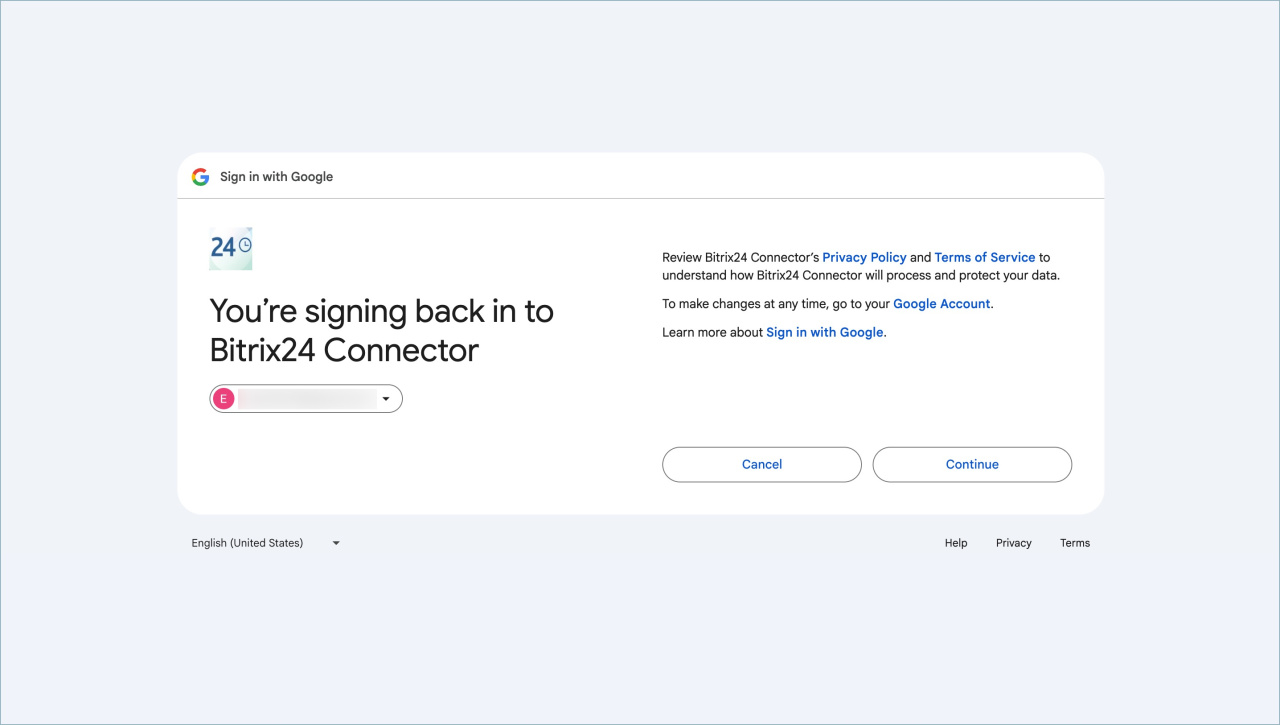
- Review the privacy policy and terms of use for Bitrix24 Connector and click Continue.
- Grant Bitrix24 Connector access to your account by clicking Continue.
Configure a mailbox
- Choose the period for which emails will be loaded into Bitrix24, such as the last seven days.
- Set a daily sending limit. This helps avoid exceeding Gmail and Bitrix24 plan limits and reduces the risk of emails being marked as spam.
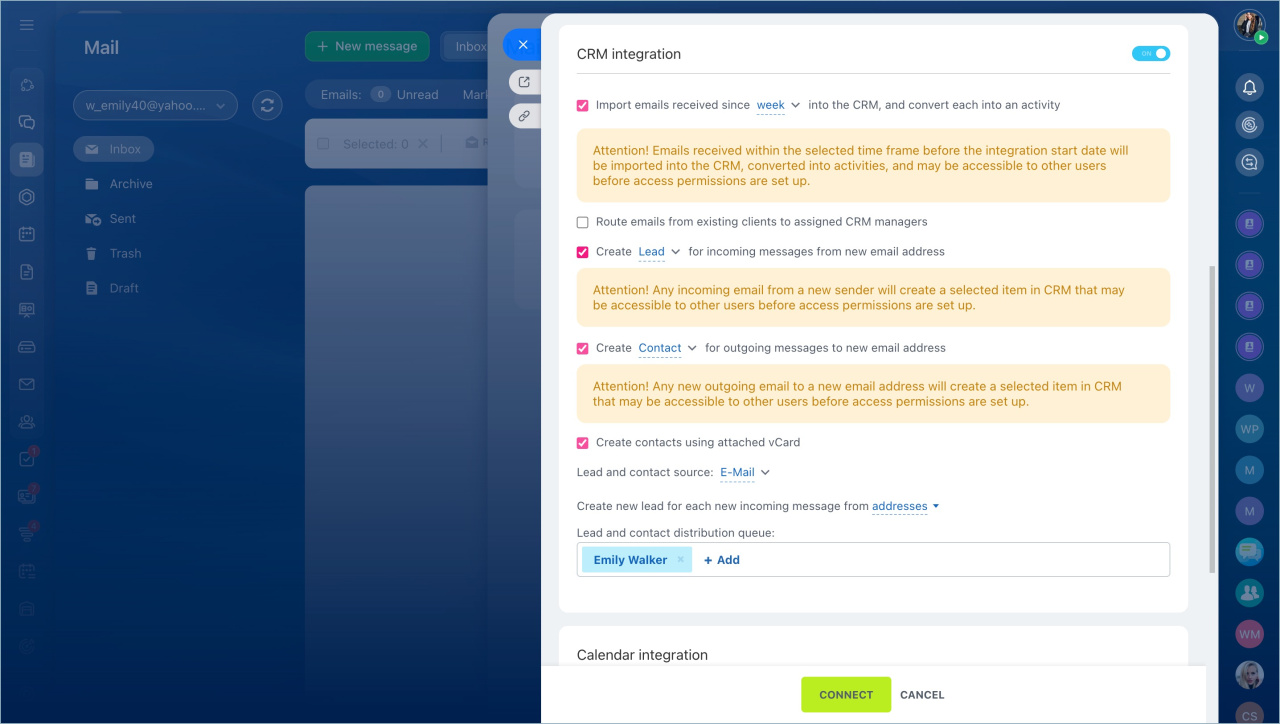
- Configure CRM integration. Decide what to create from emails sent from a new address: a lead or a contact. Assign employees to handle new leads and contacts.
- Enable calendar integration. All meeting invitations from emails will automatically appear in the Bitrix24 calendar, where you can accept or decline them.
- Specify employees who will work with this mailbox: receive and send emails. Click Connect.
- Select folders in the mailbox from which emails will be loaded into Bitrix24. For example, enable synchronization for the Inbox folder only.
- Specify folders for sent, deleted emails, and spam. Click Save.
How to set up email in Bitrix24
Gmail sending limits
In brief
- You can connect a Gmail mailbox to Bitrix24. Emails will be delivered directly to Bitrix24, allowing you to reply, attach conversations to tasks, discuss them with colleagues in chats, or create leads or deals in CRM from emails.
- To connect a mailbox, go to the Webmail section and select Gmail. If you already have a connected mailbox, click the email address in the top left corner and select Connect new.
- Authorize the required account and grant access to the Bitrix24 Connector application.
- Set up the mailbox: enable CRM and calendar integration, specify employees who will work with the mailbox, and more.
- Gmail has sending limits, so it is better not to use it for mass campaigns.

