Bitrix24 allows you to create a site without programming skills. You can start from scratch, use a ready-made template, or use the AI assistant CoPilot. Choose blocks and site design without coding or complex settings. This solution is ideal for landing pages, online stores, and multi-page websites.
Create a site
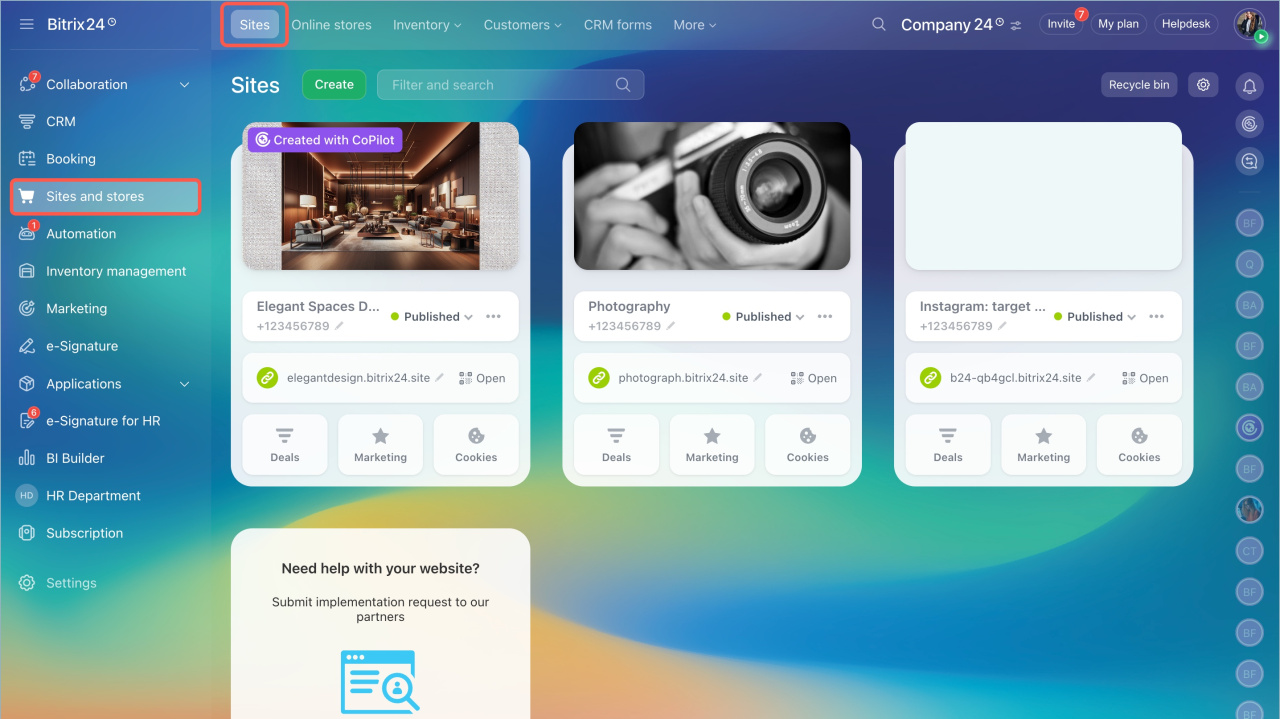
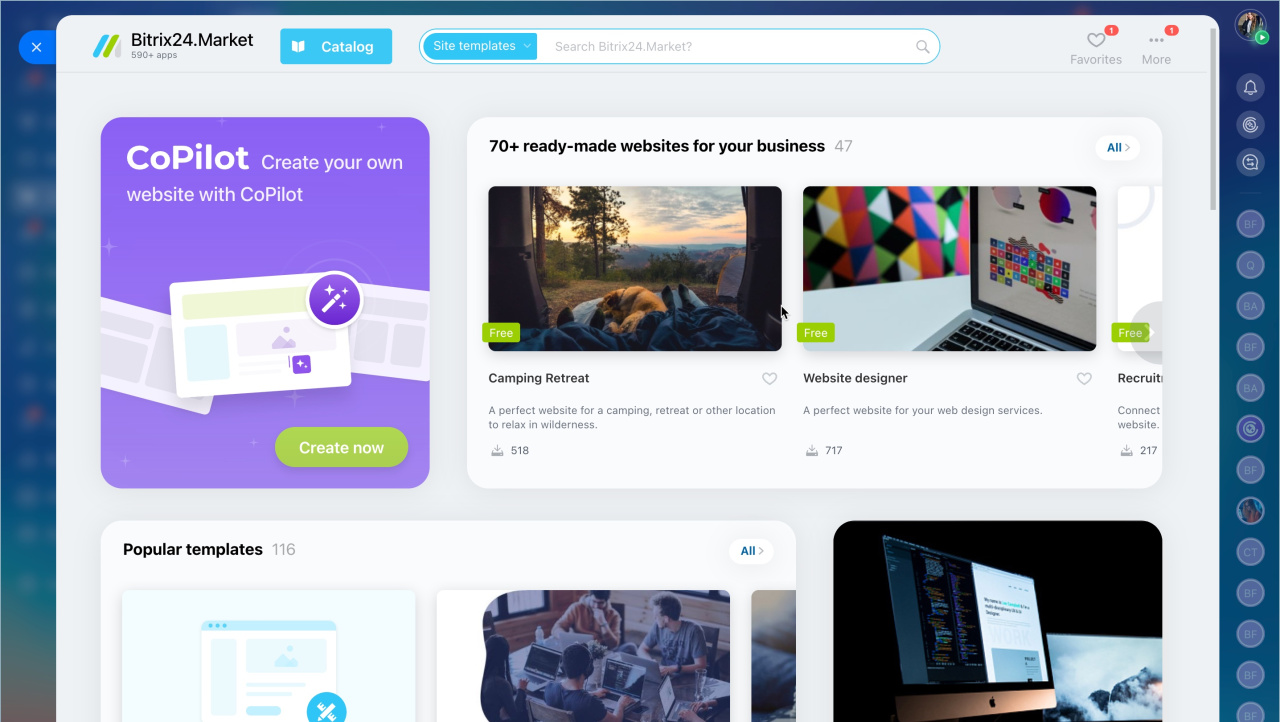
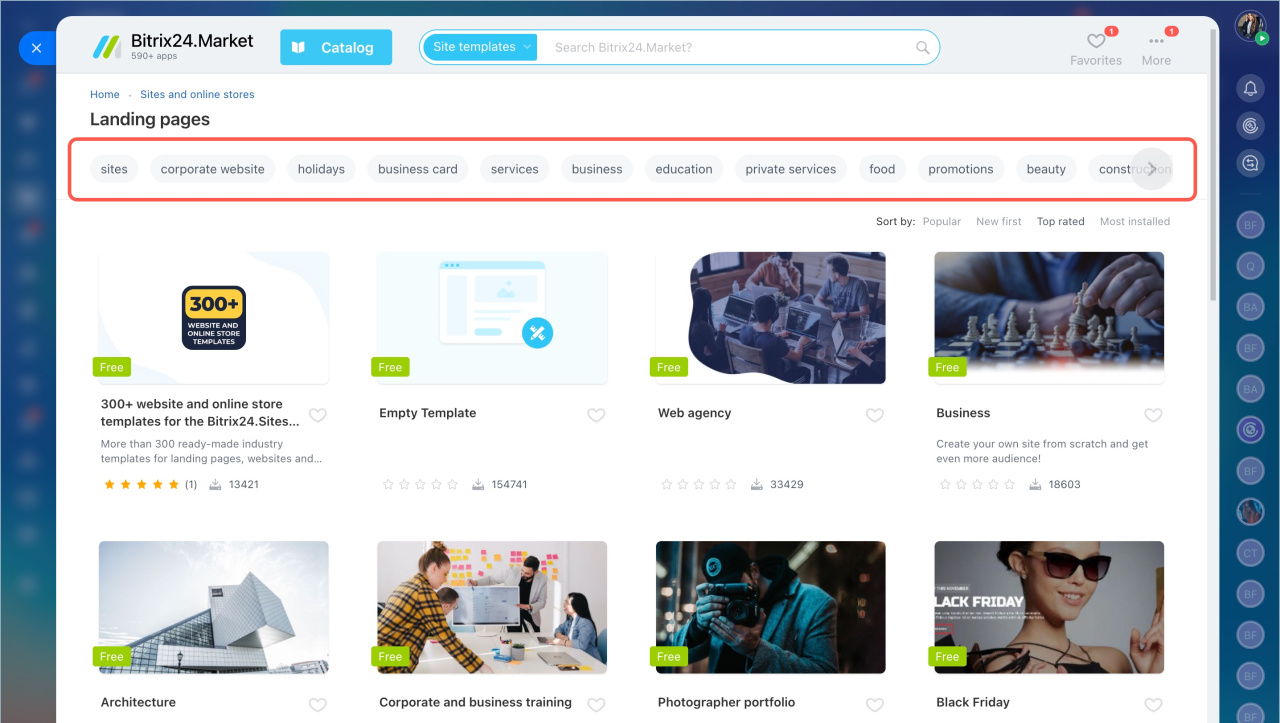
Go to Sites and Stores section > Sites and click Create. The Bitrix24 Market catalog will open, where you can select the right solution for your site.
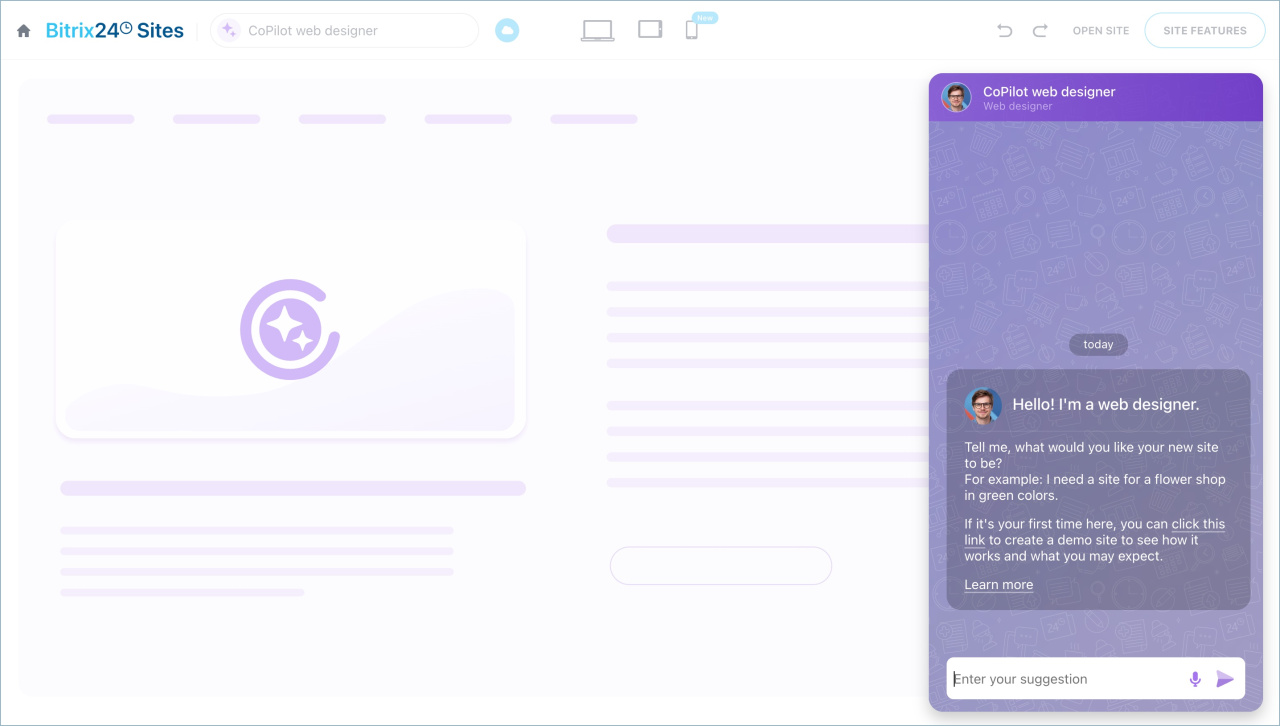
Site with CoPilot. Click Create a site to open the site editor with an integrated chat with CoPilot. Describe your idea and site requirements, then send your message. The AI assistant will generate a site based on the specified theme, selecting the design, images, and text.
CoPilot: AI assistant to create websites
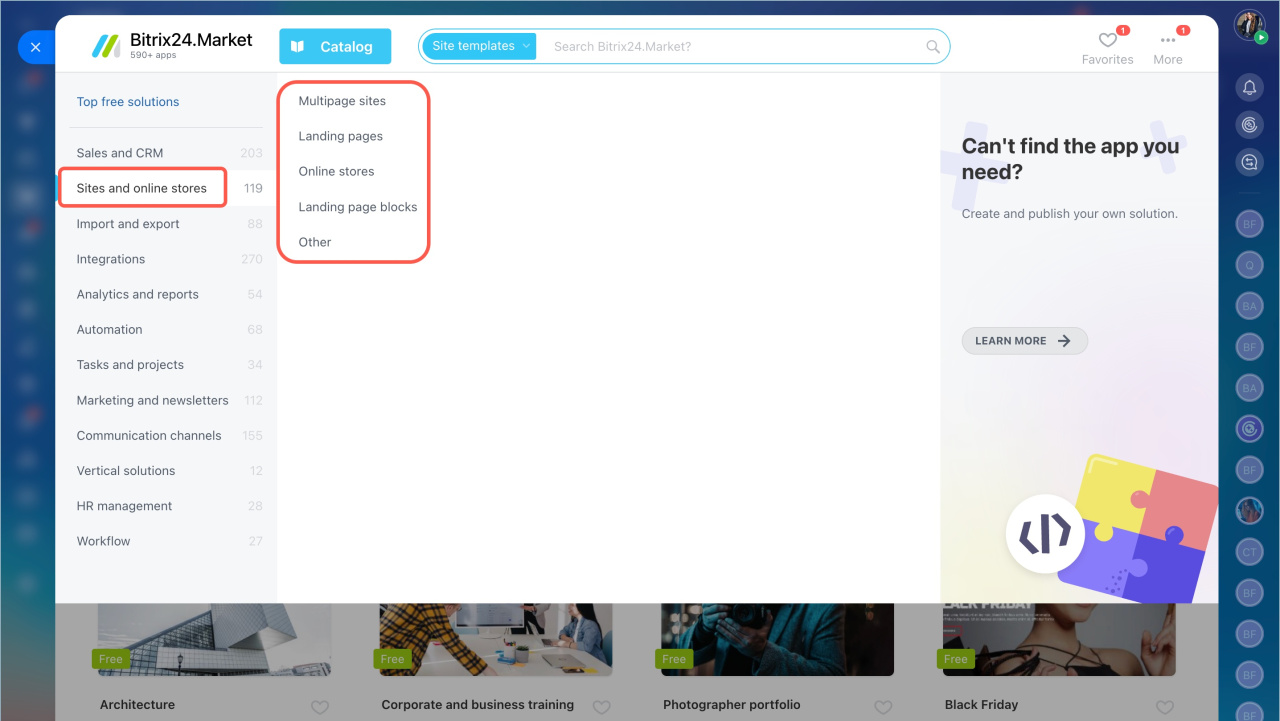
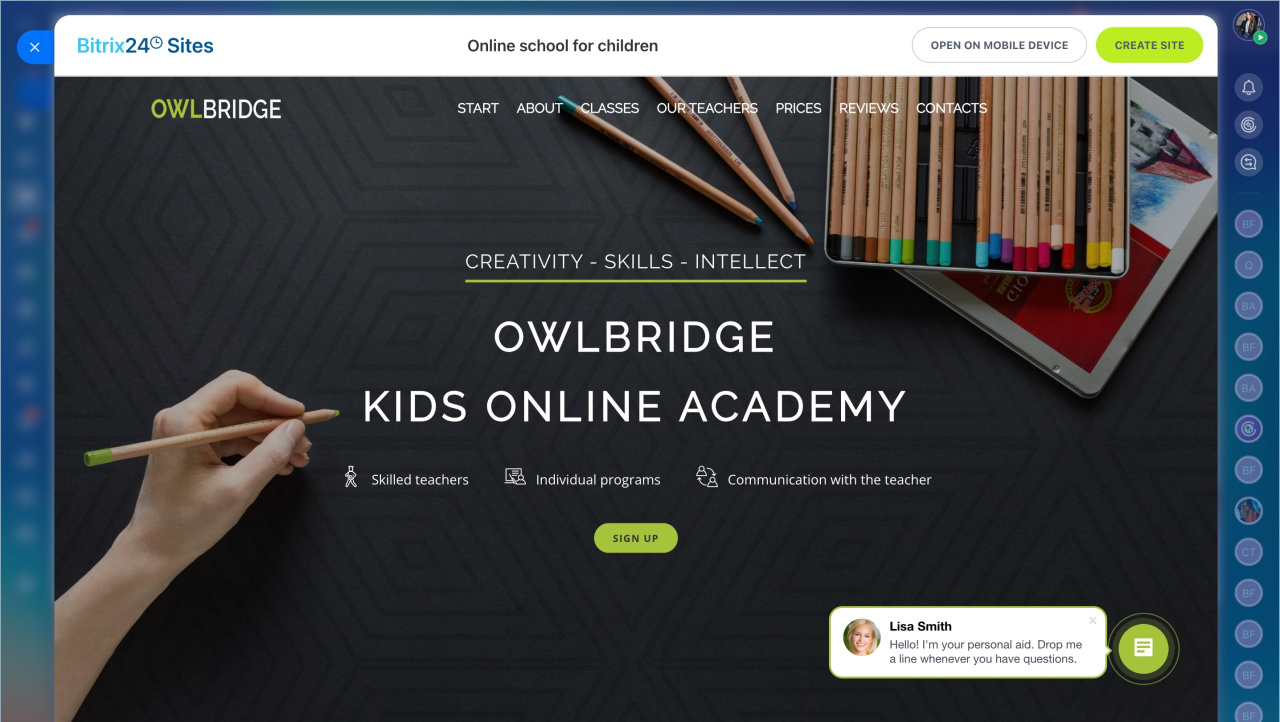
Ready-made template is suitable for creating landing pages, multi-page websites, and online stores.
- Go to the Catalog > Sites and online stores and select a section.
- Choose one of the tags and select a ready-made template from the list.
- Alternatively, search for a template using keywords. Enter them in the search bar and select the desired template from the list.
- Click Create a site.
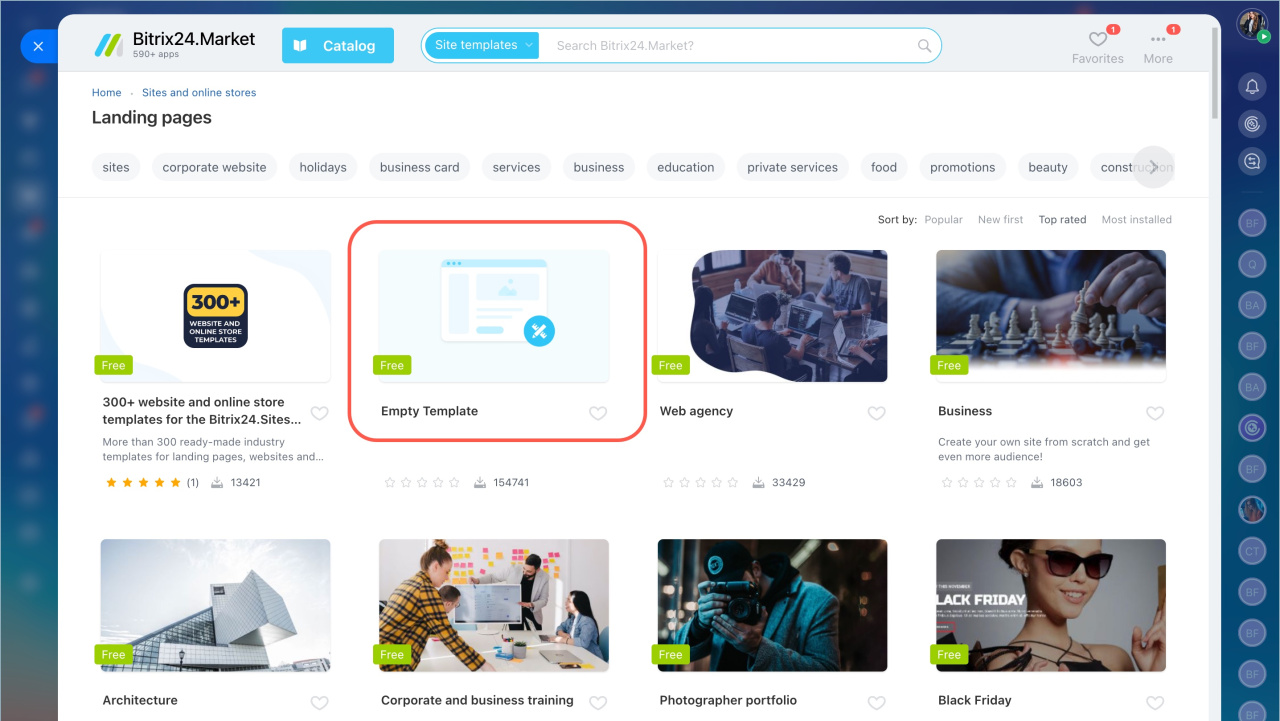
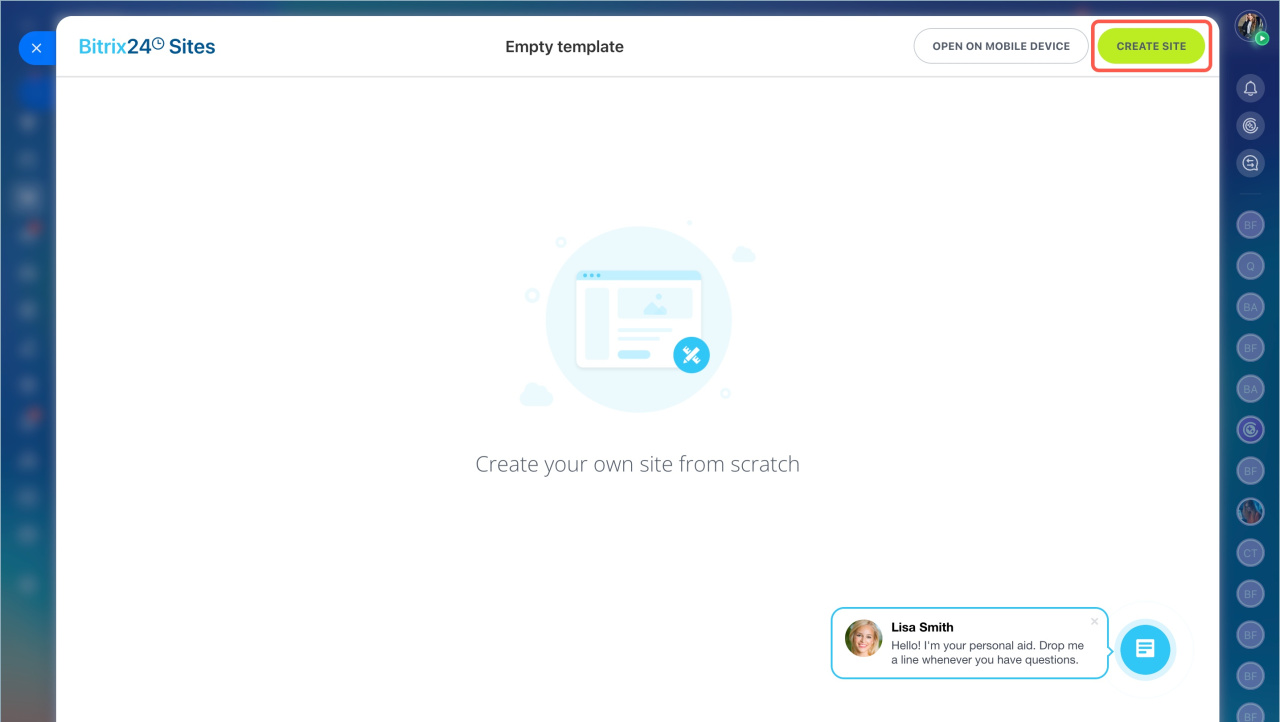
Blank template helps you create a site from scratch. Select Empty template and click Create a site.
Customize your site
After creating the site, it will open in the editor. Here, you can add and modify blocks, change the design, and adjust the layout.
Add more blocks
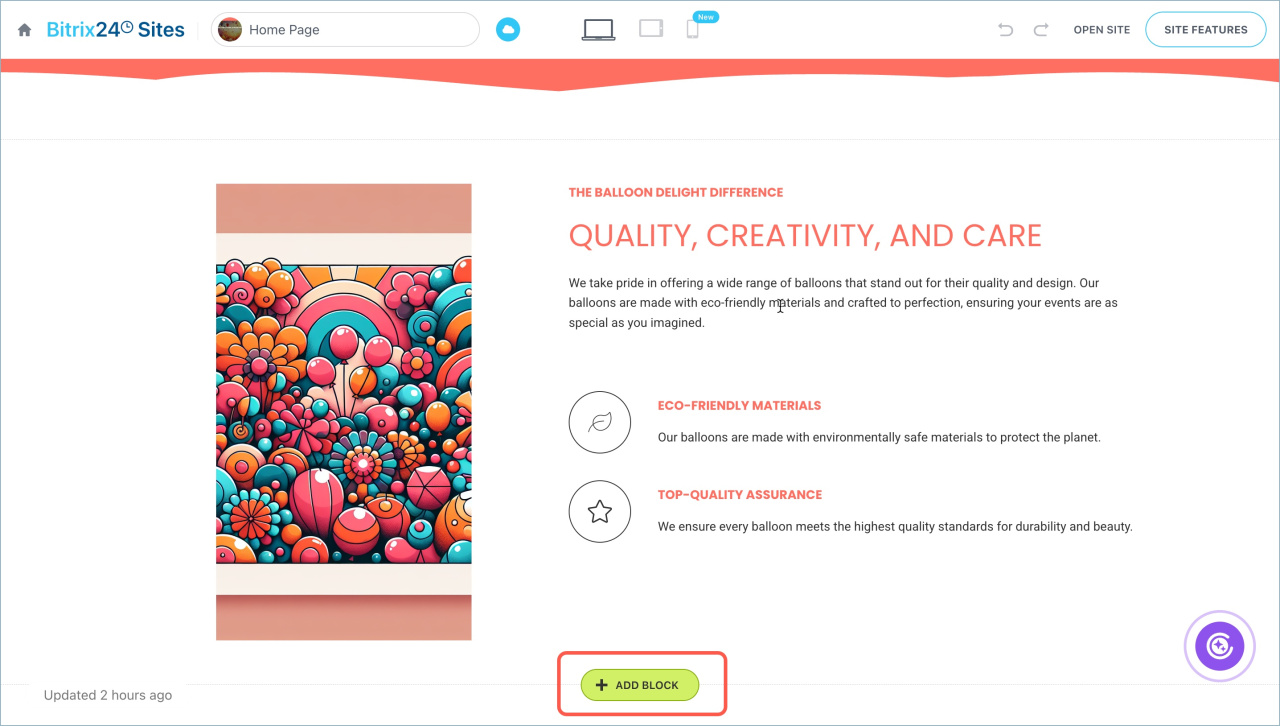
Add a cover, divider, image with text, timer, heading, and more.
- Click + Add block where you want to place it.
- Select a section and template from the list.
Customize a block
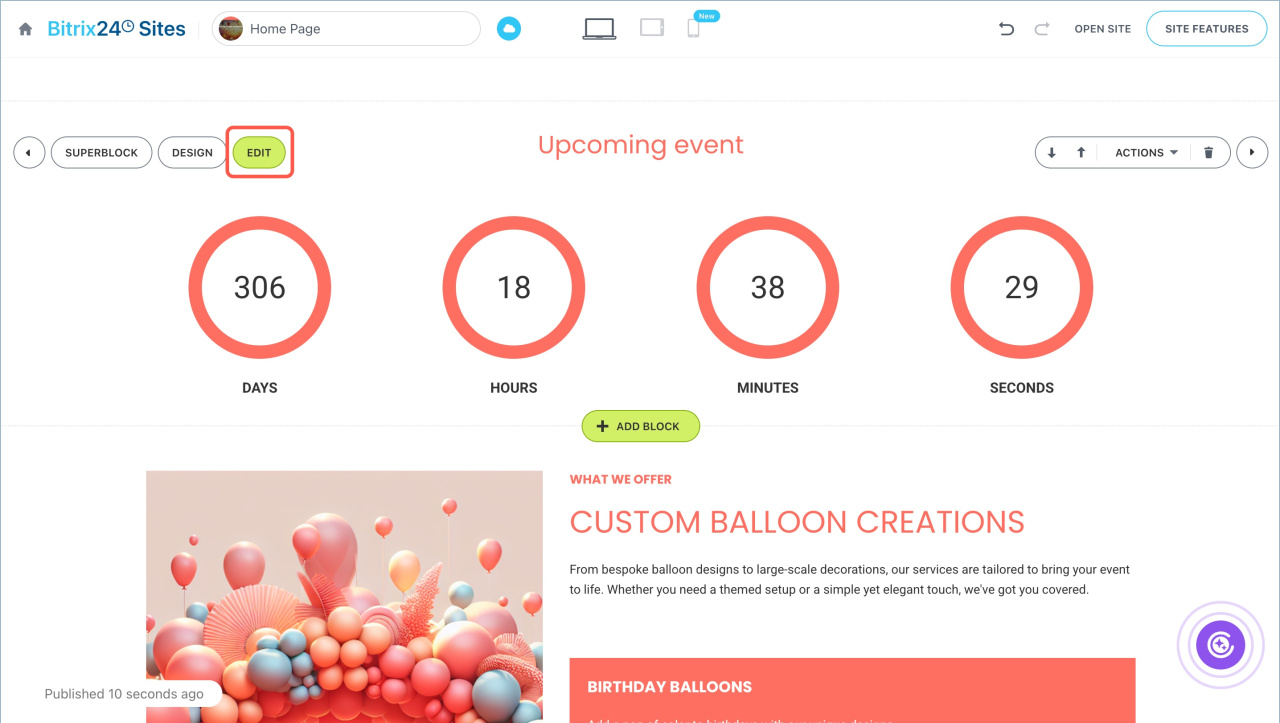
Hover over the block you want to edit to see the list of available actions.
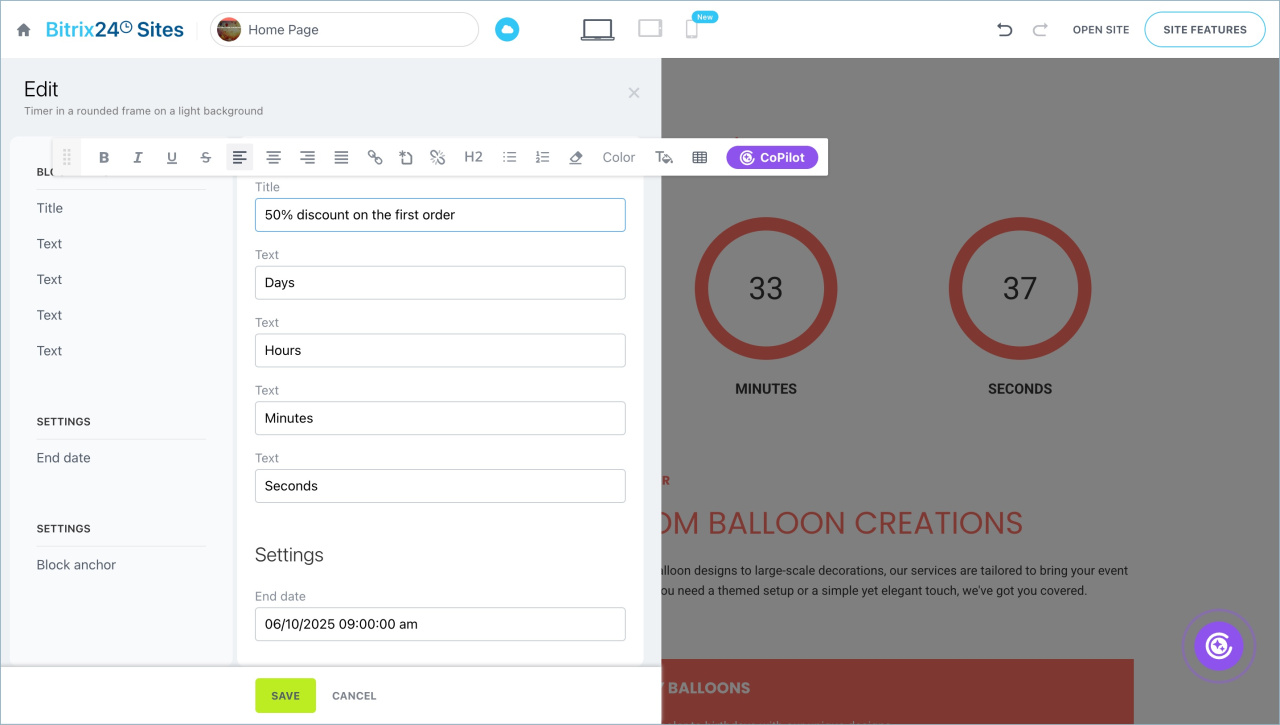
Edit. Change the block settings and content, such as the title, element captions, or timer end date. Click Save.
Design. Adjust the block's visibility on desktops, tablets, and smartphones. Visitors won't see the block on devices you mark with a cross.
By default, blocks adapt to the site's style, but you can modify the background, font, color, alignment, animation, etc. The number of options depends on the block type.
For similar elements, design settings are adjusted individually, such as for titles, buttons, and captions. Click an element to customize it.
Change design in Sites and Stores
CoPilot in sites: how to create an image
If you change the site's design, individual block settings will remain unchanged.
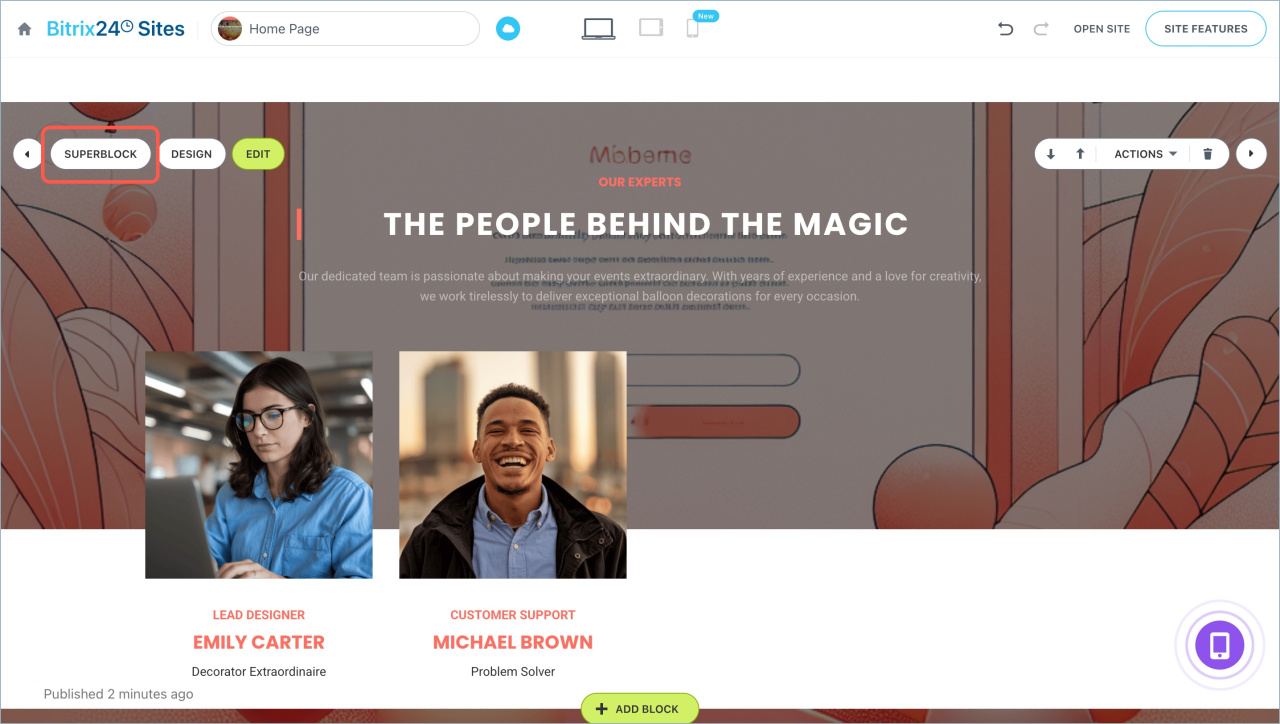
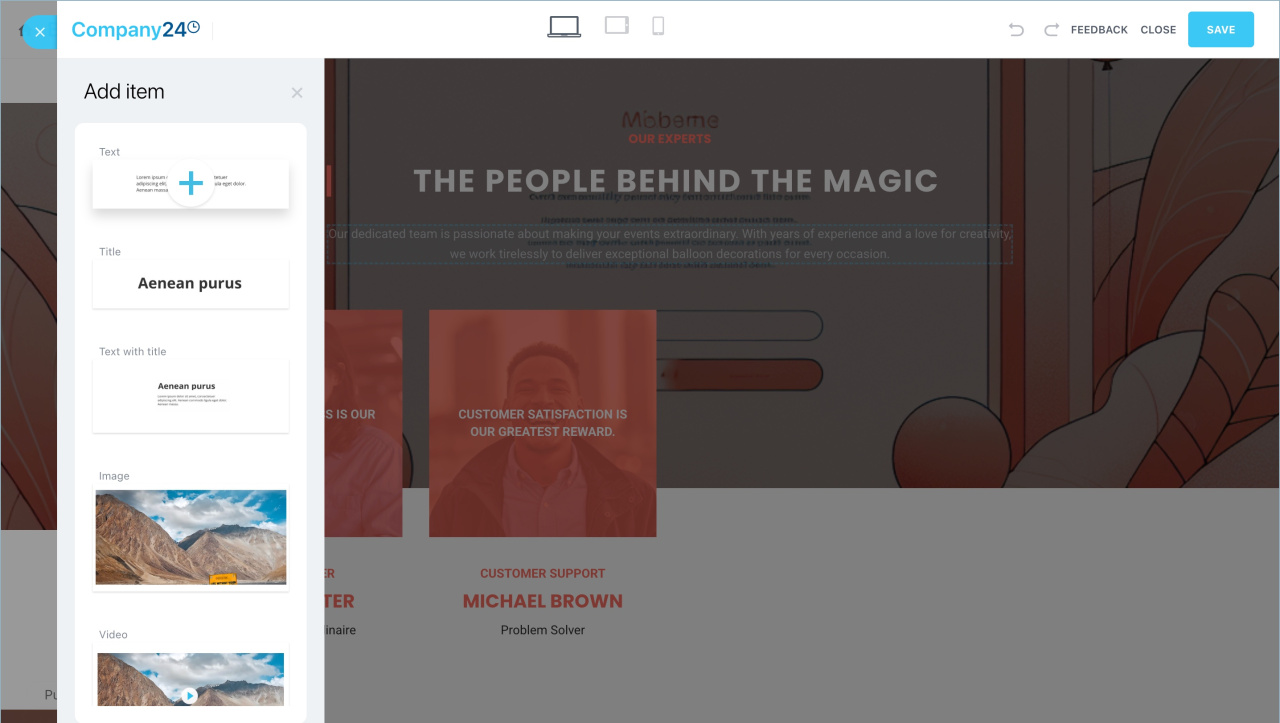
Superblock. Add or remove block elements like titles, icons, images, videos, and more. Save your changes.
Superblock in Bitrix24 Sites
Additional actions.
Move the block up or down using the ![]() buttons.
buttons.
To delete a block, click the ![]() icon.
icon.
Click Actions to open the context menu:
- Hide block — it will no longer be active or visible on the site but will remain in the editor. To restore it, click Show block.
- Cut
- Copy
- Paste — the copied or cut block will appear below.
- Leave feedback — opens a feedback form about Bitrix24 Sites.
- Save to block list — allows you to save the block as a template for future site creation. Enter a name, select a section, and click Save.
To undo or redo an action, use special buttons at the top of the screen.
Publish your site
By default, Auto-publish mode is enabled. Sites created with CoPilot or using a ready-made template are published immediately after creation, while blank templates are published after adding the first block. Any edits you make will be automatically reflected.
If auto-publish is disabled, click Preview to open the site in a new tab. Edits will only be visible to you. To check how the site appears on different devices, click the icons at the top of the screen.
Click Publish site to make your changes visible to site visitors.
Auto publish and preview options and site navigation
The number of published sites depends on your Bitrix24 plan. If the limit decreases after changing your plan, sites won’t be disabled, but you won’t be able to save changes. To apply edits, unpublish extra sites.
Bitrix24 plans and pricing
