Before scheduling customer appointments, you need to create and configure resources.
A resource is what needs to be reserved to provide a service or complete a task. A resource can be an employee's time, equipment, a space, a vehicle, or any other unit required for the service.
For example, when booking a legal consultation, the lawyer is the resource. In a car rental with a driver, both the vehicle and the driver are resources.
How to add a resource
-
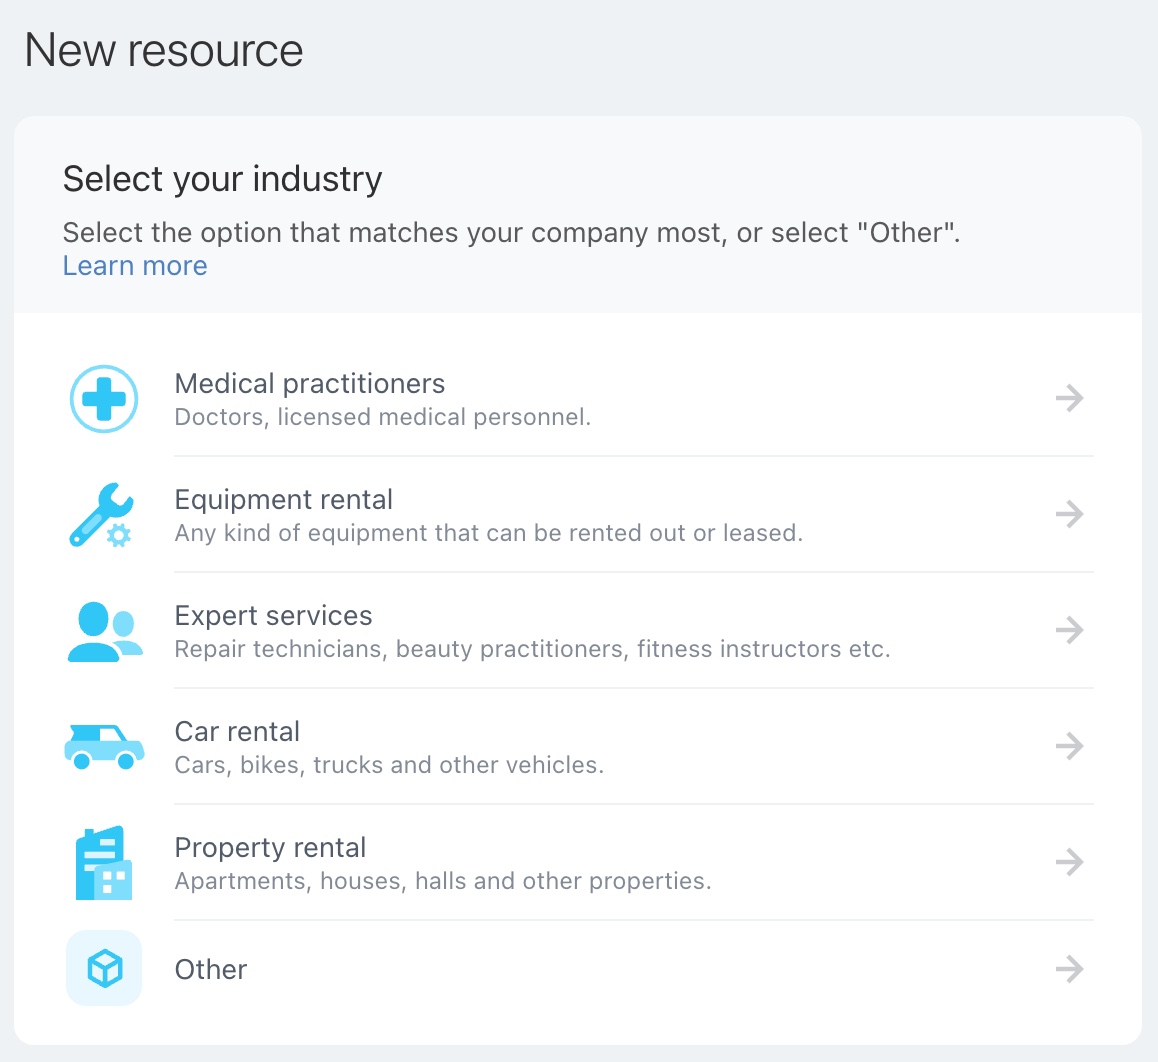
Go to the Booking section, click Add a resource, and select your company's field of activity. This will adapt the resource settings automatically, offering the suitable type and message templates, such as those for booking specialists or equipment.
-
Enter the resource name and type. You can select a type from the list or create your own. These details will appear on the schedule board and will be included in customer messages.
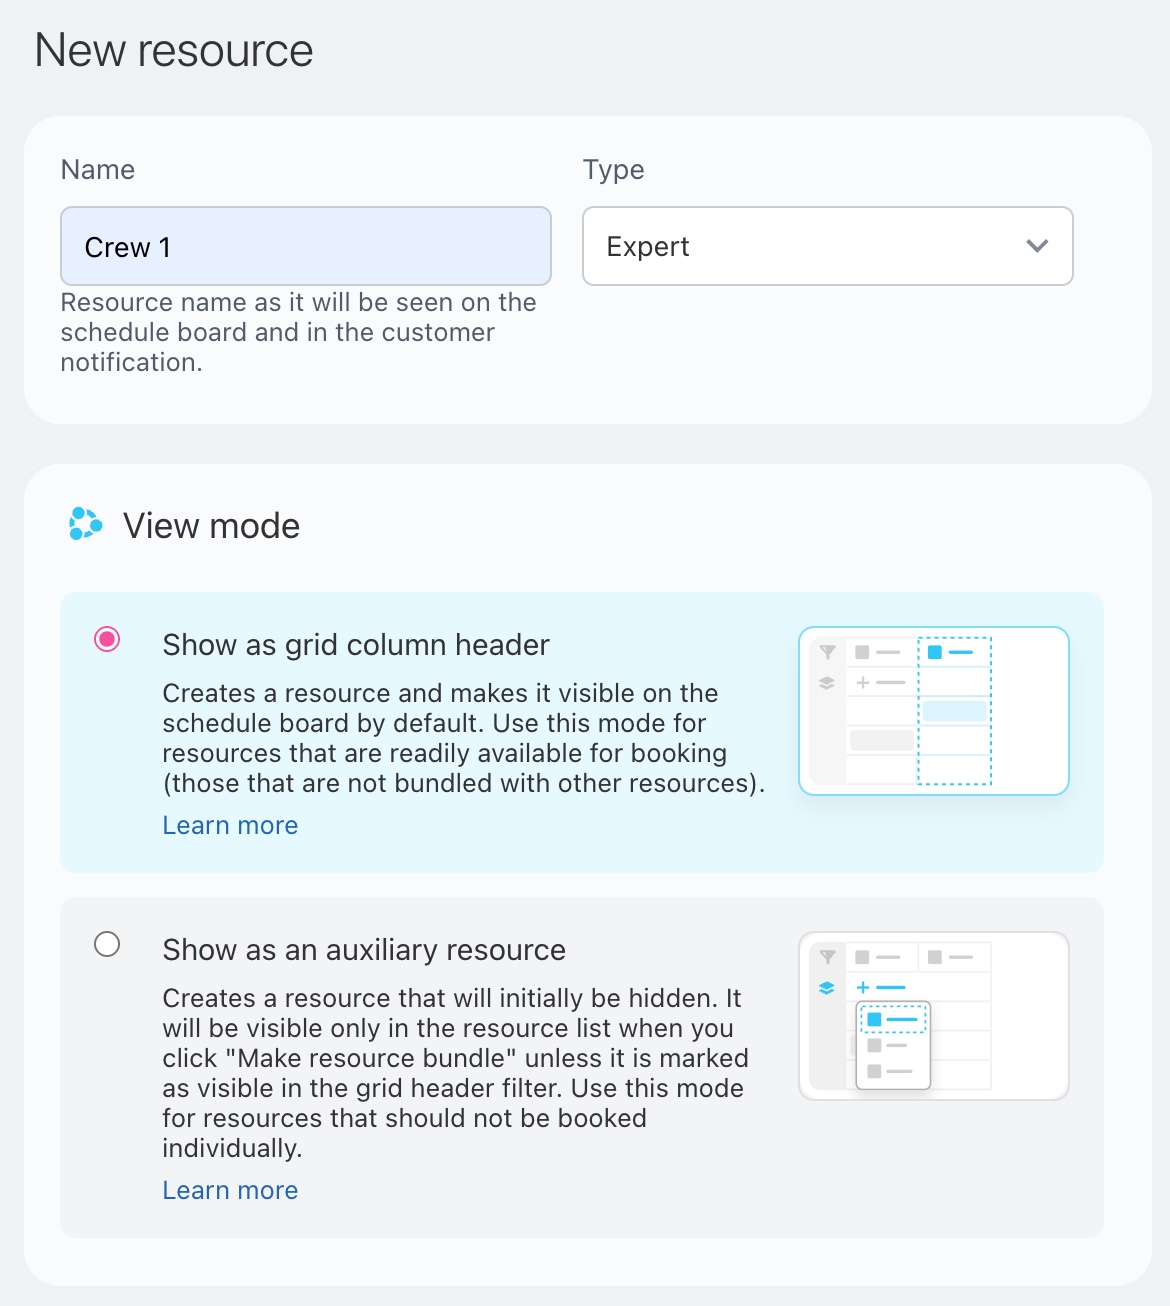
View mode. Choose one of these two options:
Show as grid column header. Suitable for primary resources. The resource will always appear as a separate column on the schedule board.
Show as an auxiliary resource. Select this option if the resource is booked only alongside a primary resource. It won't appear as a separate column on the schedule board but it can be found in an additional list. -
Configure the working hours and specify when the resource will be available for booking. Apply your company's business hours or set up an individual schedule. The settings allow you to flexibly define availability for any day of the week.
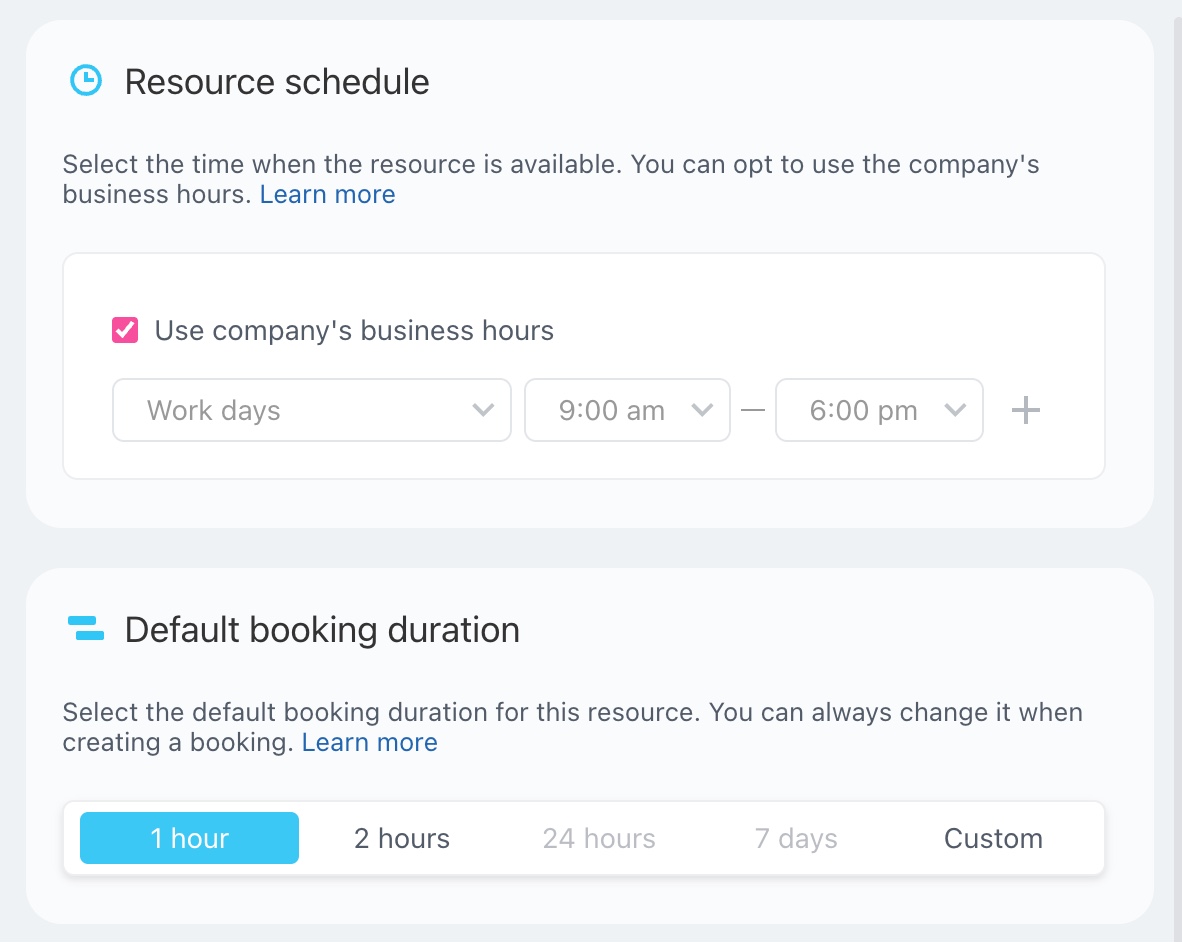
Set the default booking duration. You can later adjust the duration individually for each customer on the schedule board. -
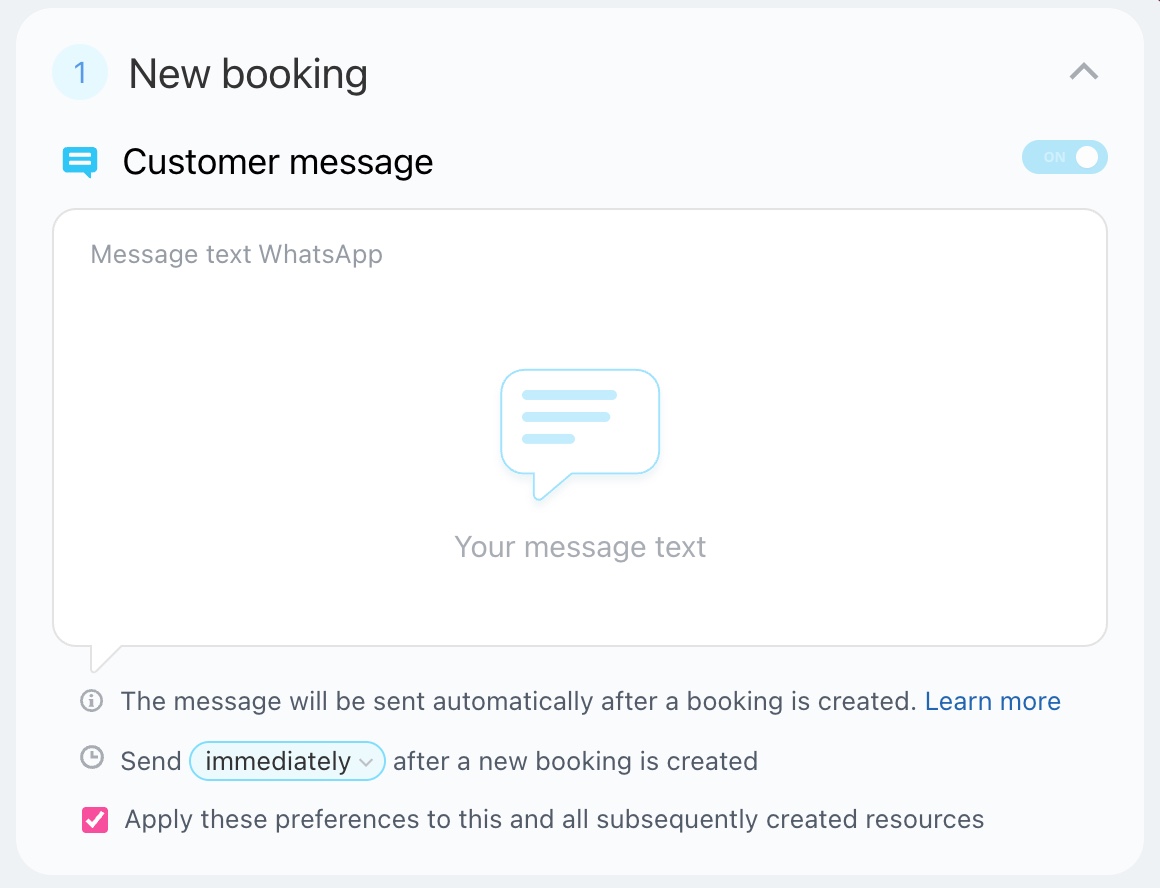
Next, configure automatic messages to notify customers of new bookings, request confirmations, send visit reminders, or follow up if they're late.
These notifications help clients remember their appointments and create a sense of care and attention.
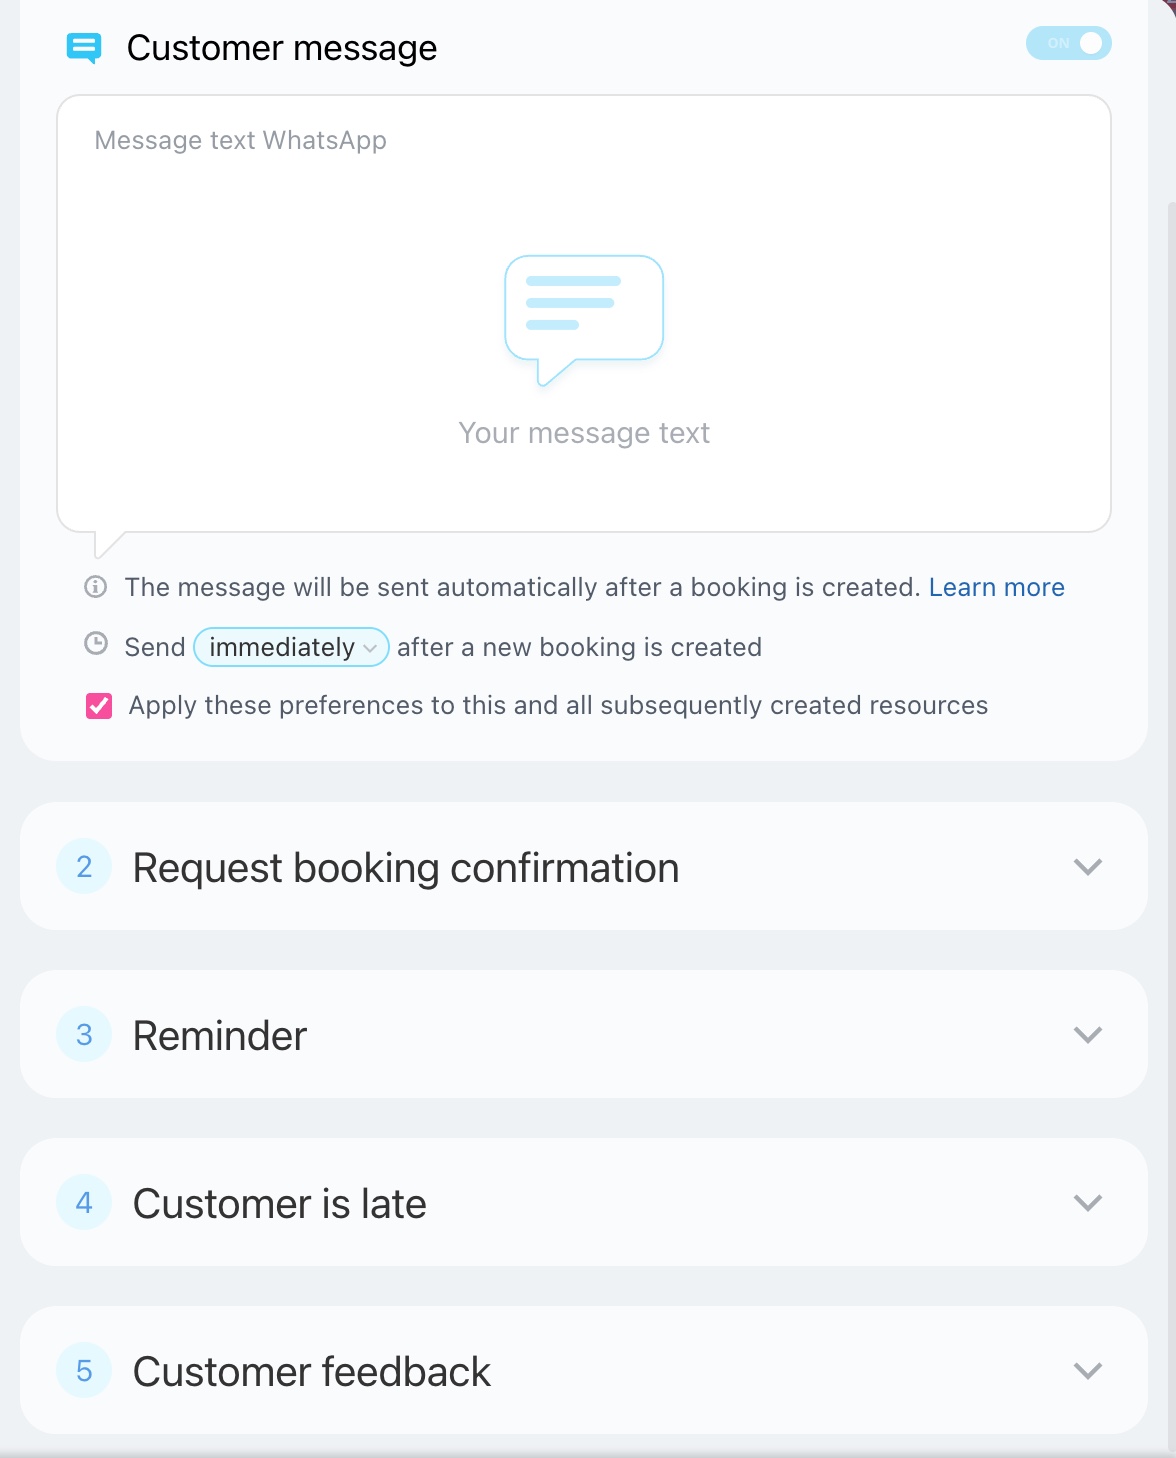
For each type, you can select a template and set the sending time.
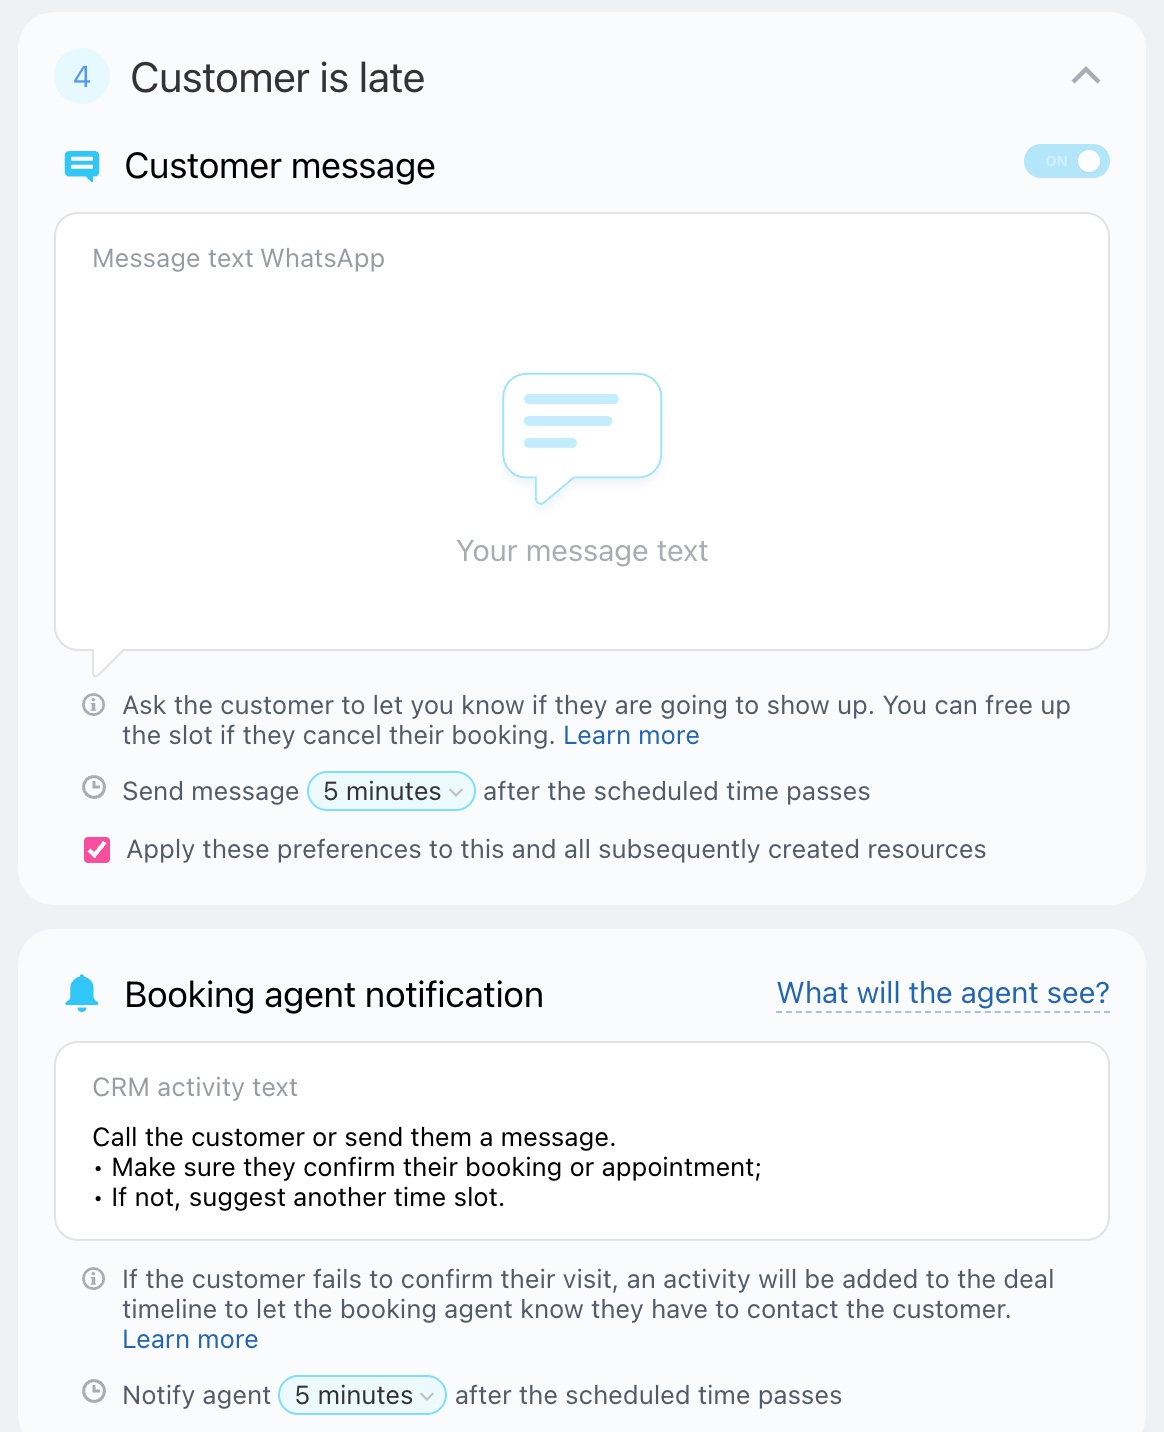
In the “Request booking confirmation" and “Customer is late" messages, you can set agents to receive notifications if the client hasn't confirmed the booking or is running late.
Choose when to notify the booking agent, such as three hours before the appointment if the booking is unconfirmed. This gives them time to contact the client and clarify their plans.

Messages are sent via WhatsApp. To use this functionality, please accept the Rules for Bitrix24 Contact Center when creating your first resource.
To automatically include your company name in messages, fill in the company details.