Feel free to try out this integration app if you're an experienced QuickBooks user or looking to empower your Bitrix24 with QuickBooks' accounting capabilities.
Installation
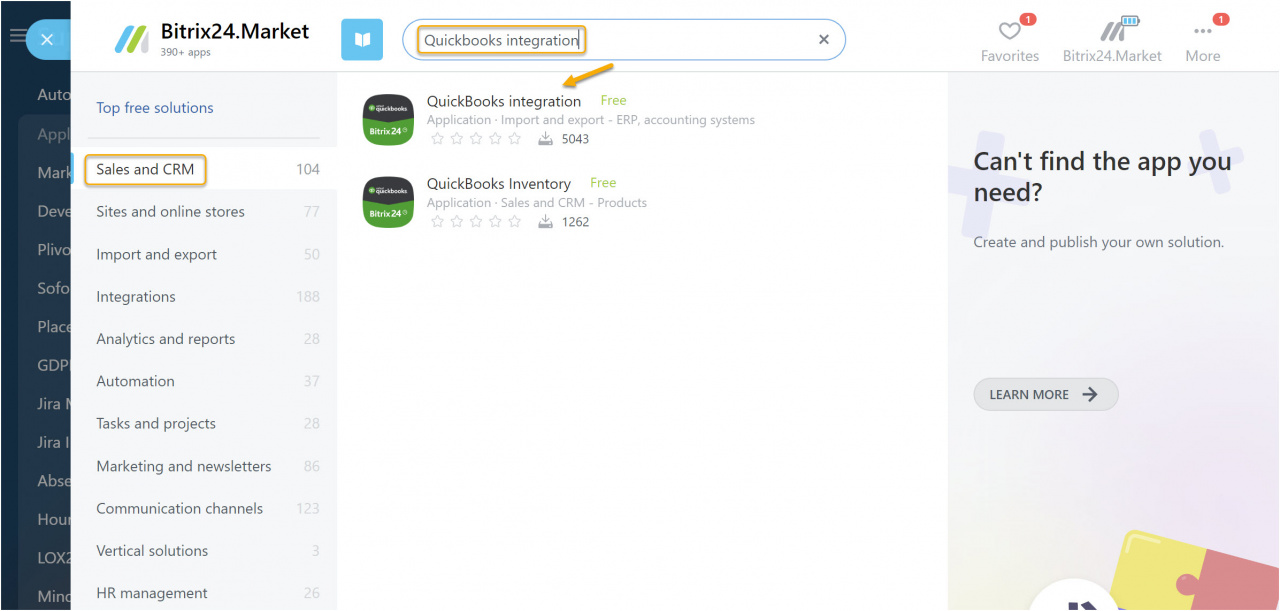
Find the app in the Market section of your Bitrix24 account:
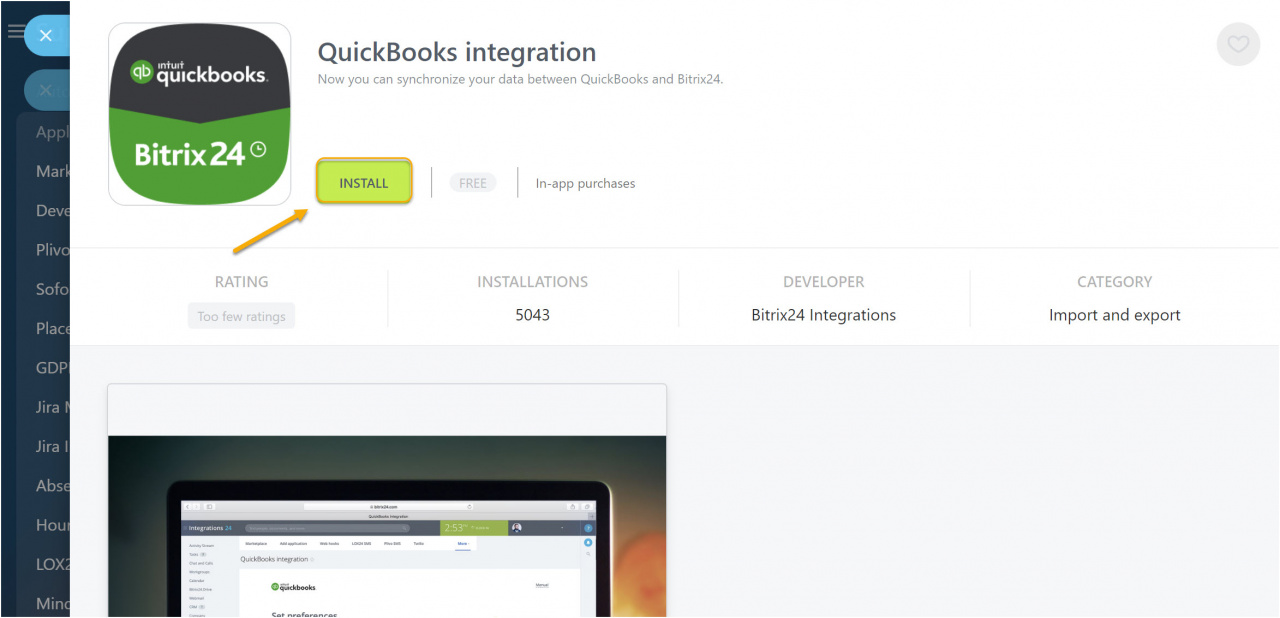
Click Install:
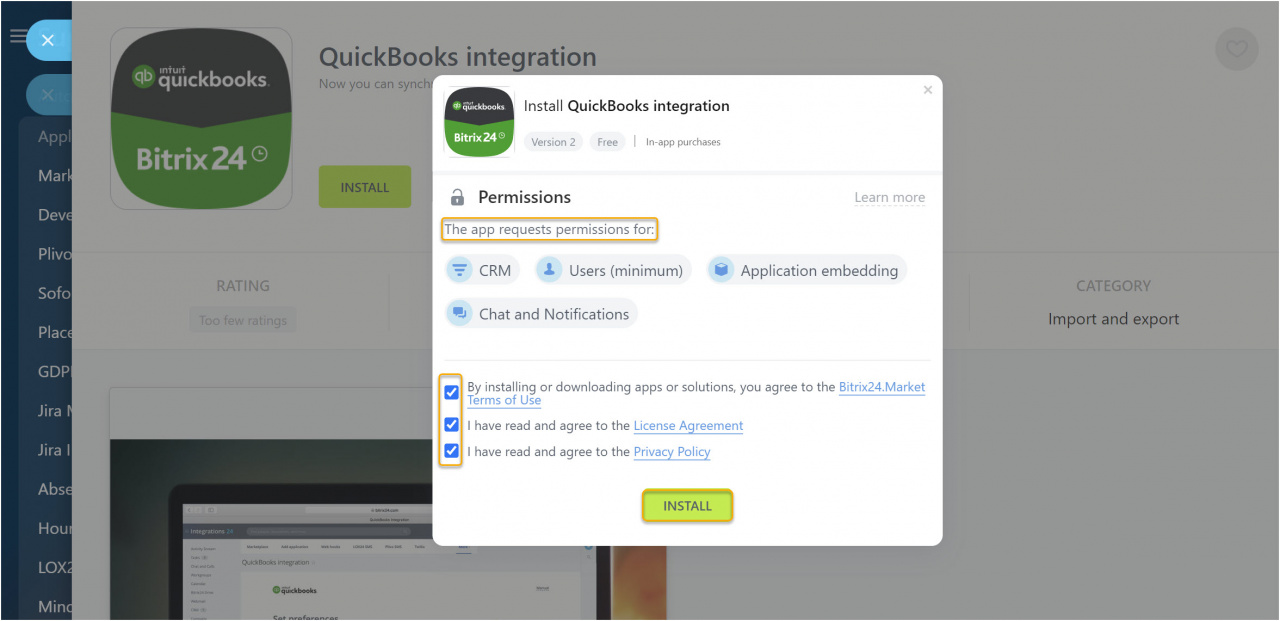
Before proceeding you'll be provided additional legal information, such as required scopes (app permissions to access sensible data in your account which are required for it to operate properly and applicable TOS).
After you read and accept the Terms and Conditions, click Install once more:
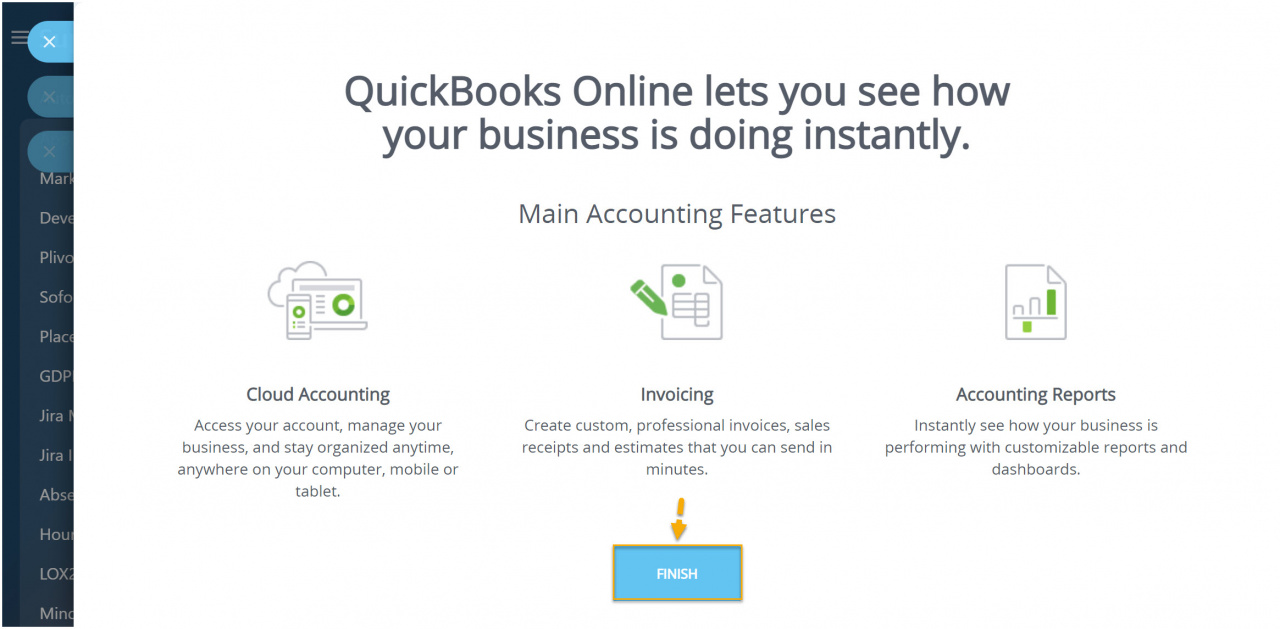
Installation success will be confirmed letting you switch to the final step of the process:
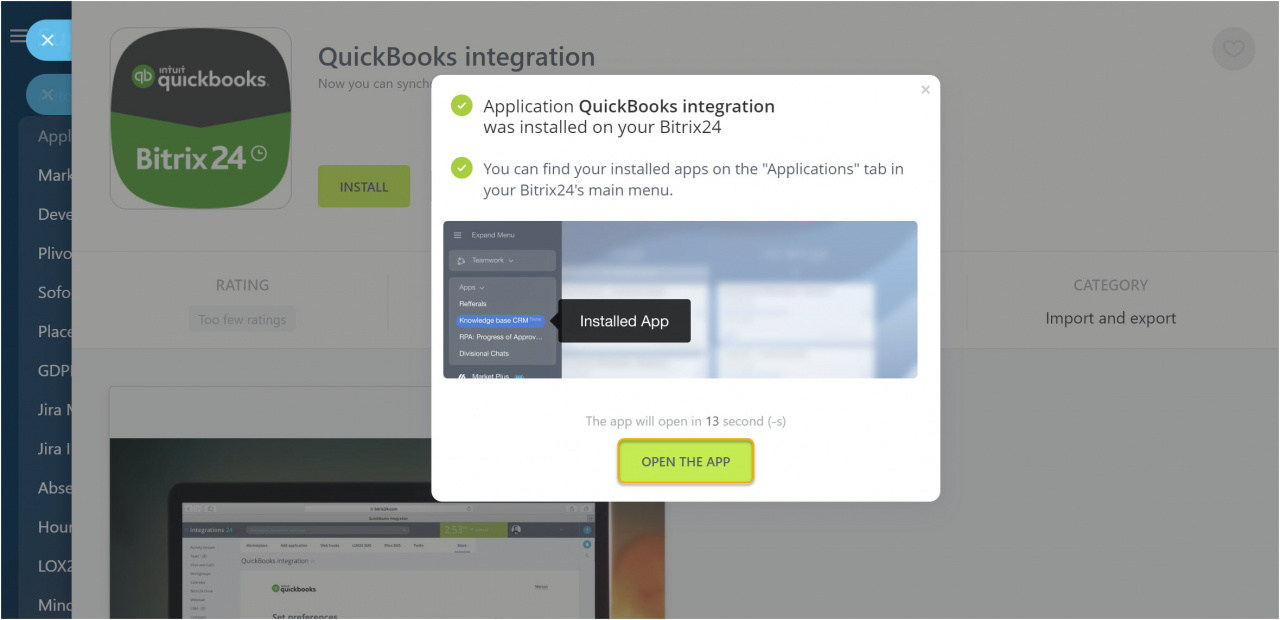
Finish the installation process:
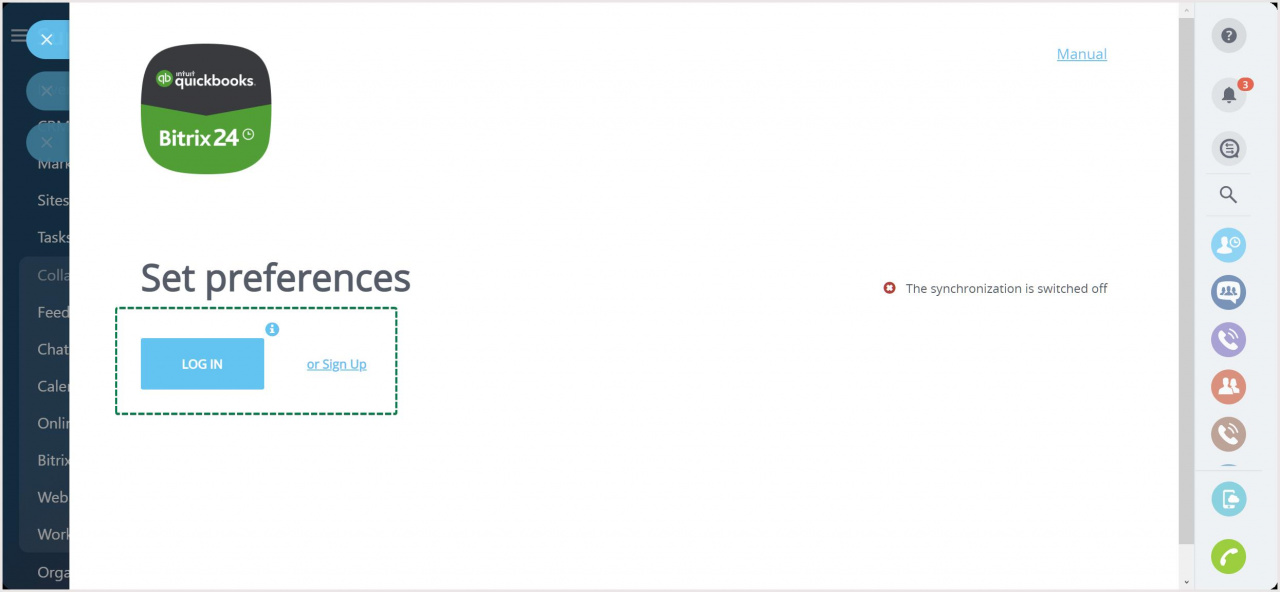
When you're offered to Log in, it means you've successfully installed the app, and it's now time to set it up.
Setup
If you're an existing QuickBooks user, click Log in.
New users will have to create a QuickBooks account before proceeding.
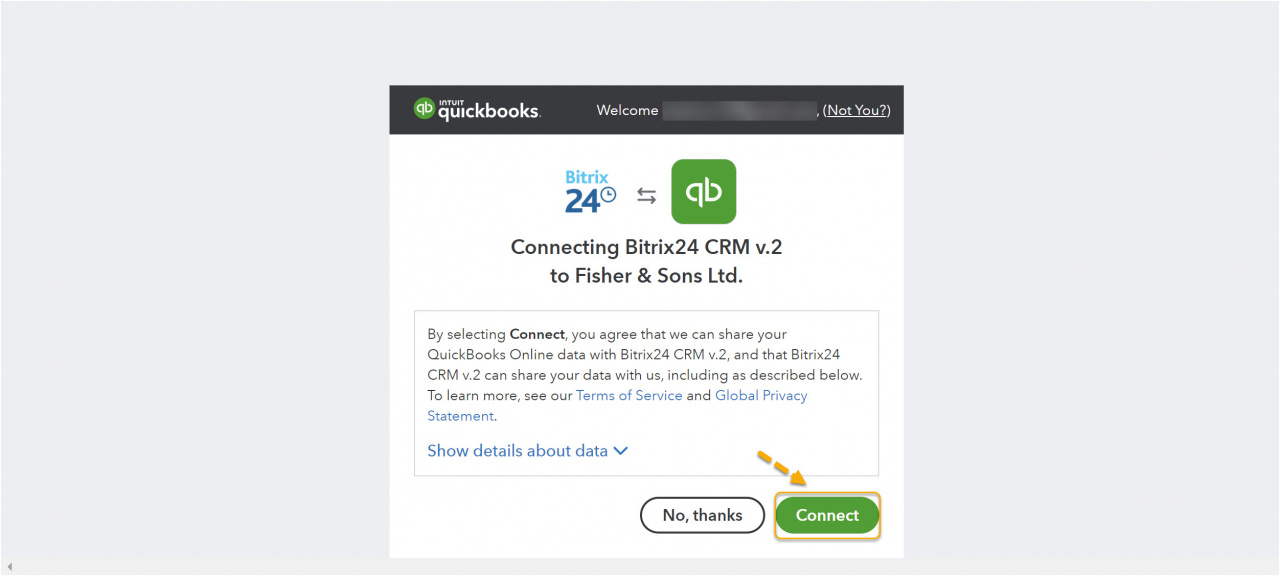
After clicking unto the Log in button you'll be redirected to the QuickBooks login page to enter your credentials and — once you are logged in — to confirm the API connection.
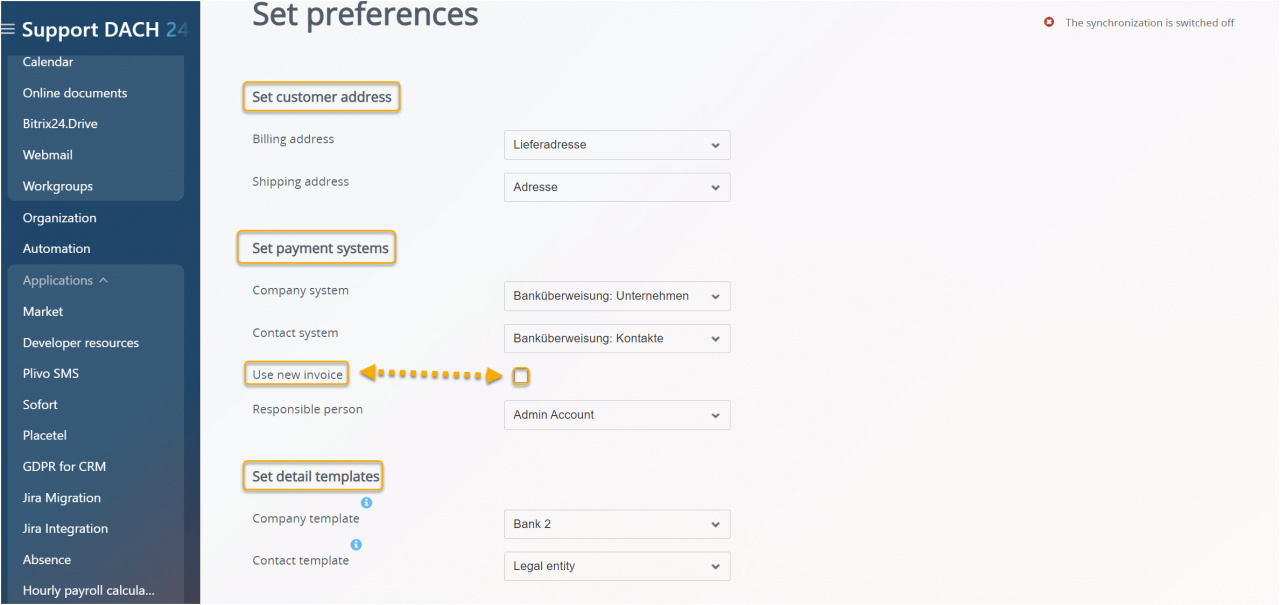
Once you're in, map the fields according to your preferences. Make sure to choose the suitable invoice option: the app currently supports both the older and the newer version of invoices.
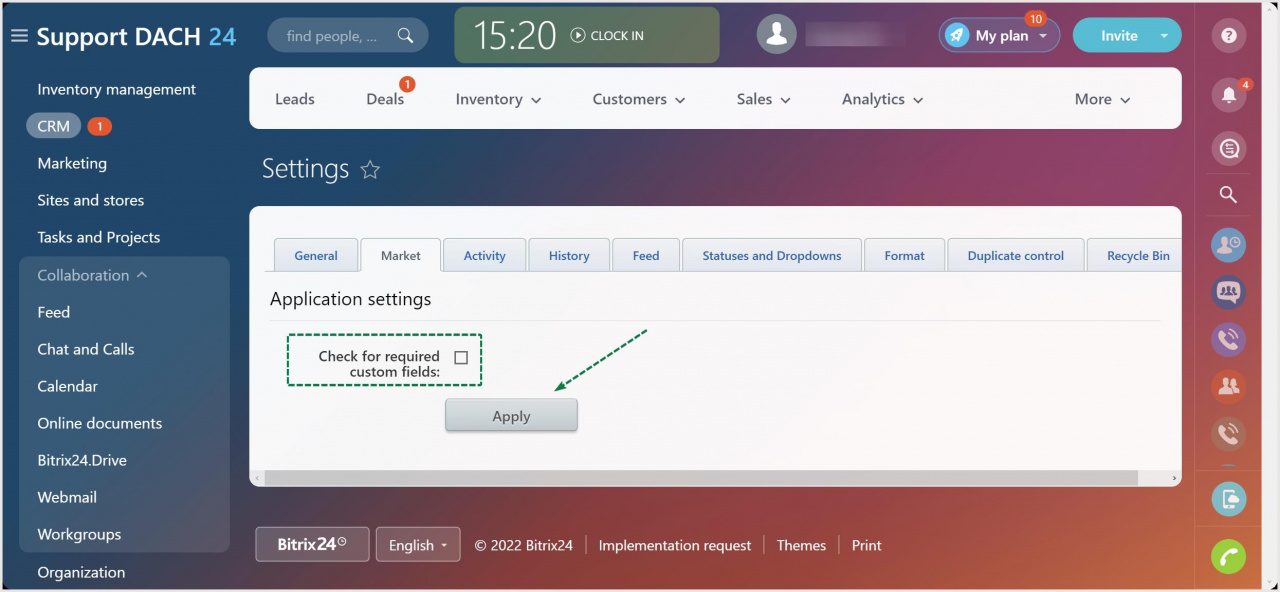
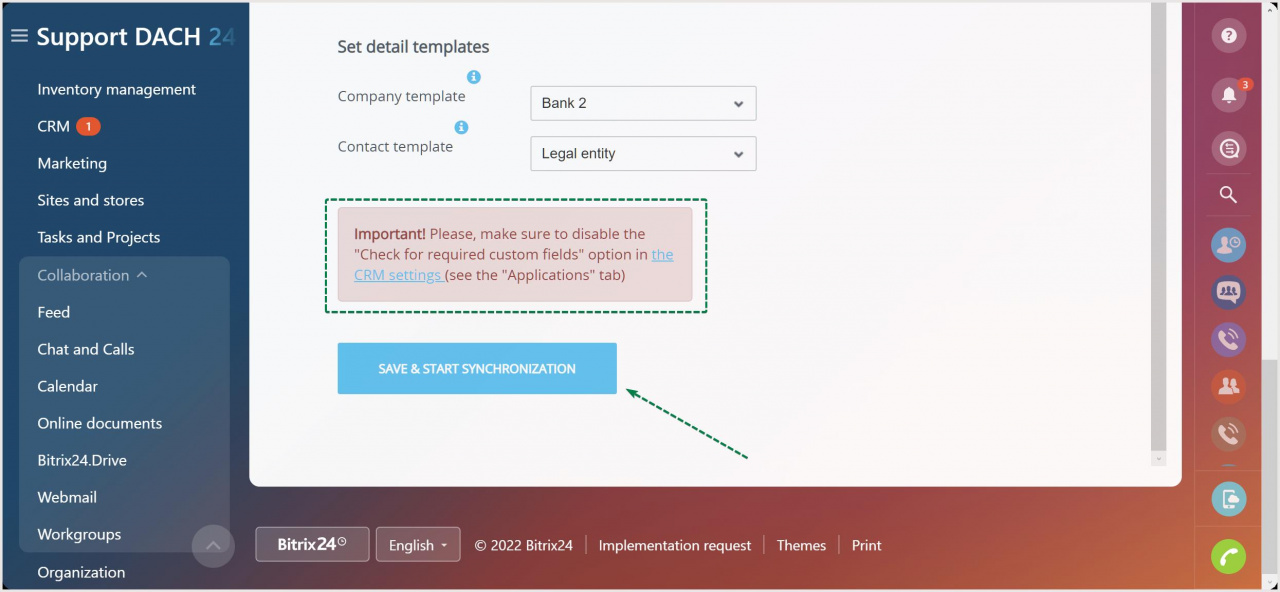
Before starting the synchronization, make sure to disable the Check for required custom fields option in CRM settings:
Start when ready:
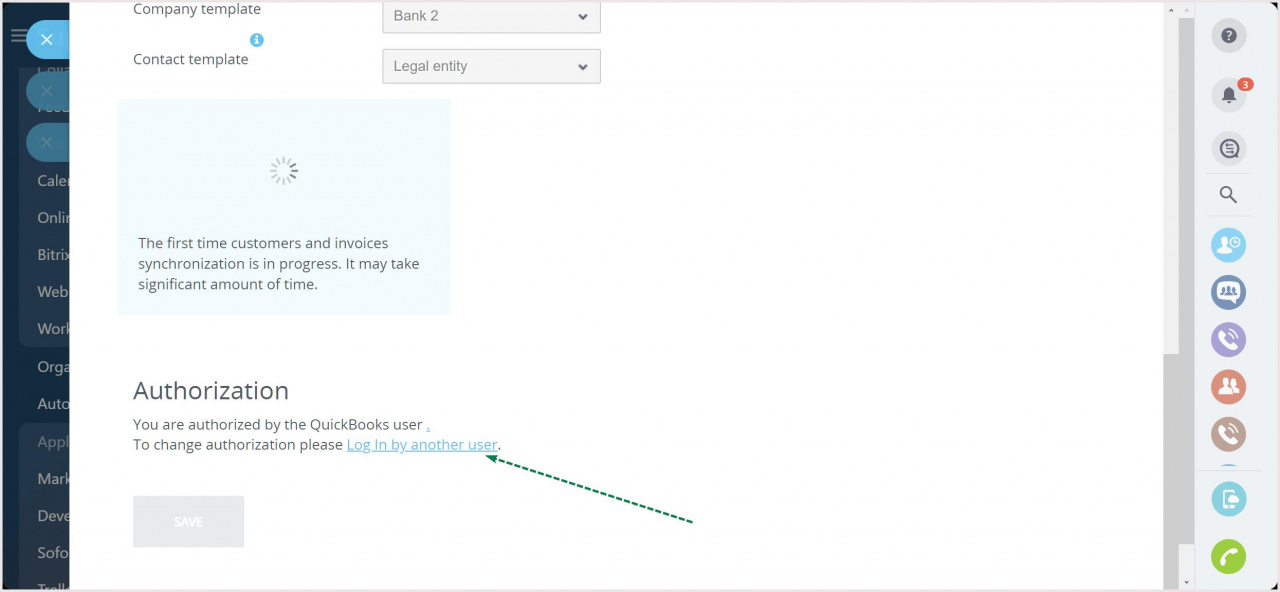
The synchronization works one way only, from QuickBooks to Bitrix24. After the synchronization starts, it may take a significant amount of time, depending on the number of records you need to import.
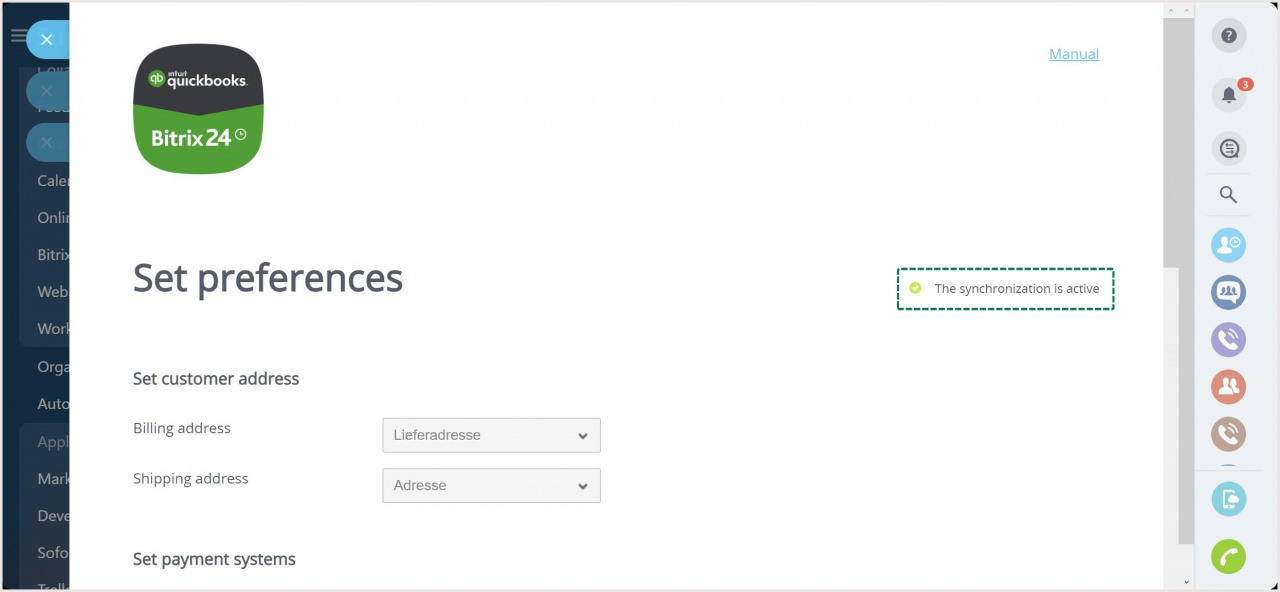
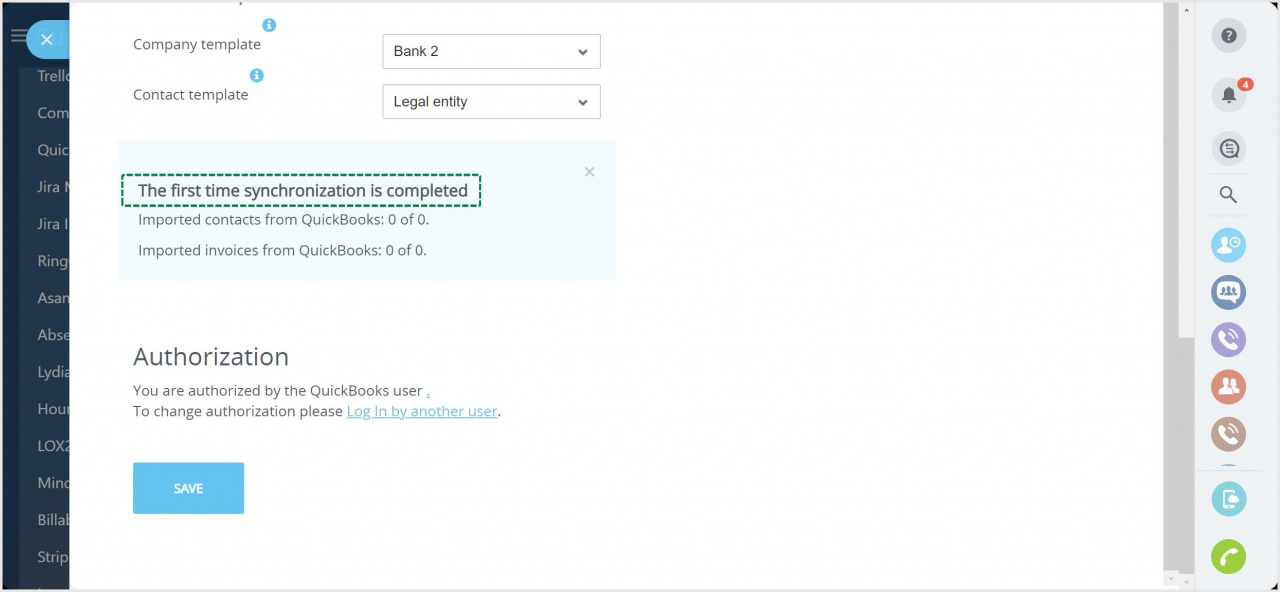
The process is complete when you see the initial sync report and the active synchronization status.
If you ever need to stop the synchronization, you can either uninstall the app or log out on the app's settings and keep it installed for later use.
After the initial synchronization is complete, you get your QuickBooks customers and invoices in Bitrix24 CRM. New customers and invoices created in QuickBooks will automatically be synced with your Bitrix24 account.
To sum up:
- QuickBooks invoices import and sync as invoices in Bitrix24
- QuickBooks customers get imported as Contacts or Companies in Bitrix24 depending on whether they have a company specified in the customer record
Creating invoices
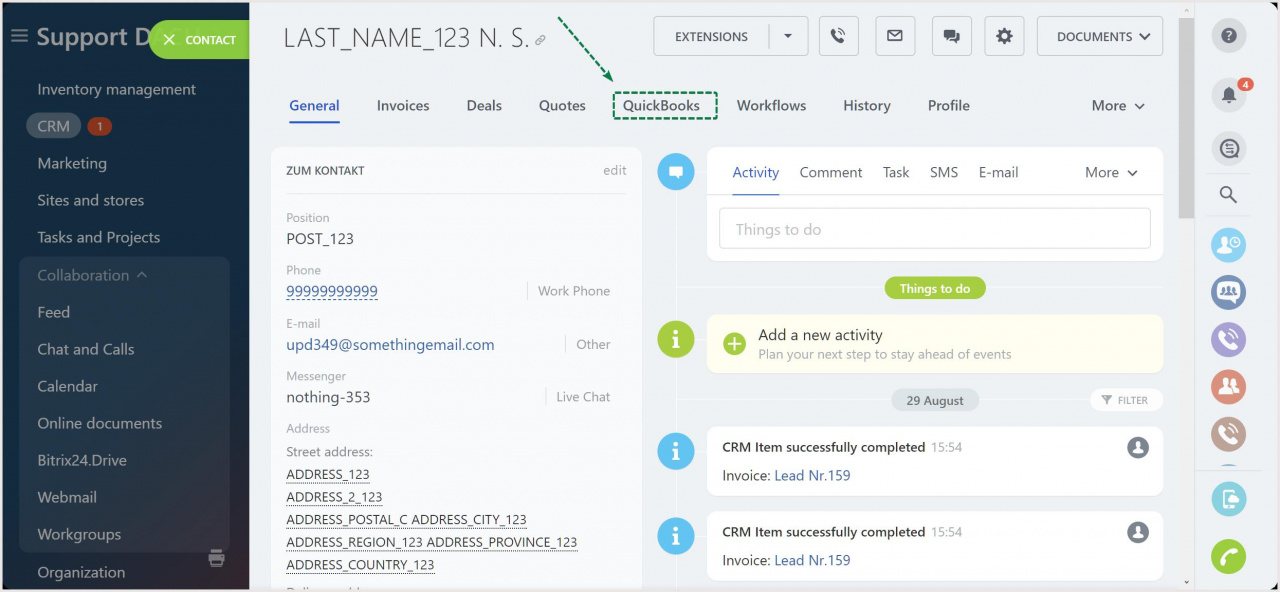
To create an invoice in QuickBooks, go to the QuickBooks tab of the CRM slider:
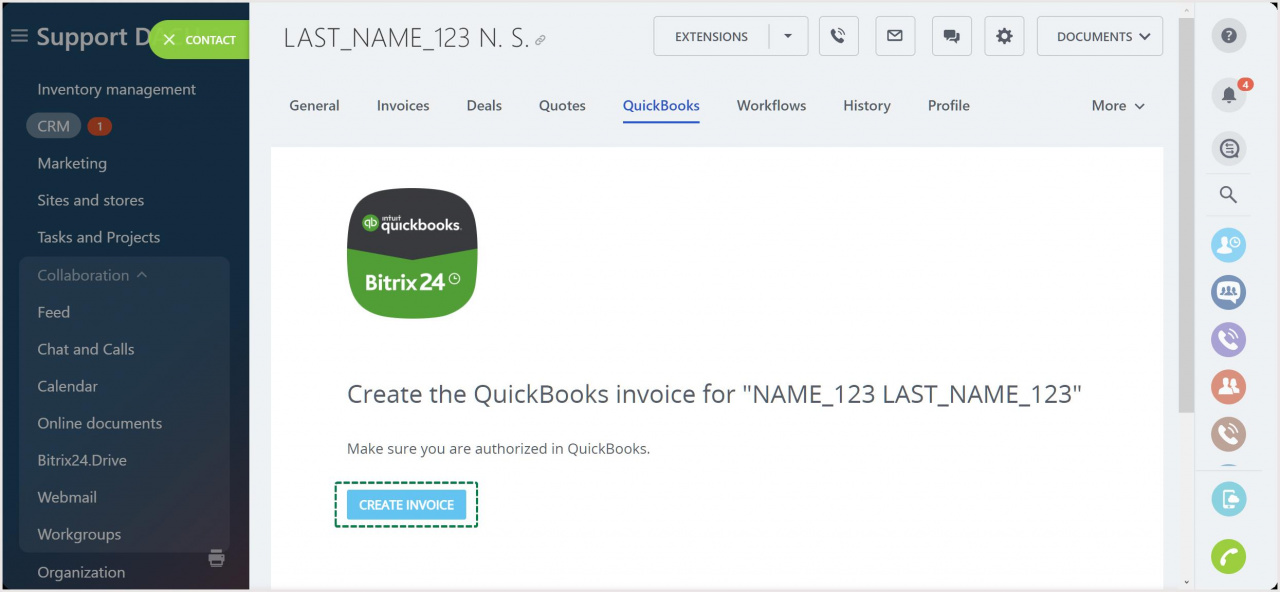
After clicking on the Create Invoice button, it will then redirect you to a QuickBooks page where you will create the actual invoice:
Creating new QuickBooks customers
If you created a contact or company in your Bitrix24 CRM after the initial sync with QuickBooks, clicking on the QuickBooks tab is enough for a customer to be created in your QuickBooks account.
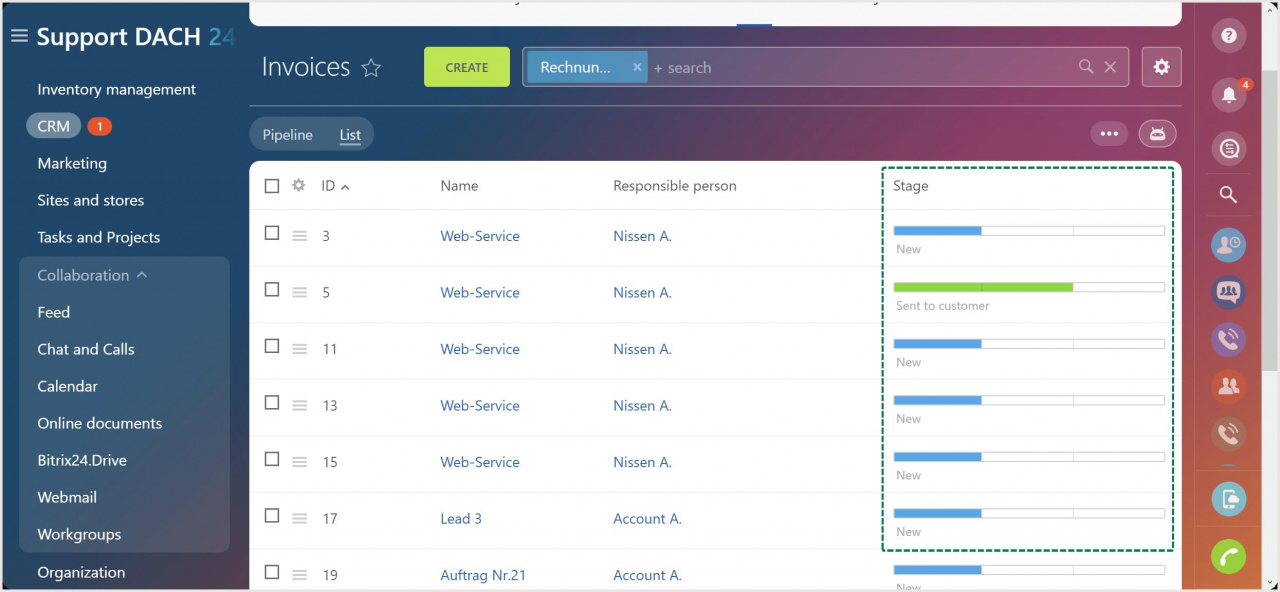
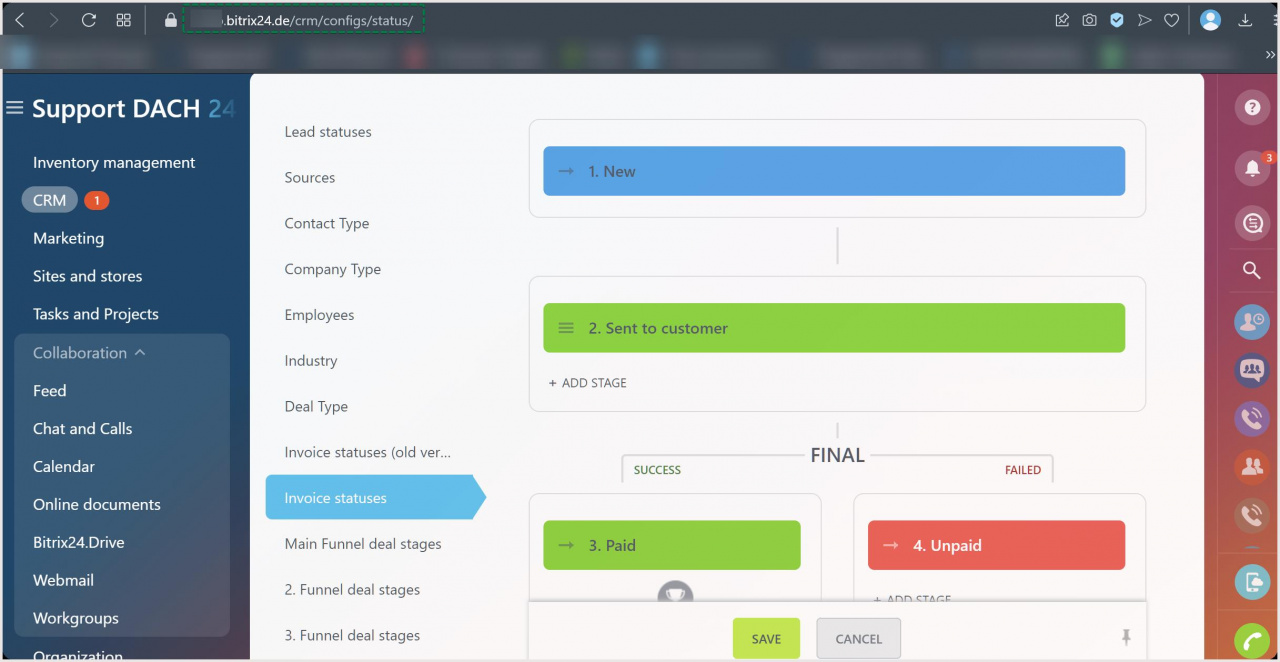
Invoice statuses
Invoice statuses sync automatically with your QuickBooks account:
FAQ
Q: How do I transfer products from Bitrix24 when creating an invoice in QuickBooks?
A: The integration redirects you to your QuickBooks account, and you create an invoice from there. The products should be added from your Quickbooks database. There is no link between Bitrix24 products and Quickbooks products. You're welcome to submit a development request to our support.
Q: I'm trying to log in to my QuickBooks account, but I'm getting a "Domain not found" error. How do I fix that?
A: Apparently, something (e.g., adblocker or antivirus plug-in) in your web browser is blocking your attempt. Please try an alternative web browser such as Firefox. Alternatively, you could clear all cached data in your browser or try accessing the app via Incognito mode.

