In Bitrix24, you can send a link to a client to pay for a product or service. The link will lead to a checkout page.
You will learn how to customize the page template from this article.
Quick answer
Company details are filled in CRM: CRM → Deals → Deal name → Receive payment → Bitrix24 will automatically insert company name and phone number into the form.
If there are no company details in CRM: CRM → Deals → Deal name → Receive payment → Provide your contact information → Enter company name → Enter contact phone number → Save.
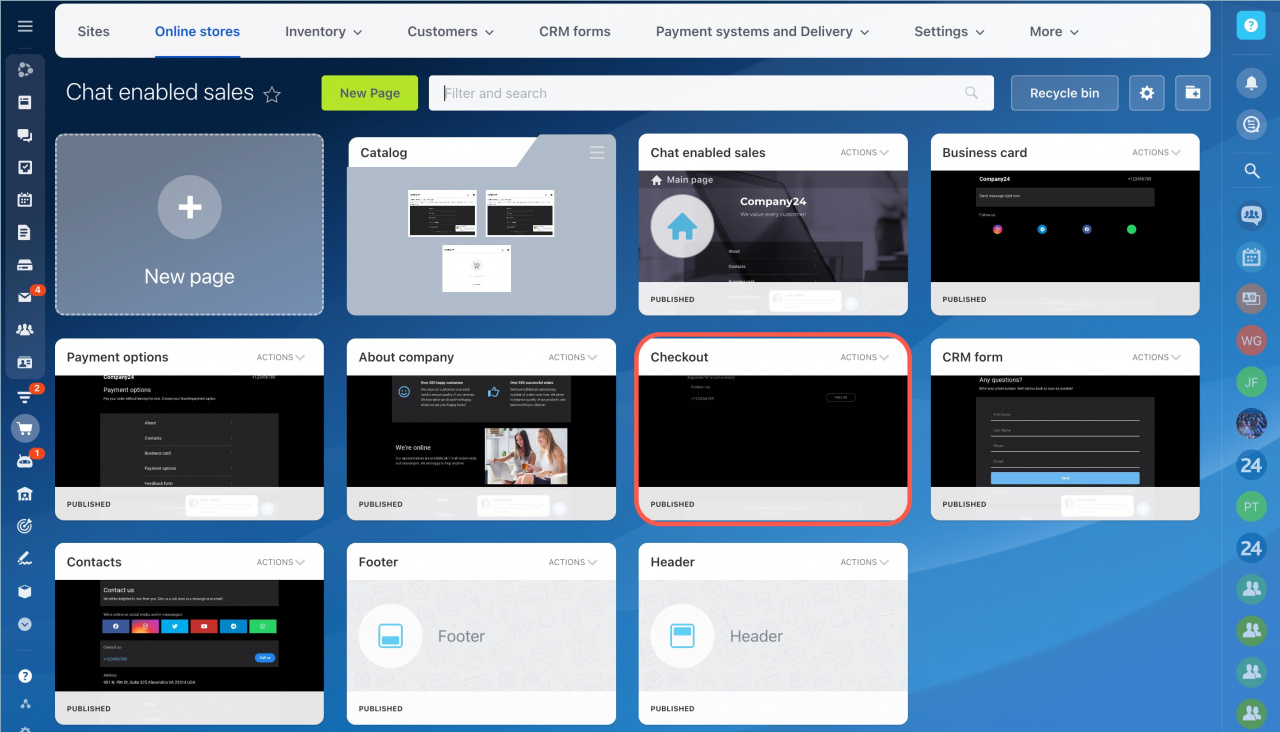
Edit the checkout page template: Sites and stores → Online stores → Chat enabled sales → Pages → Checkout.
Detailed answer
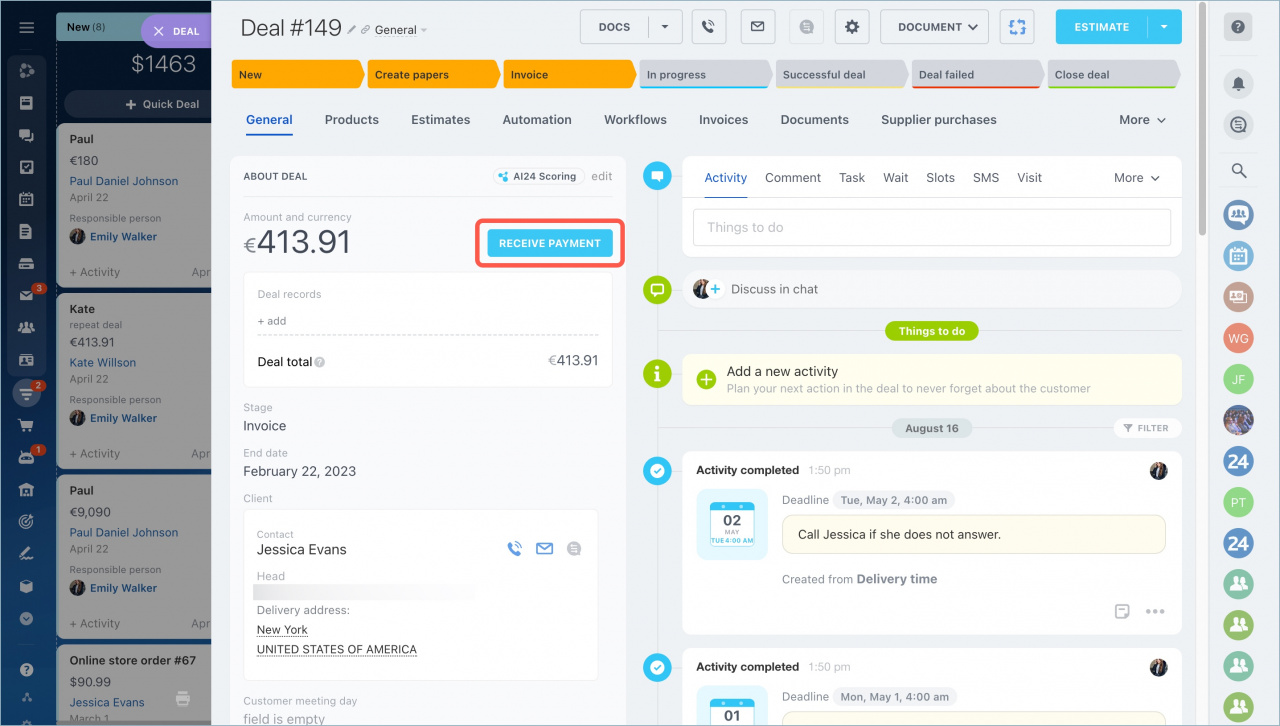
Go to the CRM section - Deals. Select the deal and click Receive payment.
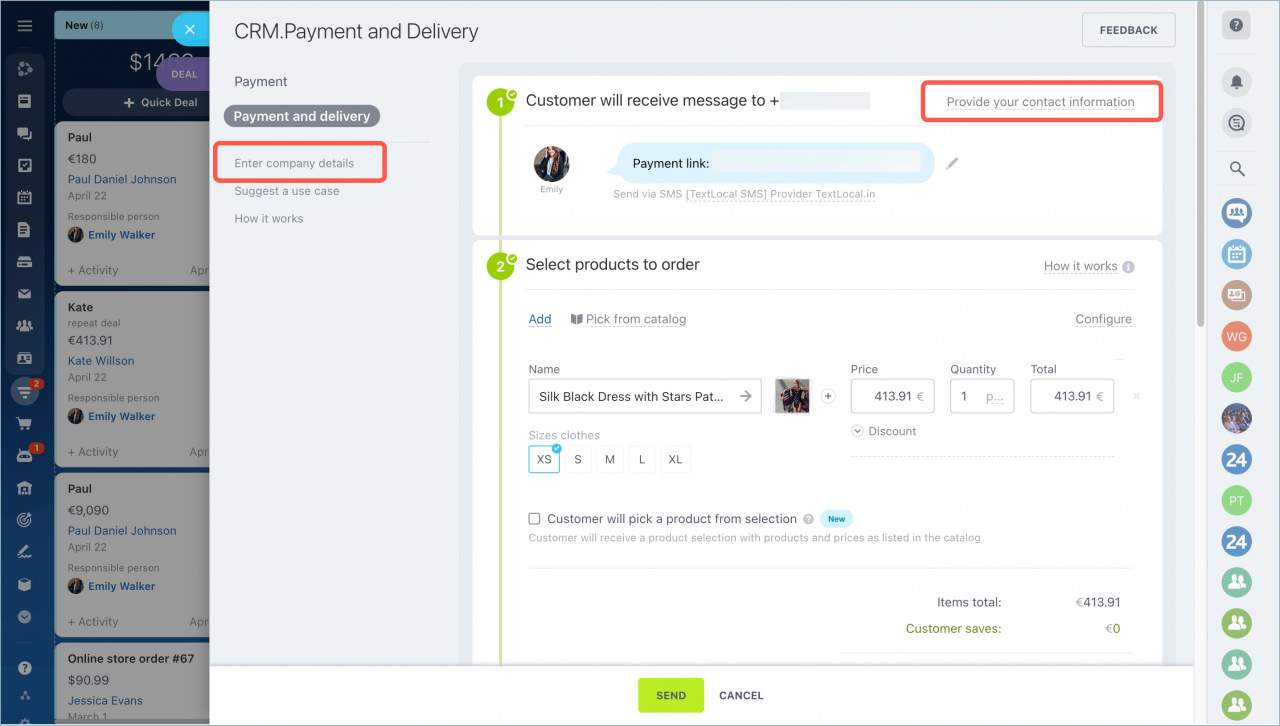
The payment page will open. Specify the company's contacts. You can do this in two ways:
- click Enter company details in the left menu.
- click Provide your contact information at the top right.
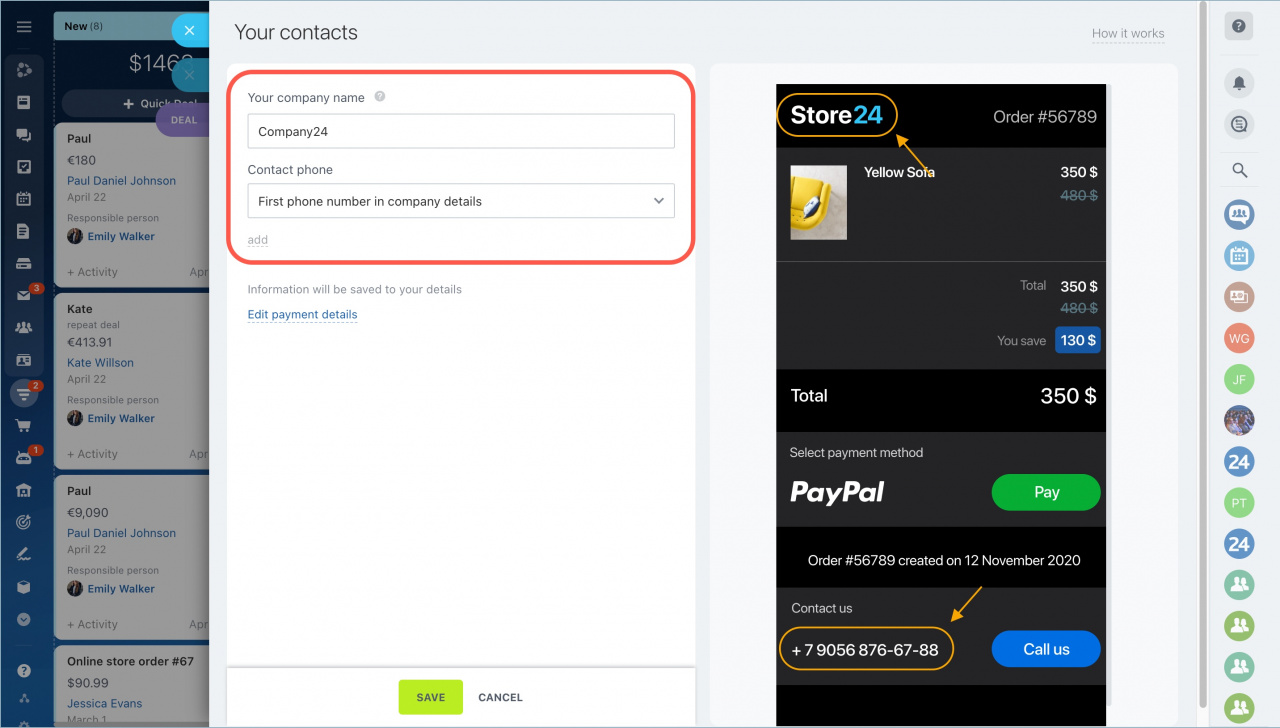
In both cases, the result will be the same - the settings page will open.
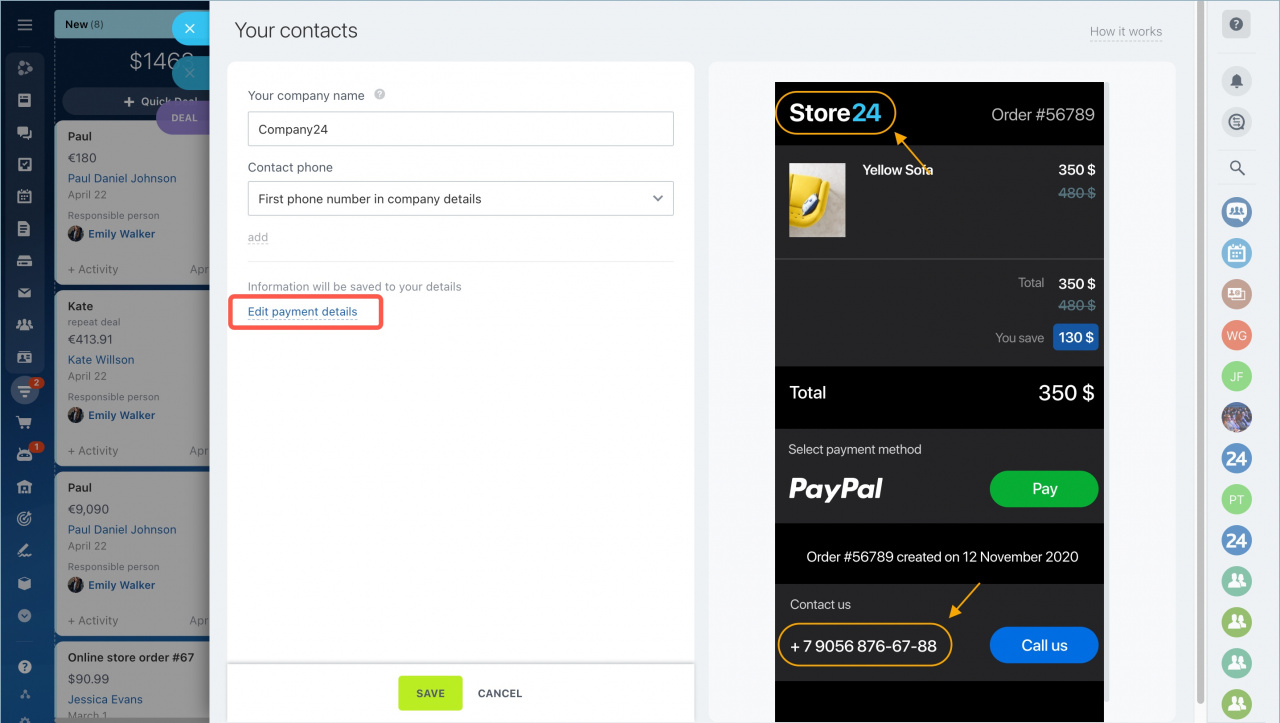
CRM will substitute the data automatically if you have specified the phone number and the company name in the company details. By default, the first number from the details will be specified, but you can choose another number and then it will be displayed on the order page.
Add company details manually if you have not filled them in before. The data will be automatically displayed on the checkout page.
The order placement page is ready. You can send the payment link to the client.
You can add different data to the checkout page and change the design.
Changing the checkout page template
The company name and the order number are displayed at the top of the checkout page. Company phone number is shown at the bottom of the page. If you want to change the information in the page header, for example, to remove the order number, you can disable the standard header and create a new one. You can disable the standard page header in the store settings.
Go to the Online stores page, find the Chat enabled sales and open Pages.
Open the Checkout page.
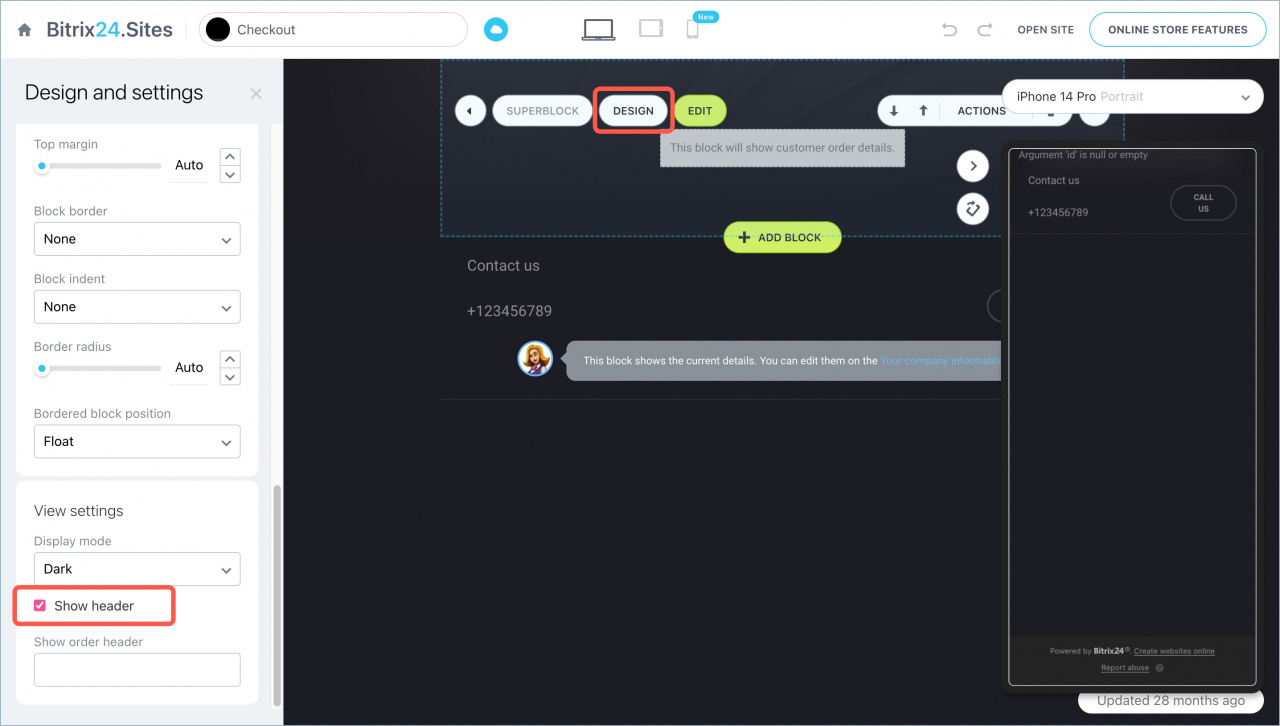
Click Design and disable the Show header option in the first block. The standard block with the company name and order number will not be displayed in the page header.
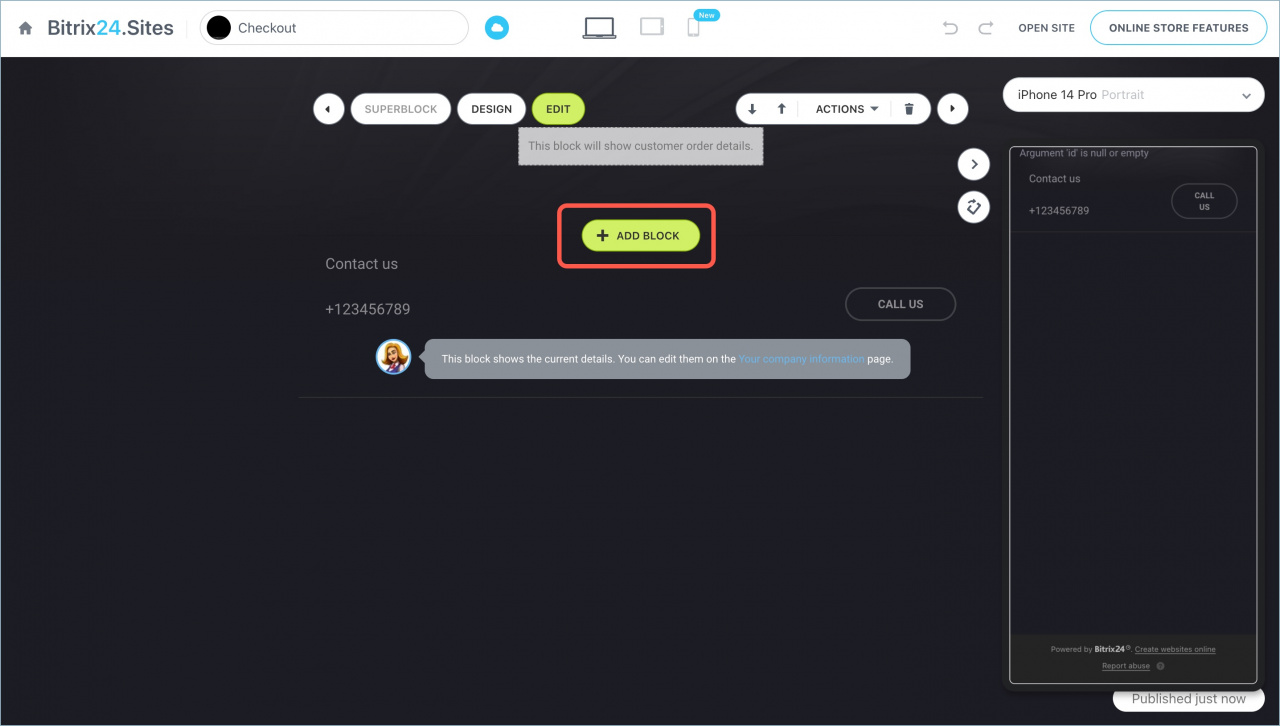
To create a new page header, click Add block.
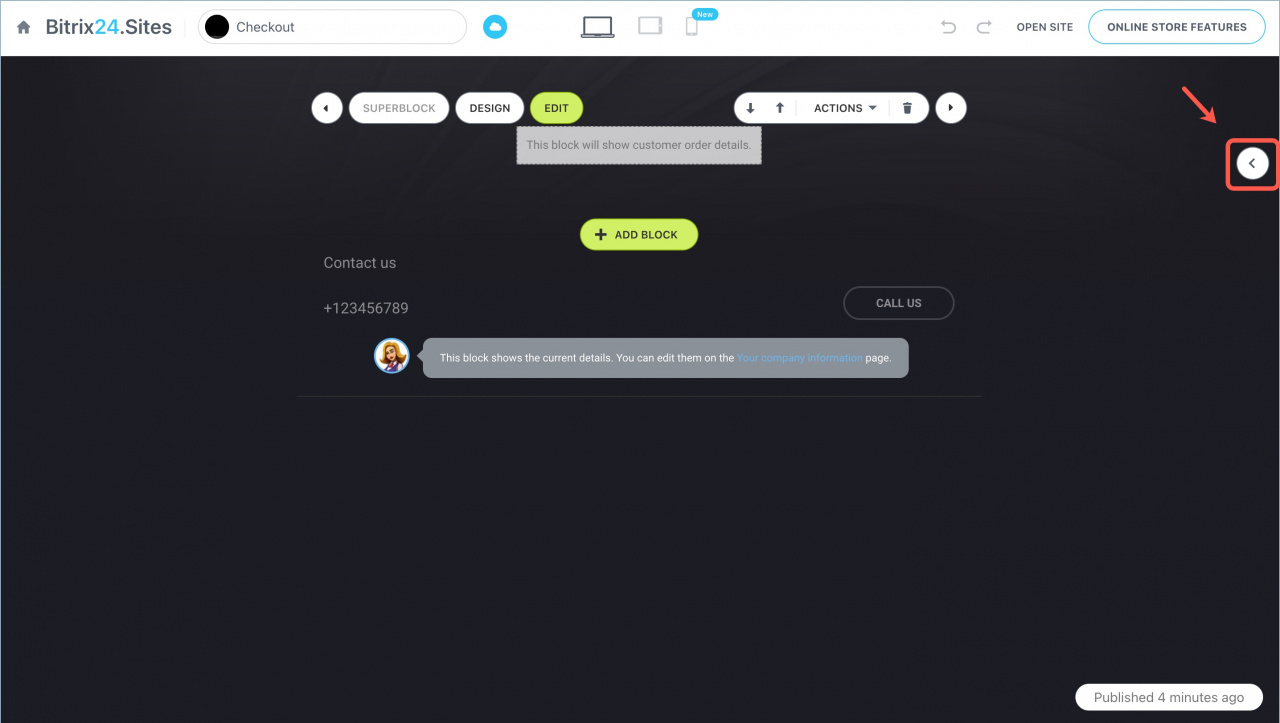
To view the mobile version, tap the arrow on the left.
In brief
- You can customize the checkout page: add the company name, phone number and change the template.
- The company name and the phone number will be displayed on the checkout page automatically if you have filled in the company details. You can fill them: click Receive payment - Provide your contact information.
- You can edit the checkout page template: Sites and stores > Online stores - Chat enabled sales - Pages - Checkout.
Read also:

