Connect your Apple Messages for Business account with Bitrix24 to process messages from Apple device users sent via the Message app.
Bitrix24 pricing page
- Go to CRM.
- Expand the Customers tab.
- Select Contact Center.
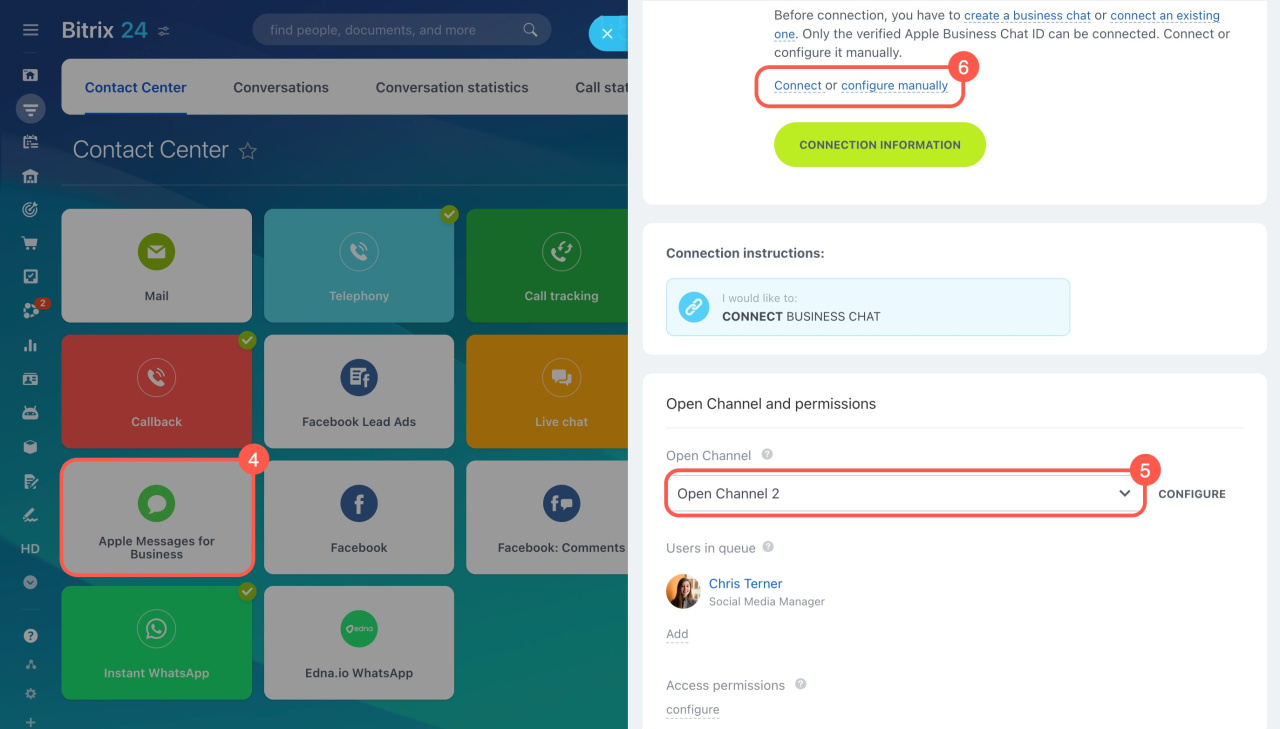
- Click Apple Messages for Business.
- Select an Open Channel or create a new one.
-
If you don't have a verified Apple Messages for Business ID, click Connect to register it.
Register Apple Messages for Business
If you already have an Apple Messages for Business ID, you can connect Apple Messages for Business by clicking the configure manually link.
Manually connect Apple Messages for Business to Bitrix24
Register Apple Messages for Business
To get started with Apple Messages for Business:
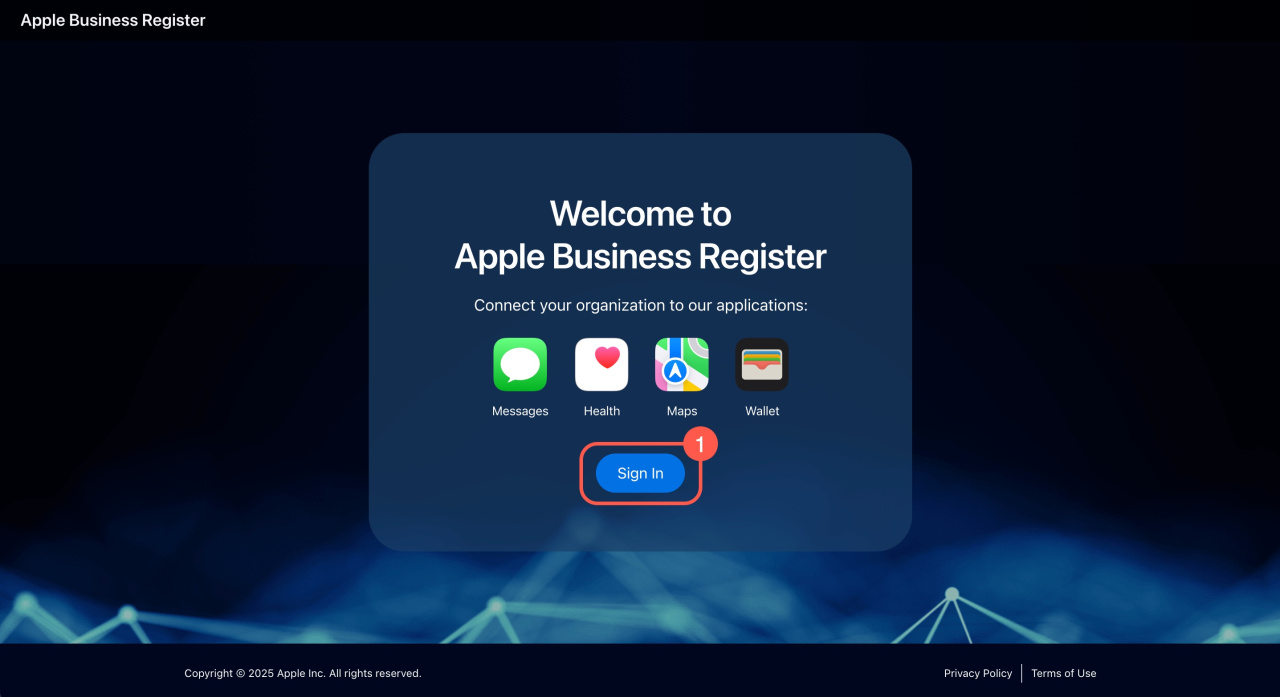
- Go to the Apple Business Register page and sign in or create an account.
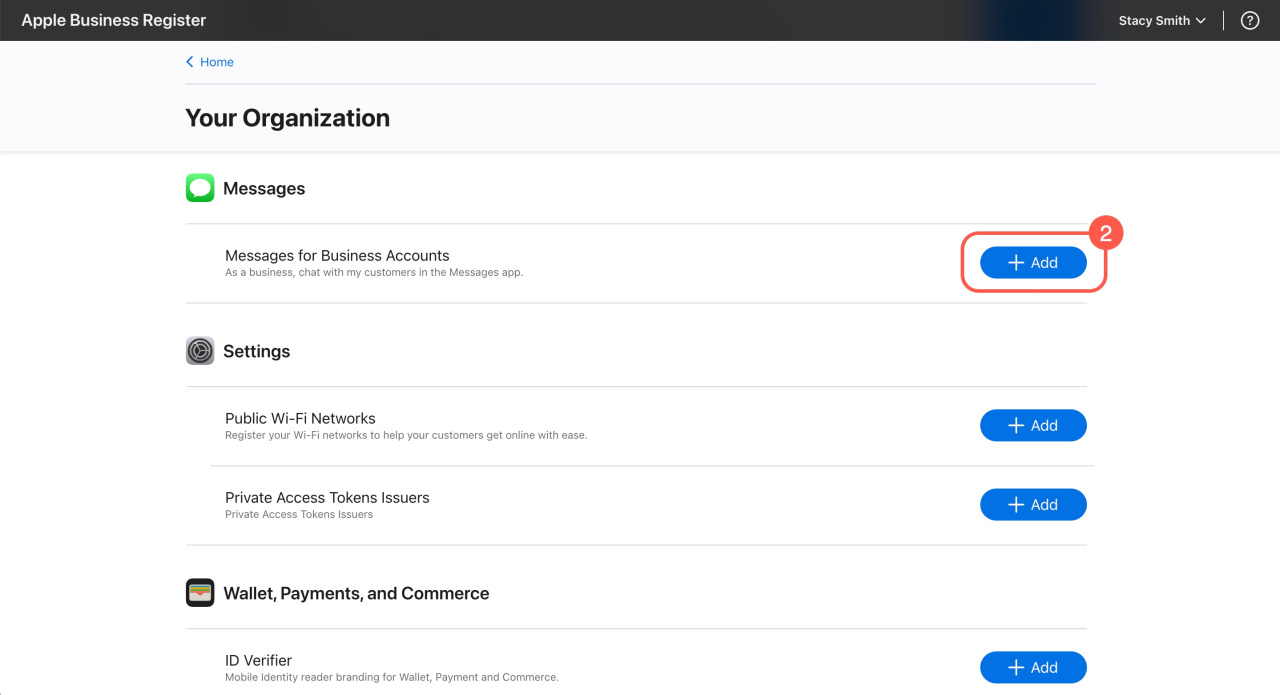
- Click Add next to Messages for Business Accounts, then click Done at the bottom.
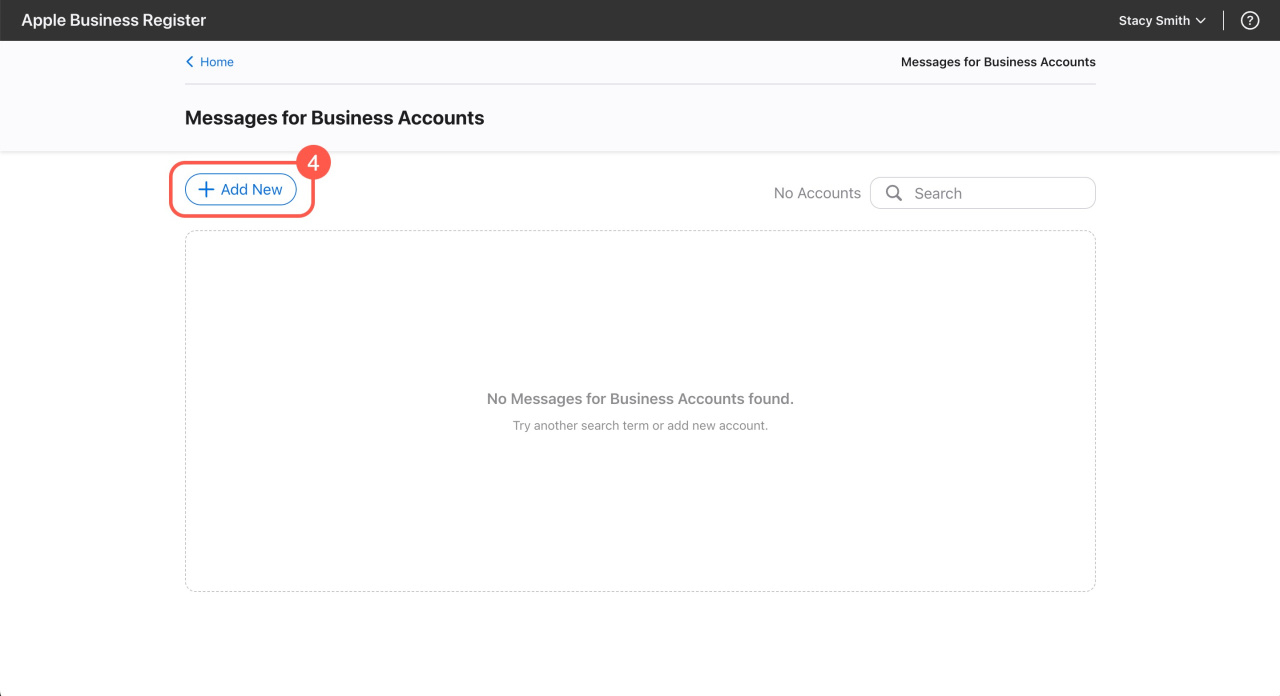
- Under Your Connections, click Messages for Business Accounts.
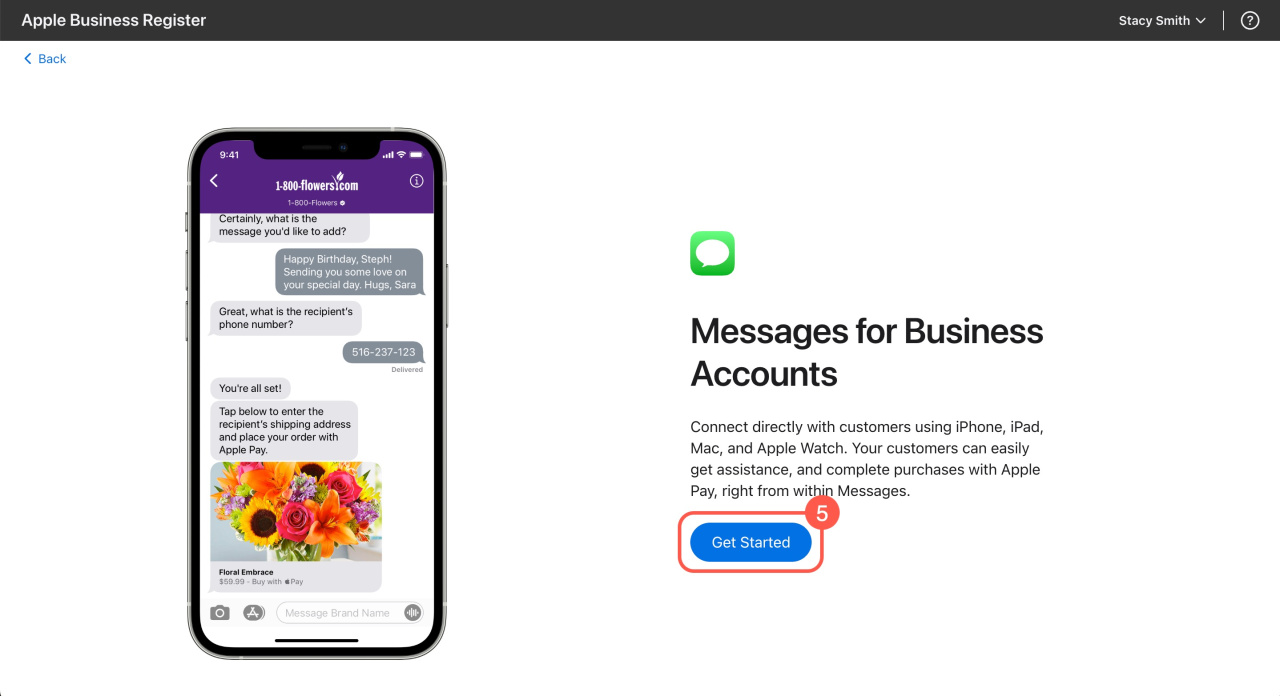
- Click Add New, then click Get started.
- Accept Apple Messages for Business Policies to continue with the settings.
Configure your Messages for Business account
Follow these four main steps to complete the setup:
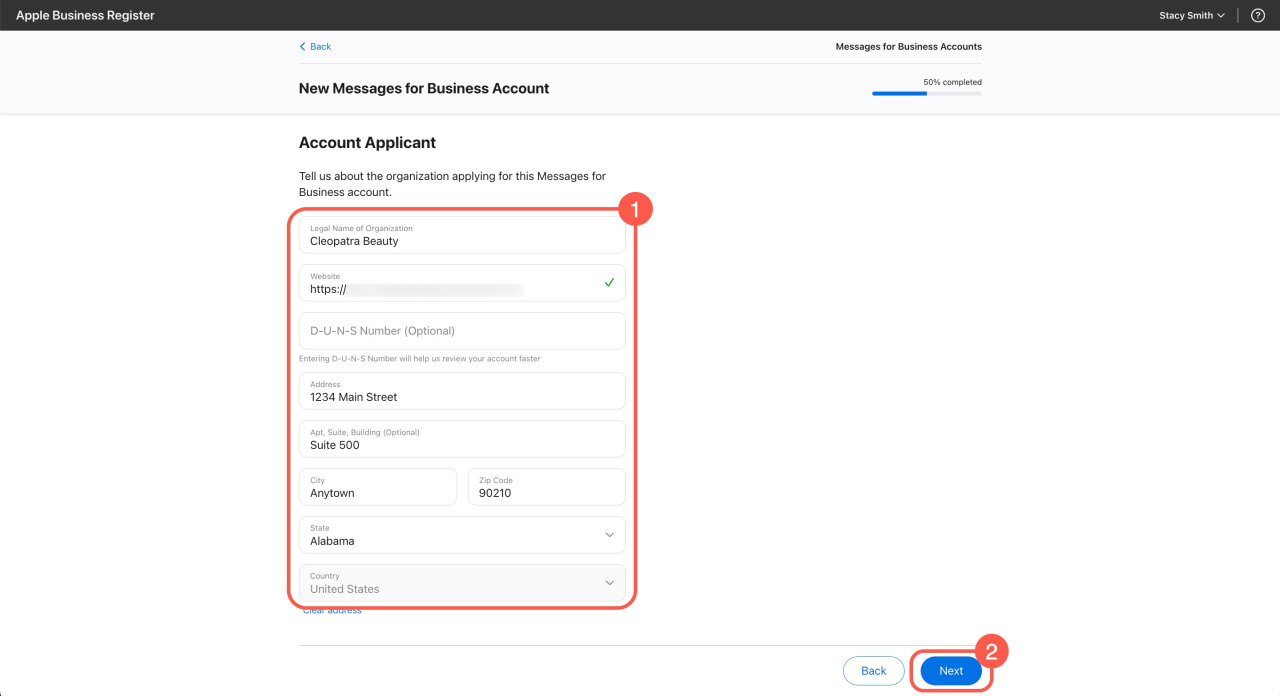
1. Messages for Business Account. Add your company details, including address, contacts, and type.
Detailed instructions
- Provide detailed information about your company.
- Click Next.
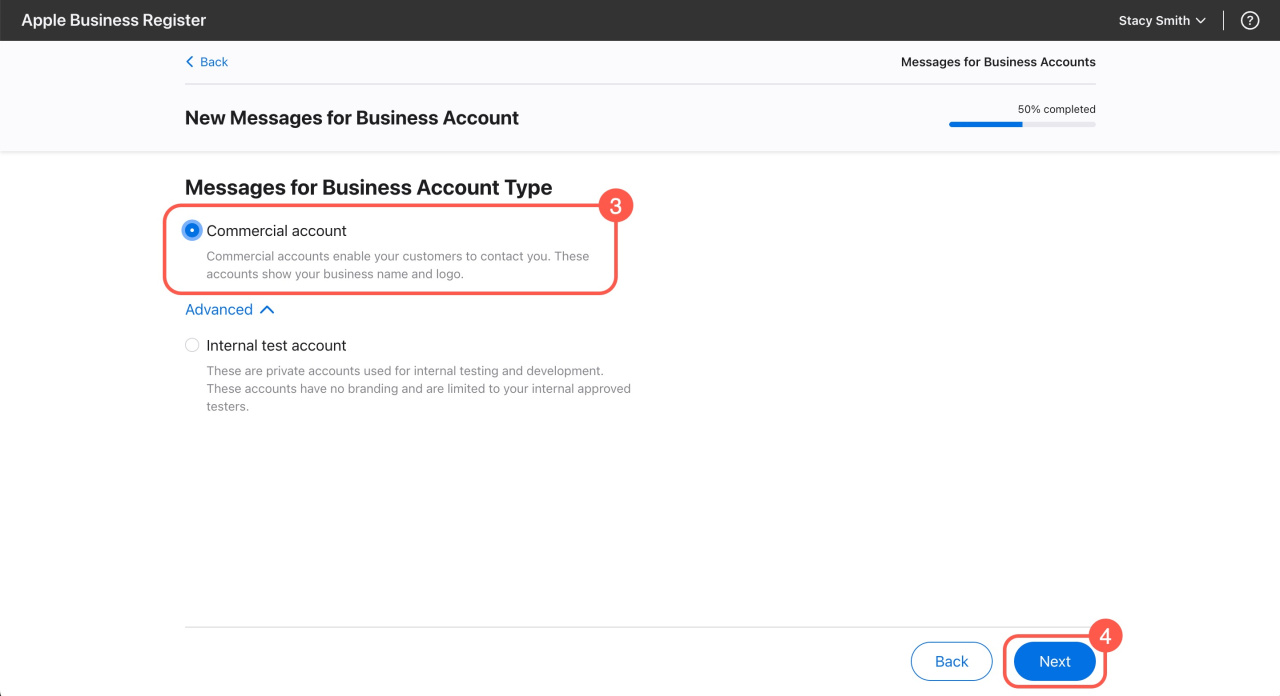
- Select Commercial account as your Messages for Business Account type.
- Click Next.
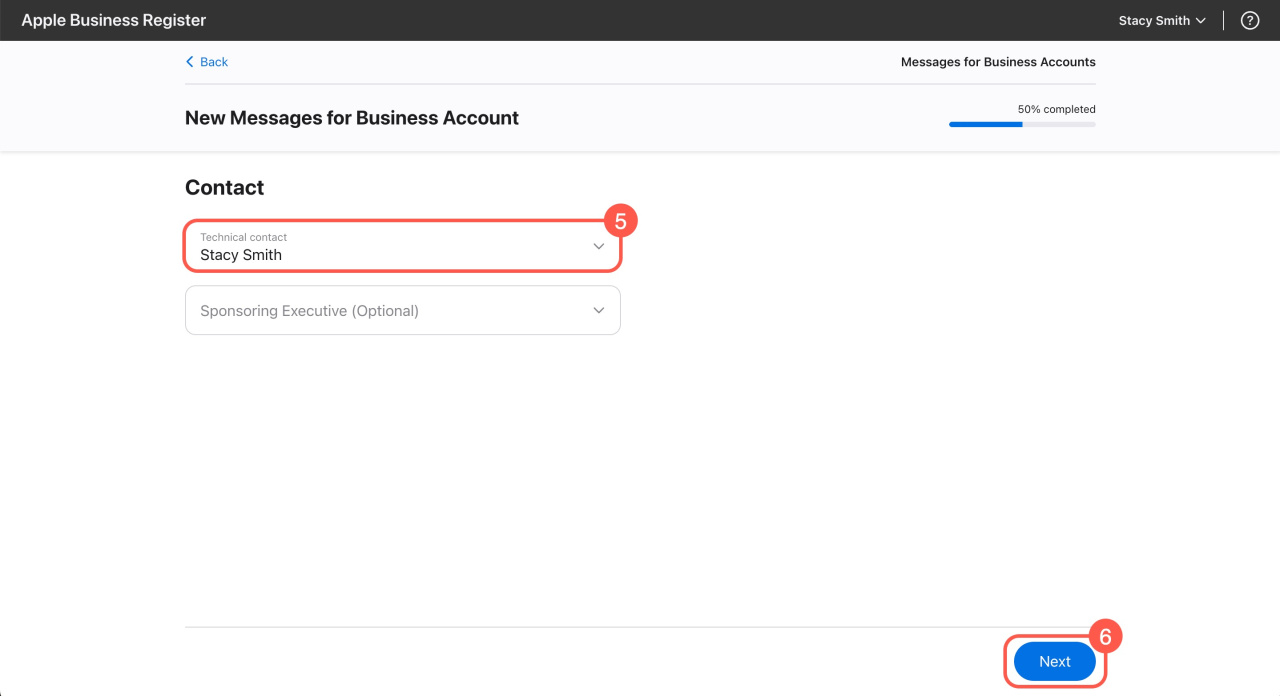
- Specify your technical staff's contact information in the Technical contact field.
- Click Next.
- Specify whether your company works online or offline:
Two or more public locations: Select this for the Brand profile.
One public location: Select this for the Locations profile. You'll need to specify the location address. If it's not on Apple Maps, you'll be prompted to add it.
No public locations or an online business: Select this for the Brand profile. - Click Next to complete the setup.
Configure additional features in Apple Messages for Business
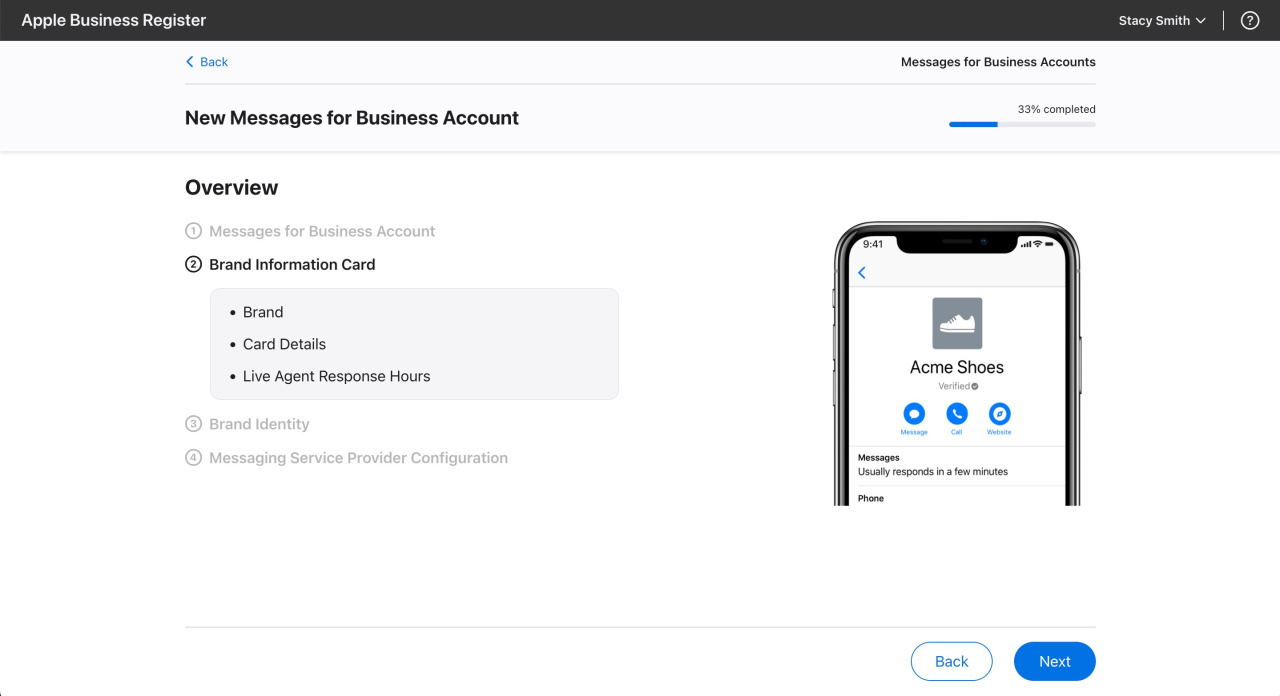
2. Brand Information Card. Create a new brand, select the design of notifications, and specify the live agent response hours.
Detailed instructions
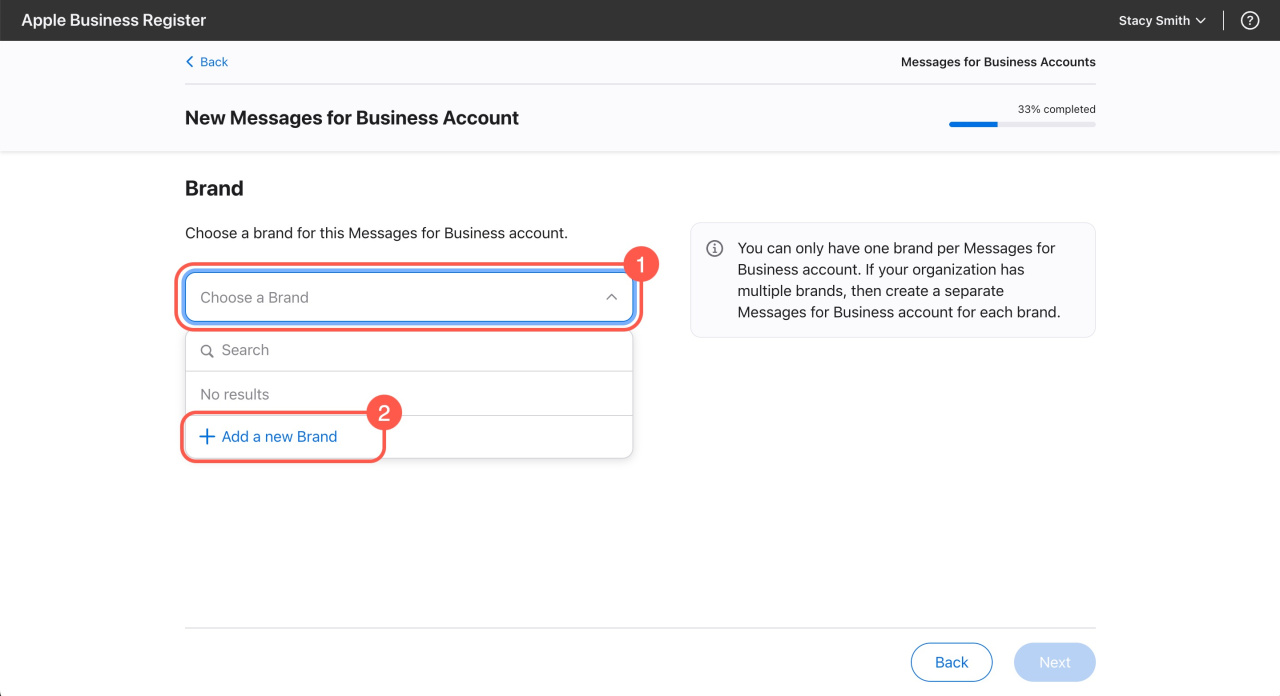
- Choose a brand for this Business Chat account.
- To add a new brand, click the corresponding button.
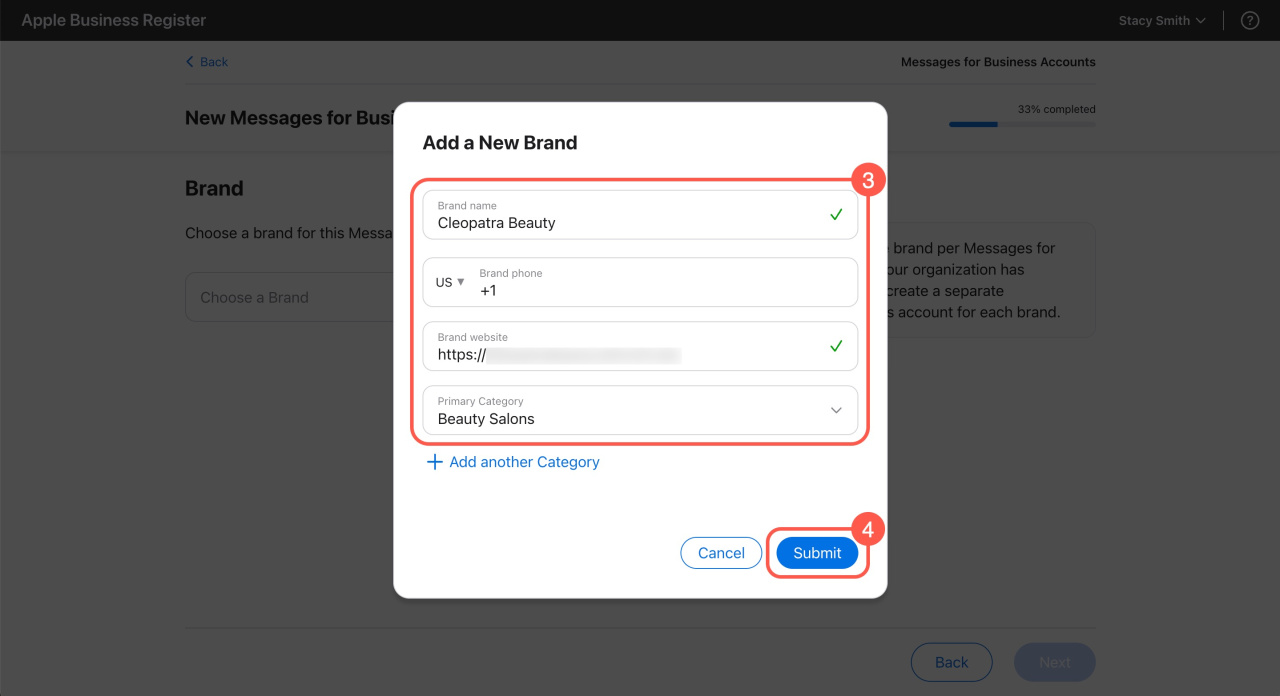
- Fill in the fields like your brand name, website, and category.
- Submit the form.
- Click Next.
- Fill in the additional information about the brand, such as messaging response time and phone number.
- Click Next.
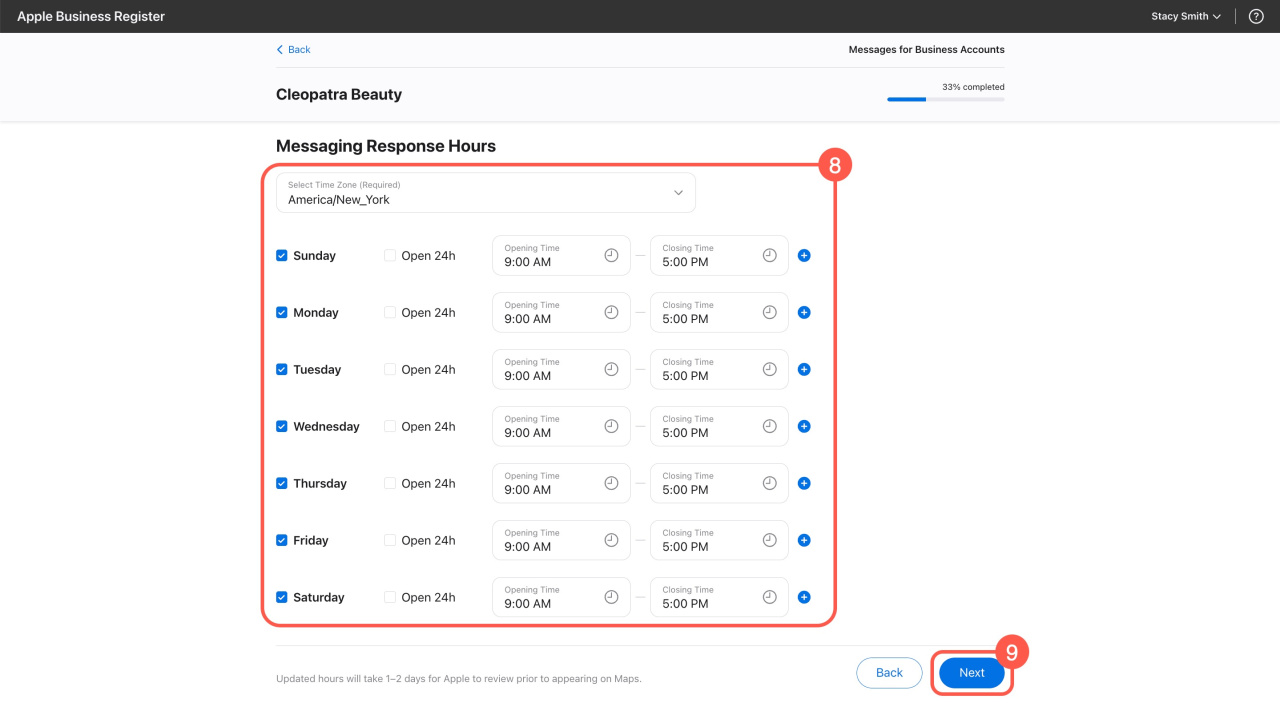
- Select the time zone and specify the working hours of your agents.
- Click Next to complete the setup.
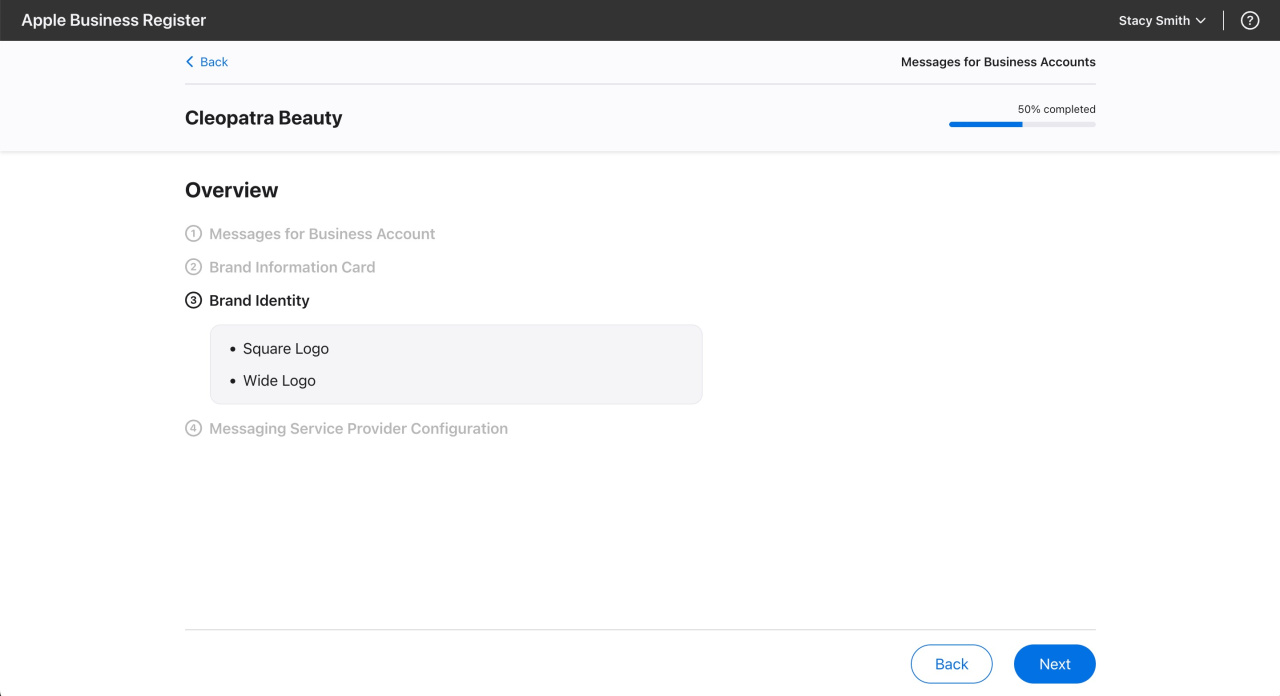
3. Brand Identity. Upload your square and wide logos.
Detailed instructions
Square logo configuration:
- Upload your square logo in the designated area. You can preview how it will appear in push notifications in both dark and light modes.
- Click Next.
- Confirm your logo meets the requirements by checking the boxes.
- Click Next.
If your logo doesn't meet the requirements:
- Click Back.
- Adjust the logo as needed.
- Upload it again.
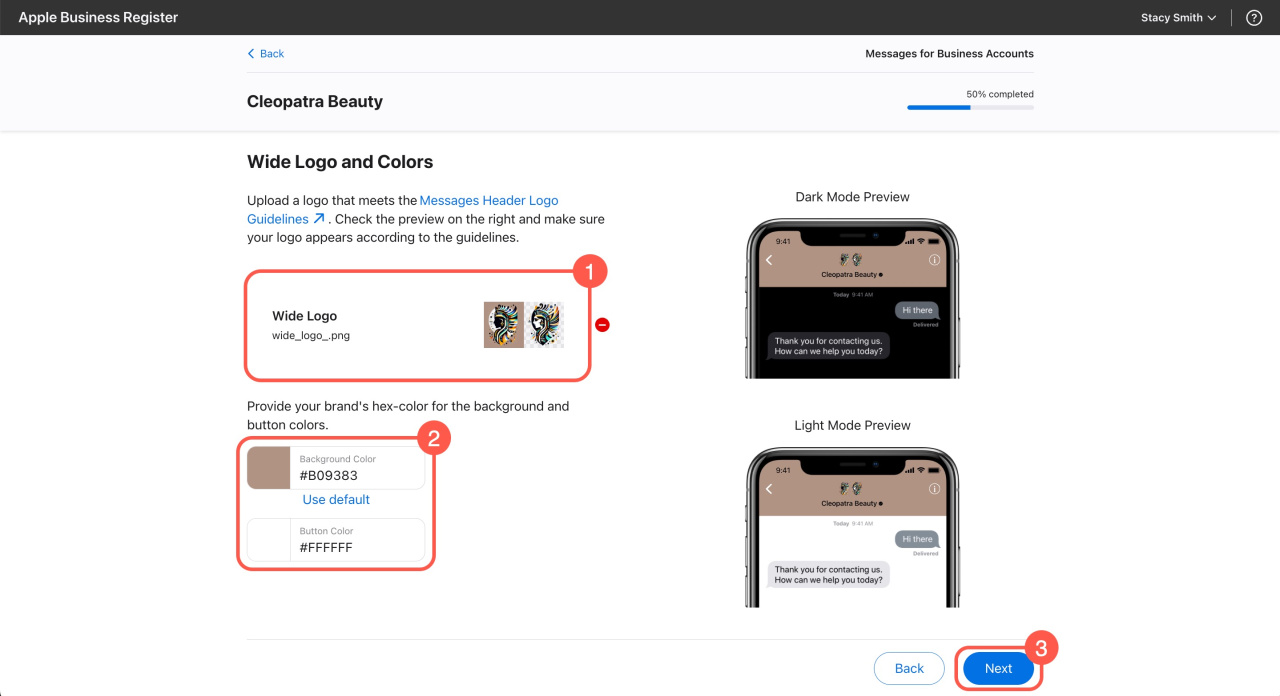
Wide logo configuration:
- Upload your wide logo in the designated area. You can preview how it will appear in push notifications in both dark and light modes.
- Choose the background color and button color.
- Click Next.
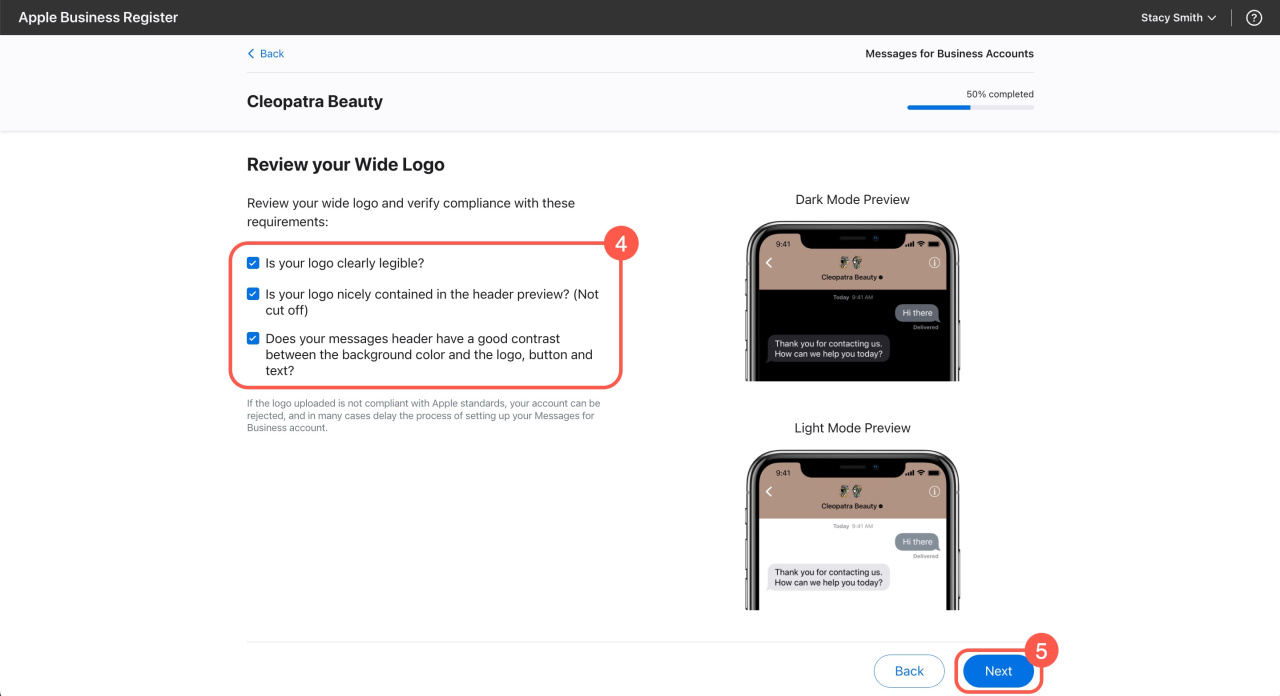
- Confirm your logo meets the requirements by checking the boxes.
- Click Next to complete the setup.
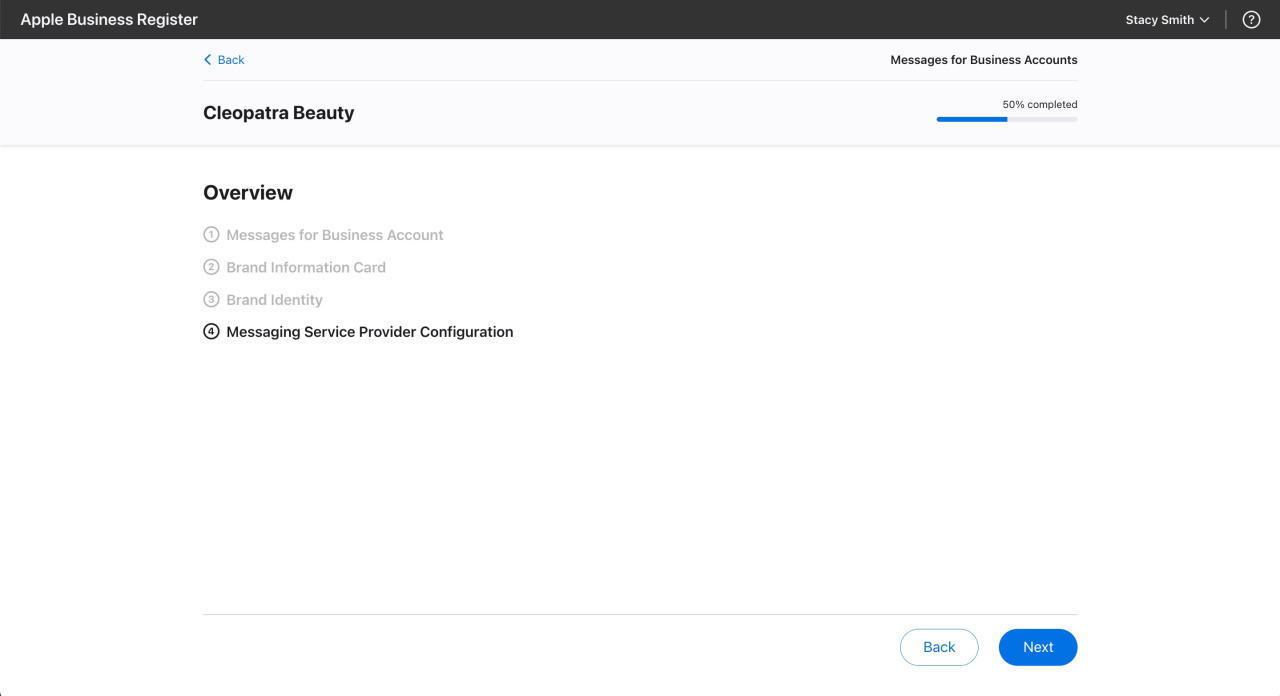
4. Messaging Service Provider Configuration. In the last step, select Bitrix24 from the list of Apple authorized commercial messaging service providers.
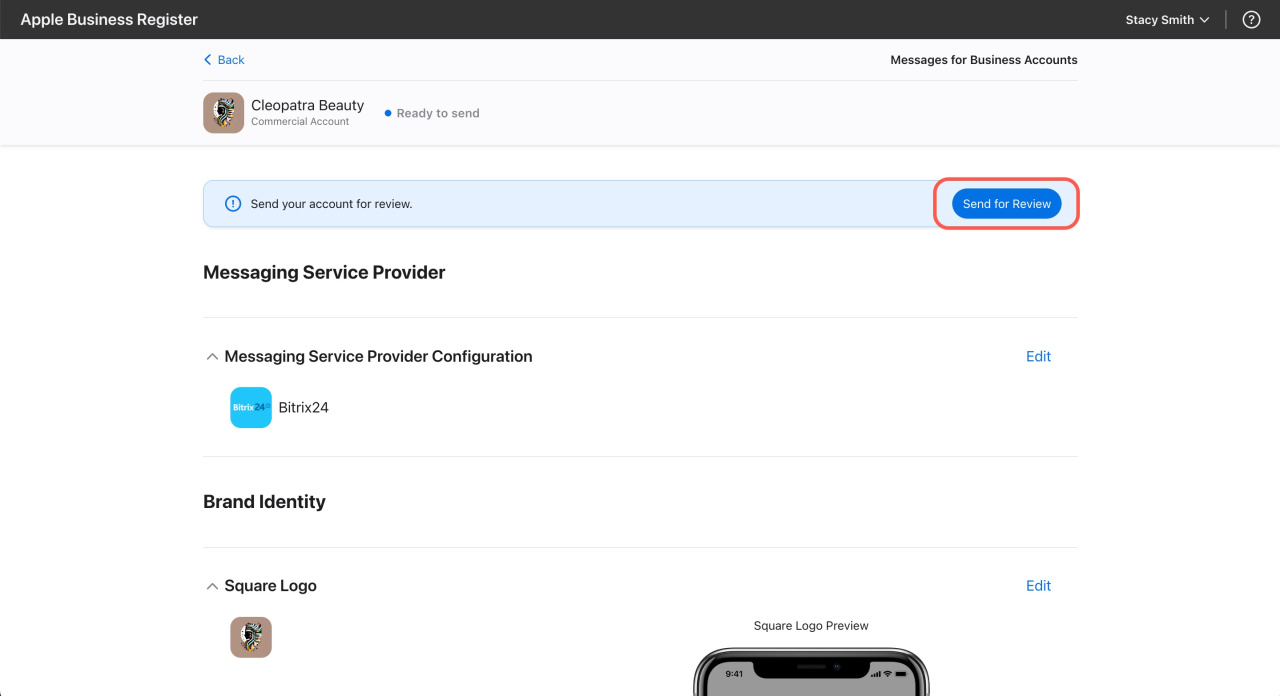
Send your account for review
Ensure that all the specified data is correct. If necessary, click the Edit button to make changes. Then, click Send for review to submit your Business ID to Apple.
Connect Apple Messages for Business to Bitrix24
Once you've completed the initial verification, choose how you'd like to connect with Bitrix24.
Automatic connection:
- Go to Messages for Business Accounts and select your commercial account.
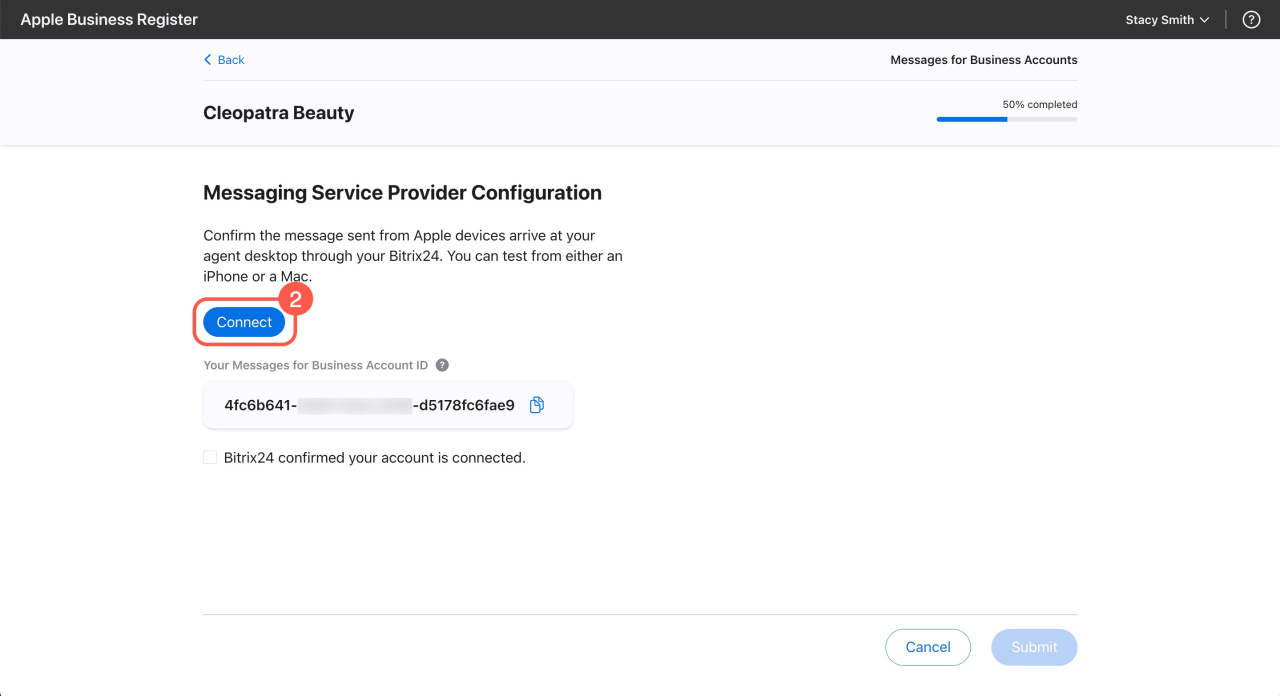
- In the Messaging Service Provider section, click Test your Messaging Service Provider connection.
- Click Connect.
- You'll be redirected to your Bitrix24. Click Connect again.
Manual connection:
- Go to Messages for Business Accounts and select your commercial account.
- Ensure Bitrix24 is selected in the Messaging Service Provider section. If it's not, click Edit and select it, then click Test your Messaging Service Provider connection.
- Copy the verified Business Chat ID.
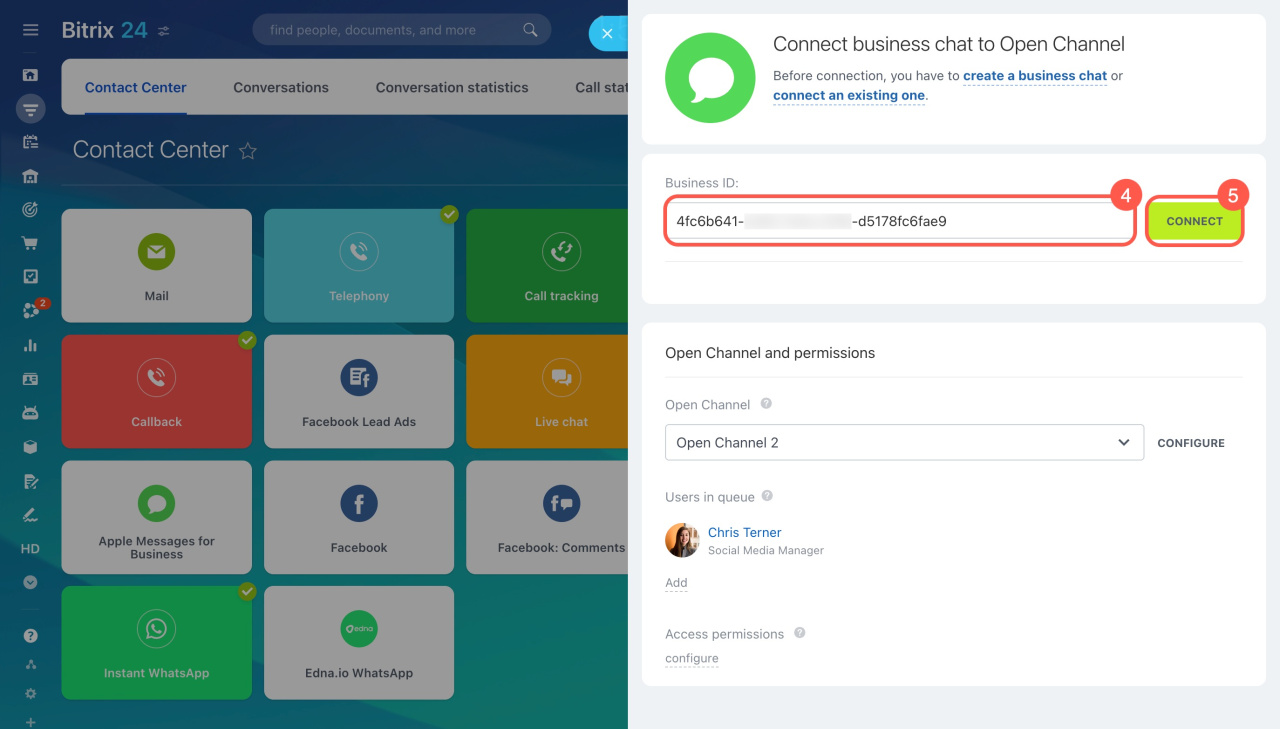
- Open your Bitrix24 and click configure manually in the channel settings.
- Paste the Business Chat ID to the corresponding field and click Connect.
After internal checks, Apple Messages for Business will be ready to send and receive messages online.
Complete QA testing
The next step is QA testing, which Apple Messages for Business specialists will notify you about. You'll receive instructions on preparing for QA testing and creating Use Cases.
Complete and submit the Use Cases documentation, confirming you're ready for QA testing.
Once your Use Cases are approved, you'll receive the QA testing schedule.
After successfully passing the testing, your account will be given the Online status, and a confirmation email will be sent to your Business ID account email address.
Check how it works
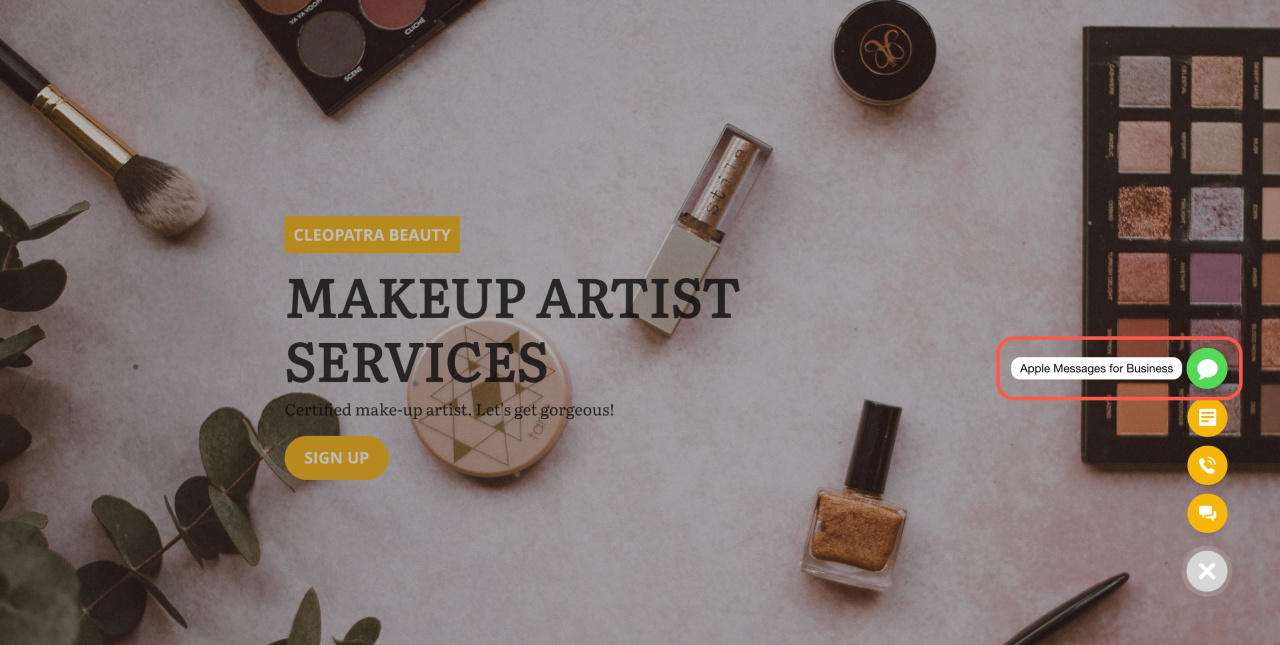
When a customer gets to your website, they can click the website widget and send you a message via Apple Messages for Business. An agent will get it in the Bitrix24 chat (web version, desktop or mobile app).
- You'll need an Apple device to send messages via the Messages app (compatible with iOS 15.0 and higher, macOS 10.13.4 and higher, watchOS 4.3 and higher).
- All messages are sent and delivered in real-time.
- You can send videos, photos, files, and even make payments using Apple Pay in the chat.


