Connect your office PBX to Bitrix24 using either REST API or the SIP connector. You can link an unlimited number of office PBXs to your account.
For REST API connections, use an app from the Bitrix24 Market. Check the app description or contact the developer for assistance.
Bitrix24 Market
This article focuses on connecting office PBX using the SIP connector.
Features of PBX connection using SIP connector
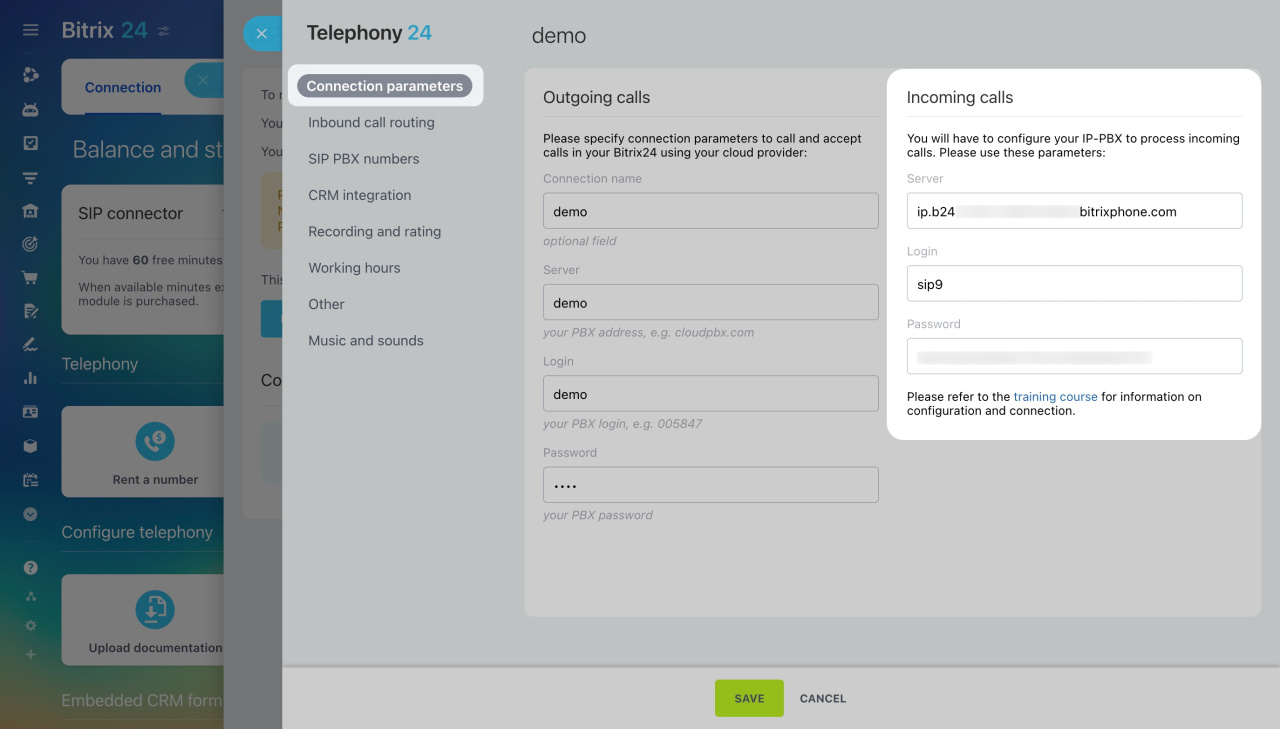
Outgoing calls. Bitrix24 connects to the server you specified in the Outgoing calls section and establishes the connection after authorization.
Incoming calls. To accept incoming calls, configure your IP-PBX and create a trunk using the parameters in the Incoming calls section.
You can receive incoming calls for free via your Bitrix24 SIP PBX, but you'll need the SIP connector for outgoing calls or call forwarding.
SIP connector
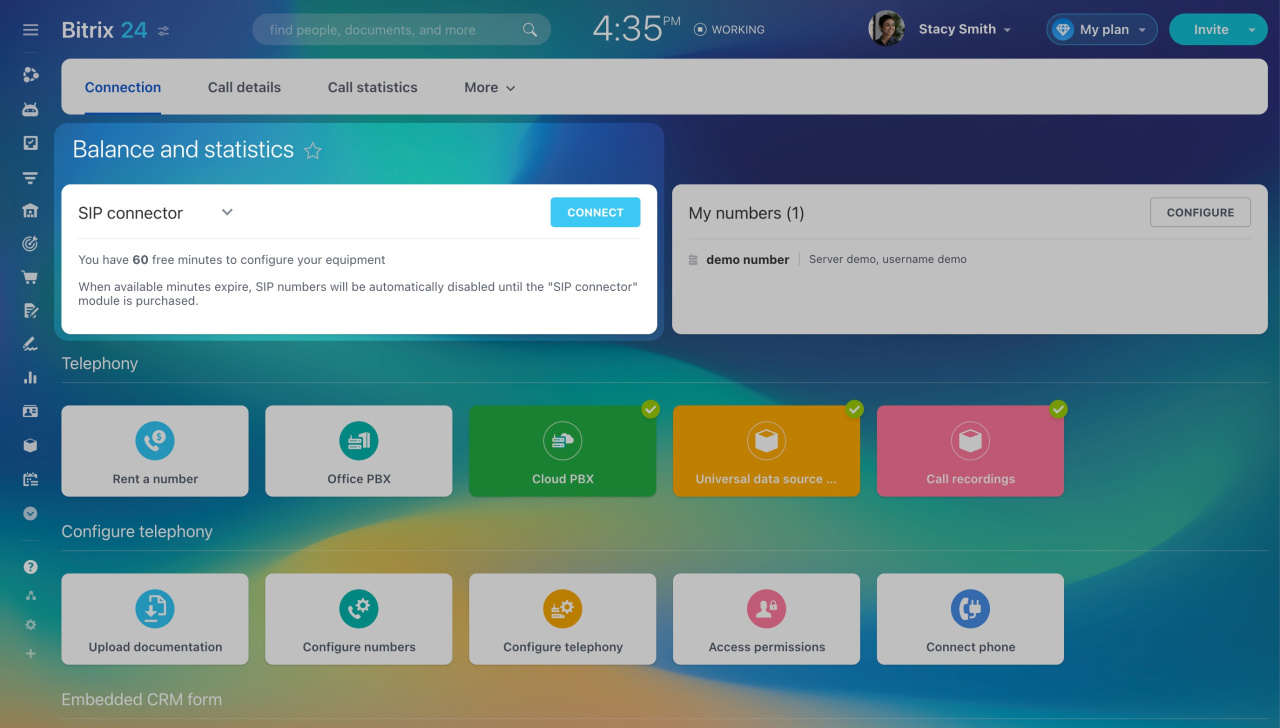
You have free minutes to make outbound calls and test the SIP connection. Check the number of free minutes and active license term on the Connection page under Balance and Statistics.
Connect office PBX to Bitrix24
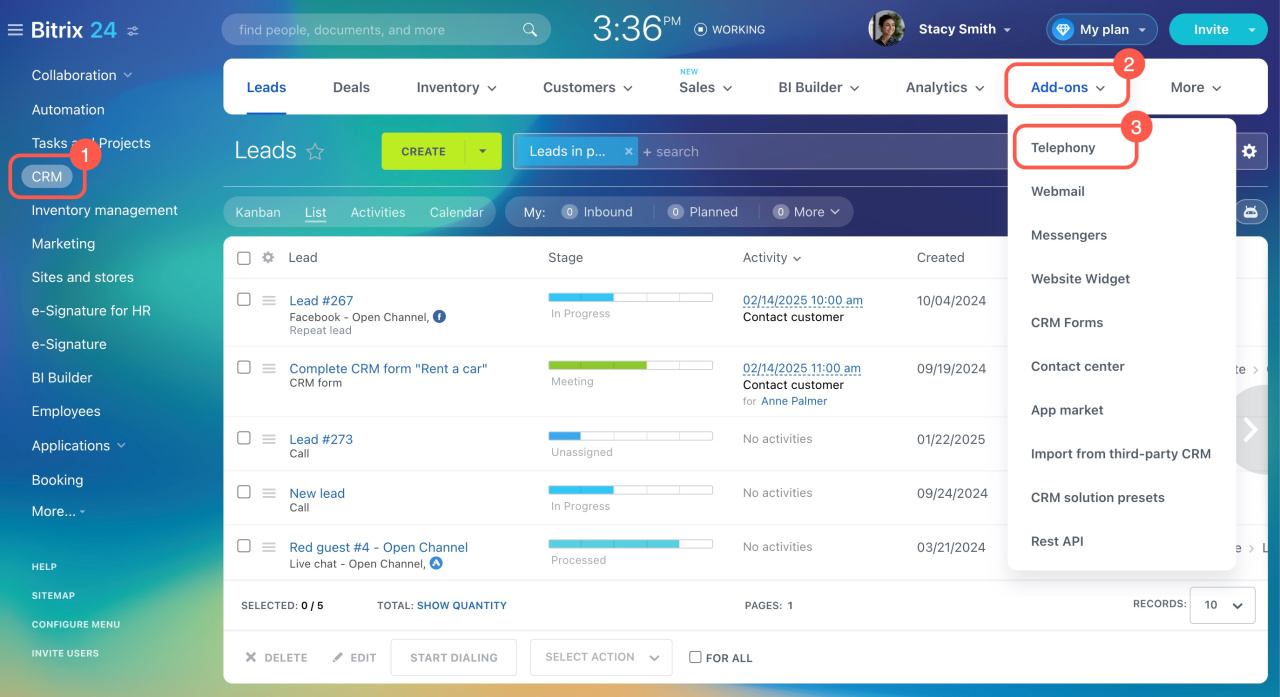
- Go to CRM.
- Click Add-ons.
- Select Telephony.
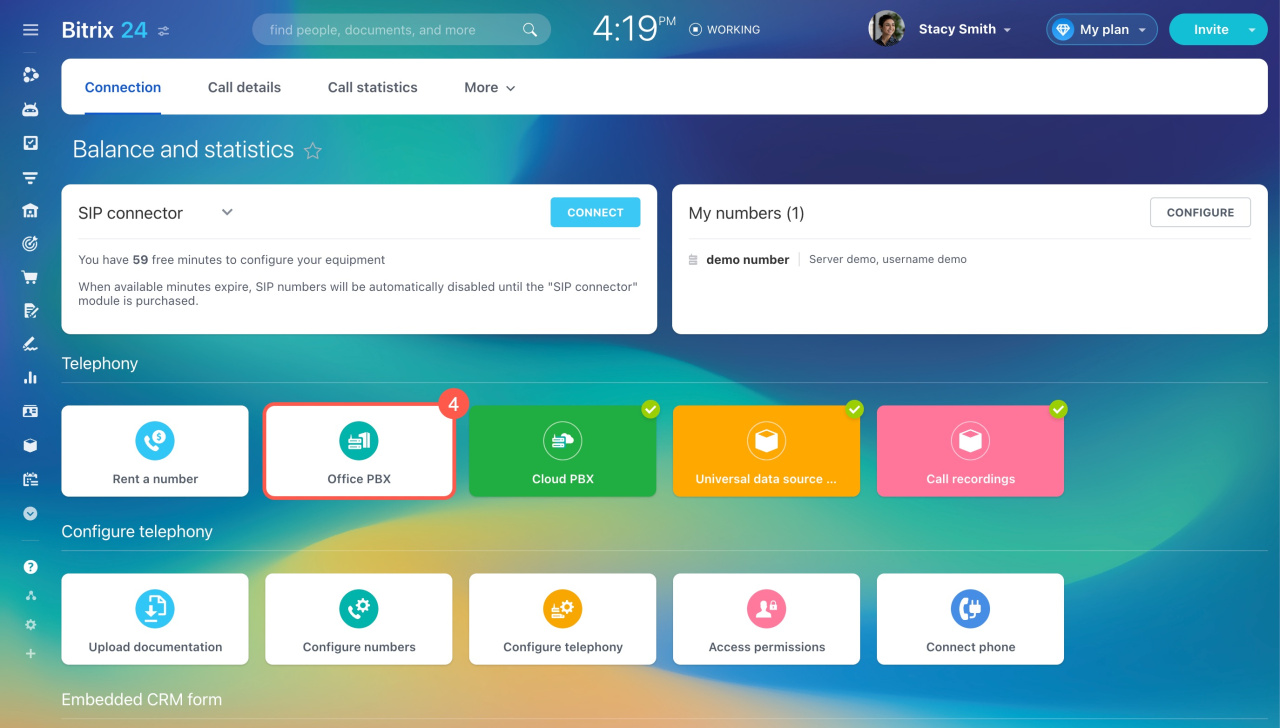
- Click the Office PBX block.
- Select Connect office PBX.
- Fill out the form.
Connection name: Set a connection name (optional).
Server Address: Specify the IP address of your PBX.
Login and Password: Enter your PBX access data. -
Click Save, and the page with connection parameters will appear.
Configure numbers
Configure office PBX
Consider an example of setting up an office PBX using Asterisk. For PBX setting, use the data from the Incoming calls block.
Create a trunk. Add the following entry in the sip.conf file:
[voximplant] dtmfmode=rfc2833 ; instead of your_account, use the account name from the Server field fromdomain=your_account type=friend host=your_account ; use the value of the Login field fromuser=asterisk username=asterisk ; use the value from the Password field secret=mypass insecure=port,invite conext=contex-internal disallow=all nat=yes allow=ulaw&alaw
nat parameter to yes or no based on your network setup.Here's a sample configuration:
[voximplant] dtmfmode=rfc2833 fromdomain=ip.b24-2729-1386056980.voximplant.com type=friend host=ip.b24-2729-1386056980.voximplant.com fromuser=sip1 username=sip1 secret=e349429f63f7e4d7025fcd32d477ea05 insecure=port,invite conext=contex-internal disallow=all nat=yes allow=ulaw&alaw
incoming instead of ip in the Server field (e.g., incoming.b24-6864-1386141129.bitrixphone.com). You can continue using this value, but the module will run much slower. We recommend switching it to ip.Apply the settings in the Asterisk console with:
sip reload
Set up calls from Asterisk to Voximplant. Configure your Dialplan in the extensions.conf file:
Dial(SIP/voximplant/${EXTEN})
A call will be sent to Bitrix24 as if it was originally made to the number in Asterisk.
Asterisk documentation: Dialplan
Apply the settings in the Asterisk console with:
dialplan reload
Firewall settings. By default, these ports are used:
- For browser calls: 443 TCP, 3478 TCP/UDP, 8000-48000 UDP.
- For SIP device calls: 5060 TCP/UDP, 3478 TCP/UDP, 8000-48000 UDP.
Normally, SIP requires that the outbound traffic be permitted (from PBX, for example), and inbound connections will work automatically. RTP is usually used as UDP (so data can still be transmitted, although packets are lost).
The ports themselves can be set up in the PBX properties: the port that is indicated in the properties must also be opened in your firewall.
Bitrix24 Self-hosted administration: Telephony


