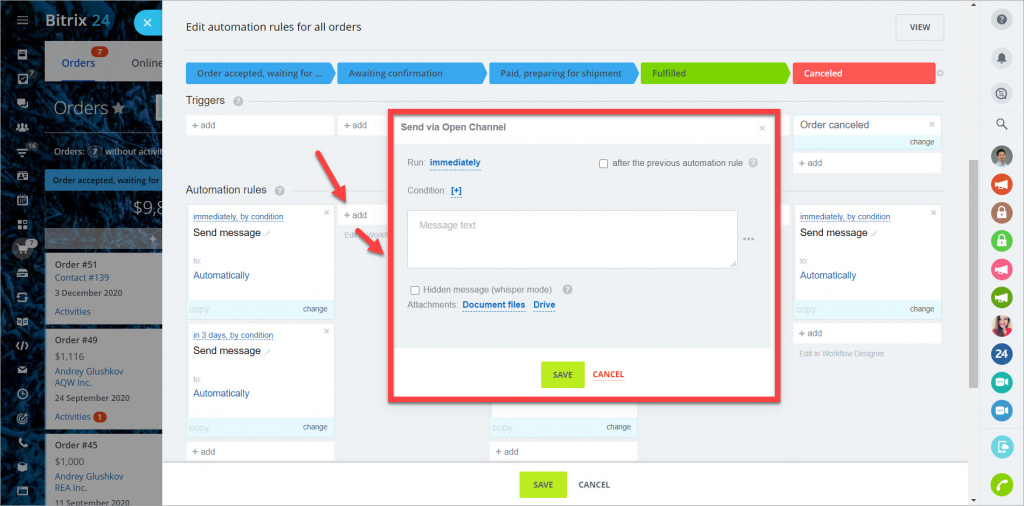
Automation rules and triggers in the Bitrix24 Online Store allow automating the order handling, informing your customers about their order status, creating tasks for your employees, etc.
They are divided into three groups:
- Automation rules for employees - edit the element form, run a workflow, create a task, notify an employee, etc.
- Client communications automation rules - send an email or SMS, or perform a robocall to a client.
- Triggers - change the order status.
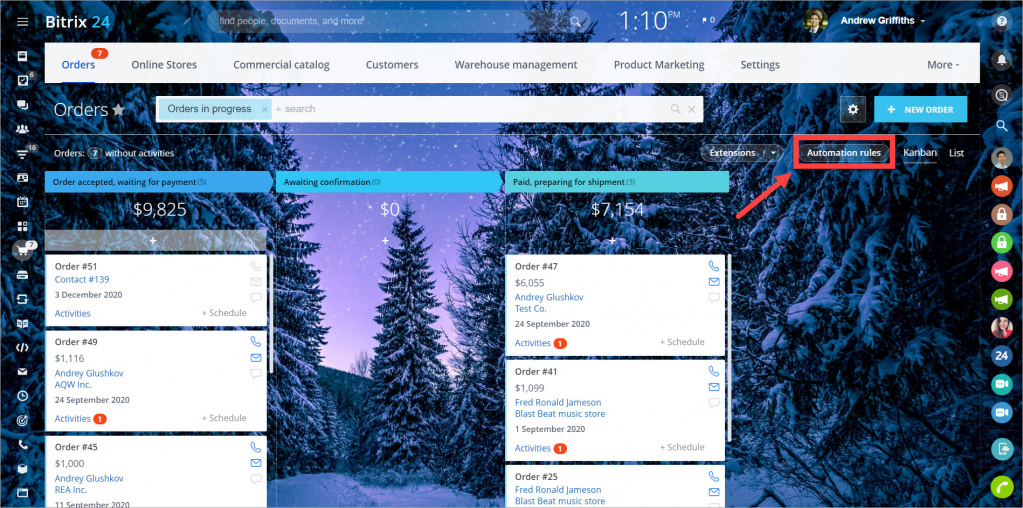
Go to the Online Store section > Orders > Automation rules.
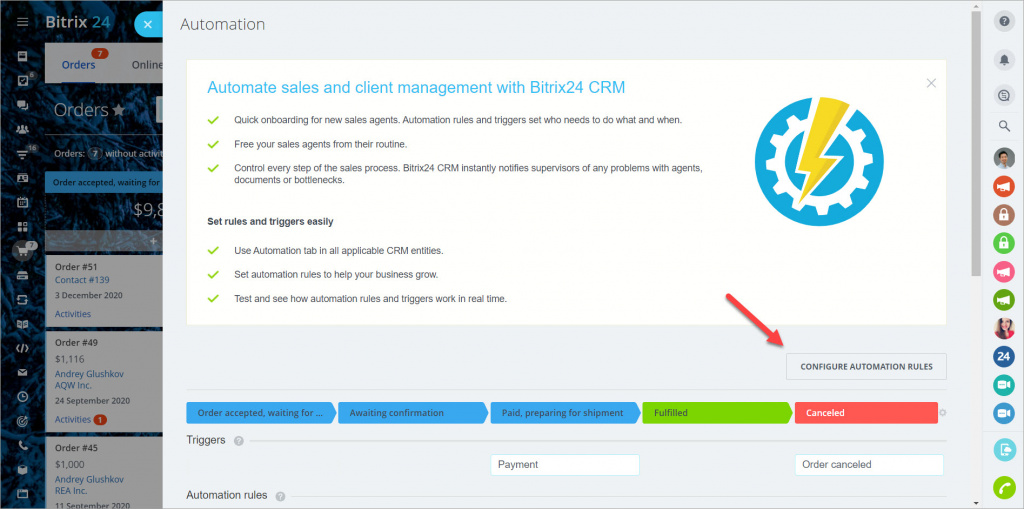
Click the Configure automation rules button to configure the automation rules and triggers.
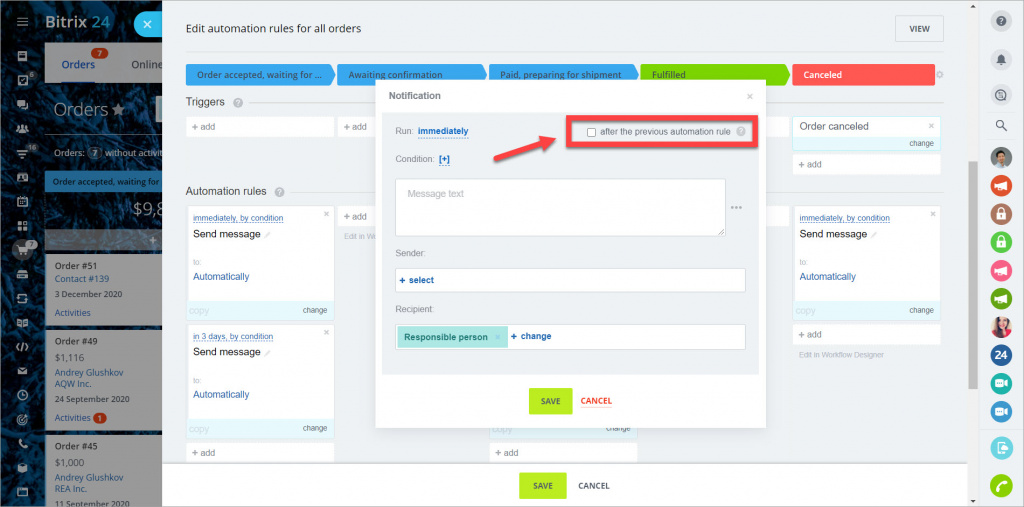
All automation rules have an option after the previous automation rule. It's a good idea to enable this option if you need to perform several sequential actions. For example, generate an order number and send it to the client immediately. If the option is disabled, then all automation rules at the current order status will work simultaneously.
There are several important settings to be configured before using the automation rule:
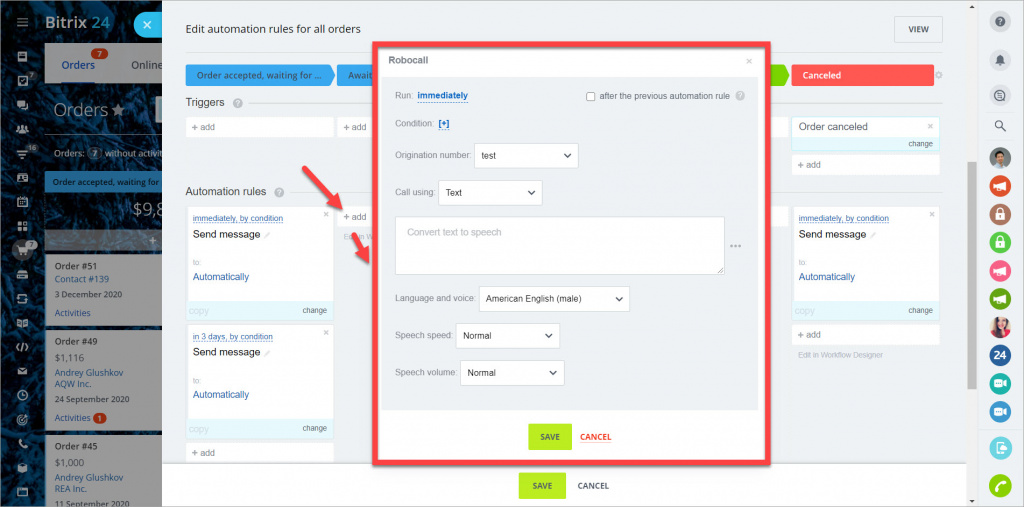
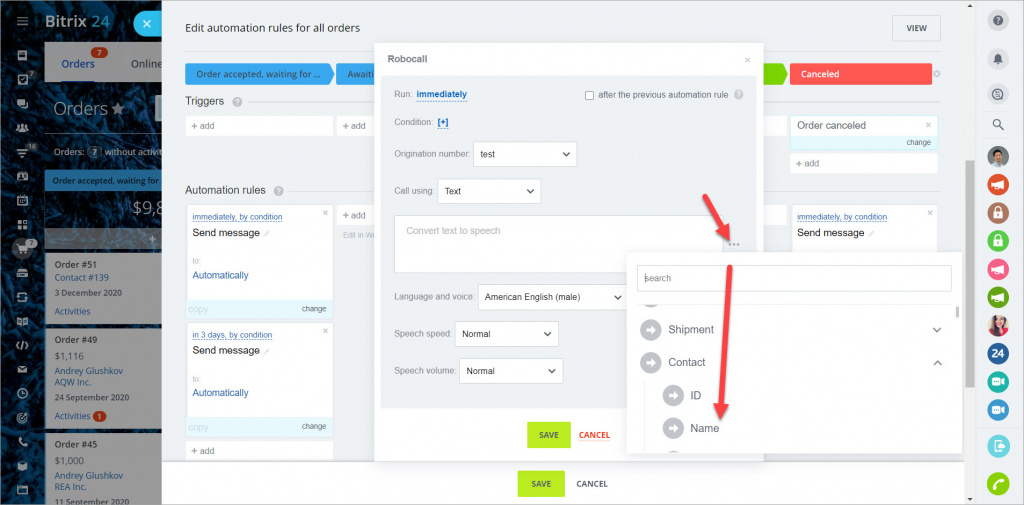
Origination number - select the telephony connection/number that the outgoing call will be performed from.
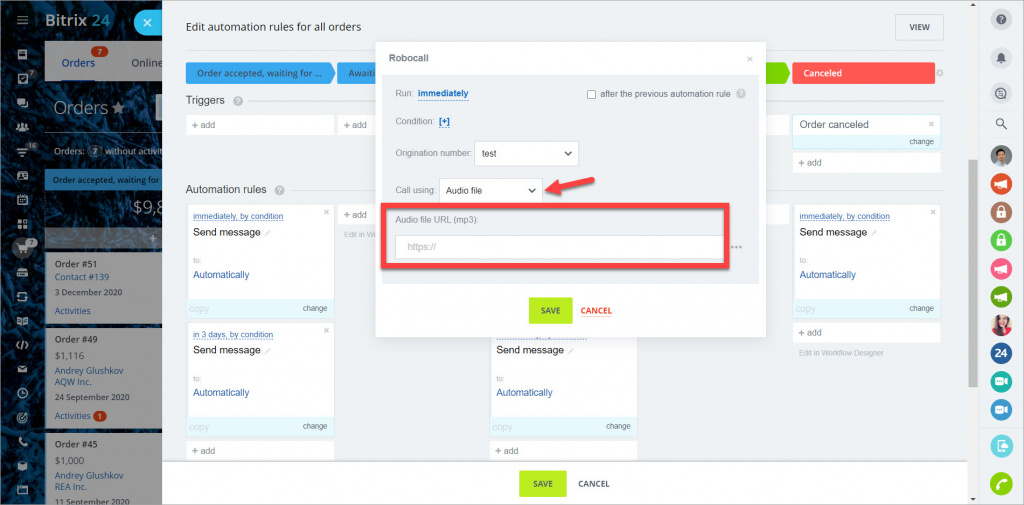
Call using - select what the client will hear: the text read by the robot or the audio file. If you've selected the Text option, then specify the pronunciation parameters: language and voice, speech speed and volume. By inserting values into the text, you can call the customer by name or provide him with the order number.
If you've selected the Audio file option, you need to specify the public link to the file in the .mp3 format.
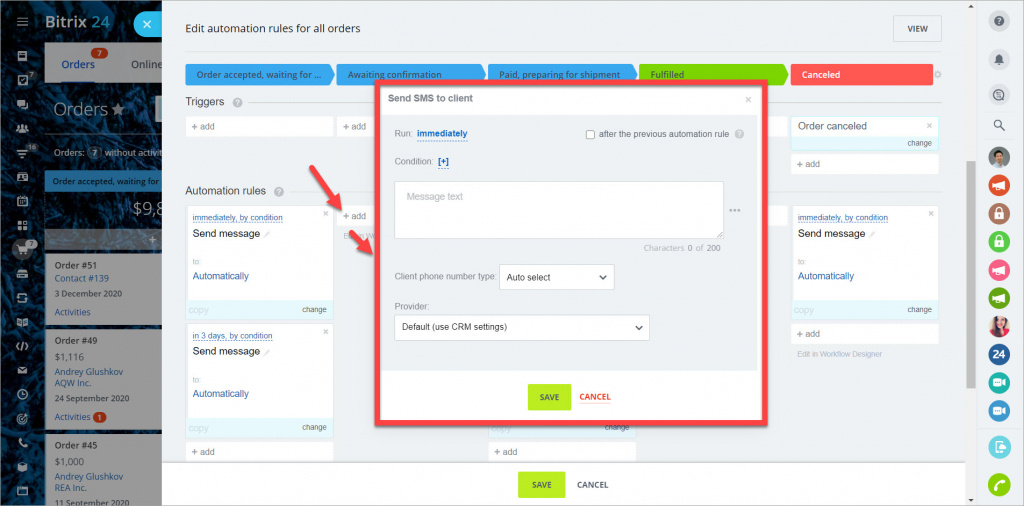
The message text shouldn't exceed the 200 characters limit.
Client phone number type - select which number the message will be sent to. If there is no such type of number in the card, the automation rule won't work. If you select the Auto select option, the message will be sent to the first number specified in the contact card or the company to which the order is linked.
Provider - select a provider.
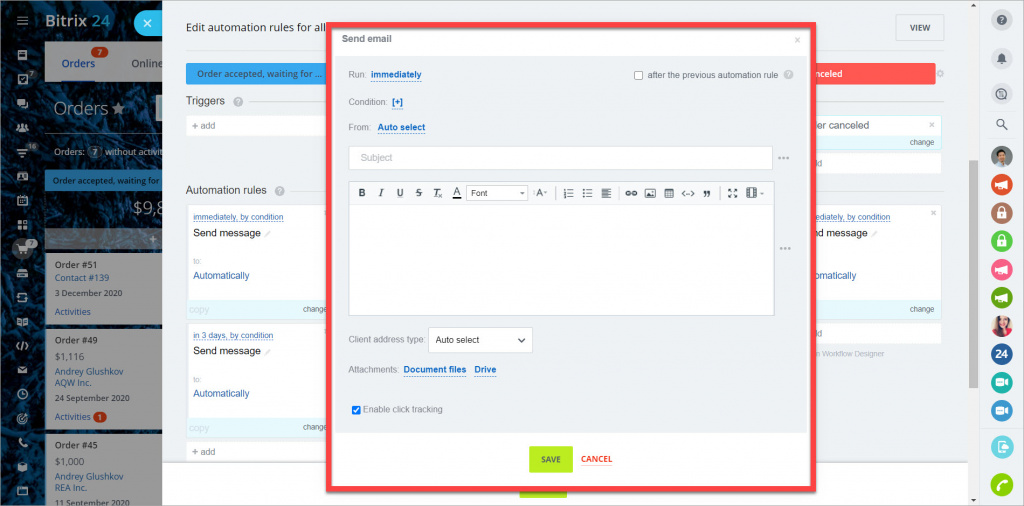
From - select the mailbox that the message will be sent from. If the Auto select is selected, the message will be sent from the mailbox used in the previous time.
Subject and text - specify the email subject and text. Field values from the CRM or Online Store elements can be used.
Client address type - select which address the email message will be sent to. If there is no such type of address in the element's card, the automation rule won't work. If you select the Auto select option, the message will be sent to the first address in the contact card or the company to which the order is linked.
Hidden message (whisper mode) - this option stands for enabling the whisper mode. A posted message will not be shown to your client, but your colleagues added to the same chat will be able to read it.

