Connect your Bitrix24 tasks & projects to Miro's whiteboard to get the most out of it.
Create workspaces, use Mind Maps, cards, stickers, and others tools to kick off your collaborative process and pin the results to related projects & tasks in Bitrix24.
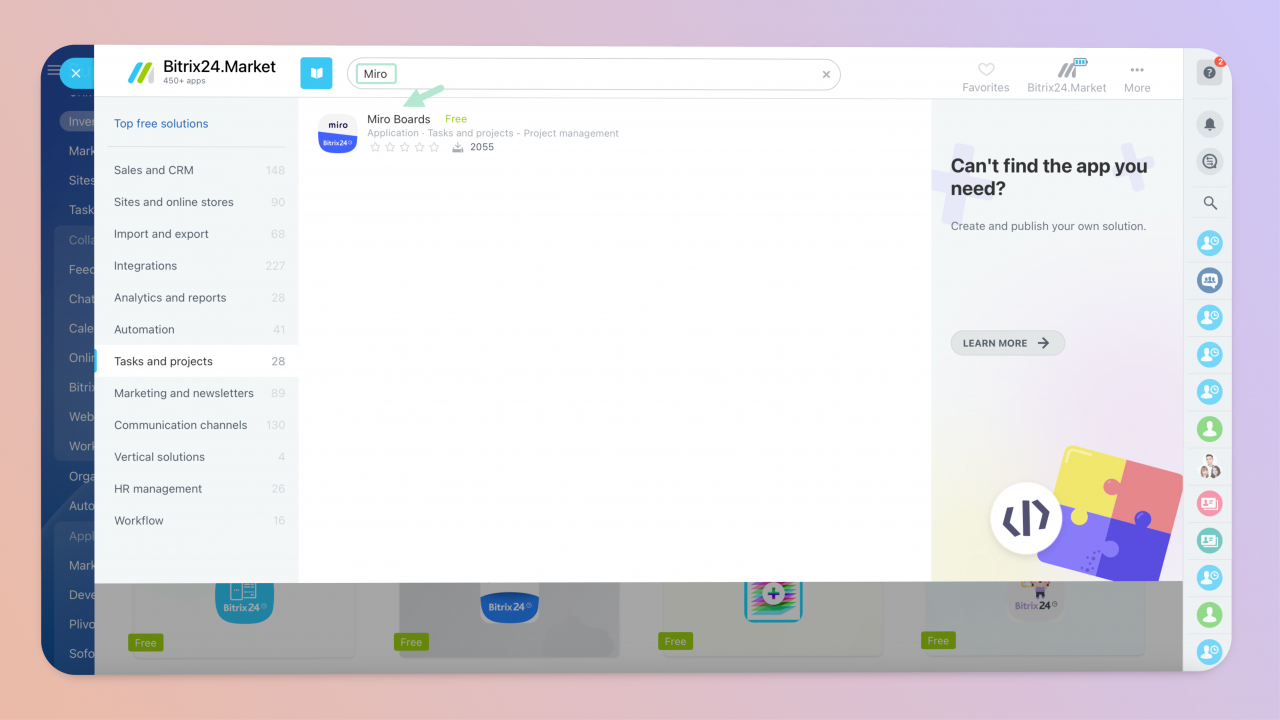
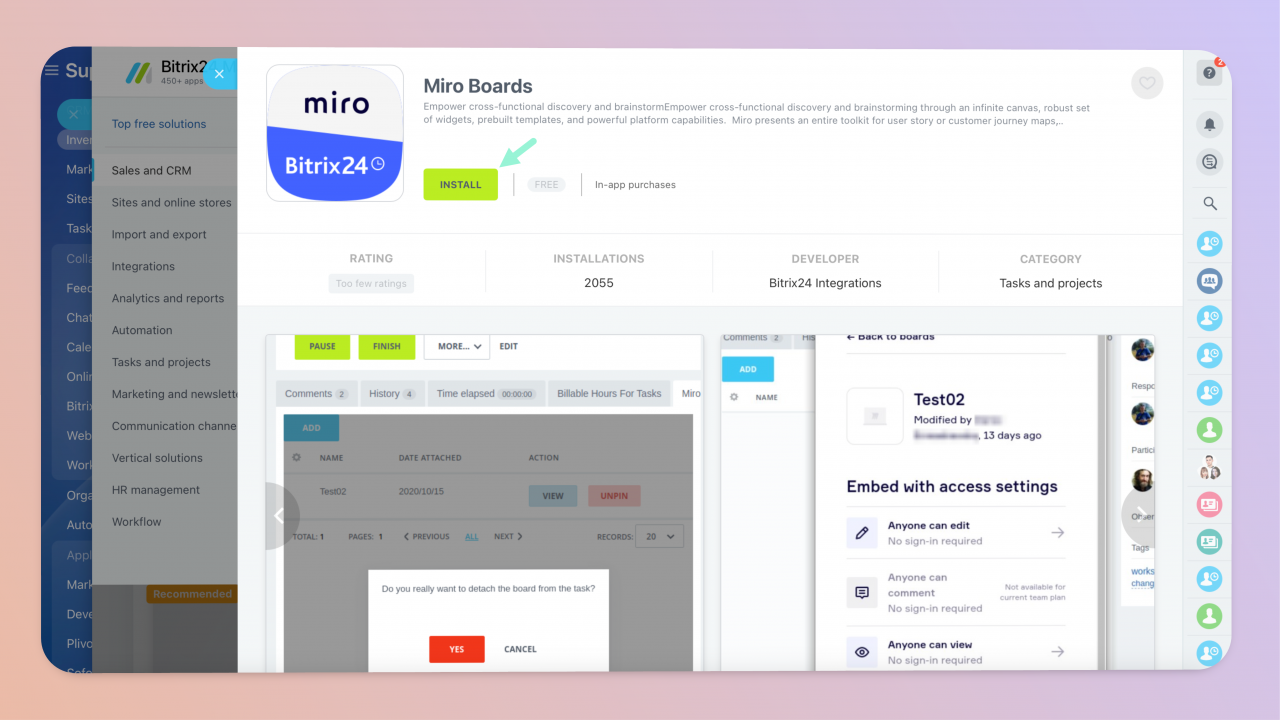
Installation
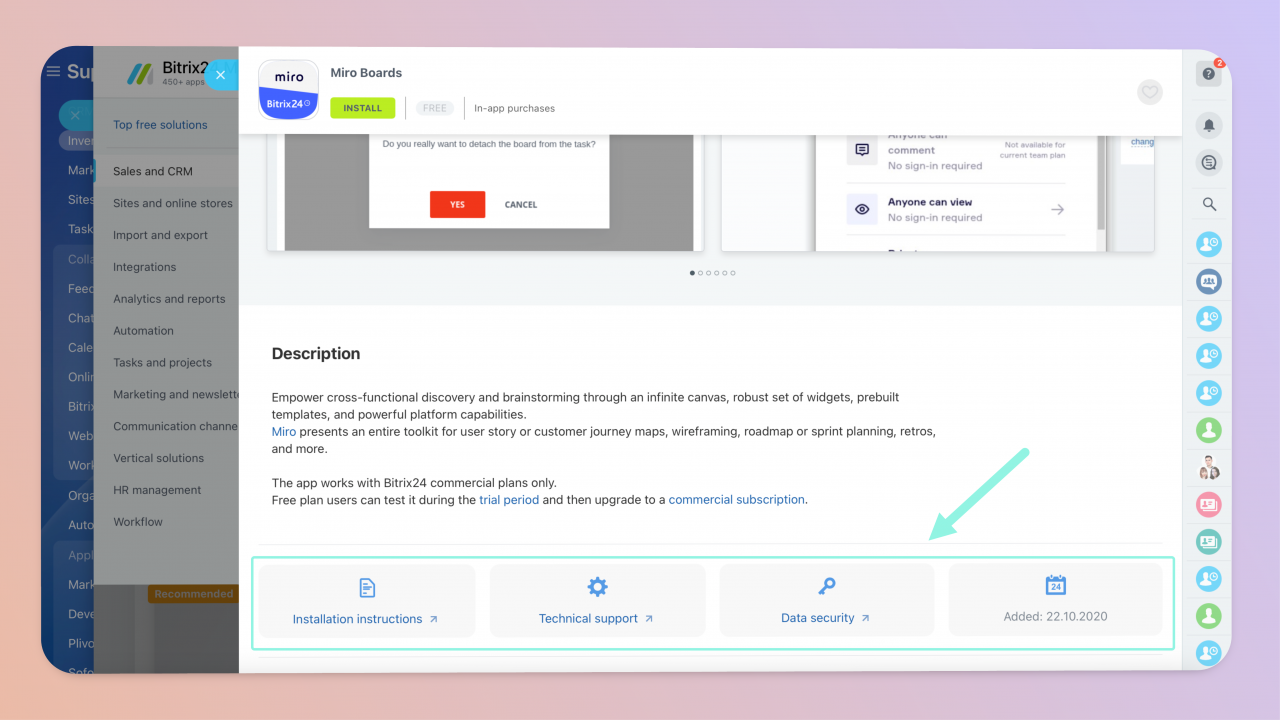
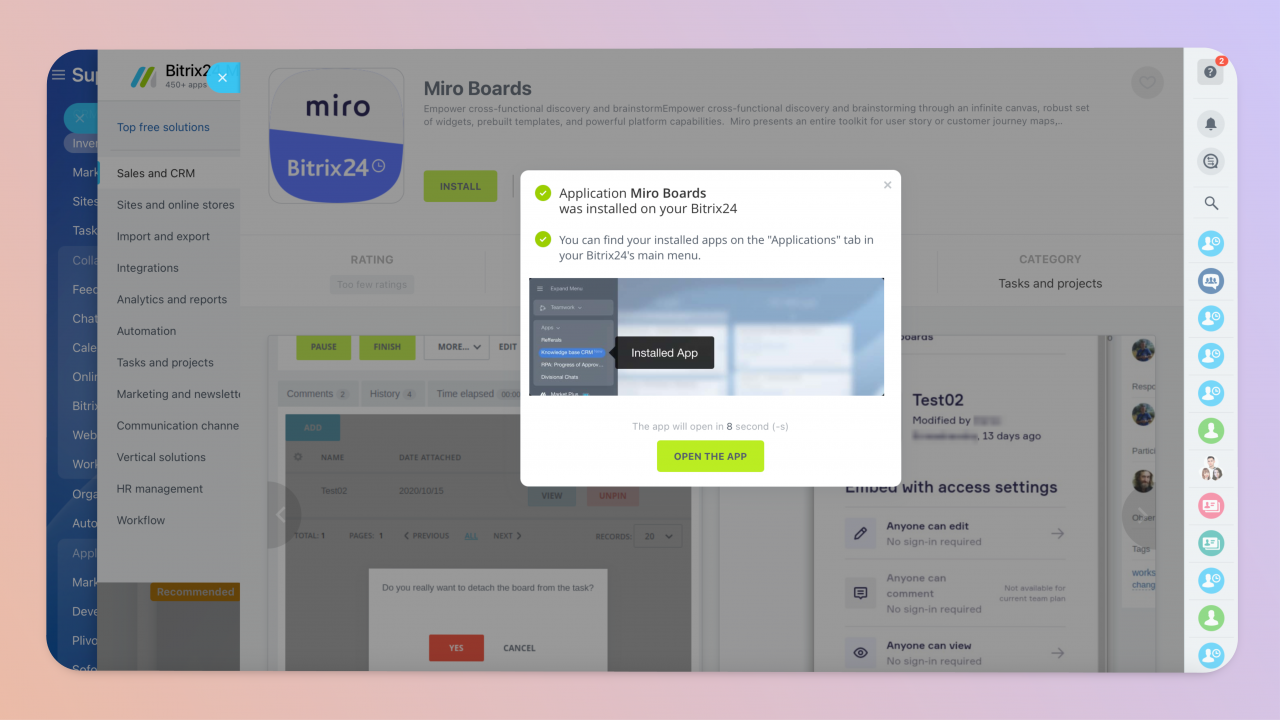
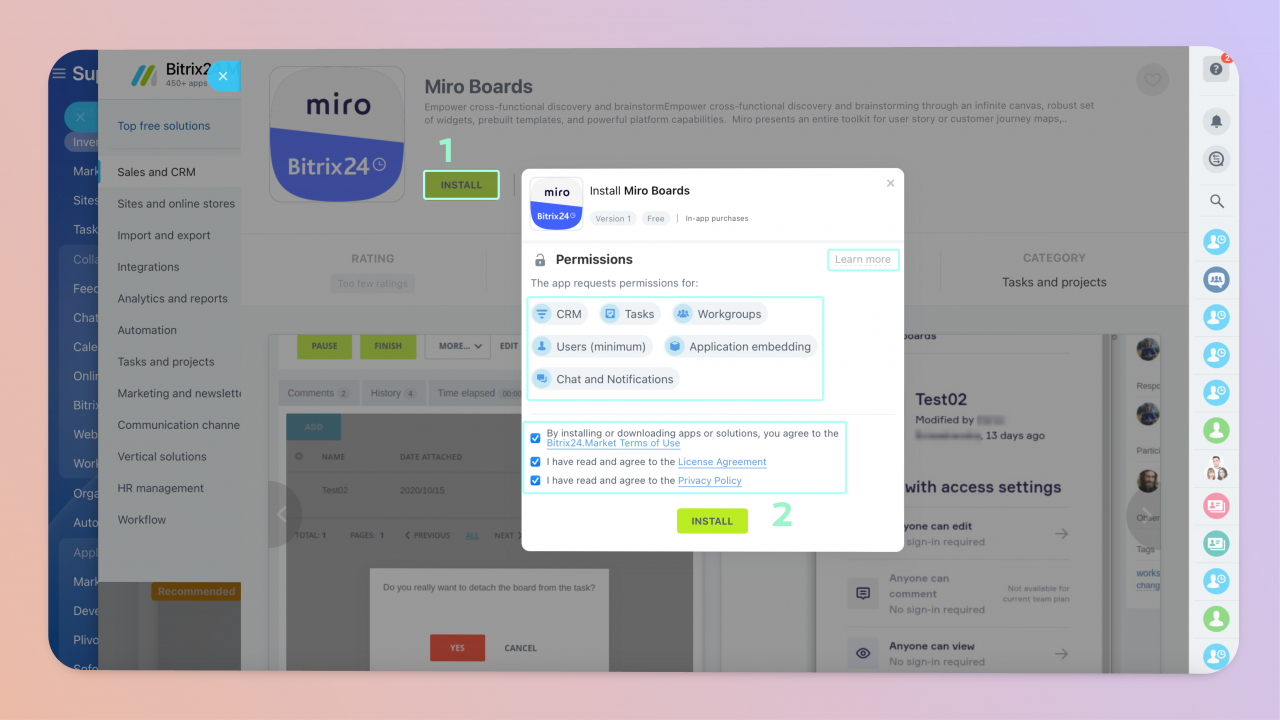
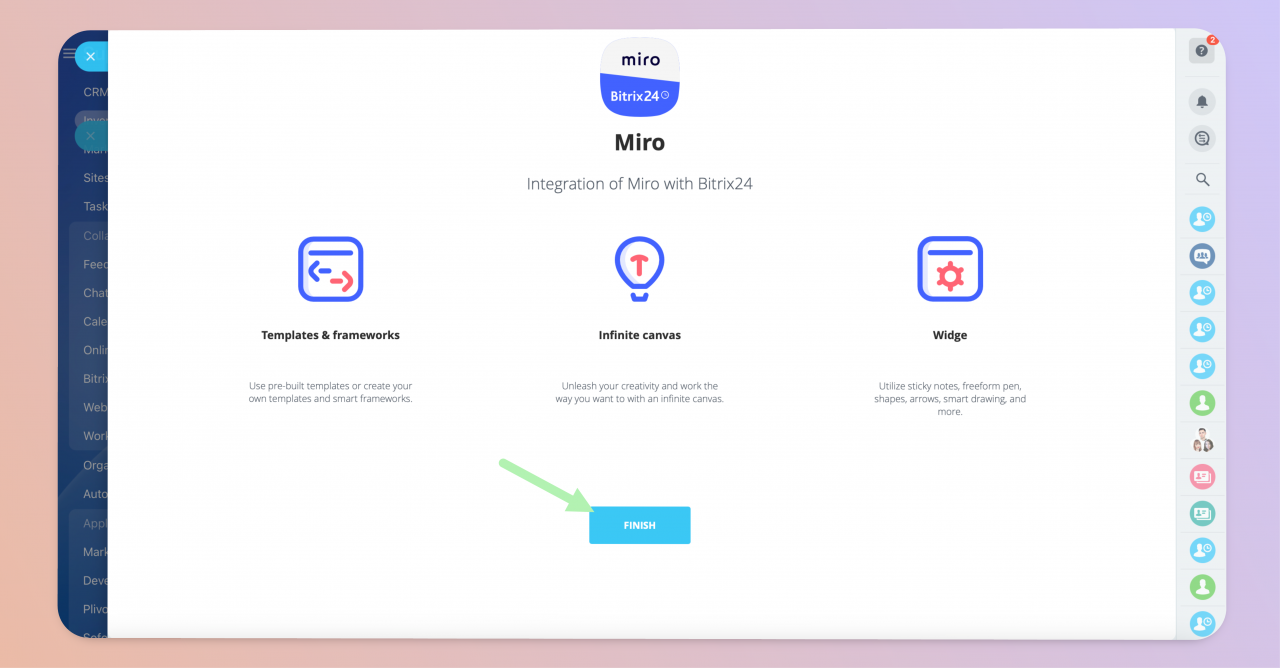
To install the application, you'll need to read & accept applicable Terms and Conditions. Each and every app required certain permissions (scopes) to operate.
If you would like to receive additional information on the scopes presented, kindly check the context help button and the following documentation on scopes.
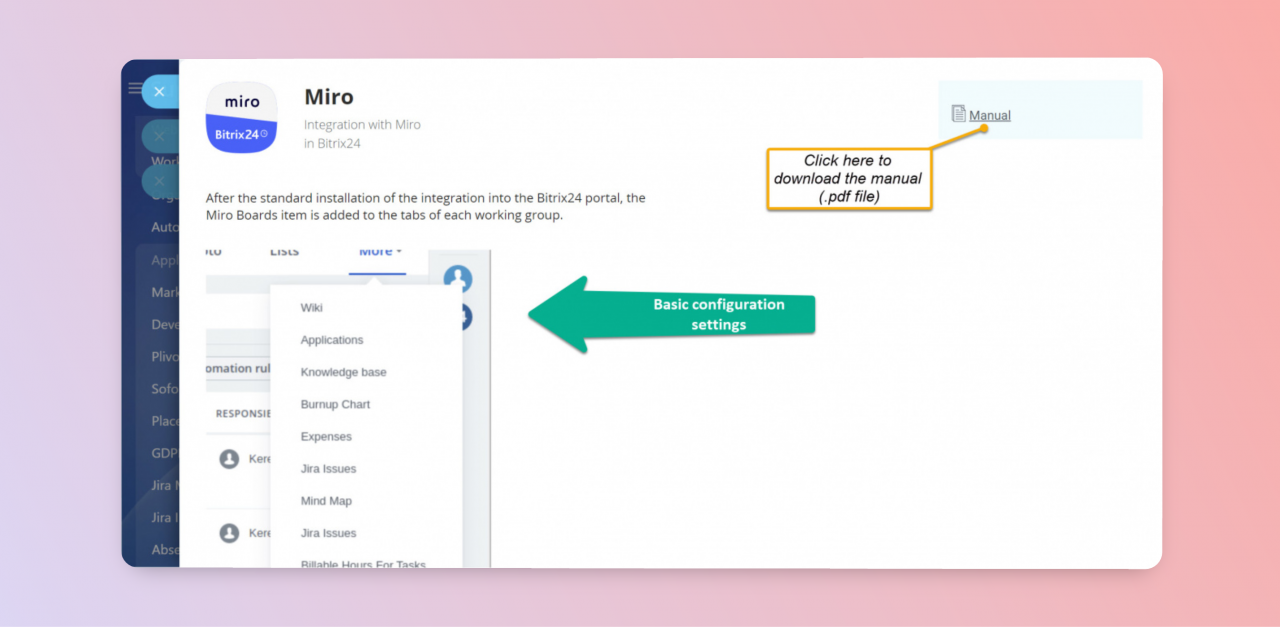
The whiteboards are available in tasks, projects and workgroups (Tasks and Projects section within your Bitrix24 account). If you have been actively working on a specific task or project, you'll be able to embed relevant whiteboards to them.
That lets you access the whiteboards from the corresponding task, workgroup or project anytime, provided you have required access permissions.
Grant access as you find necessary.
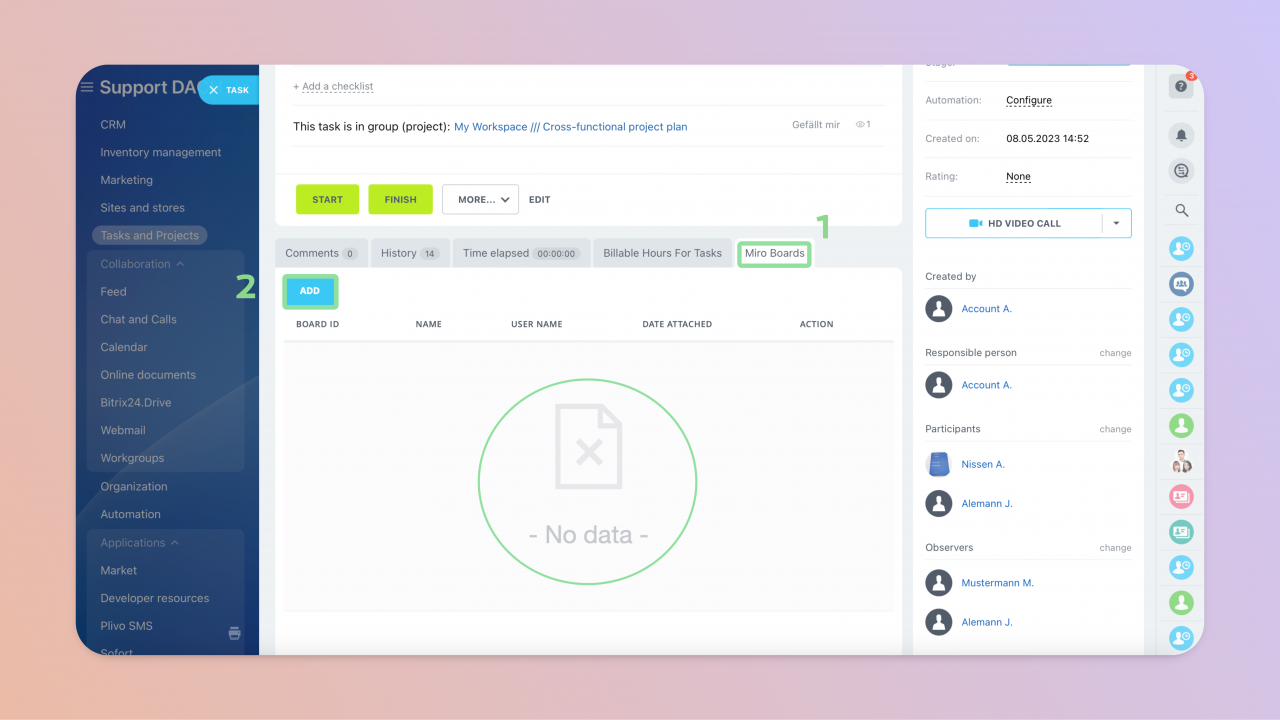
To add a whiteboard, go to a task, workgroup or project you would like to link your whiteboards to.
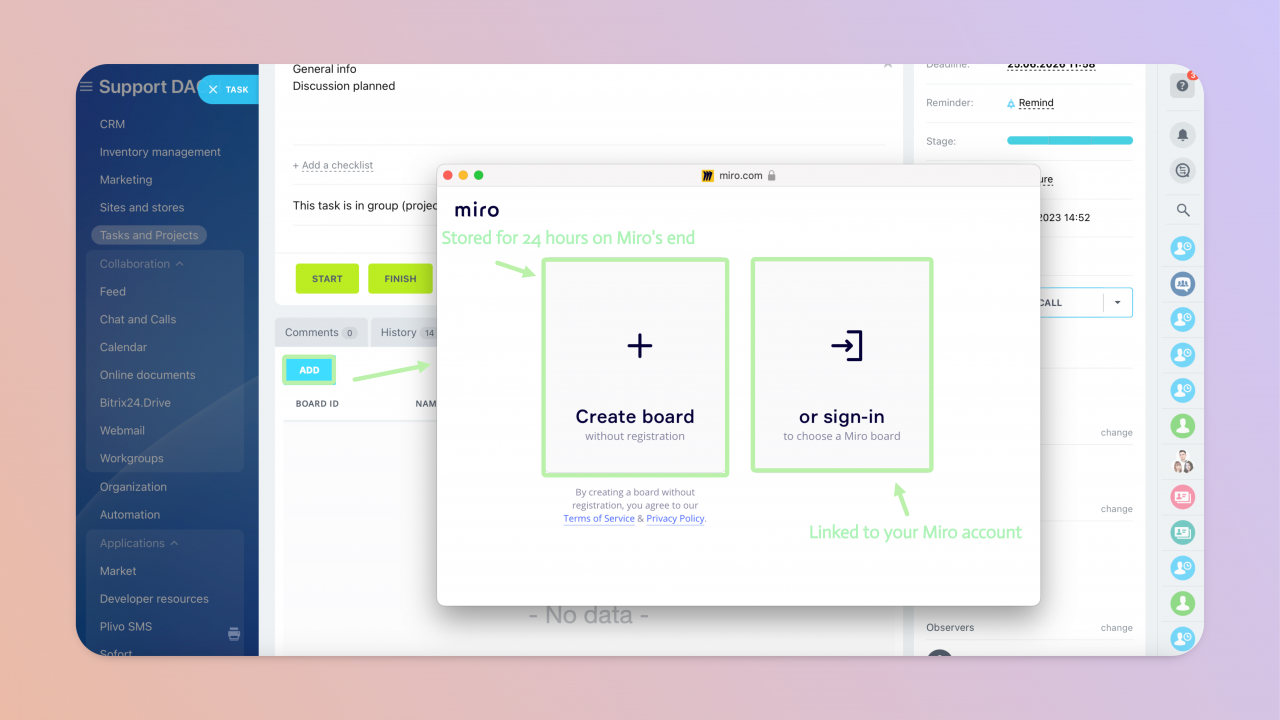
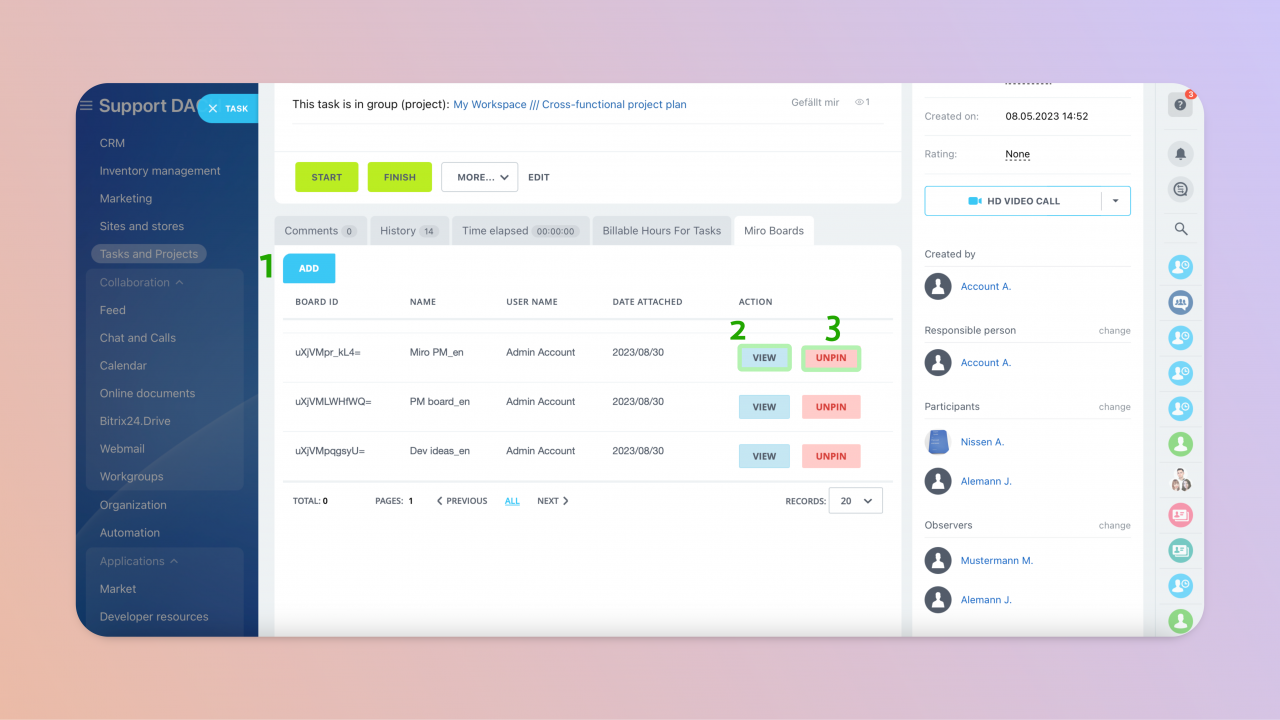
Initially, after switching to the tab you'll see no data. That will change as soon as you click unto Add button and choose the option that suits your needs best.
- Sign-in option - perfectly suited for long-term work and collaboration. Via this option you'll be able to connect your Miro account for future use. The app redirects you to the sign-in page provided by Miro and shows the results in a separate iframe window.
- Create board without registration - for temporary use only as the board will be deleted after 24 hours. You might find the option useful in case you need a task-related visual summary for quick use.
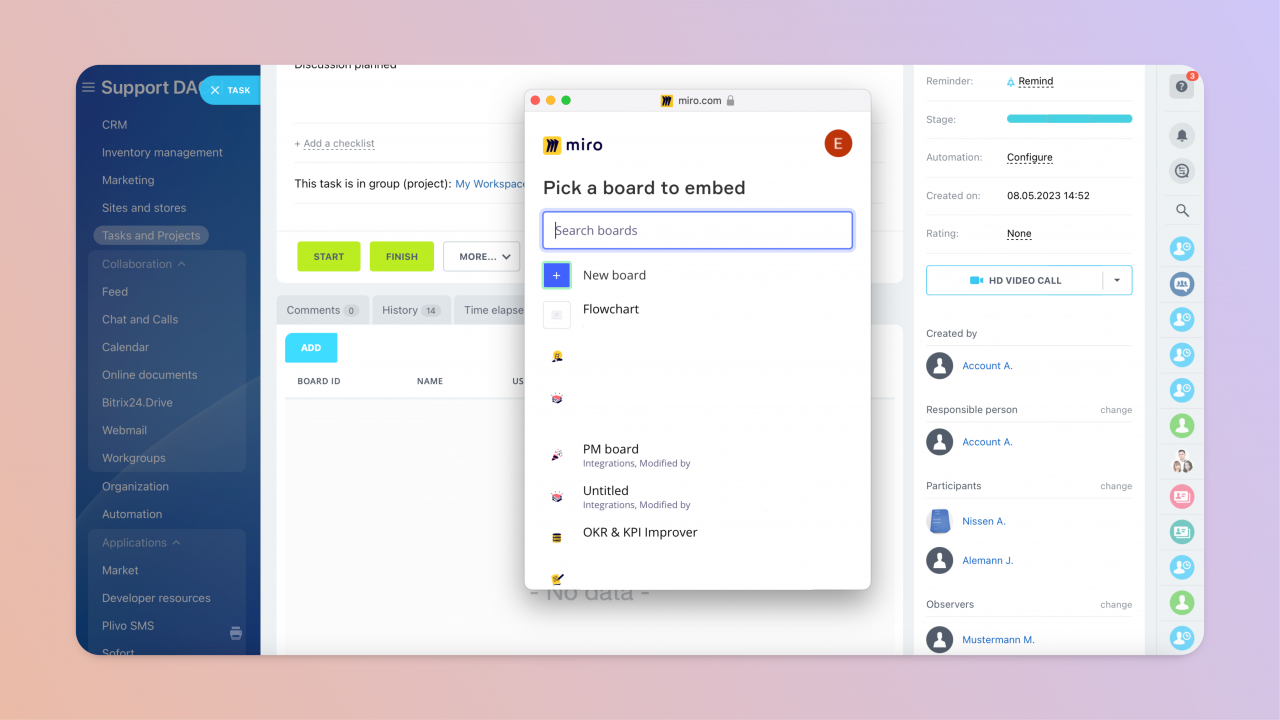
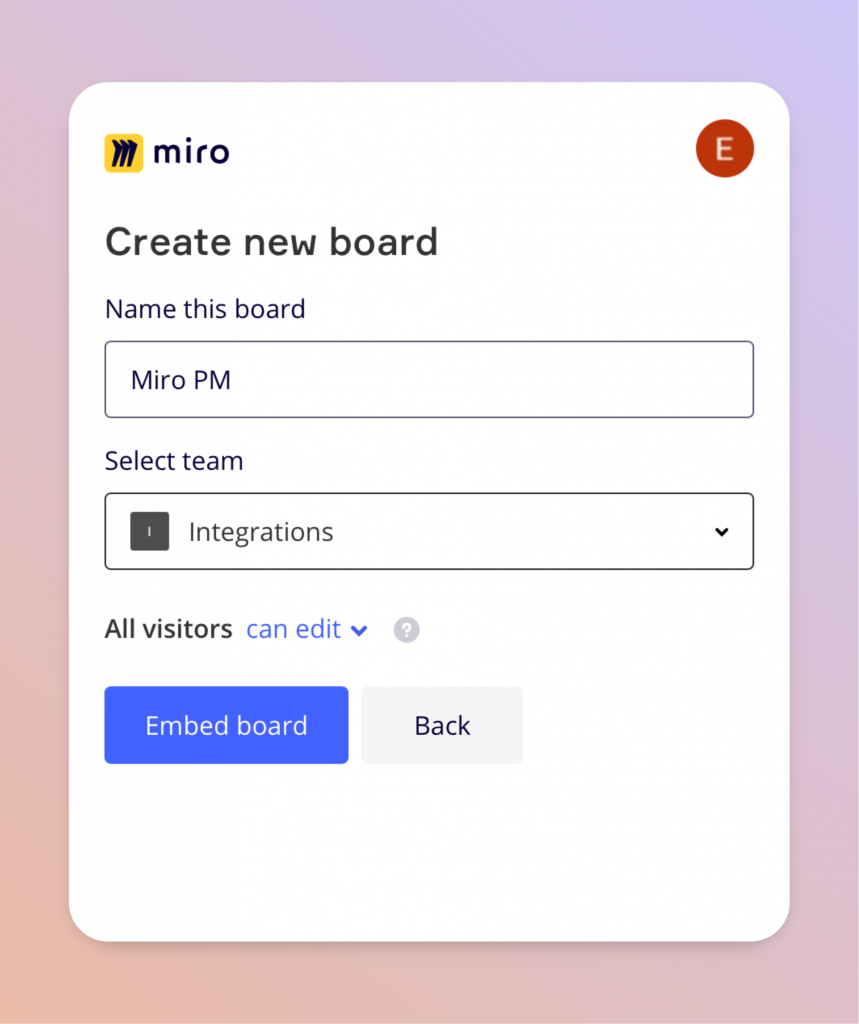
Alternatively, a new board may be embedded if you would like to start from scratch.
You'll also need to confirm the embedding action after choosing a specific whiteboard or setting up its name, related team and access permissions for the newly created boards.
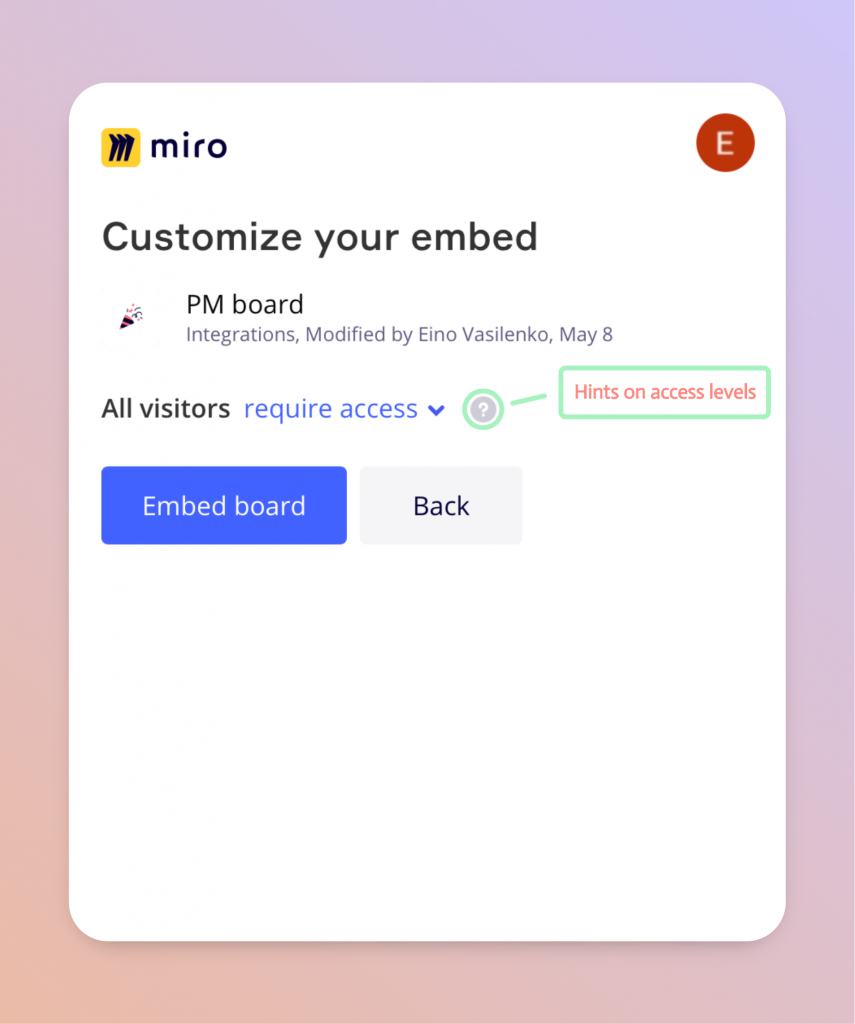
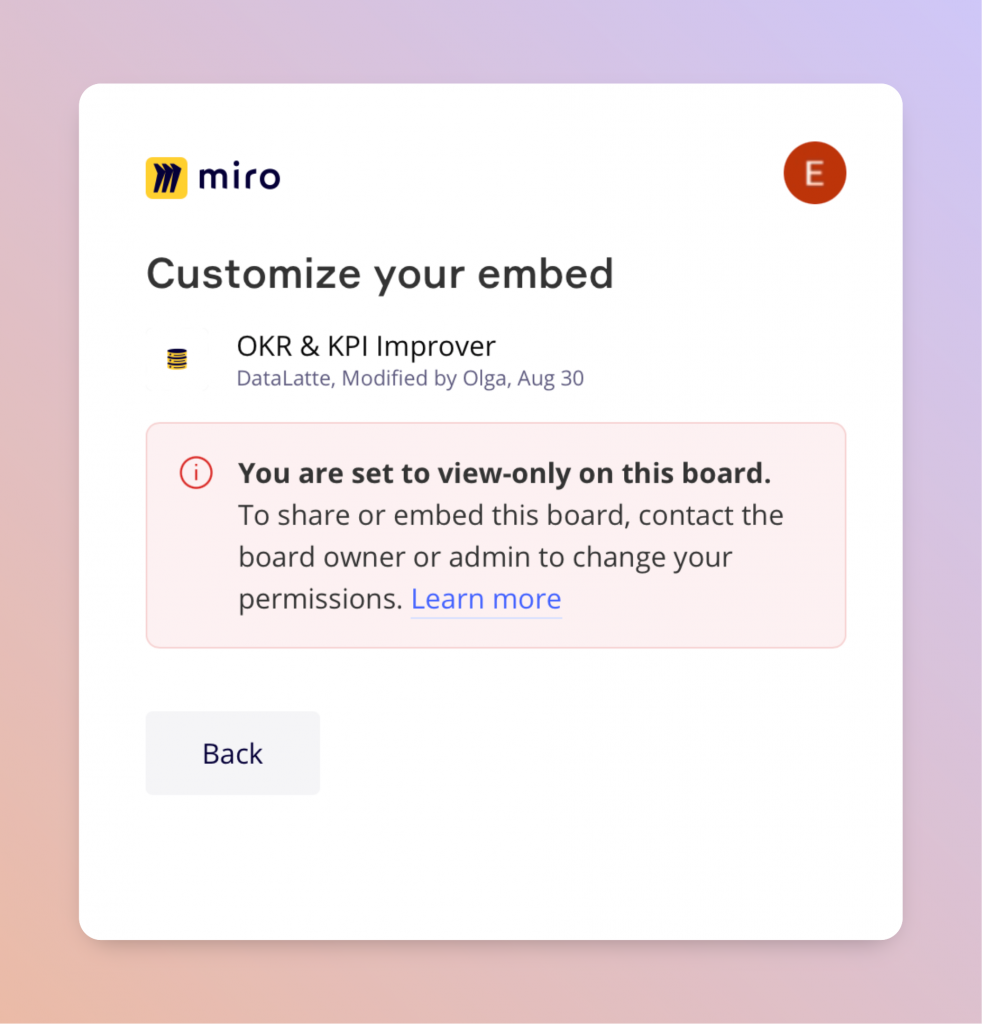
Prior to pinning a specific external board shared with your Miro account, make sure the access permissions granted are sufficient.
Otherwise, Miro will prevent you from embedding a board, for example if your access is restricted to read-only mode.
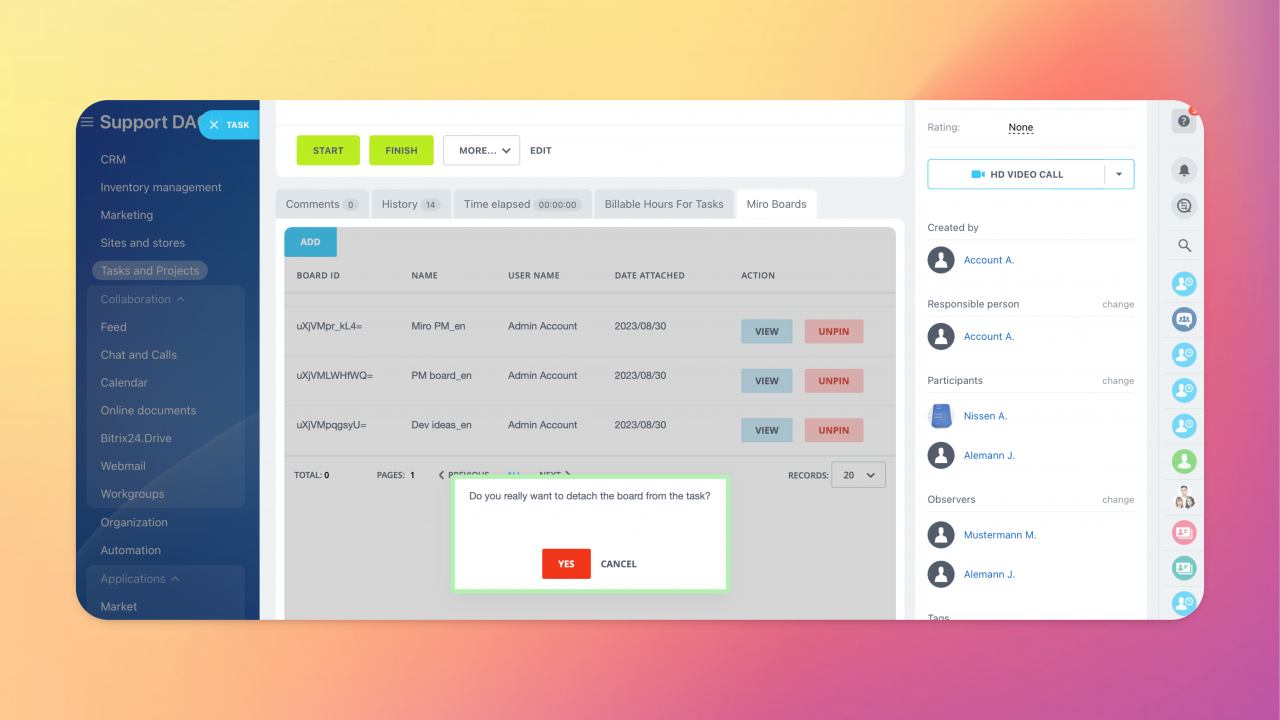
You can add, view, and unpin the boards anytime.
If your task or project is close to its end or there is no need in having the visual boards attached to it anymore, you may find the option to unpin the irrelevant whiteboards useful.
The whiteboard interface, navigation and management are identical to what you have in Miro.
If you're new, Miro Help center got you covered for that and much more. Make sure to check the applicable limits for your Miro plan.

.jpeg)
