Create a landing page with your company details and share a link to it with your clients, partners, or colleagues. This allows them to access your company details and use them in contracts or other relevant documents.
Before continuing with the following steps, make sure you have added your company details in Bitrix24. Click here to see how to add your company details.
Create a landing page
To create and customize a landing page:
-
Click on the toggles icon next to your company name.
-
In the Company details section in the widget, click Create landing page.
-
Once it is created, the text in this section will be updated to Landing page.
Click on the three dots button (...) and select Edit landing page to customize it.
Here, you can configure the preset blocks and page design.
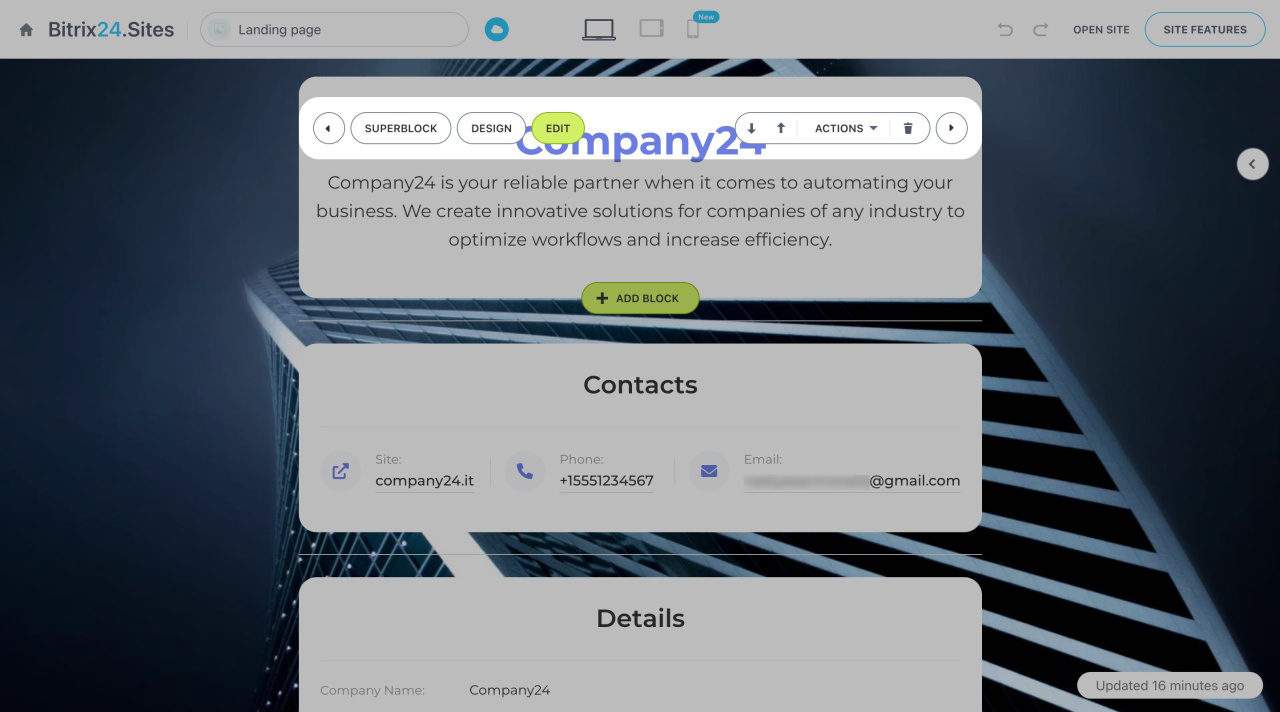
Click Edit on the first block and change the company name and slogan.
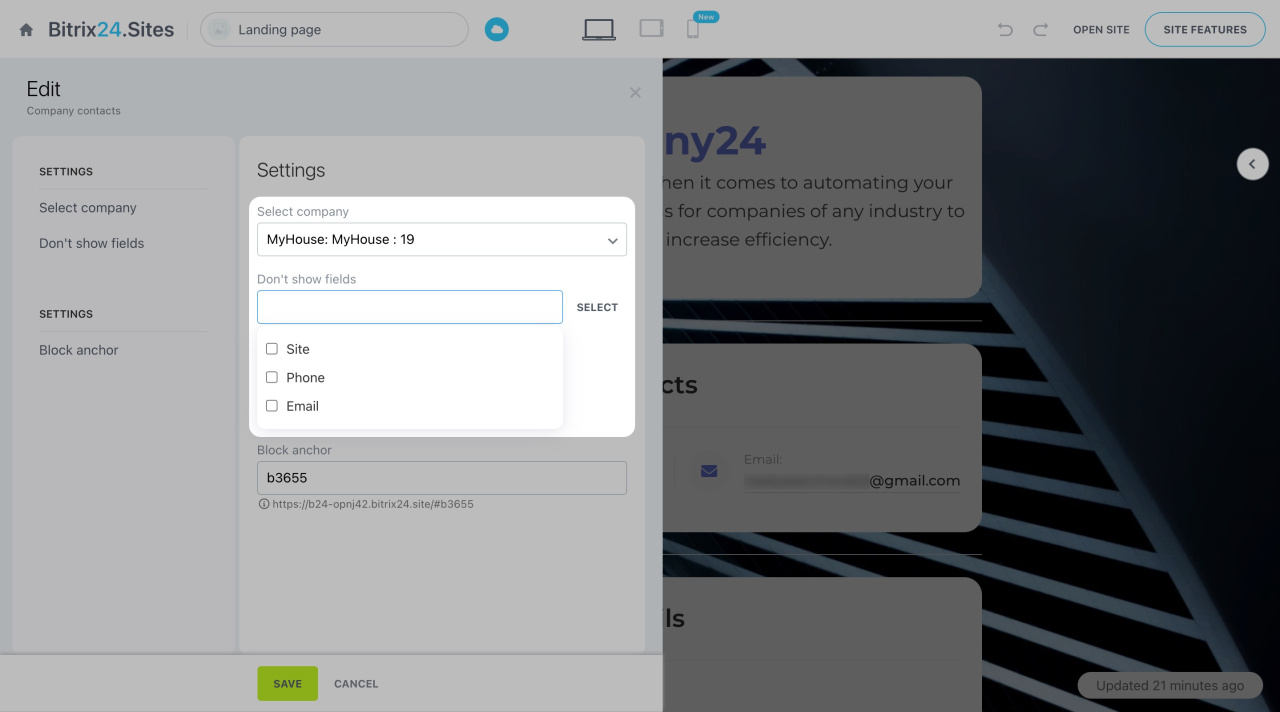
By default, the Contacts block includes a website, phone, and email. If you want to hide some fields, click Edit and select them under Do not show fields. Customize other blocks in the same way.
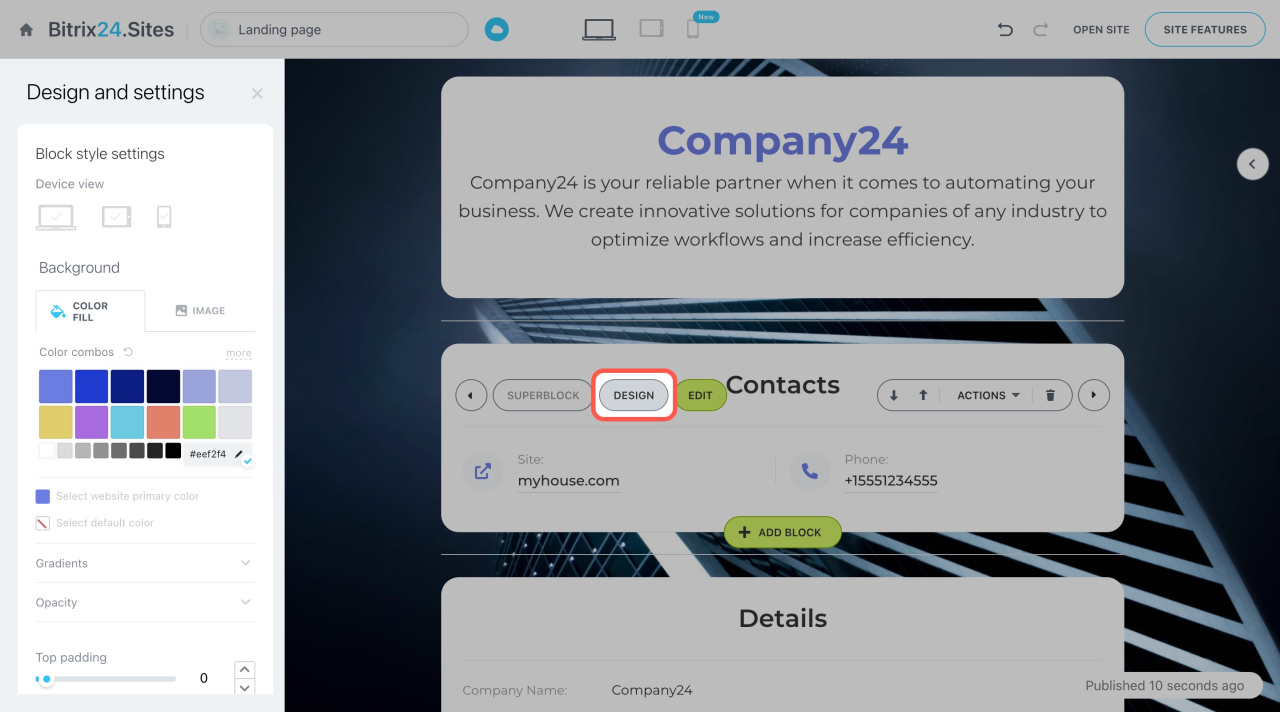
Each block has the Design tab. Here you can change the background color, font, size, and location of the text.
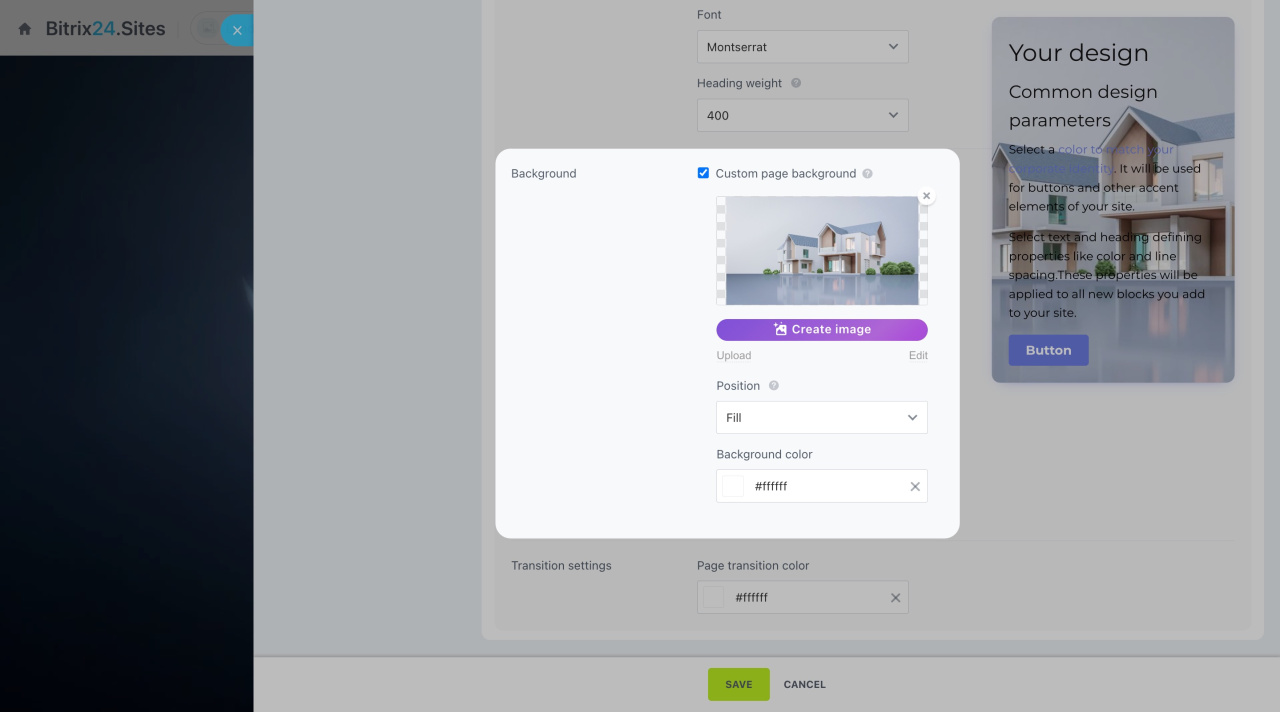
To change the landing page background:
-
Click Site Features in the top right corner.
-
Then click the gear (⚙️) to access the Site settings.
-
Open the Site design tab and scroll down to the Background section.
-
Upload an image or create one using CoPilot.
CoPilot in sites: how to create an image -
Save the changes.
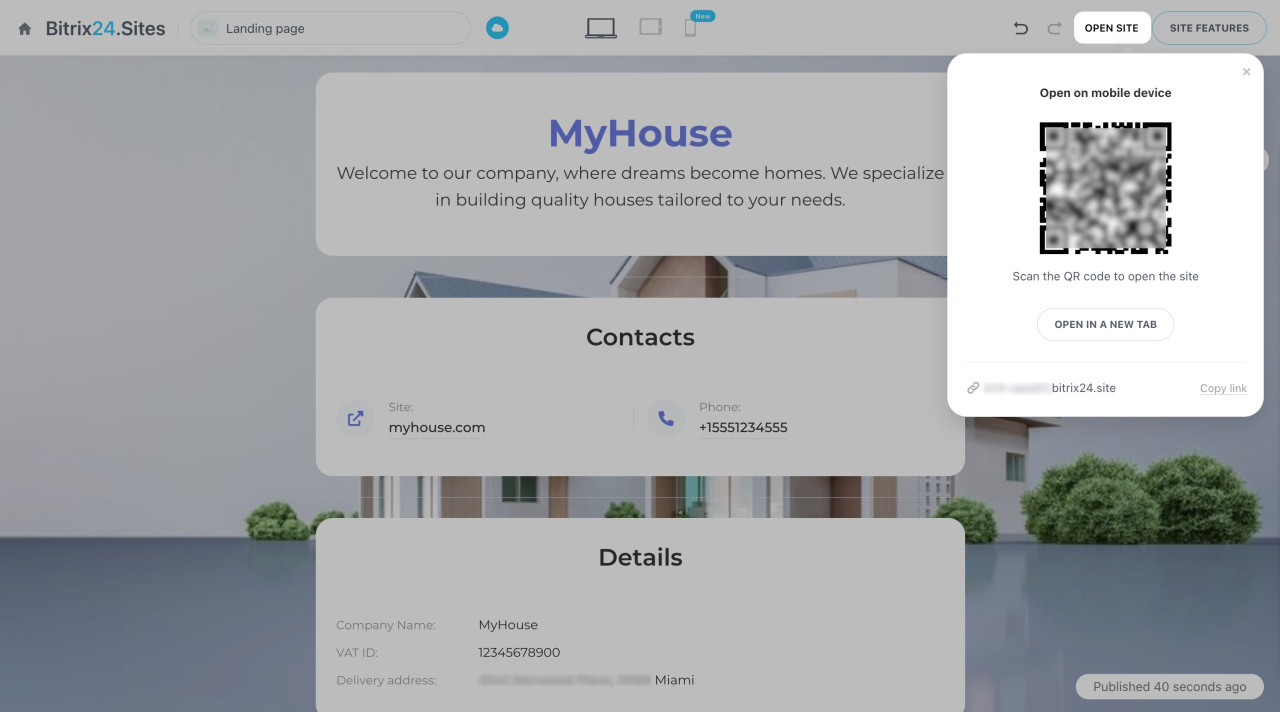
To view the result, click Open site and select Open in a new tab. Alternatively, scan the QR code to view the landing page on your mobile device.
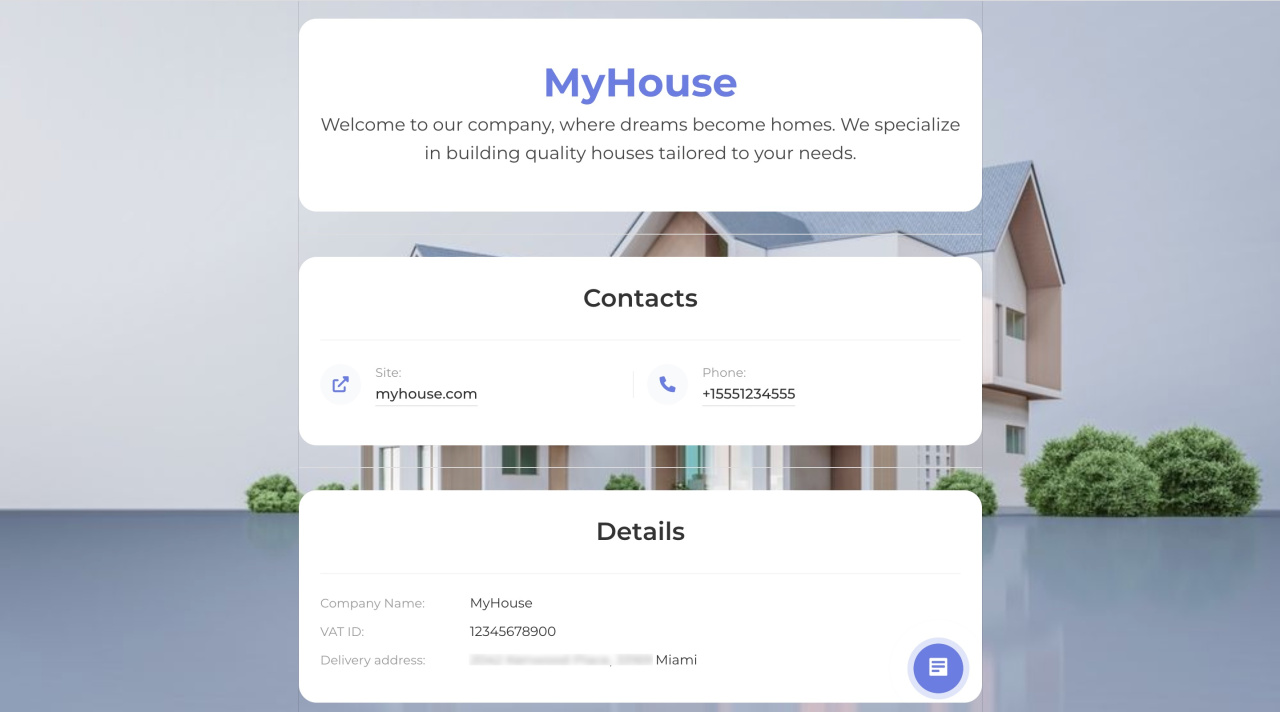
Below is an example of landing page customization. In addition, you can configure the widget and rename your landing page under Site settings.
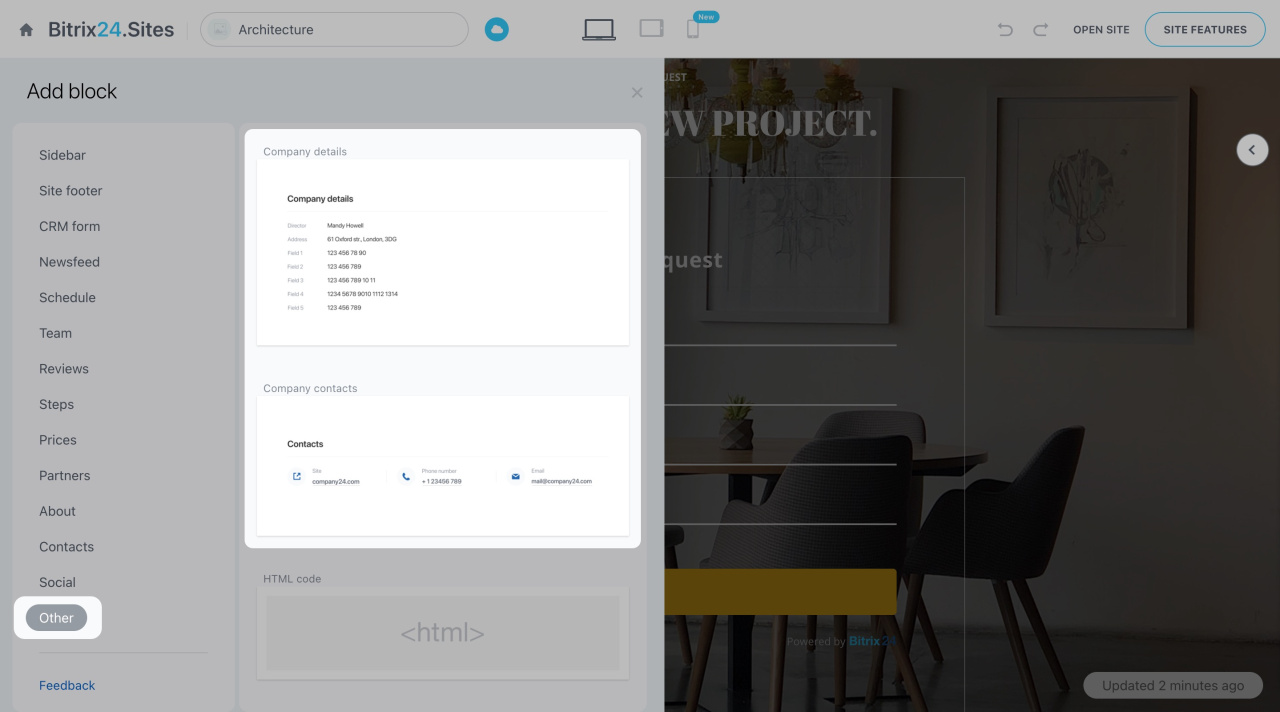
Bear in mind that it is possible to add a block with company details to any site created in Bitrix24. Select the company in the block settings to display the required details from CRM.
View your company details
To find all the added company details:
-
Click on the toggles icon next to your company name.
-
Select Settings in the widget.
-
Open the Company details tab.
If there are several companies, you will find the details and links to the landing pages of each under this tab. Here, you can also copy the link to the landing page or edit it.
To add another company's details, click Add company in the bottom right corner.
To delete your company details:
-
Go to CRM > Settings > My company details.
-
Select a company you want to delete.
-
Open the Menu (≡) and click Delete.
Add your company details
There are two ways to add your company details:
-
Go to CRM > Settings > My company details and click Create.
-
Go to Bitrix24 Settings > Company details and click Add company.
If you add company details in Bitrix24 Settings, they will appear in CRM, and vice versa.
In brief
-
Easily create and share a landing page with your company details. Enable others to access and use this information in contracts or relevant documents.
-
To create a landing page, open the settings widget. In the Company details section, click Create landing page.
-
To edit your landing page, open the settings widget. In the Landing page section, click on the three dots button (...) and select Edit landing page.
-
To add your company details, go to Bitrix24 Settings and open the Company details tab. Then click Add company in the bottom right corner.
-
To edit your company details, open the settings widget. In the Landing page section, click on the three dots button (...) and select Edit company details.
-
Add blocks with company details to any site created in Bitrix24.

