Bitrix24 Mail is a valuable tool for communicating with colleagues and customers. Create folders for mail, add signatures, and configure CRM integration. This article will help you with these and other mailbox settings.
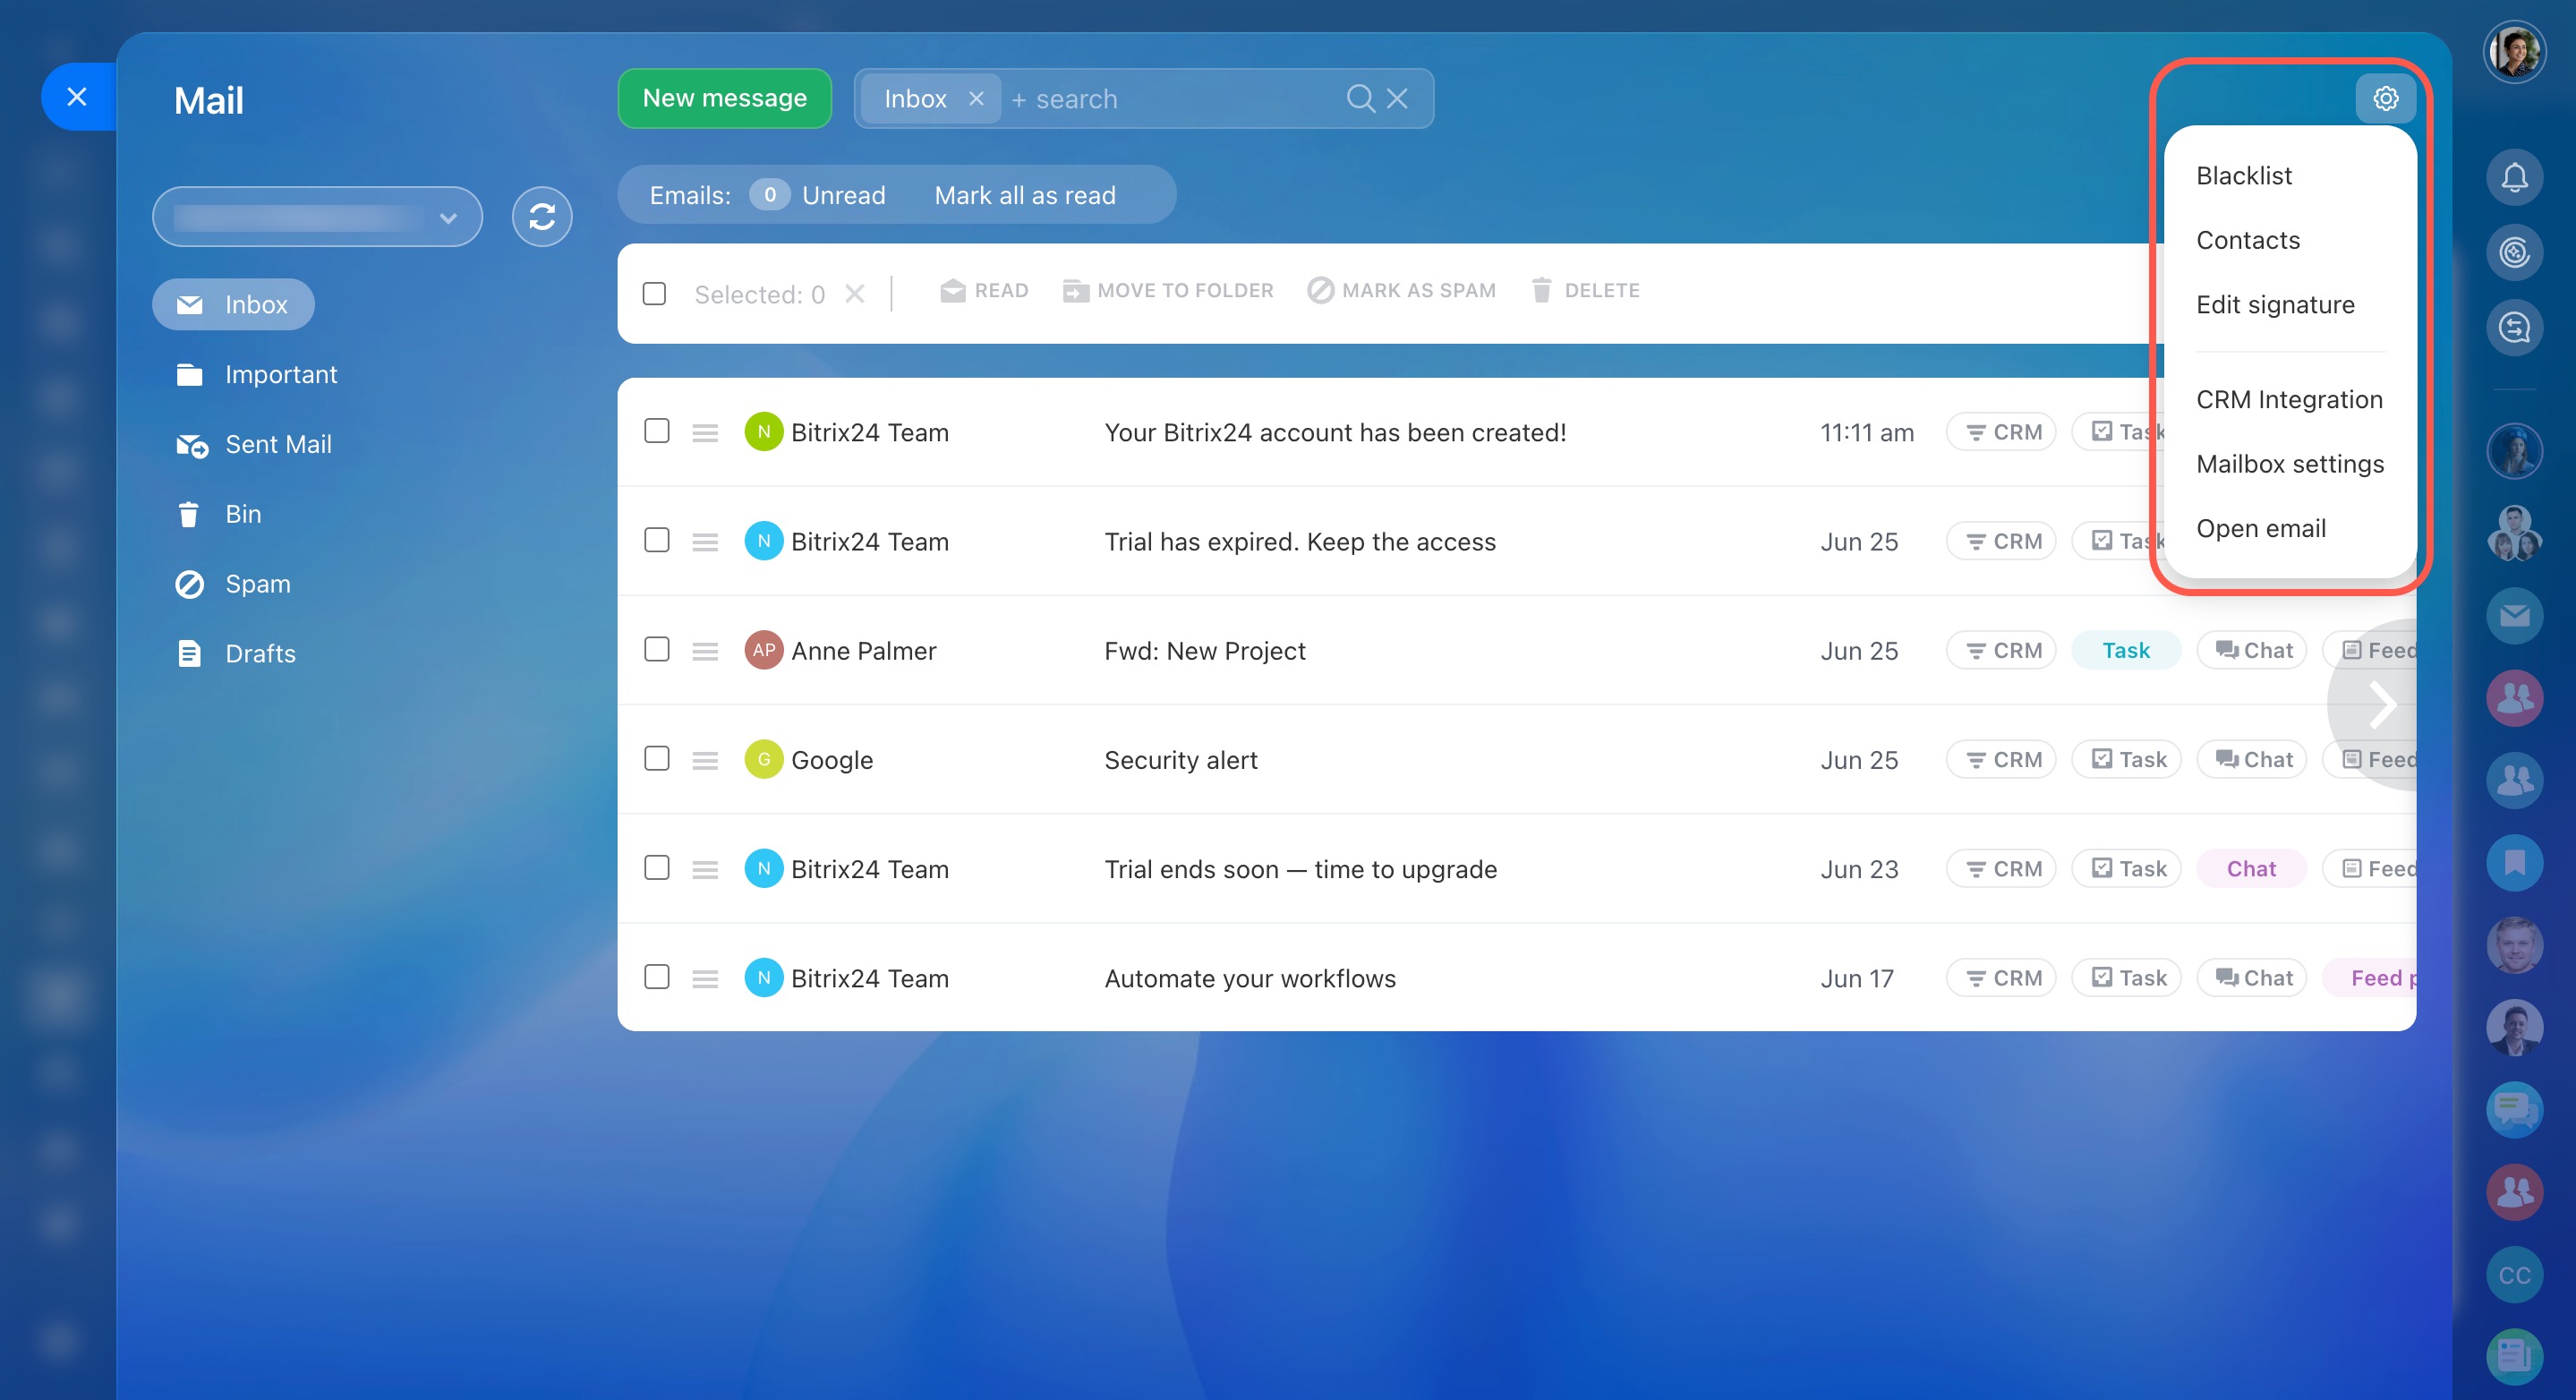
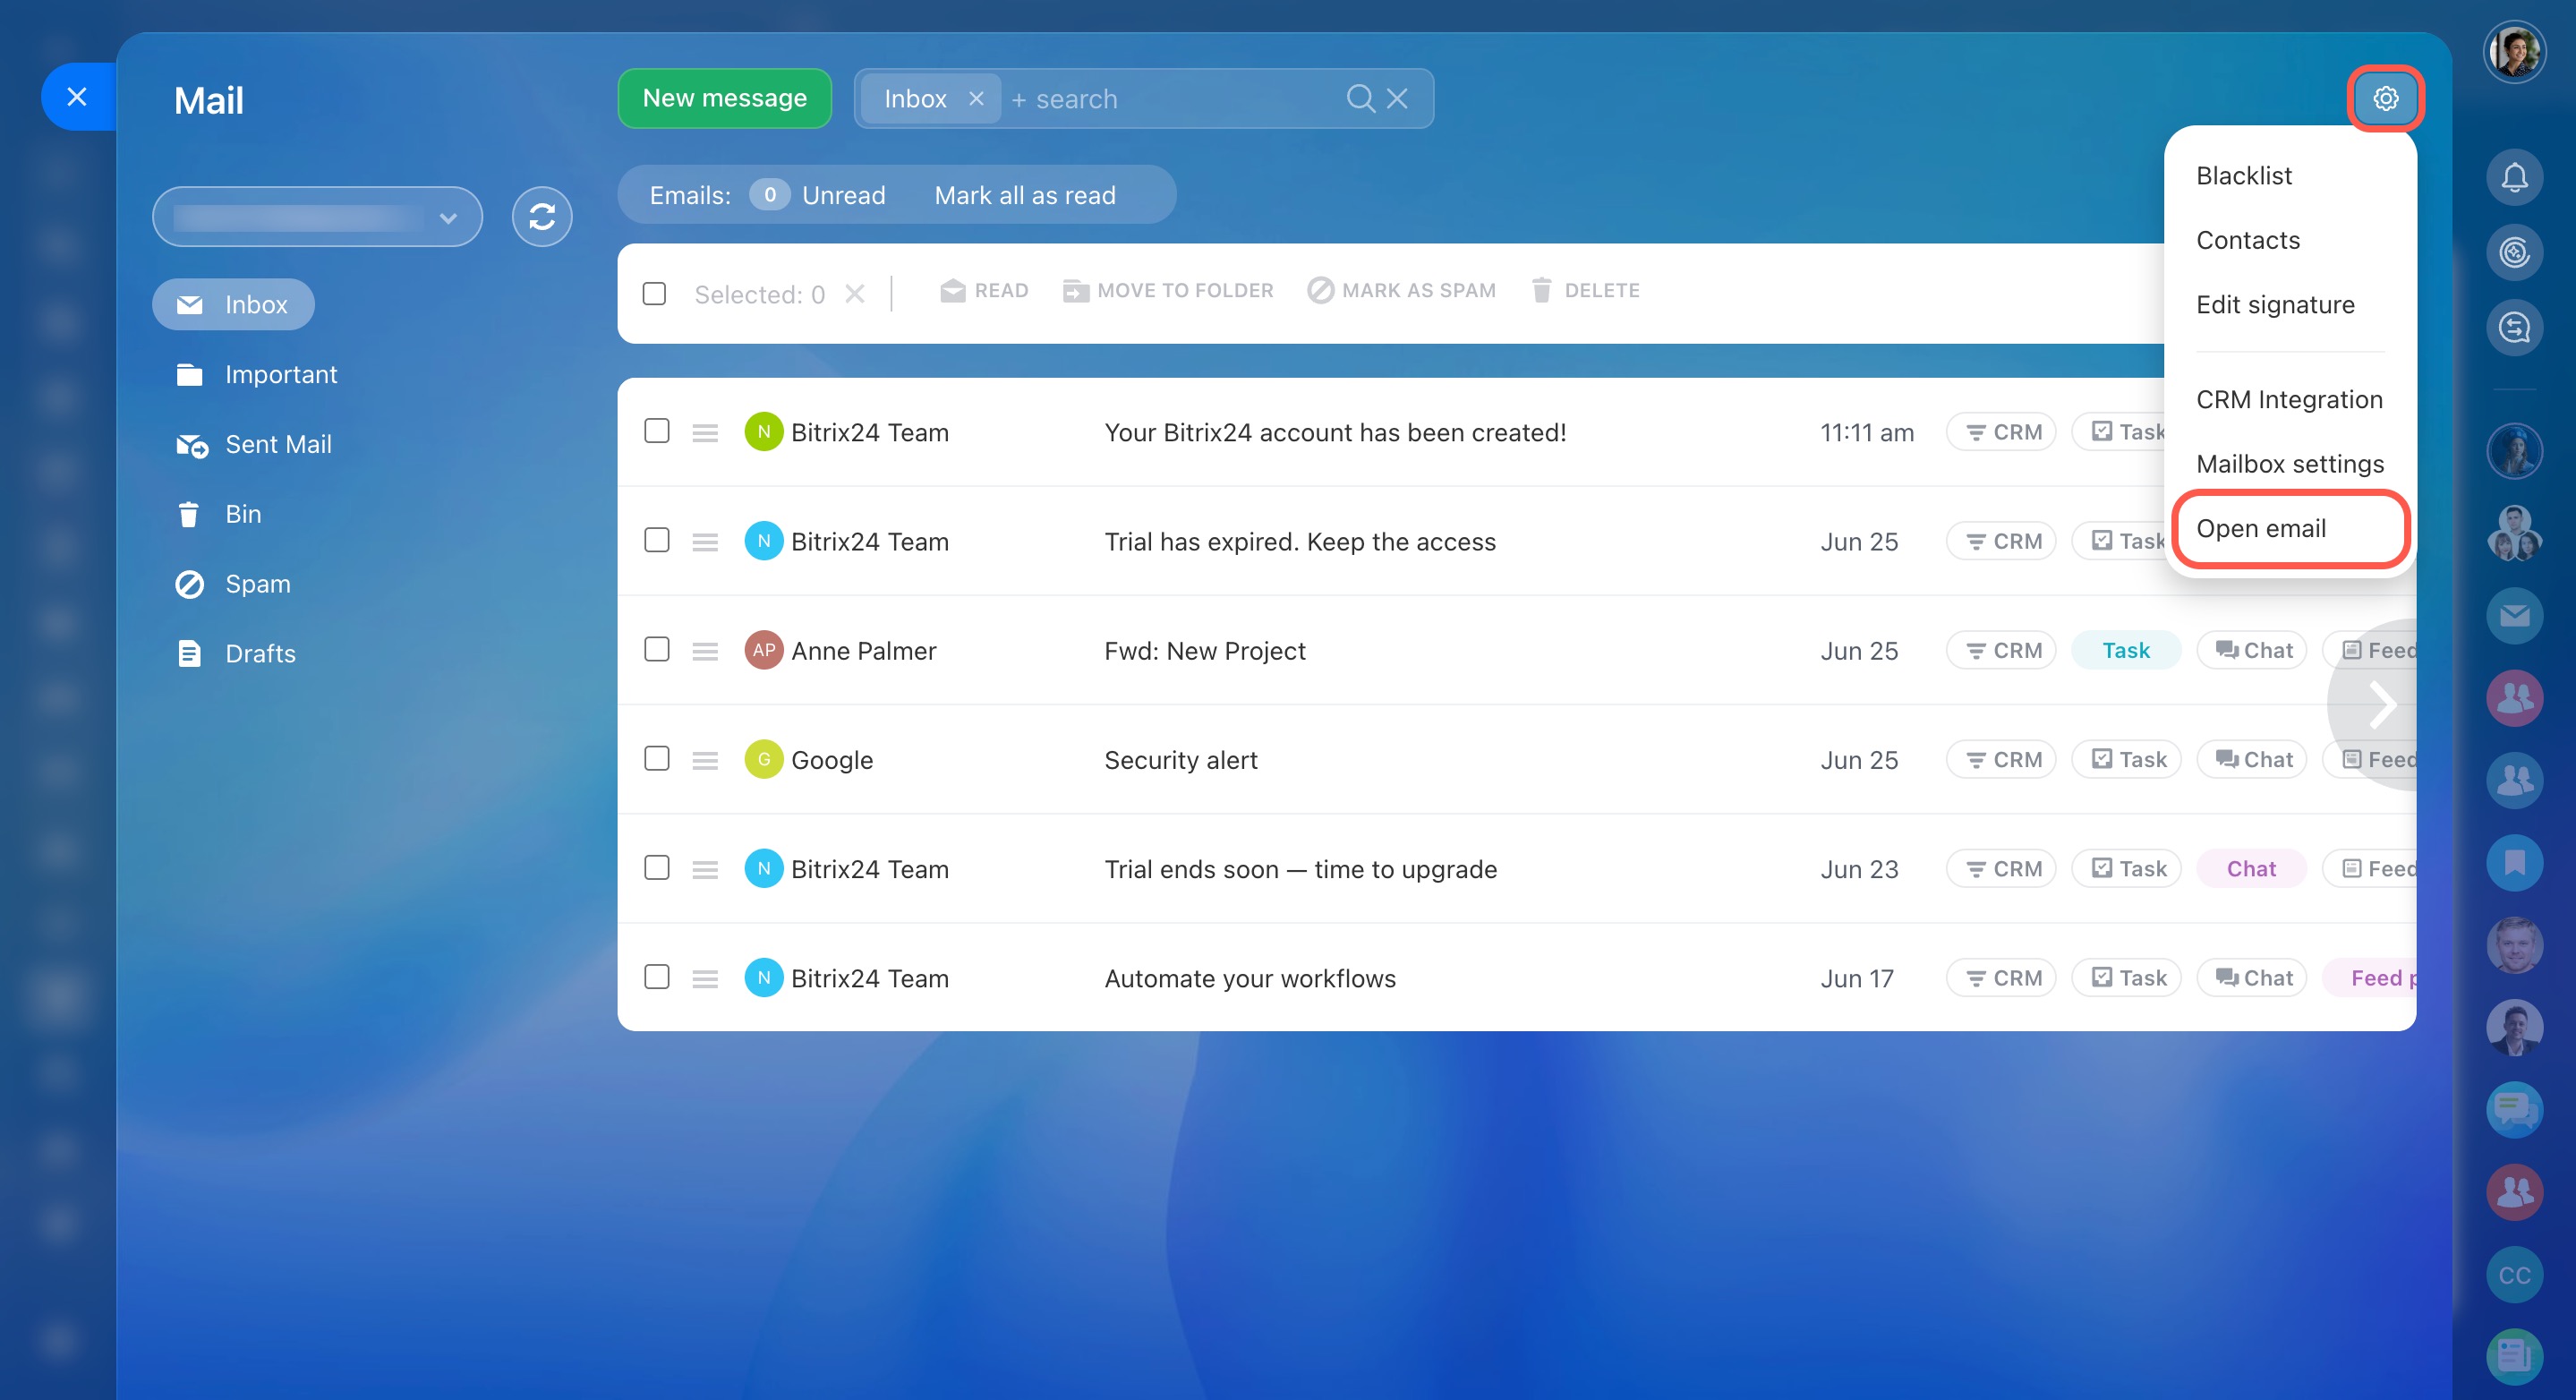
Click the gear button (⚙️) in the top right corner and select the needed option.
Blacklist
In this section, you can add unwanted email addresses to the blacklist. Incoming messages from these addresses will automatically go to spam.
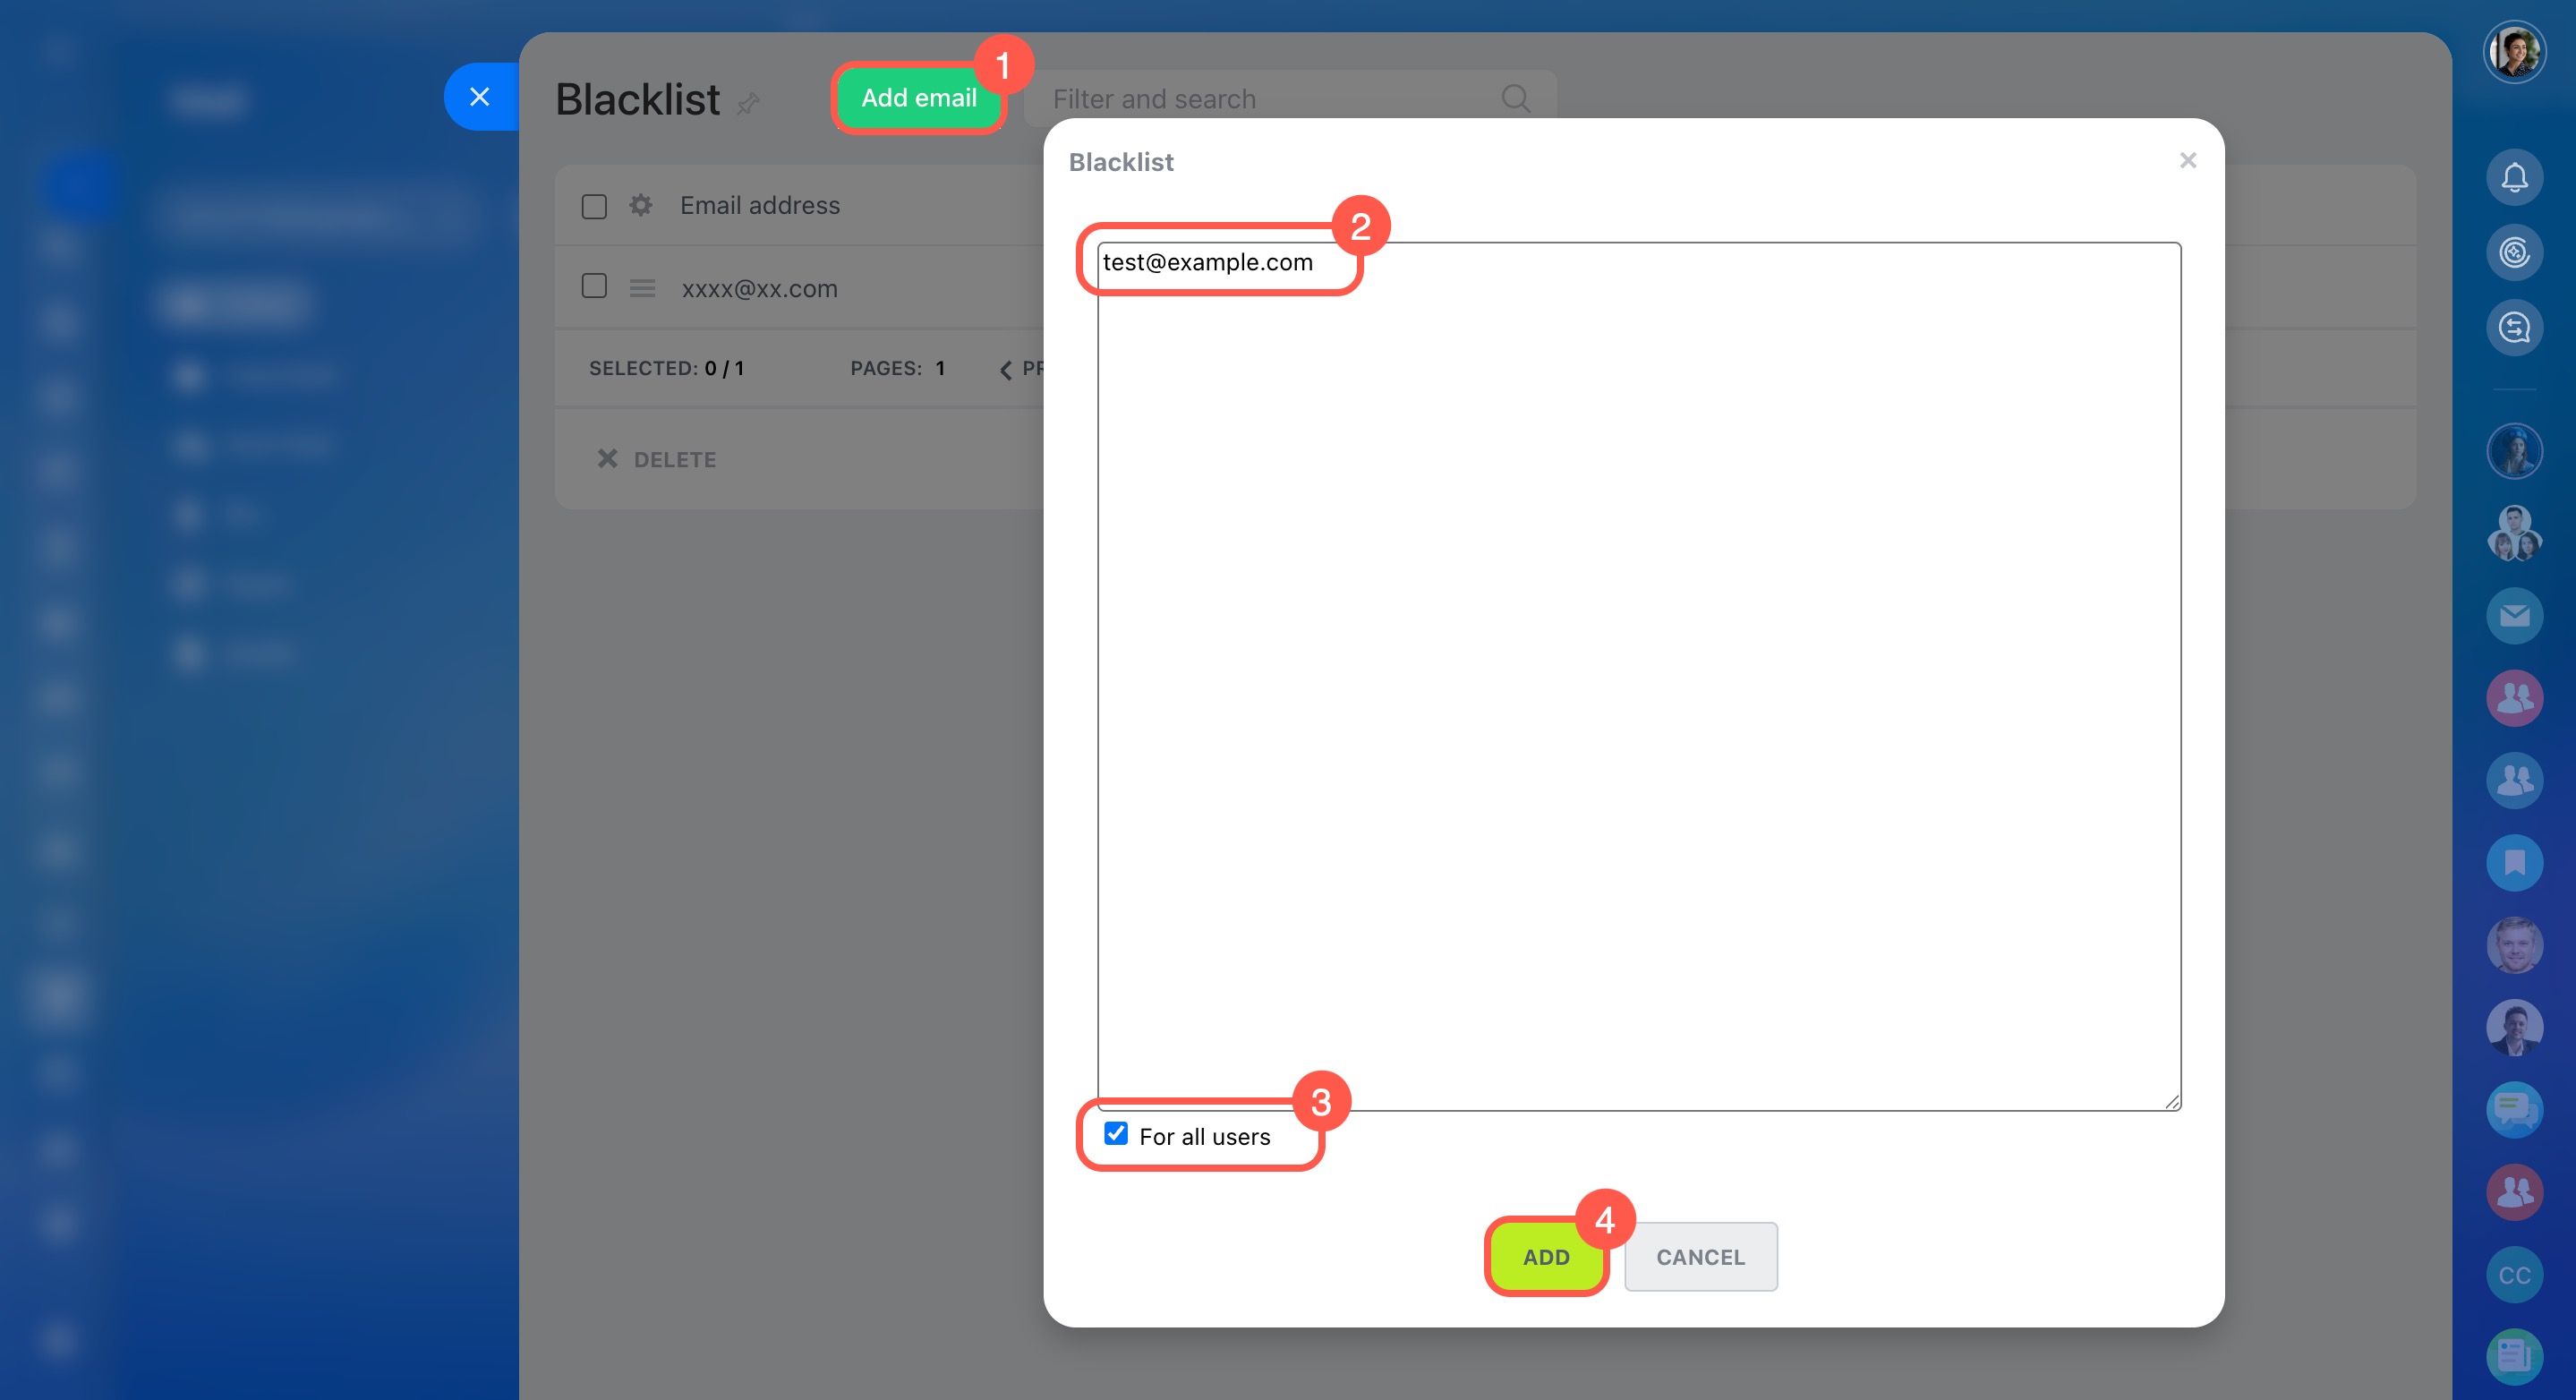
Under Blacklist, click Add email in the top-right corner and specify email addresses in the pop-up window.
Activate , and no user in your account will get emails from the specified addresses.
Note that an email address is automatically added to the blacklist if:
- You mark an email from this address as spam
- This address is unavailable
- This address does not exist
You can remove any email from this list with the help of the actions menu.
Contacts
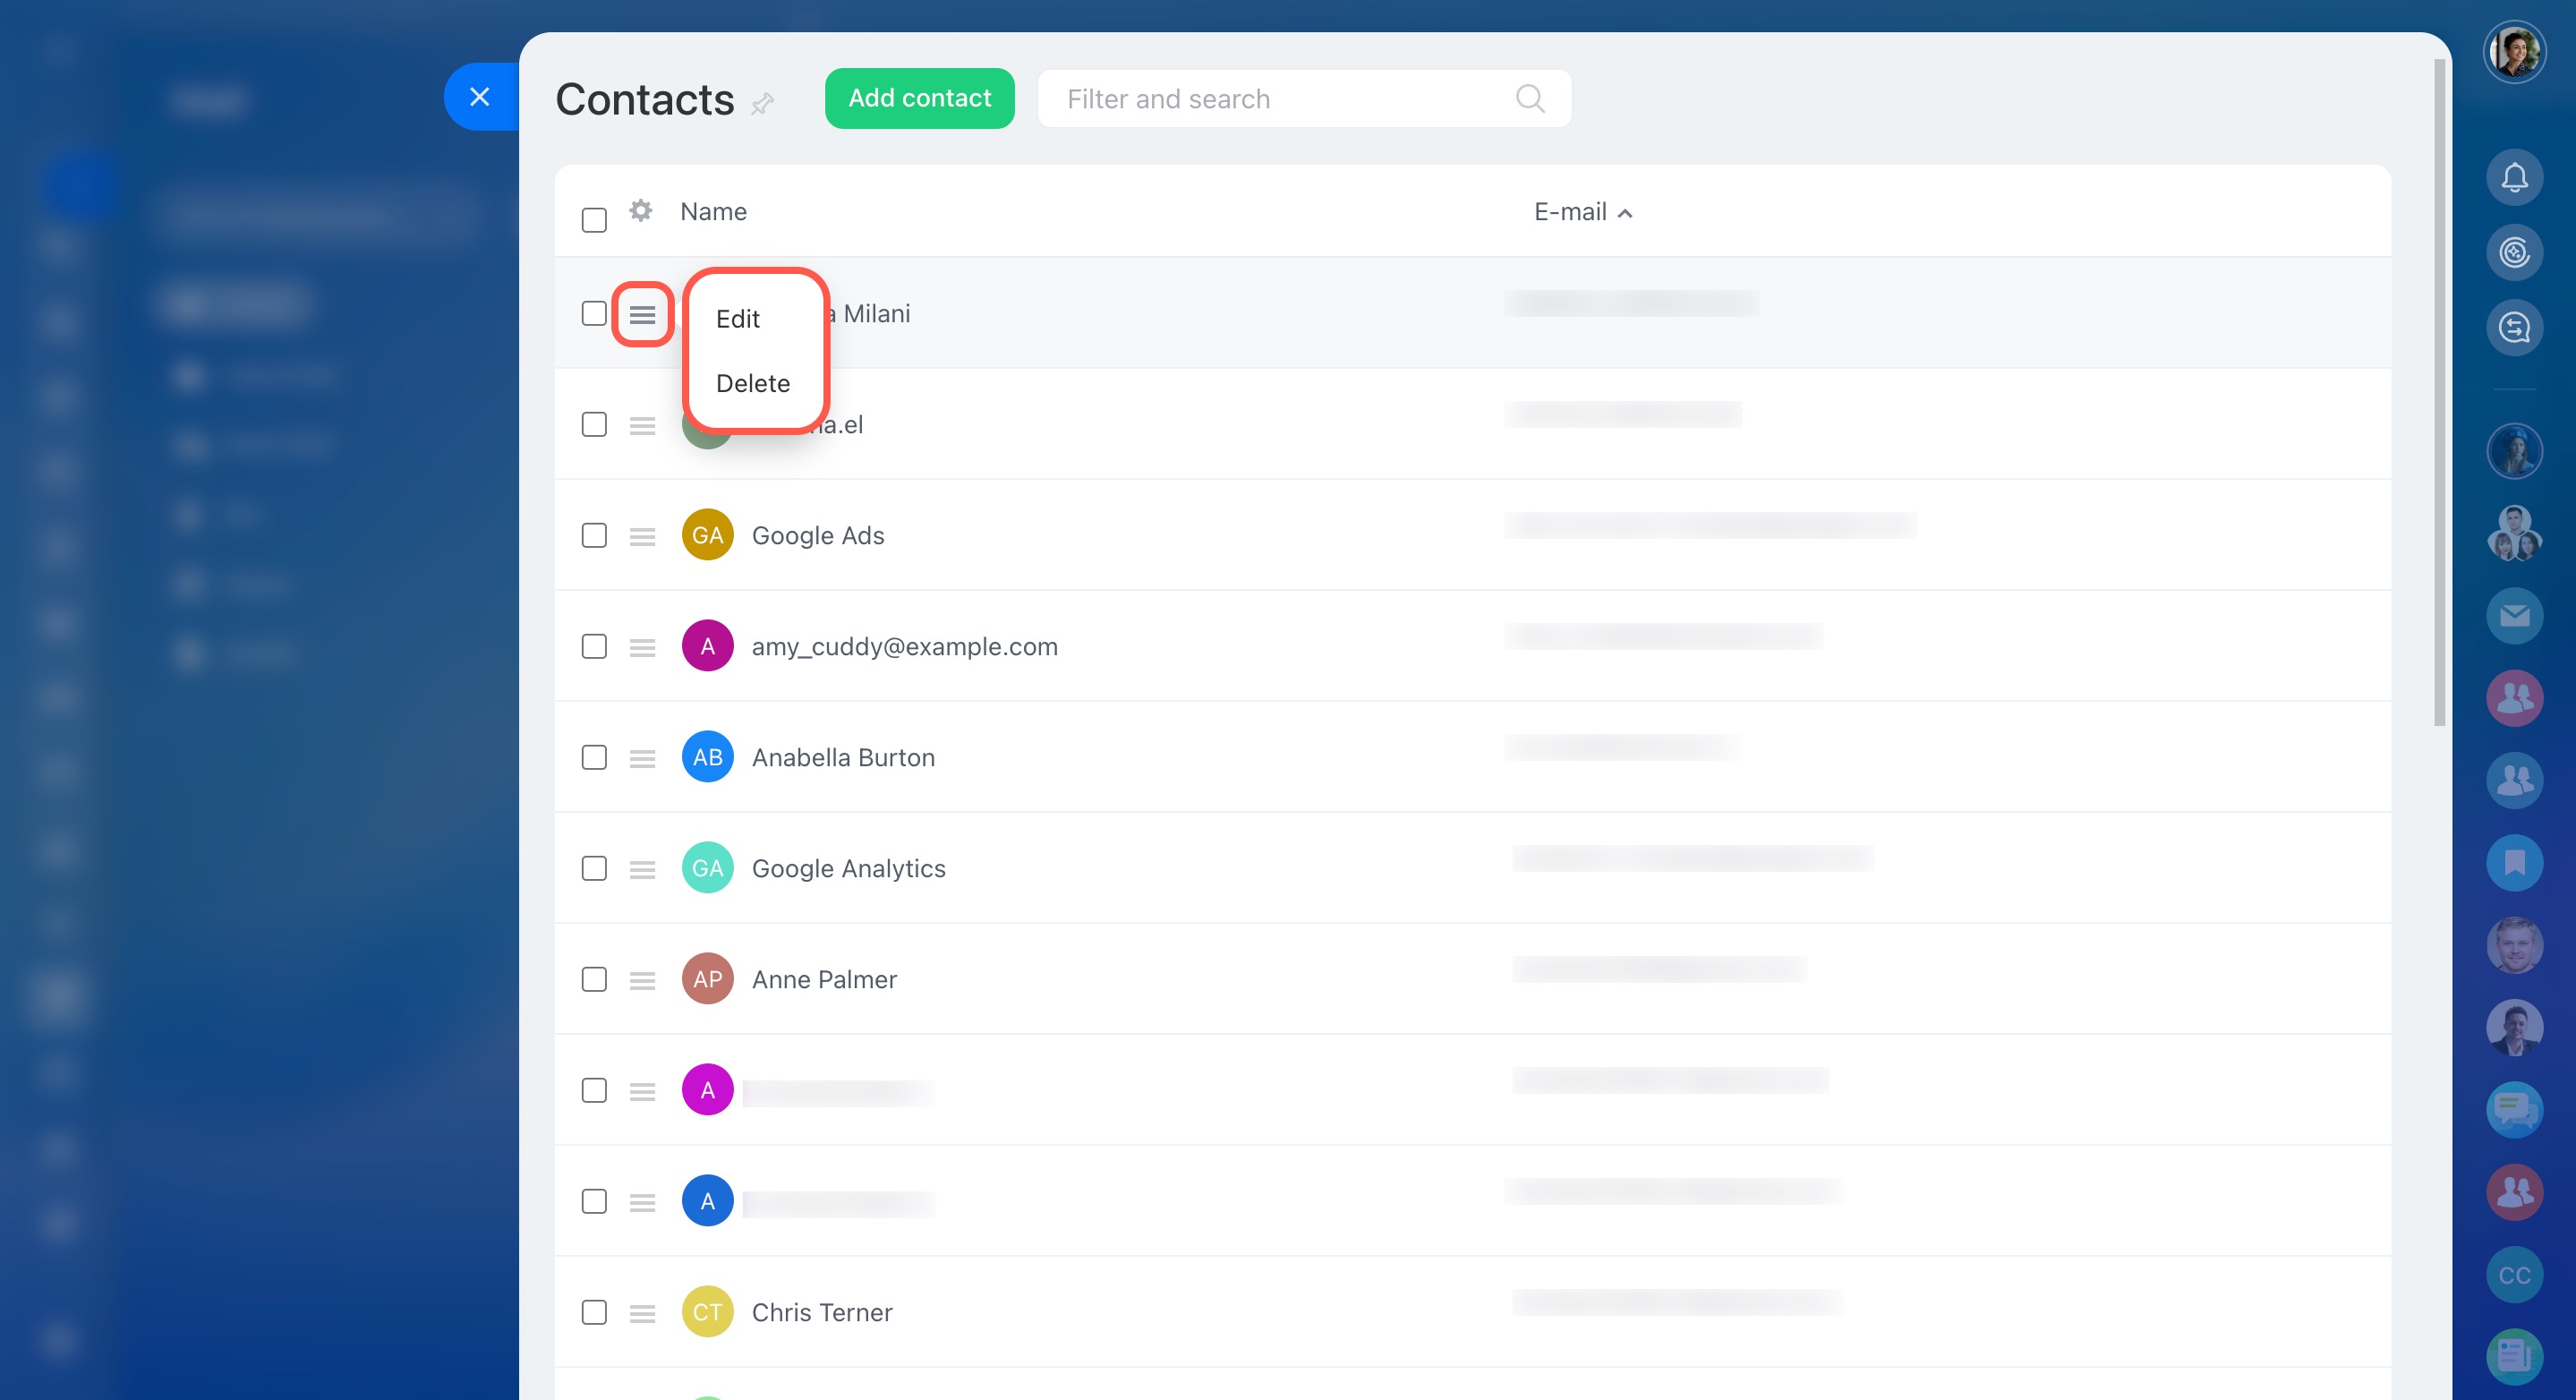
Under Contacts, you can find a list of all email addresses sent to you. To edit or delete a contact, use the actions menu.
Use search and filters to find a contact.
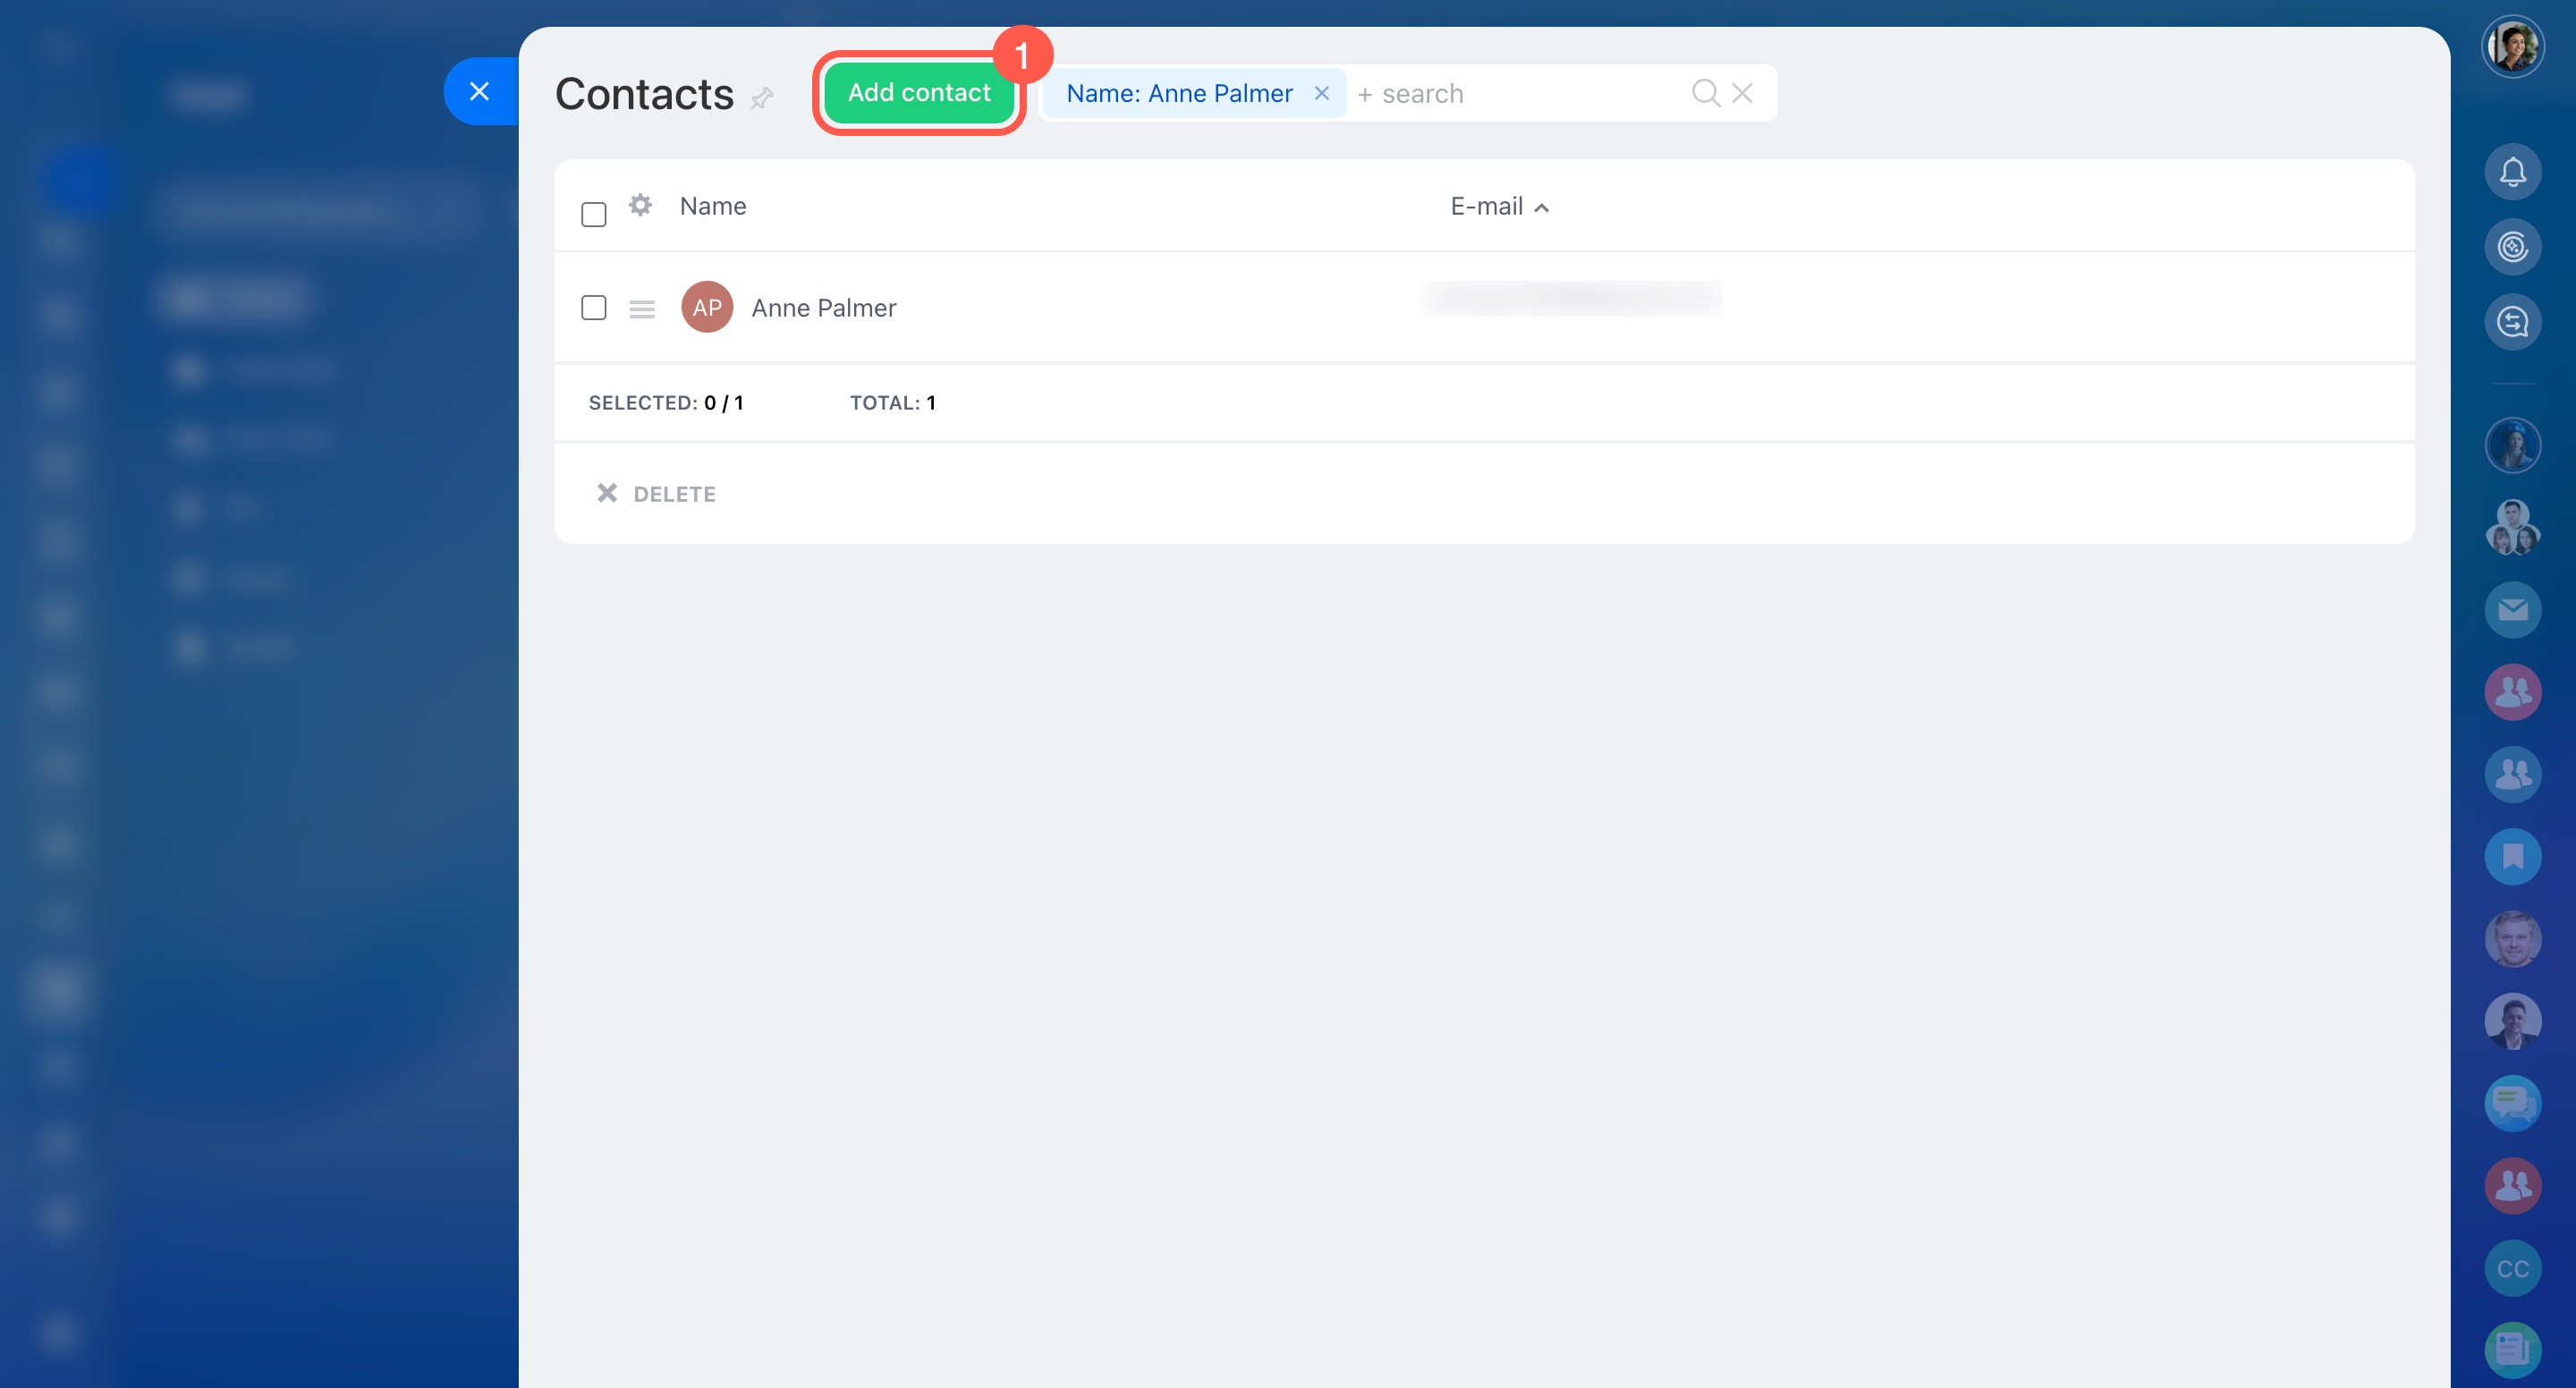
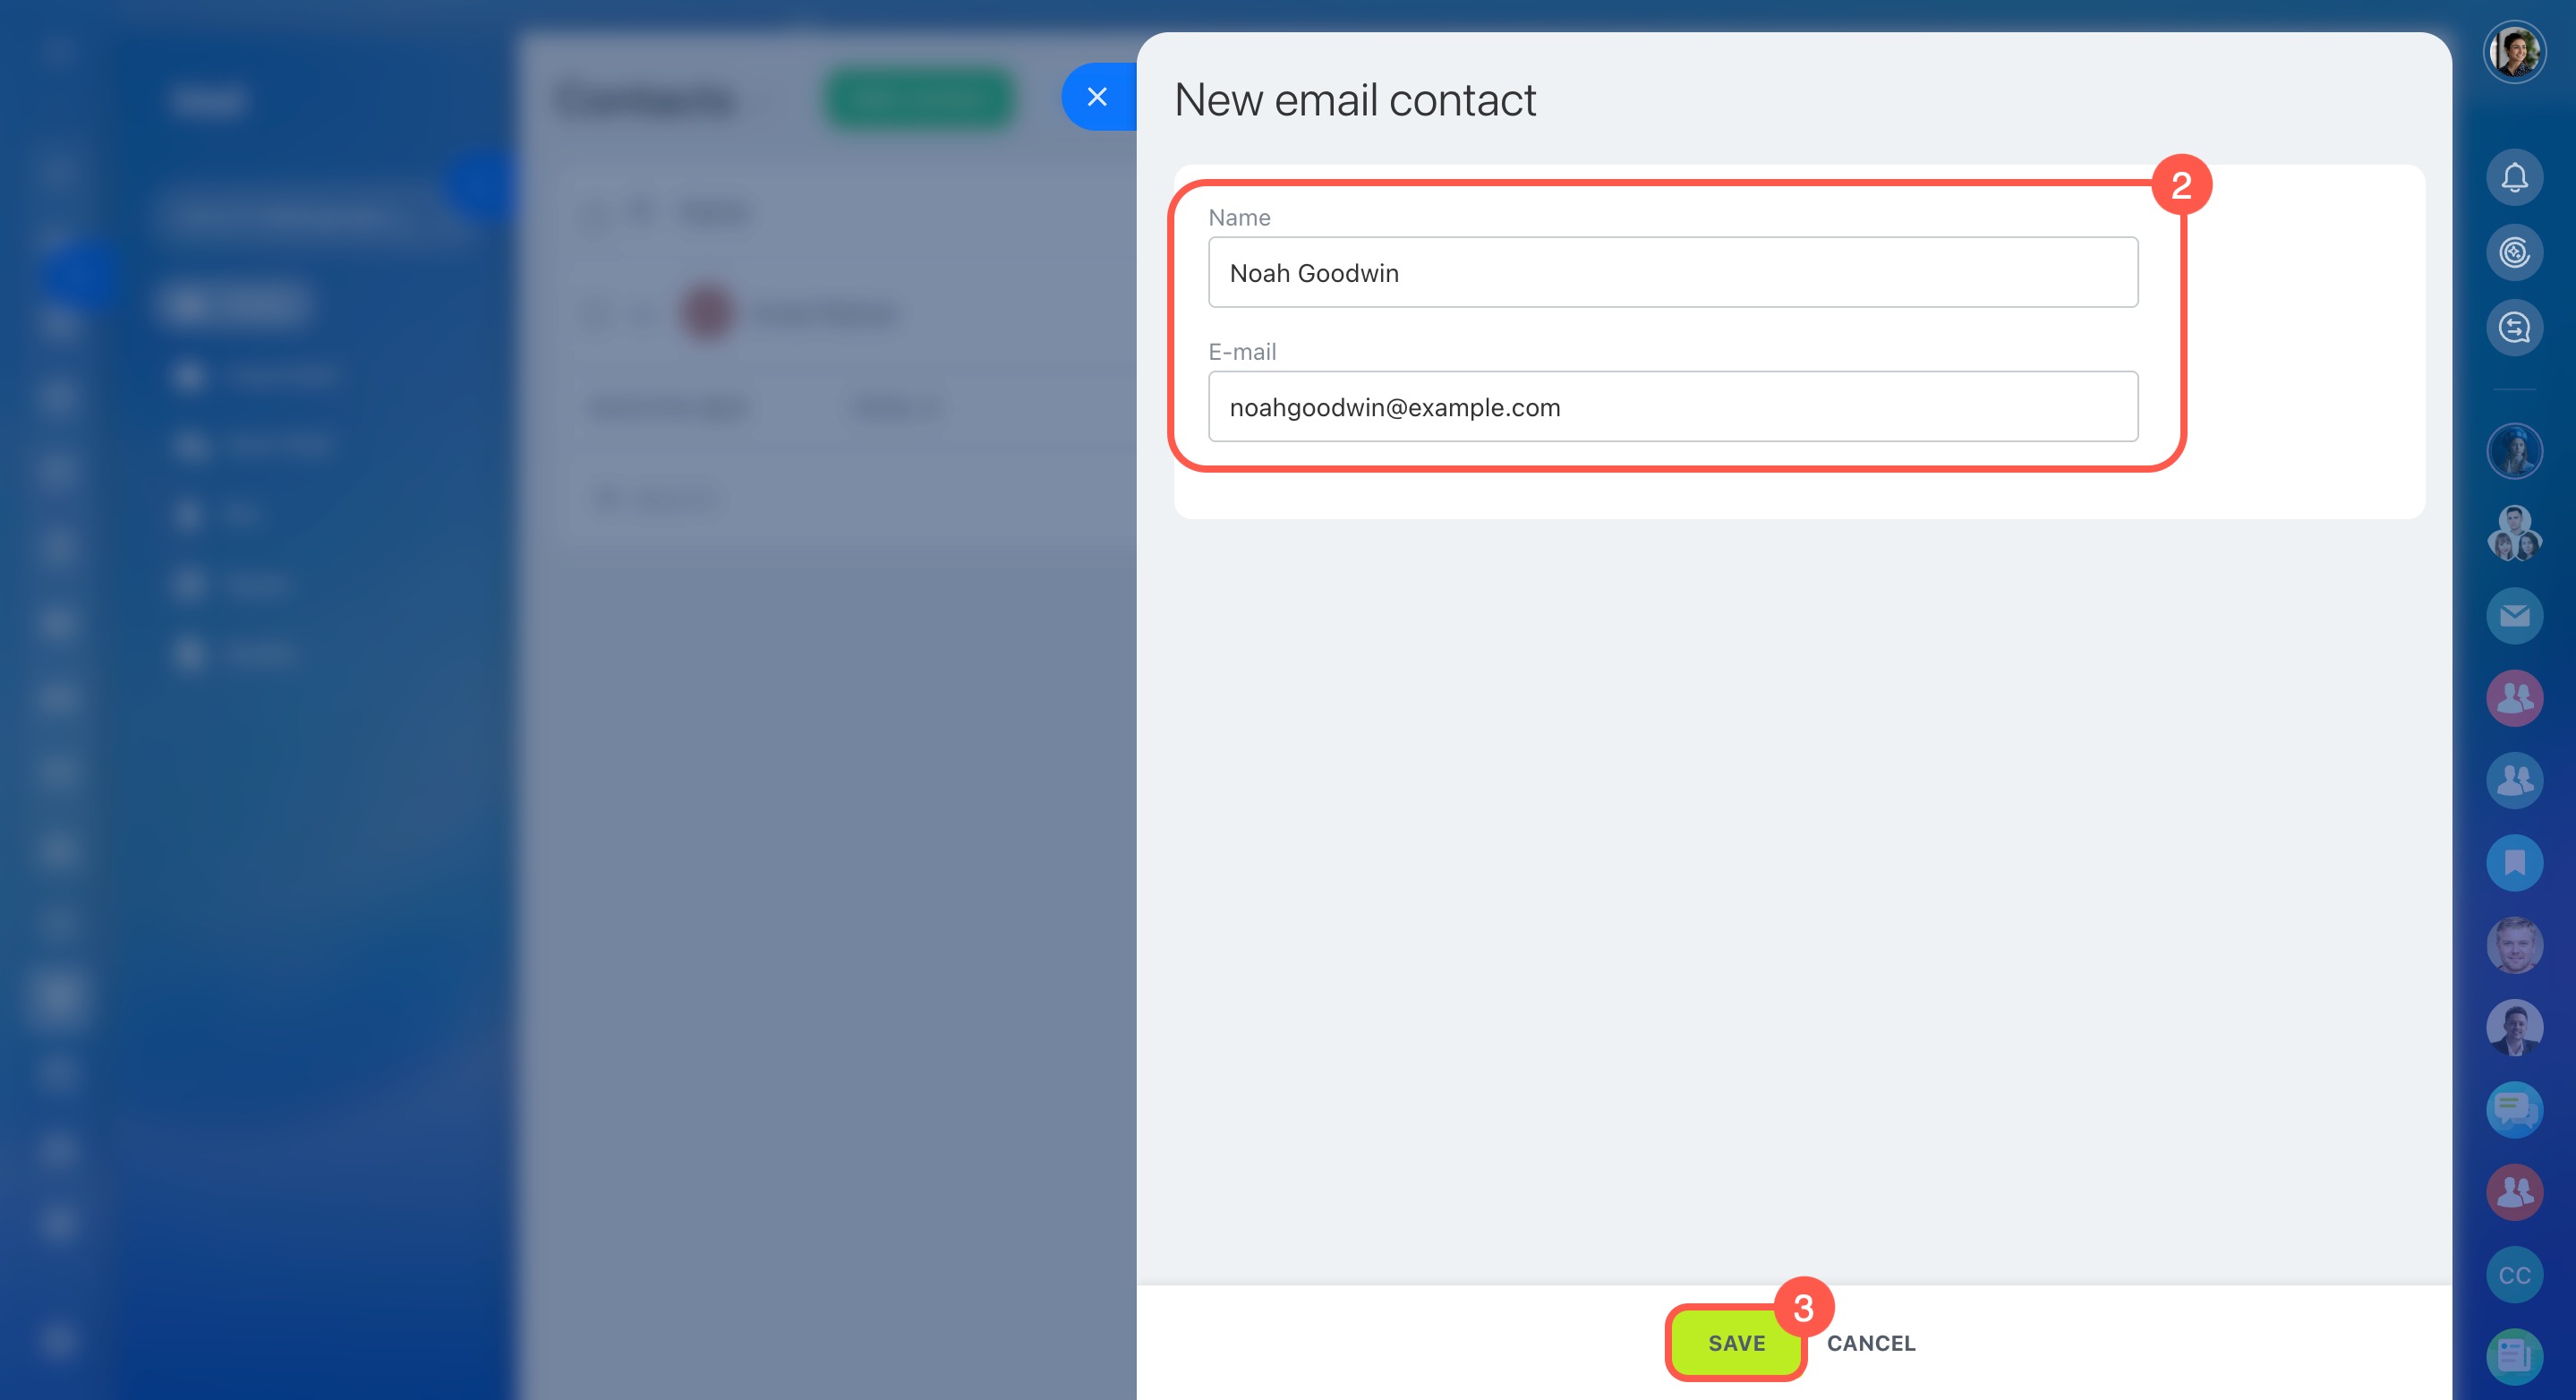
To add a contact manually, click Add contact and fill in the name and email.
Edit signature
You can create a signature that will be added automatically to your outgoing messages. Select Edit signature, then click the corresponding button to add a new signature.
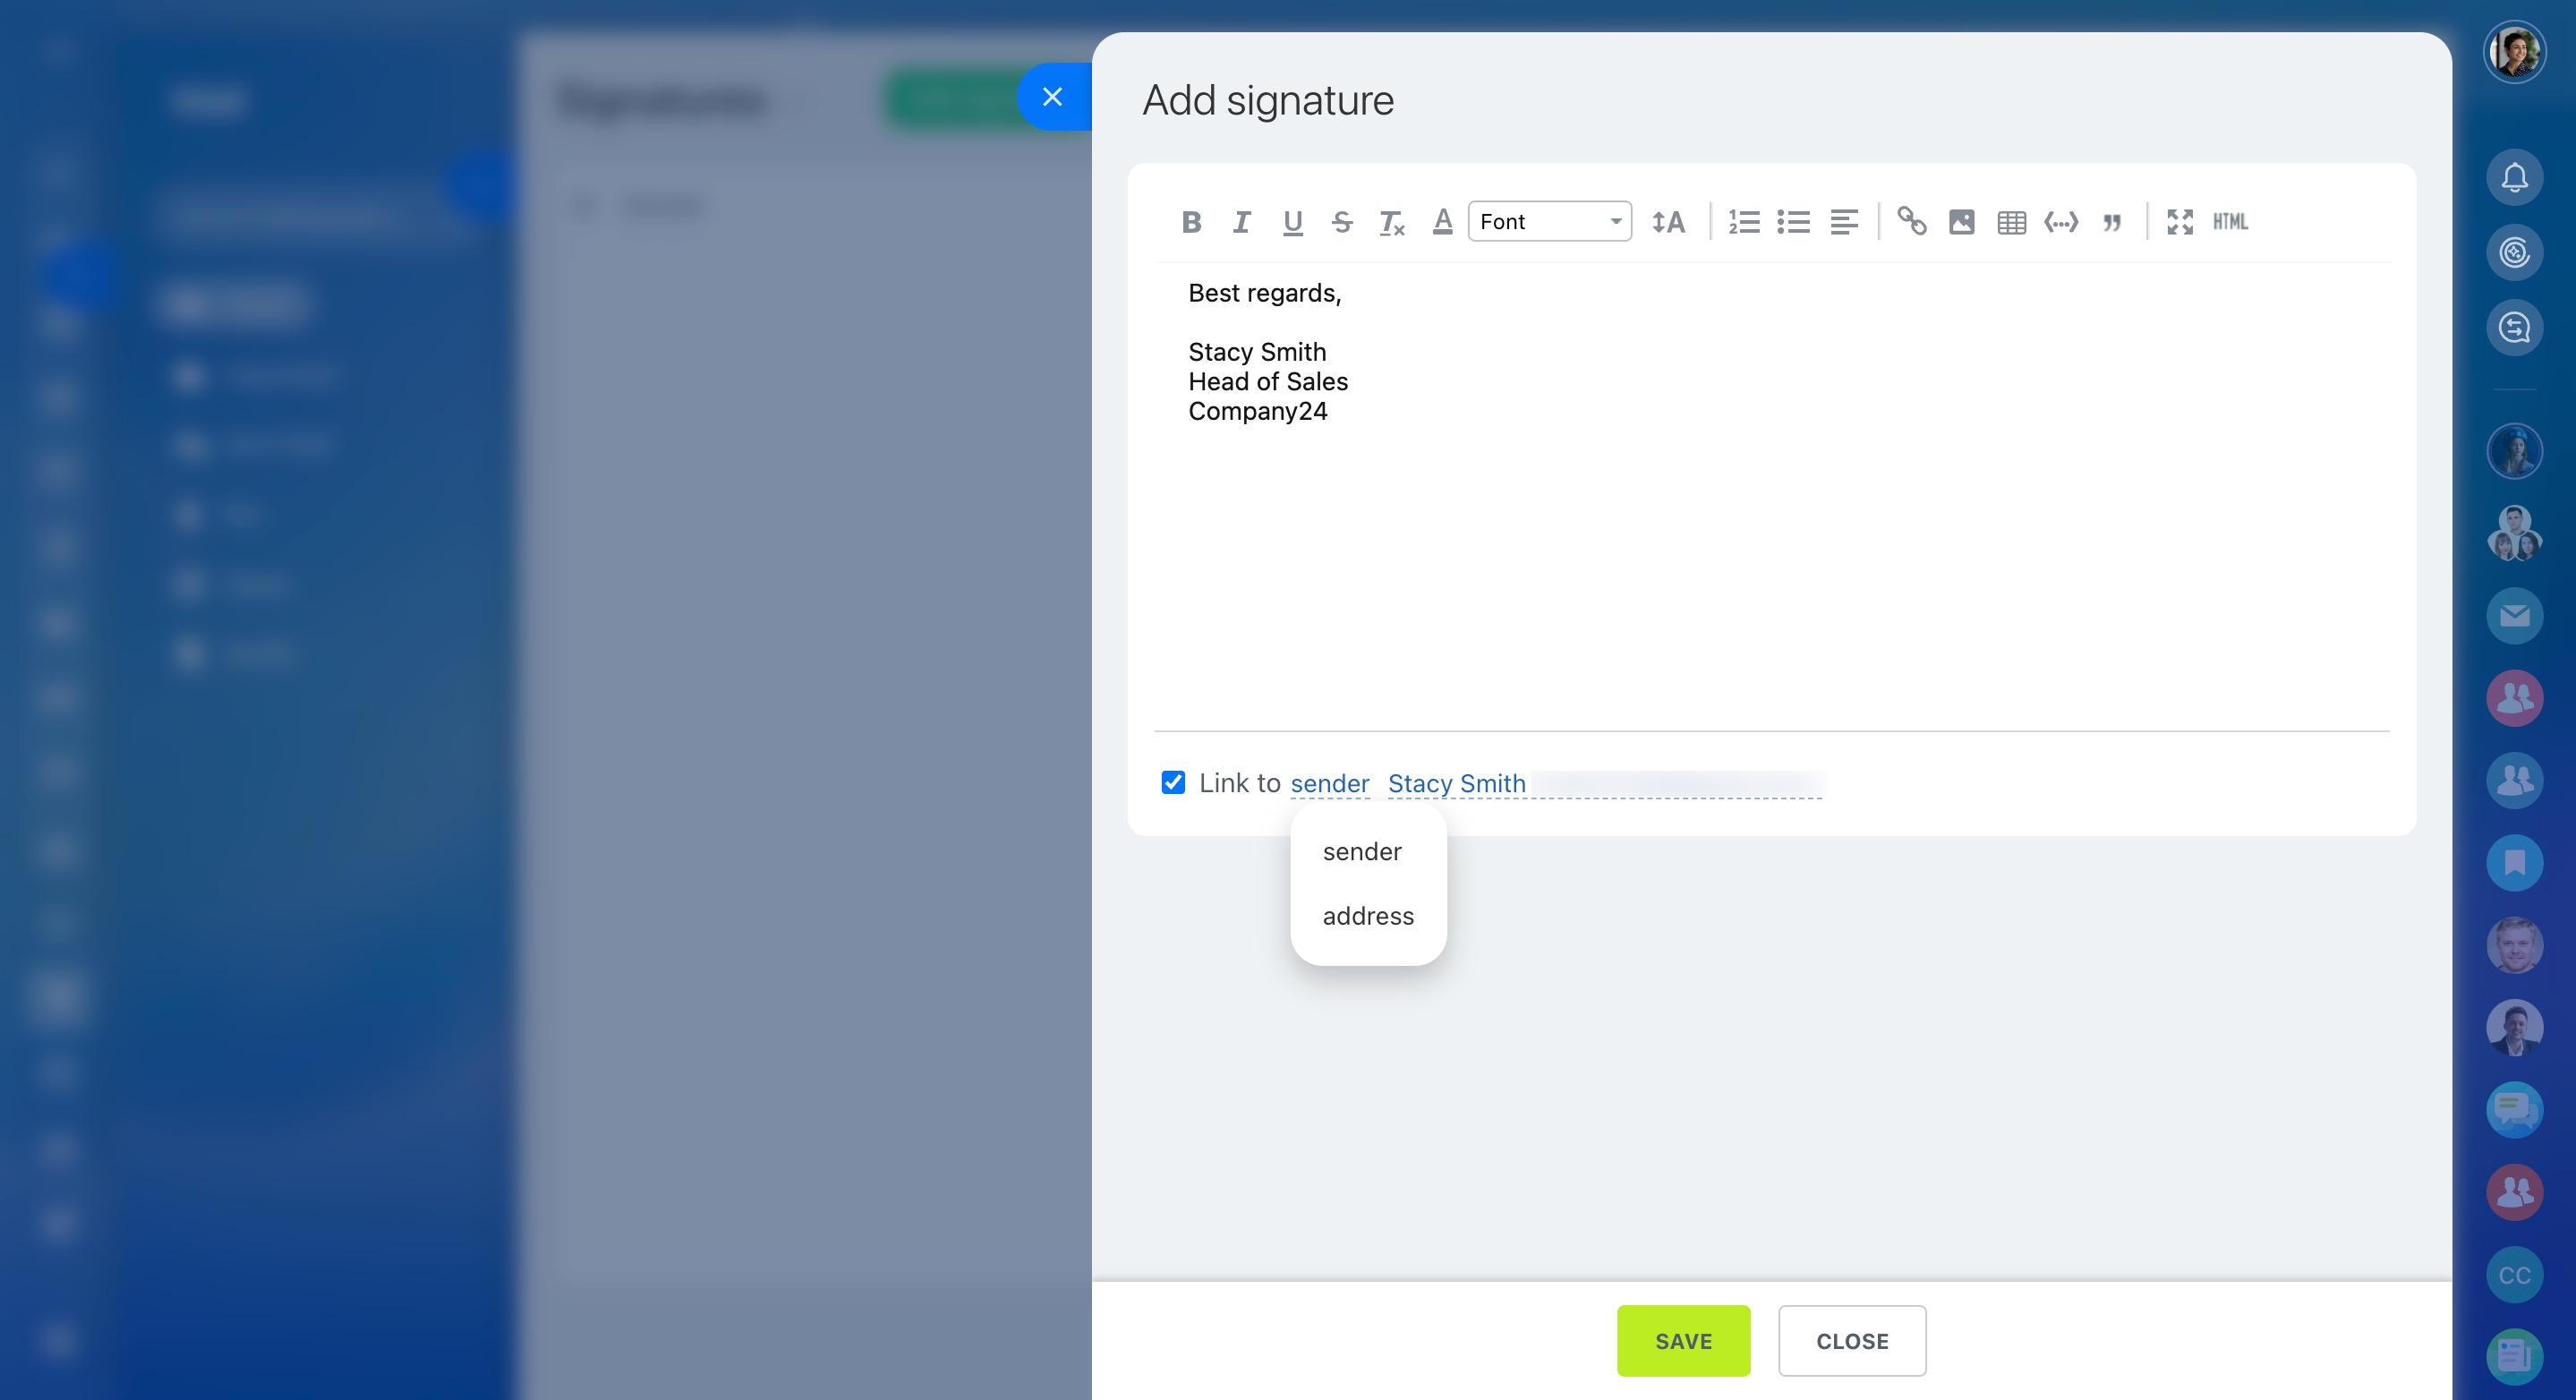
Link your signature to the sender or to a specific email address, if you have several ones.
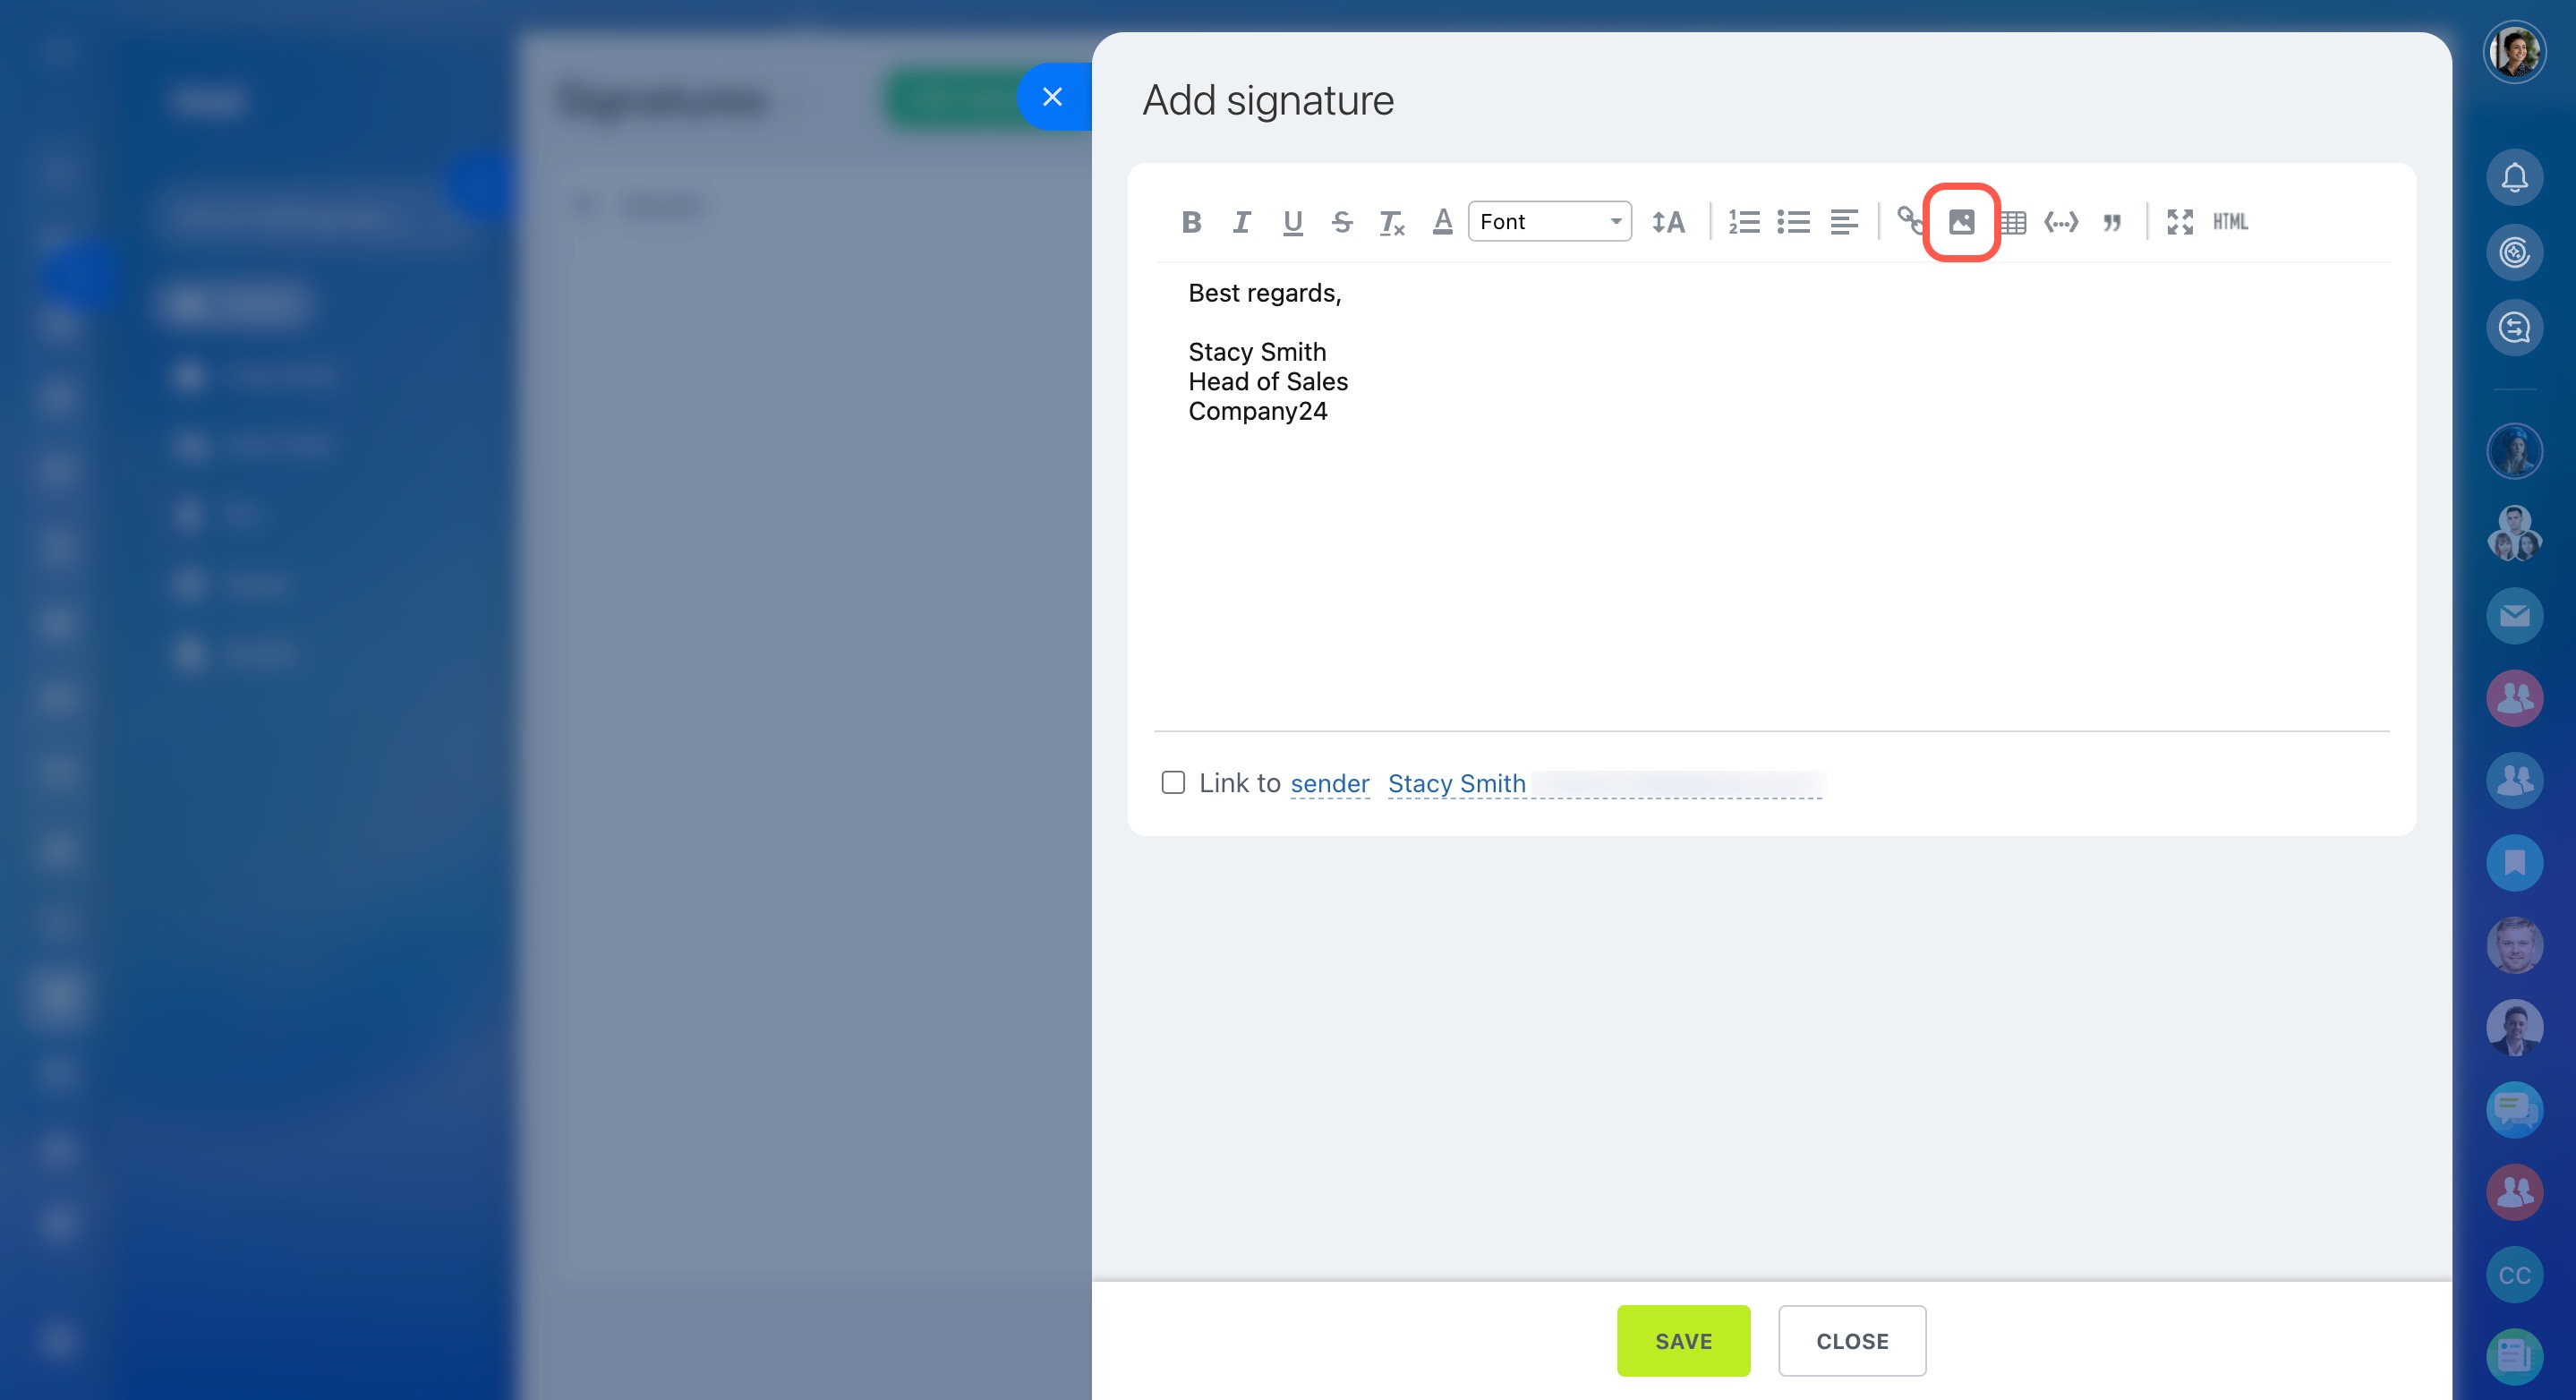
To add an image to your signature, click the corresponding button in the menu.
Insert the link, and specify the file name and size. The URL to the image must be public and accessible from the outside. You can host the image on your server or use an external image hosting service that provides direct public links to files.
Save the changes.
CRM integration
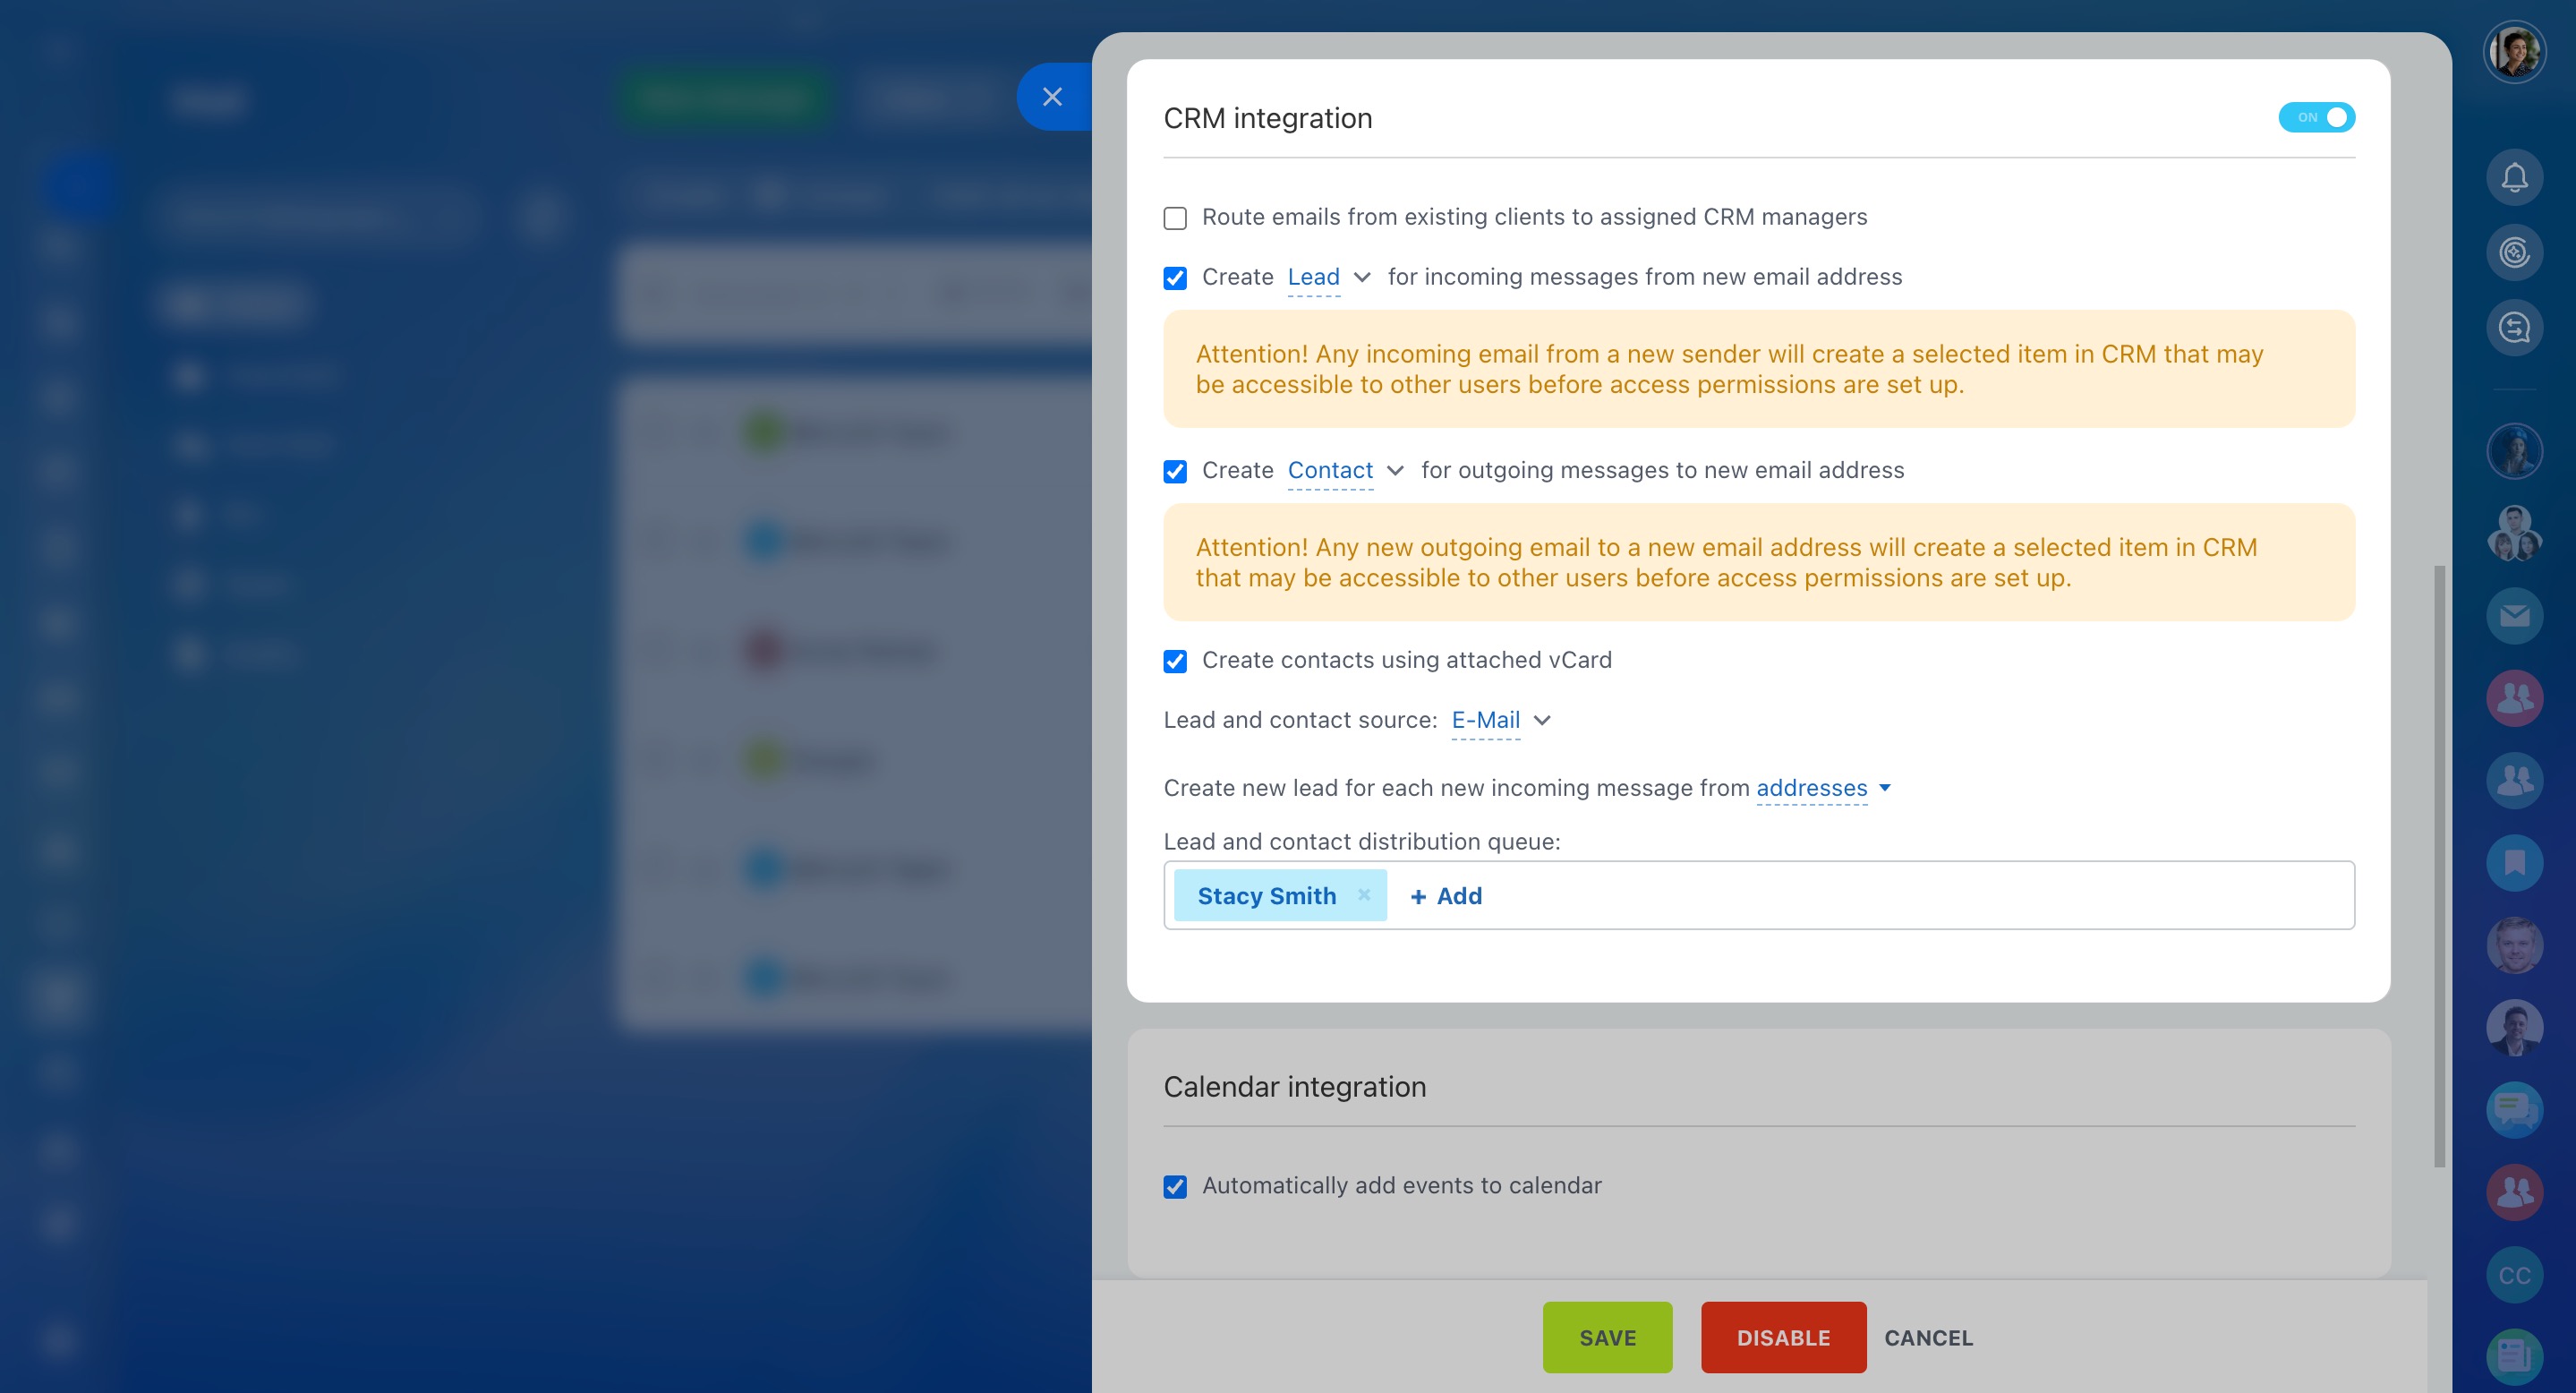
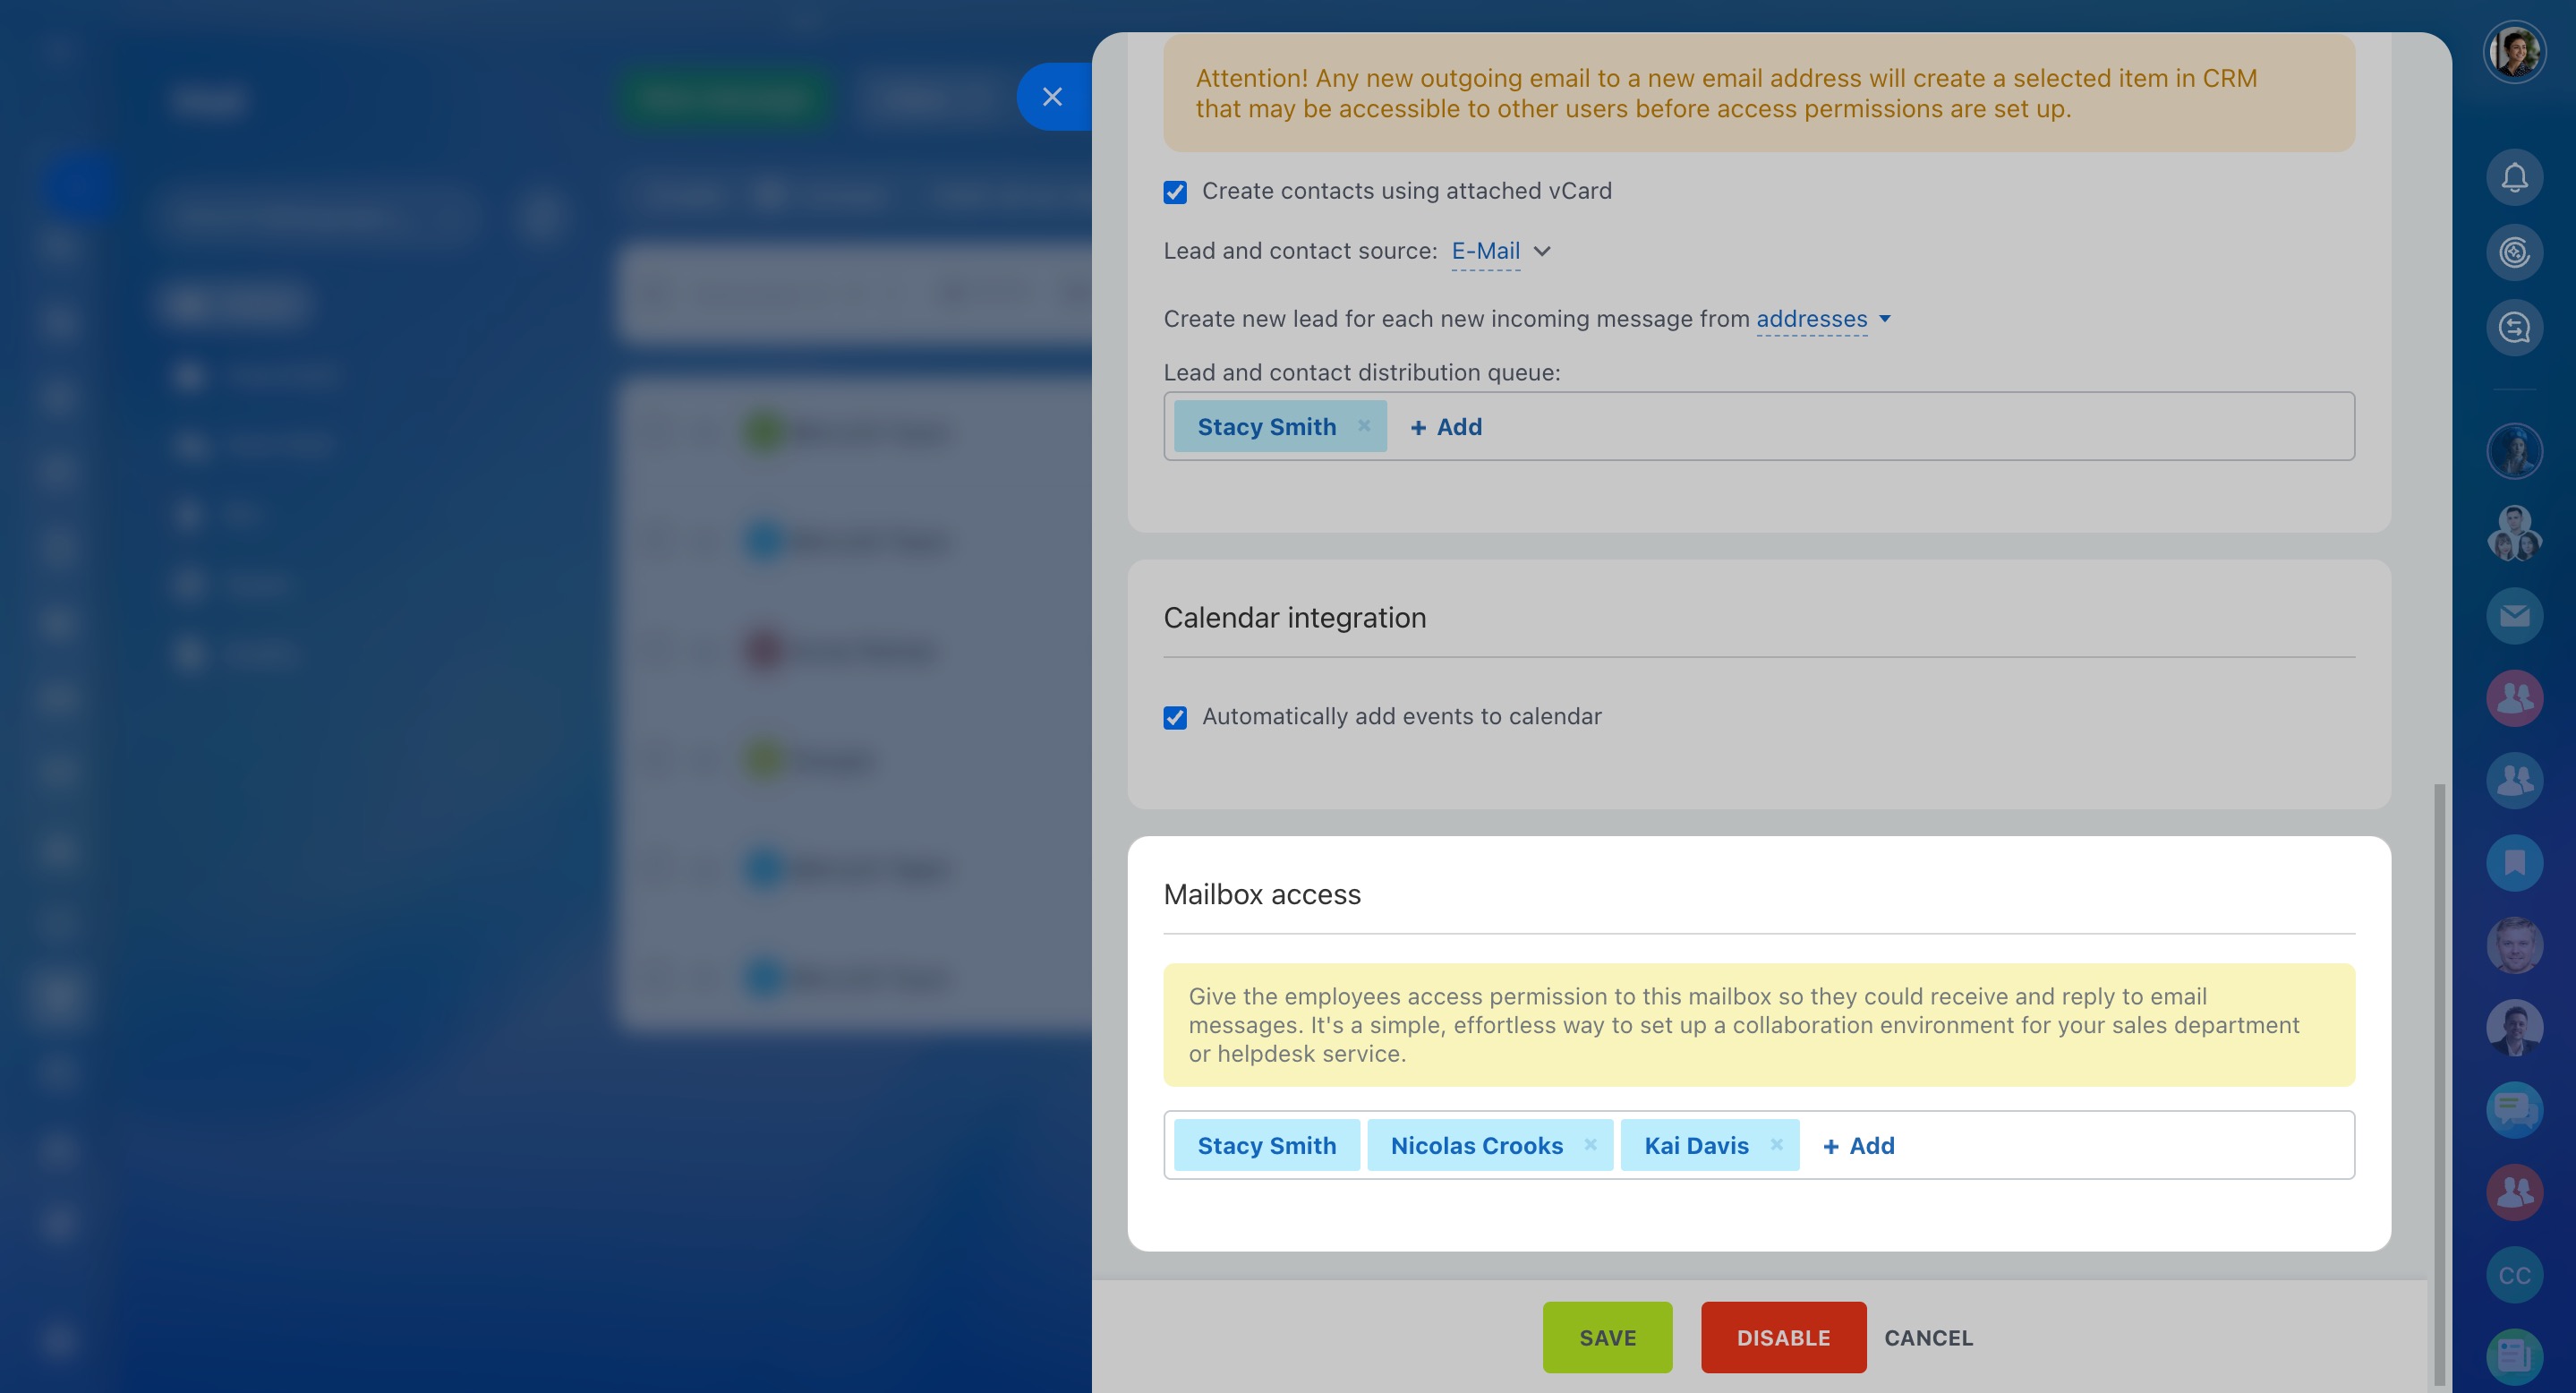
Activate the CRM integration option to save email messages to CRM. Decide which emails to integrate, for example, you can choose only the incoming ones. Put a tick next to the needed options to enable them. Also, configure the way the leads and contacts are distributed.
Mailbox settings
In this section, you can edit all the settings you specified when connecting the mailbox.
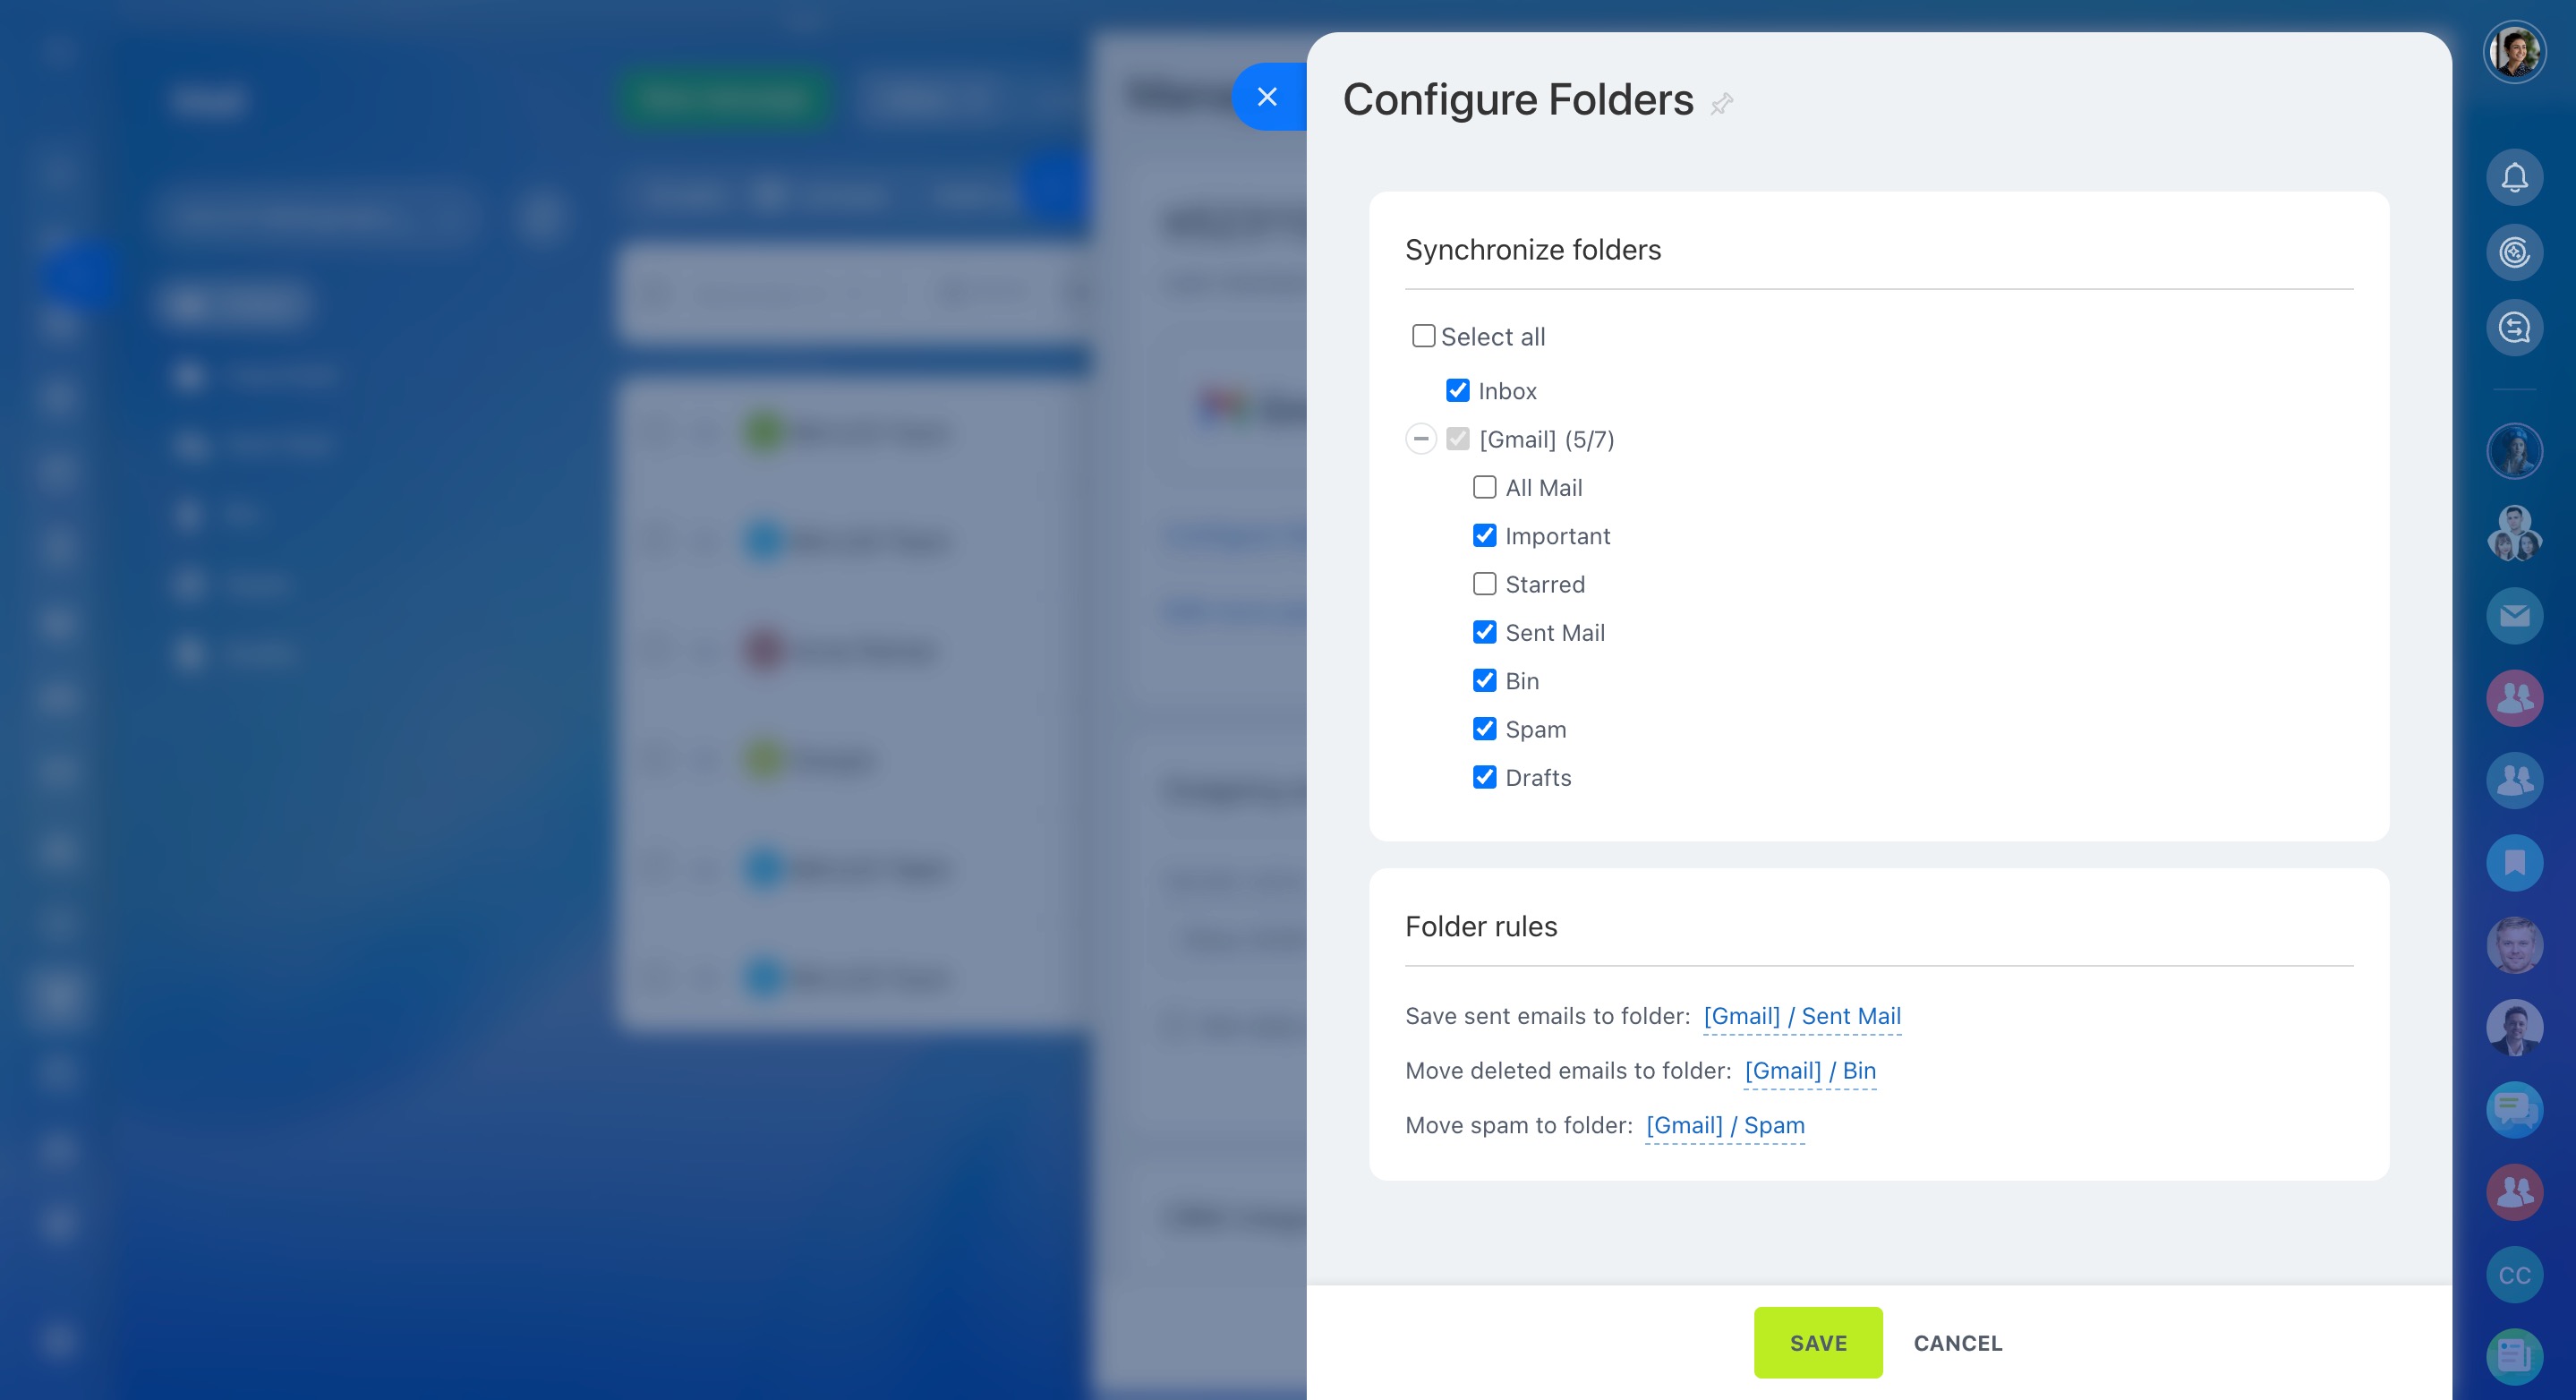
Configure folders for synchronization by clicking the corresponding button.
Another useful option is granting other users access to manage emails in your mailbox. It is particularly useful for the support department, for example.
Open email
Click the Open email button to view the emails on the mail service provider's side.
Calendar integration
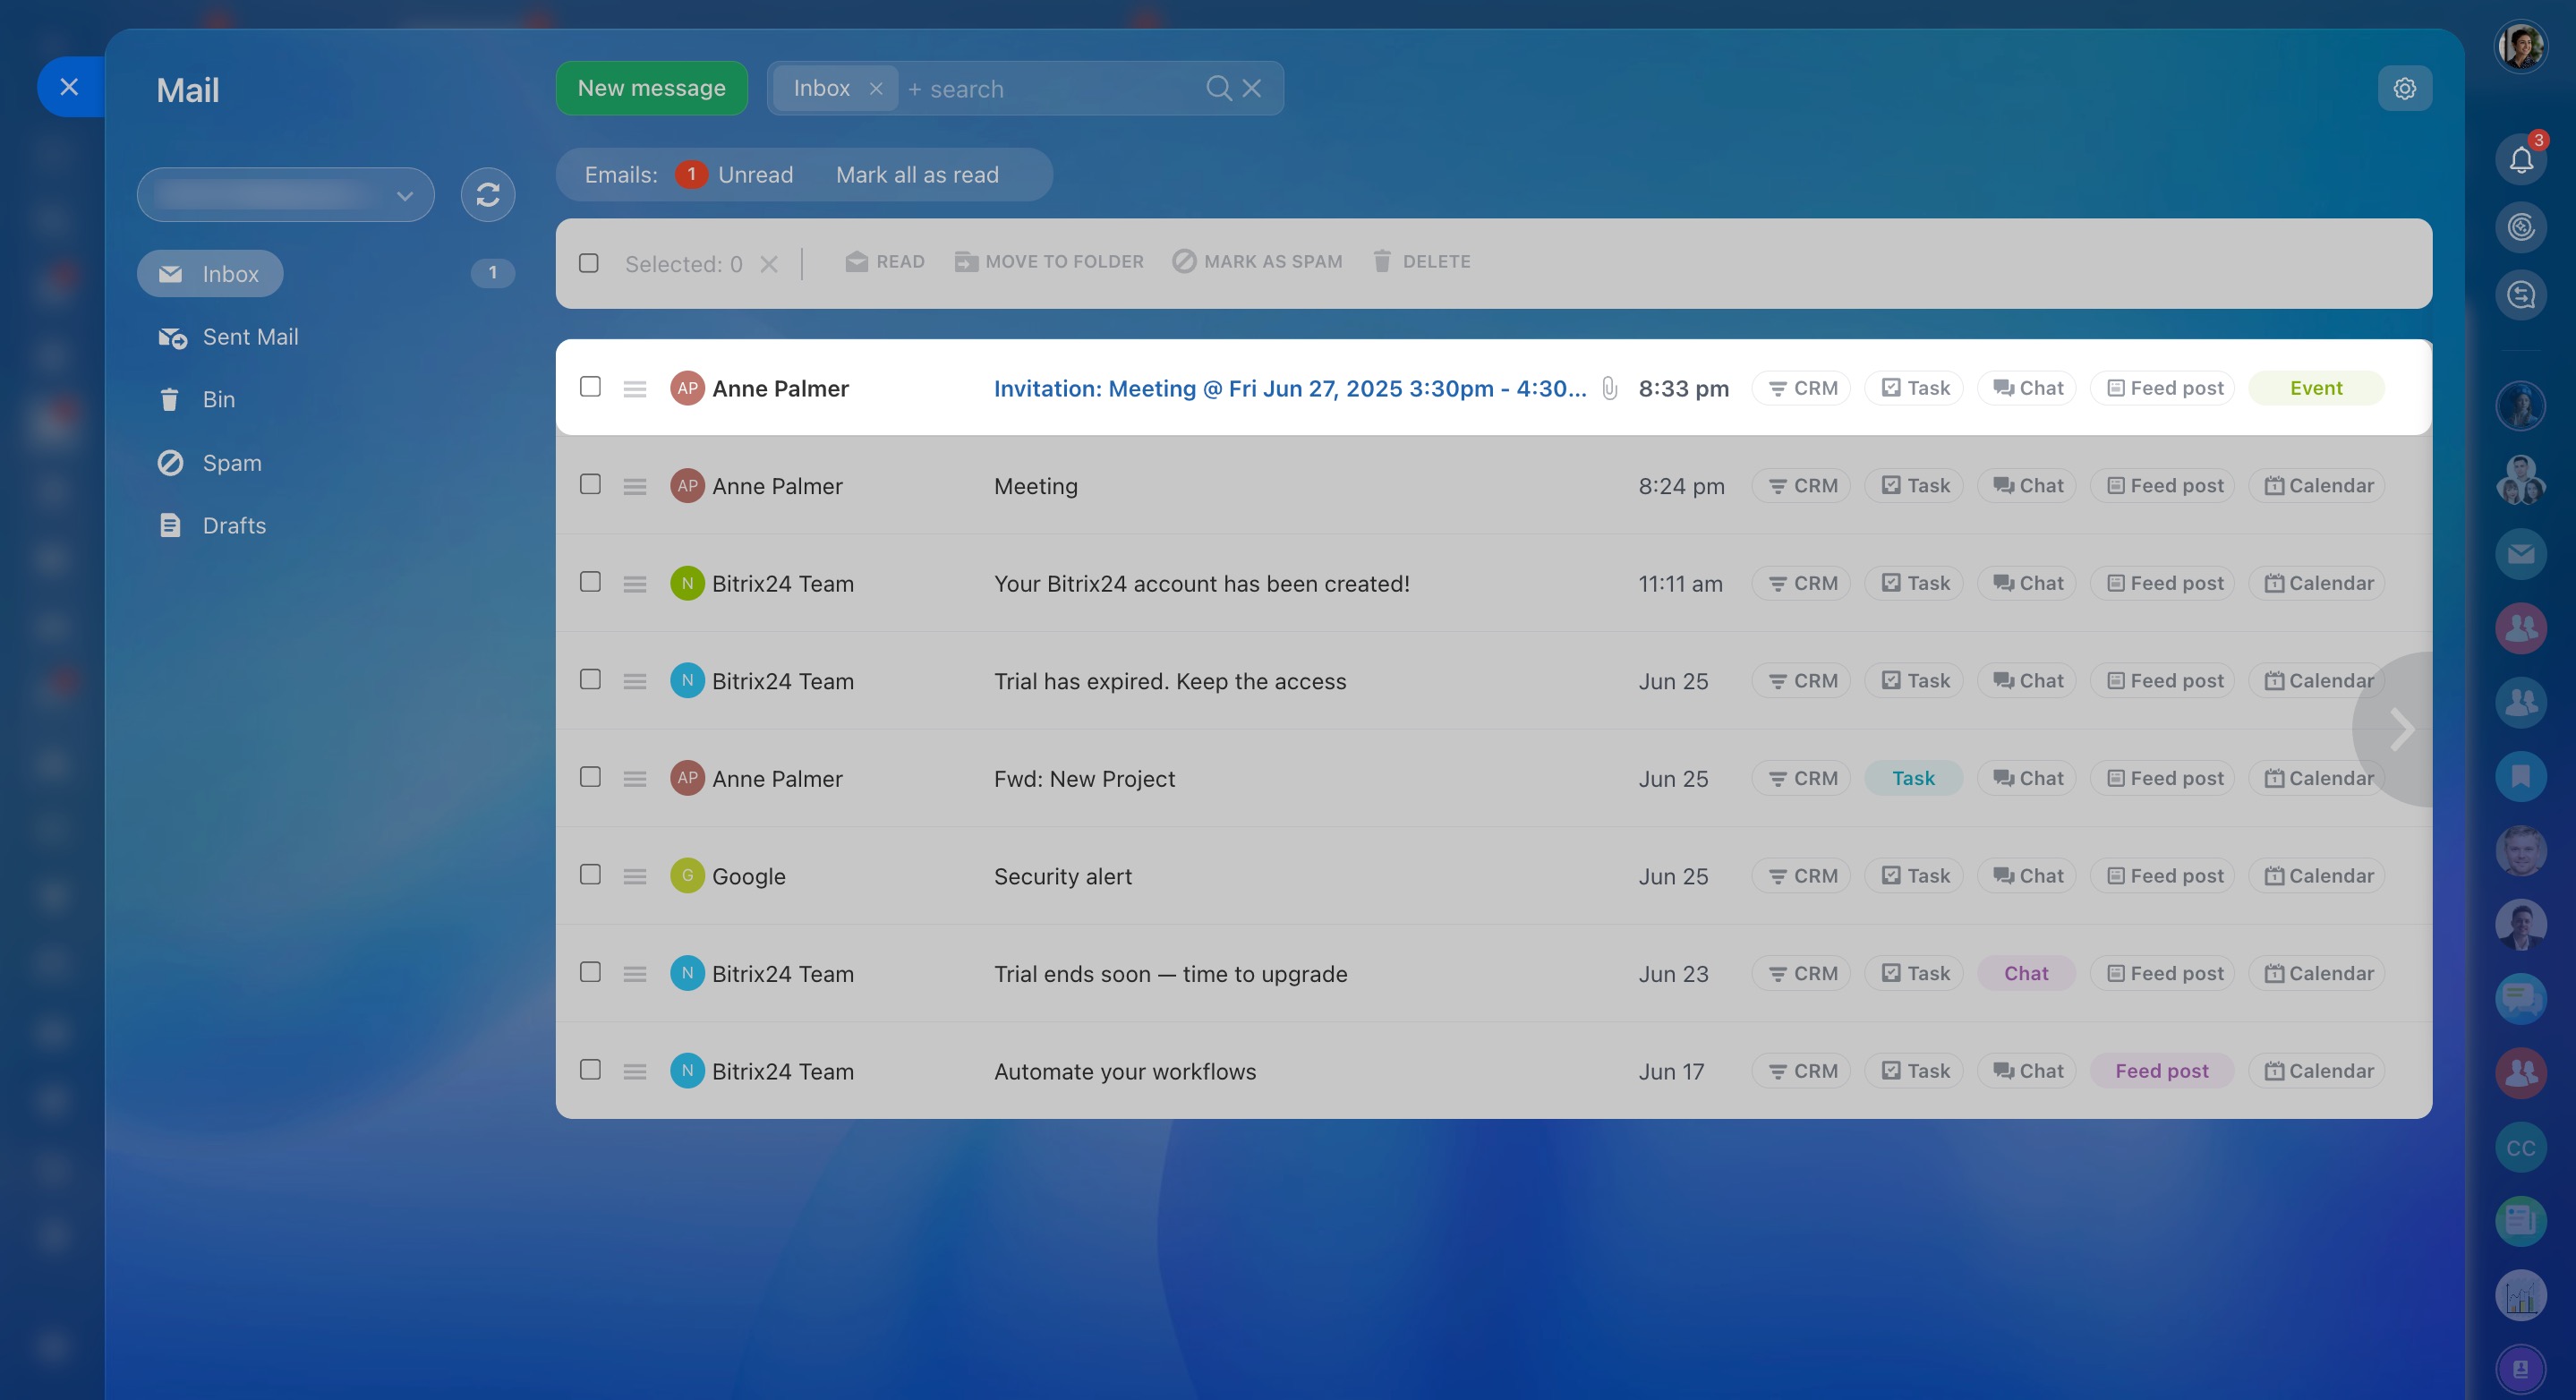
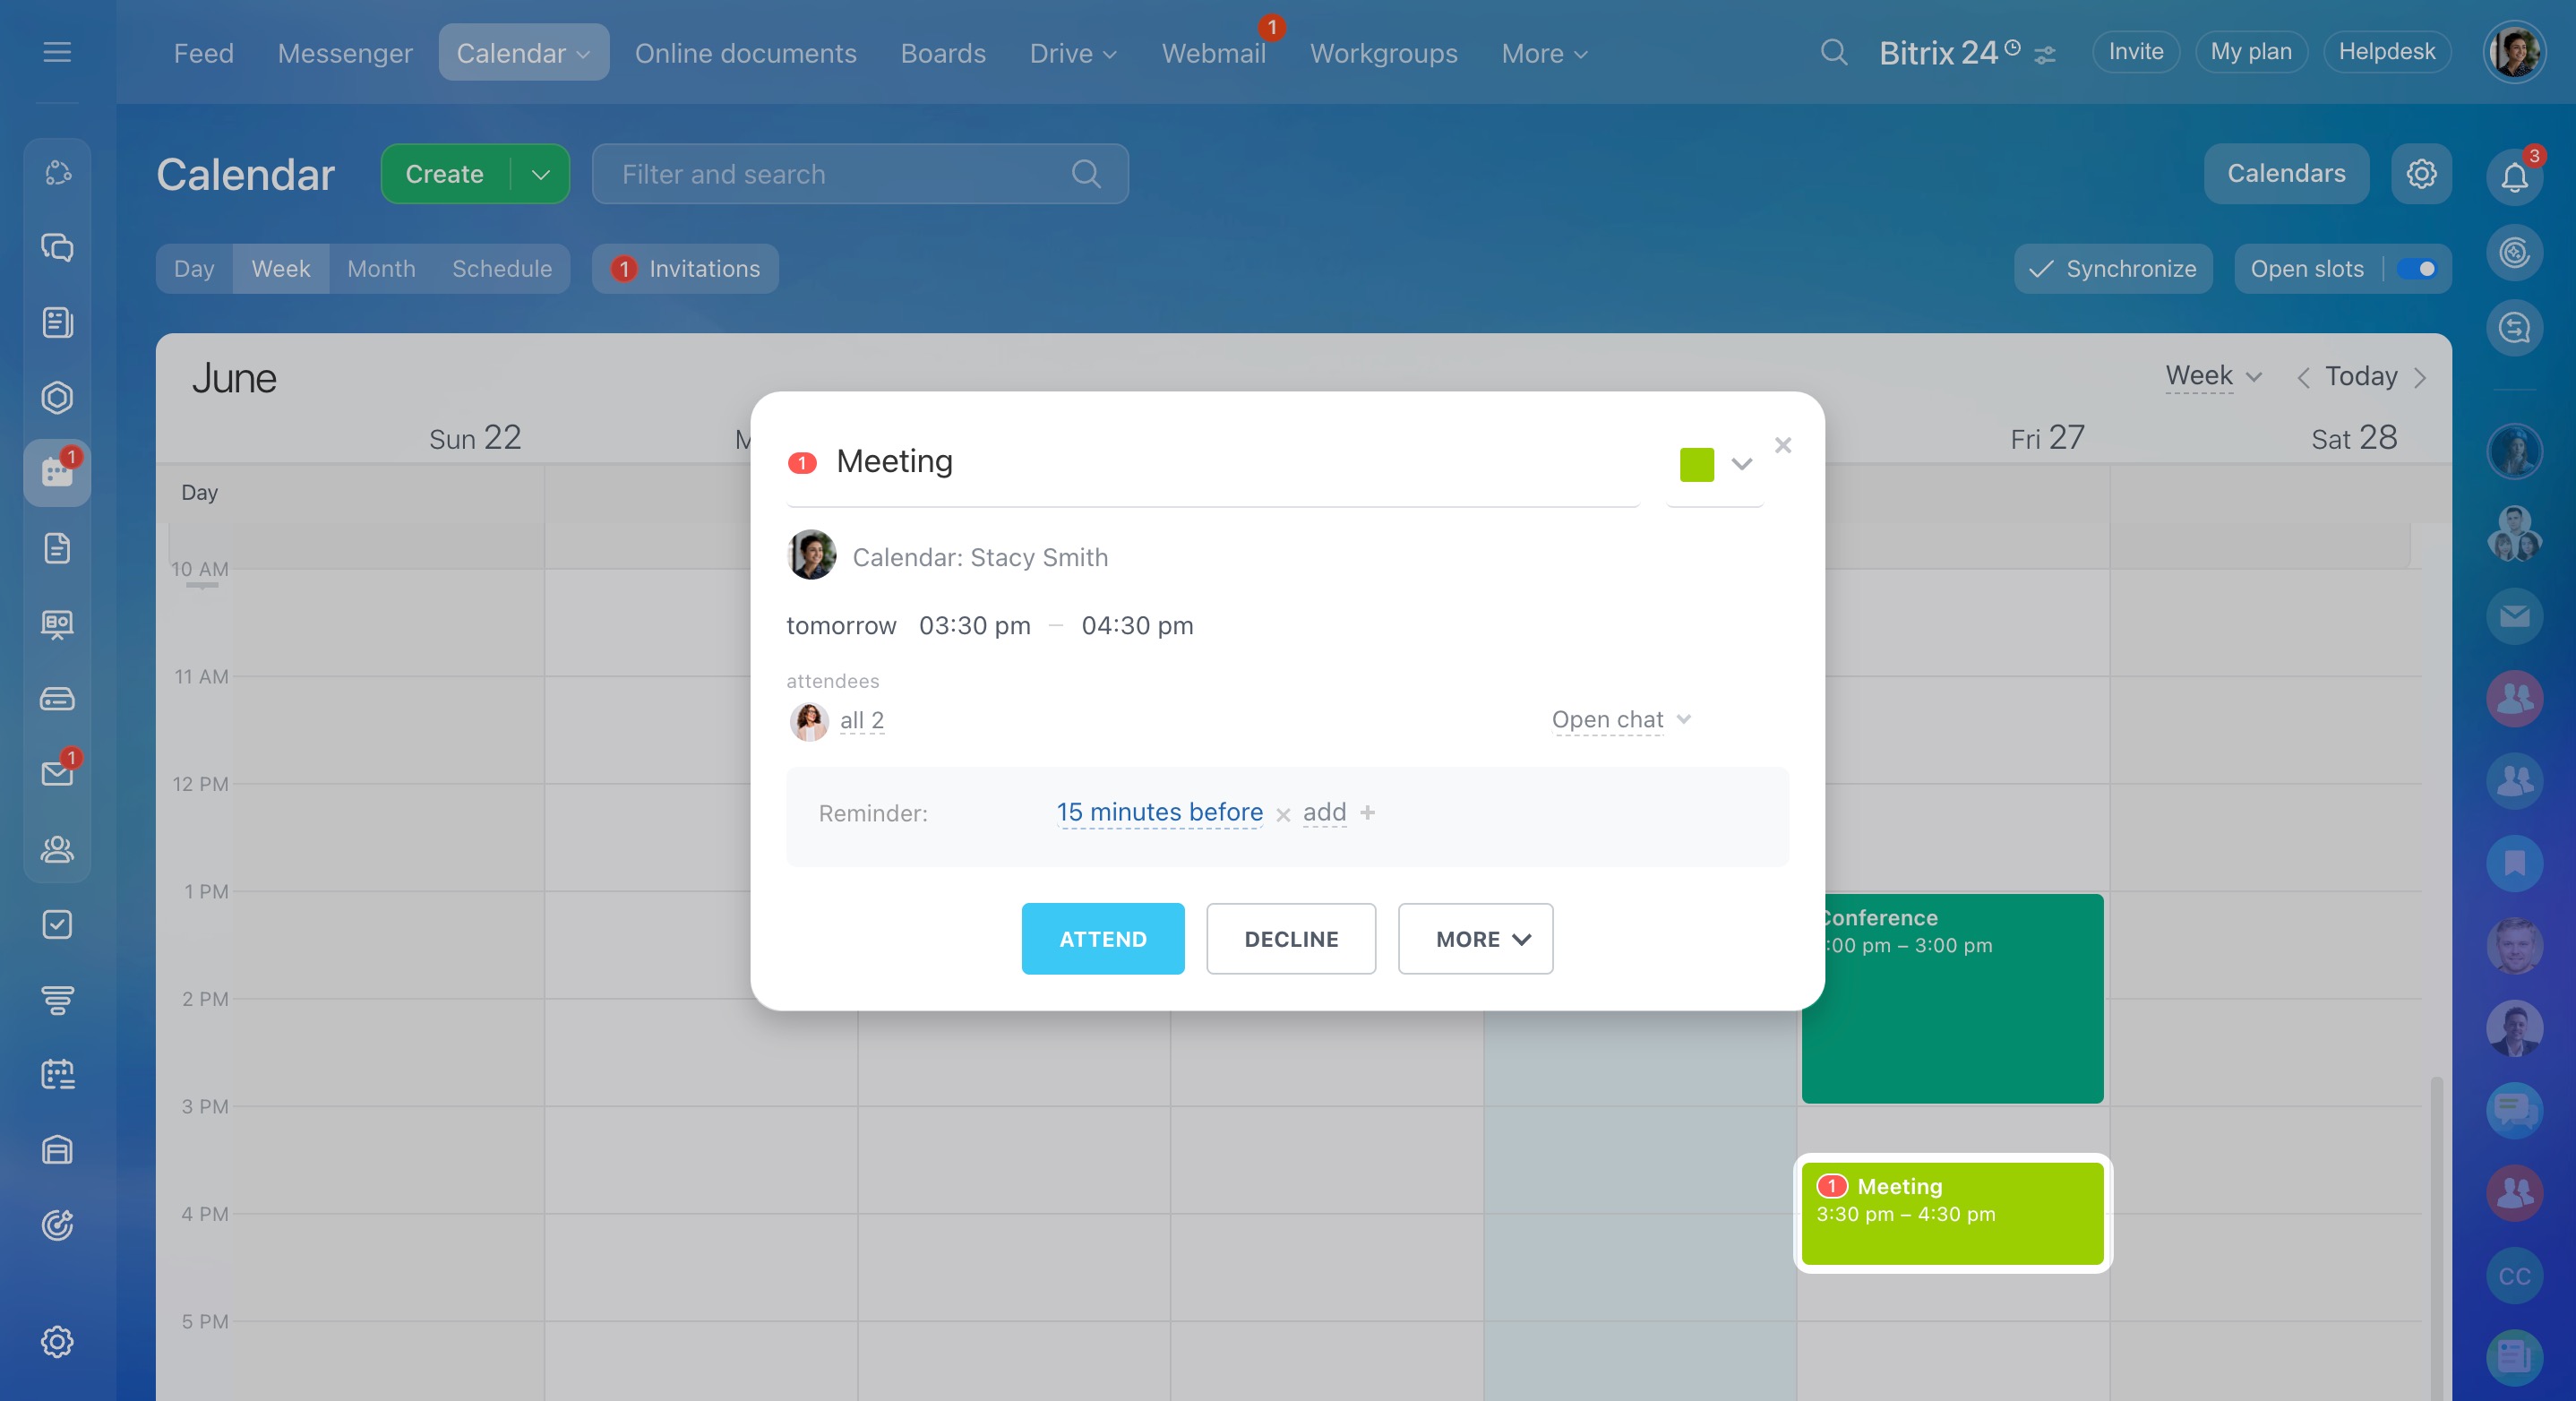
To enable calendar integration, go to your mail settings and check the Automatically add events to calendar option.
For example, when you get an email invitation for a meeting on Google Meet or another service, Bitrix24 will create an event in the calendar. You can then choose to accept or decline the invitation.
In brief
-
In Bitrix24 Mail, you can configure blacklist, contacts, signatures, and CRM and calendar integrations.
-
Add unwanted addresses to the blacklist. Emails from these addresses will end up in the Spam folder.
-
All email addresses sent to you are stored in the contact list. You can also add contacts manually.
-
Create a signature for outgoing emails.
-
Save customer emails in CRM. Integrate all mail or, for example, only incoming mail.

