
Email campaigns let you send emails to a group of recipients. Use them to share promotions, new products, or special offers.
Create an email campaign
- Go to Marketing > Start.
- Click Email campaign.
Then complete these steps:
- Select a campaign template
- Select a recipient segment
- Set the subject and sender
- Design the email
- Configure campaign settings
- Send the campaign

Select campaign template
You can use:
- Standard templates — edit content, images, and files.
- Custom templates — create your own or base them on standard templates. Go to Marketing > My Templates.

To rename a standard template:
- Click the pencil icon.
- Enter a new name.

Select recipient segment
In Bitrix24, recipients are grouped into segments based on shared traits, such as age, location, or purchase history.
Create customer segments for marketing campaigns
There are two types:
- Dynamic — updates automatically before sending.
- Static — created manually or uploaded from a file.
Select a segment. Click Select segment and choose an existing one.
Create a segment. Click Create and define your audience.
Exclude recipients. You can exclude customers from the main segment who do not need to receive the newsletter.
For example, you can send a promotion to all customers but exclude those who have already bought a product this month.
- Click Exclusions.
- Select a segment to exclude.
- Click Apply.


Specify subject and sender
Subject. Recipients see this text in their inbox. Use the default subject or enter your own.
Sender. Select the email address used to send the campaign.
If the address is not listed, click Add sender.

Design newsletter
Create clear, engaging content. Add images, text, and personalization.
Work with blocks. Emails use blocks such as text, images, buttons, and separators. You can edit, copy, or delete blocks. To add a new block, drag it from the right panel into the template.


If you use a custom HTML template, add this code:
<a style="color: #0054a5;" href="#UNSUBSCRIBE_LINK#">unsubscribe link</a>

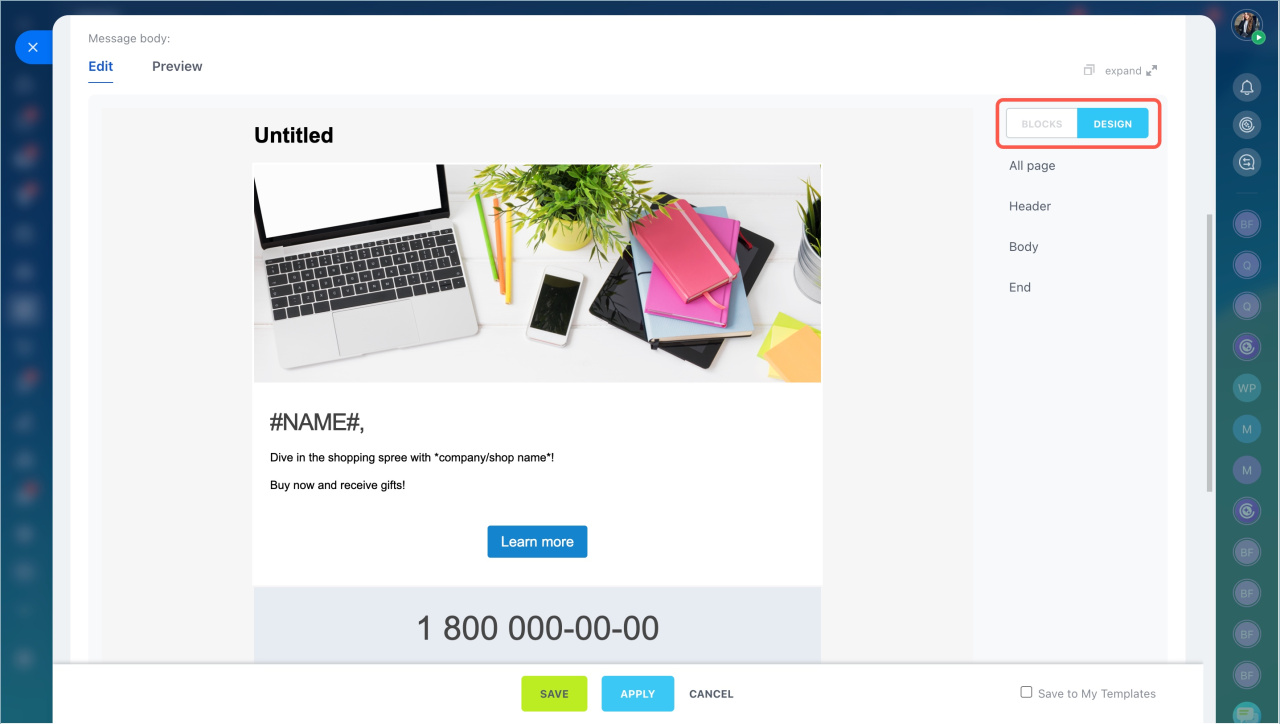
Customize design.
- Click Design.
- Set background, fonts, and spacing.

Add personalization. Insert CRM data like name or birthdate.
- Open a text block.
- Click the variable icon.
- Select a CRM field.


Preview and save. Click Preview to check how the email looks on different devices. Then click Apply.
Enable Save to my templates to reuse the design.
You can find the saved template in Marketing > My Templates.


Configure campaign parameters
Open the More section to configure priority, UTM tags, attachments, email tracking, and subscription confirmation.
Priority. Mark important emails.
UTM tags. Add UTM tags to track traffic sources.
- Click UTM tags.
- Fill in the required fields.
- Click Apply.

Attachments. Add files like catalogs or coupons. Drag the file into the Attachments field.
Email tracking. Enable this option to track opens and clicks.

Track link clicks in outgoing emails


Subscription confirmation. Enable this option to send new customers a confirmation email before sending the campaign. Then select a consent template or create your own.
Email and link tracking and Consent to receive newsletters

Sending time. Set a time window for sending emails, such as business hours.

Send the campaign
To check how the email looks, send yourself a test campaign. After that, send the campaign to customers.
Send a test email. Enter your email address. You can test the final email and the subscription confirmation.
After reviewing the campaign, click Save.

Send to recipients. Choose when to send and click Save.
Now. Send immediately.
Later, manually. Send from Marketing > Campaigns.
Schedule. Set a specific date and time.

In brief
- Email campaigns help you reach groups of customers.
- Use them for promotions, updates, or feedback.
- Choose a template or create your own.
- Build emails with blocks like text, images, and buttons.
- Personalize content with CRM data.
- Configure tracking, attachments, and consent.
- Always send a test email before launching.