
A project in Bitrix24 is a shared workspace for your team. It brings chats, tasks, files, and meetings together in one place. You can use projects for internal teamwork, department processes, and collaboration with external users such as contractors, clients, and vendors.
Bitrix24 plans and pricing
In this article:
How to create a project
You can create a project in three areas of Bitrix24:
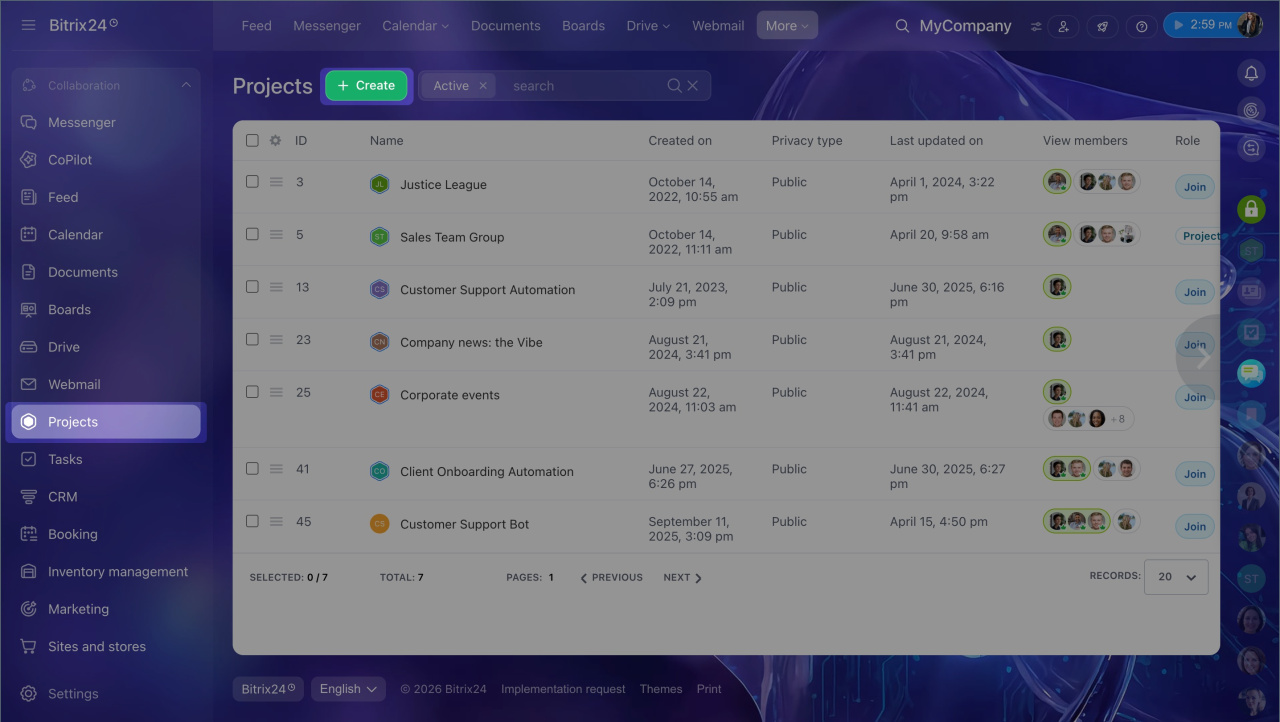
- Projects. Go to Projects and click Create.
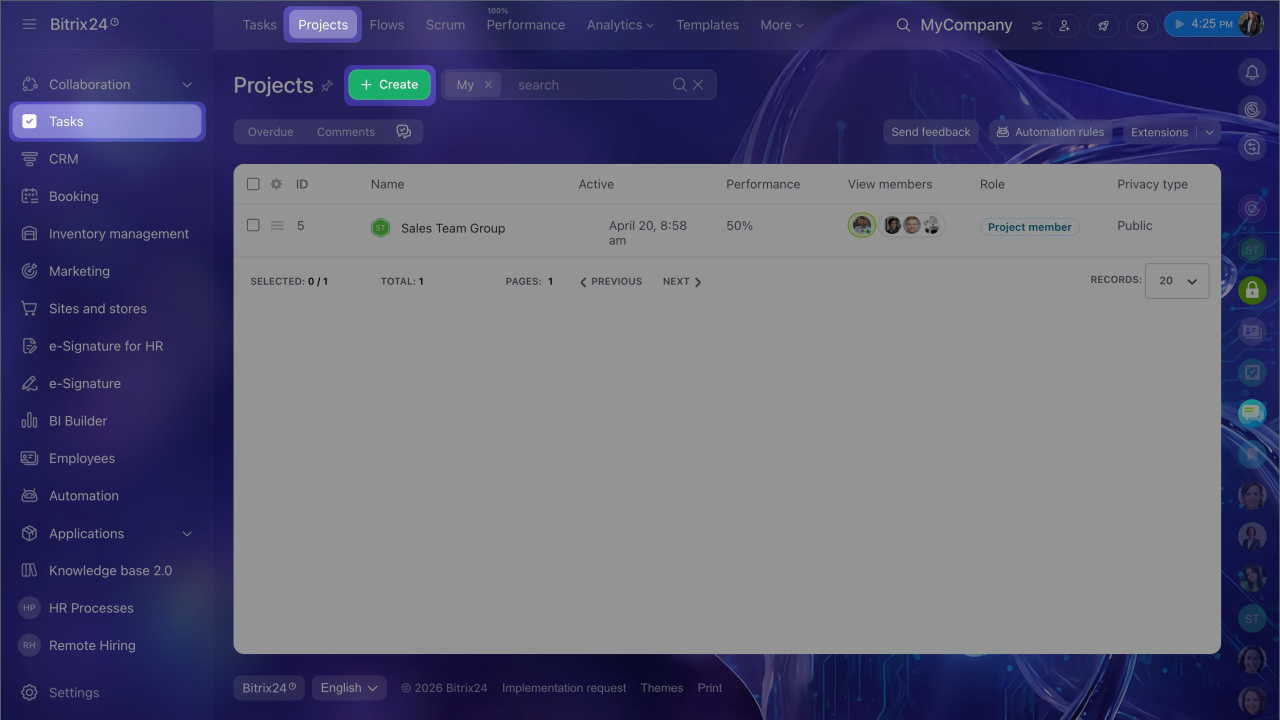
- Tasks. Open Tasks > Projects and click Create.
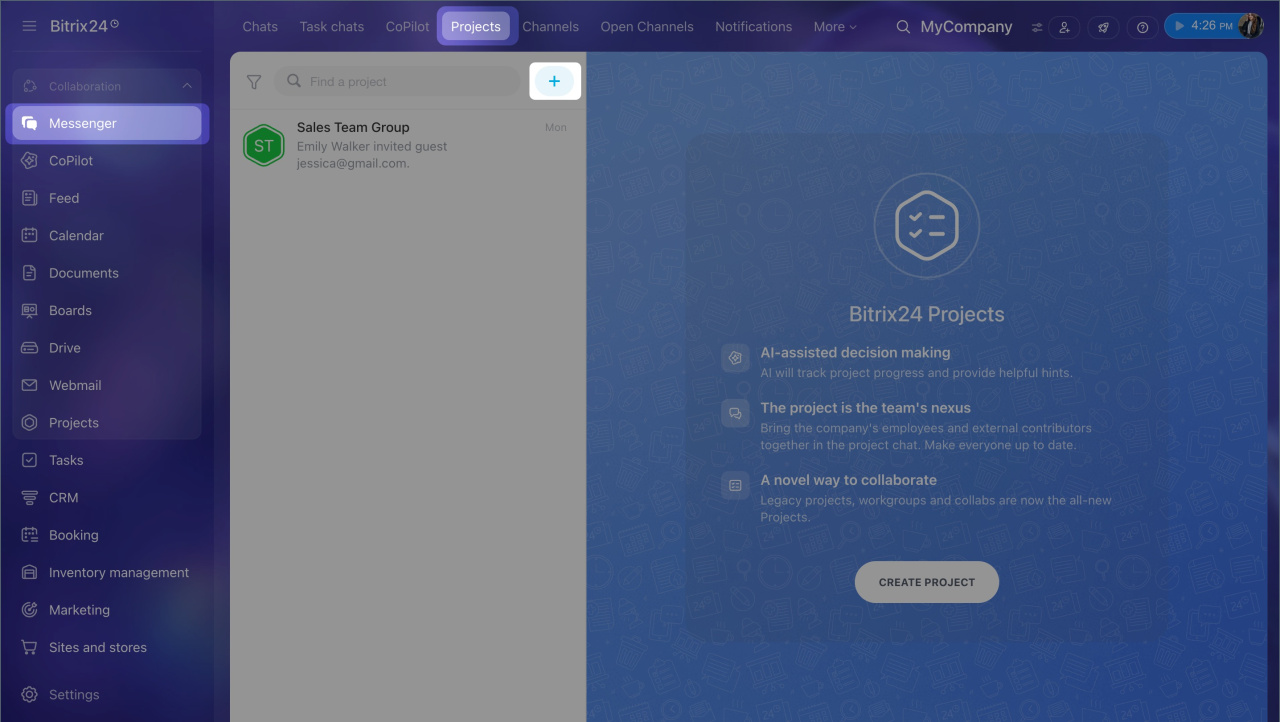
- Messenger. Open Messenger, go to the Projects tab, and click the plus icon.
Configure project settings
Enter the main project details.
- Name. Choose a name that clearly describes the project goal or content.
- Project avatar. Click the camera icon to upload an image. The avatar appears in the project list and makes the project easier to find.
- Project goal. Describe the result you want to achieve. This helps members understand the purpose of the project.
- Description. Explain what the project is for. All members can see this description.
- Owner. The owner is the main person responsible for the project. The owner has full access, can edit the project, and can assign moderators. If you create a project for another employee, set that person as the owner. They will see the project in their chat list and can edit it.
- Moderators. Moderators help the owner manage the project. Click Add and select the employees you want.
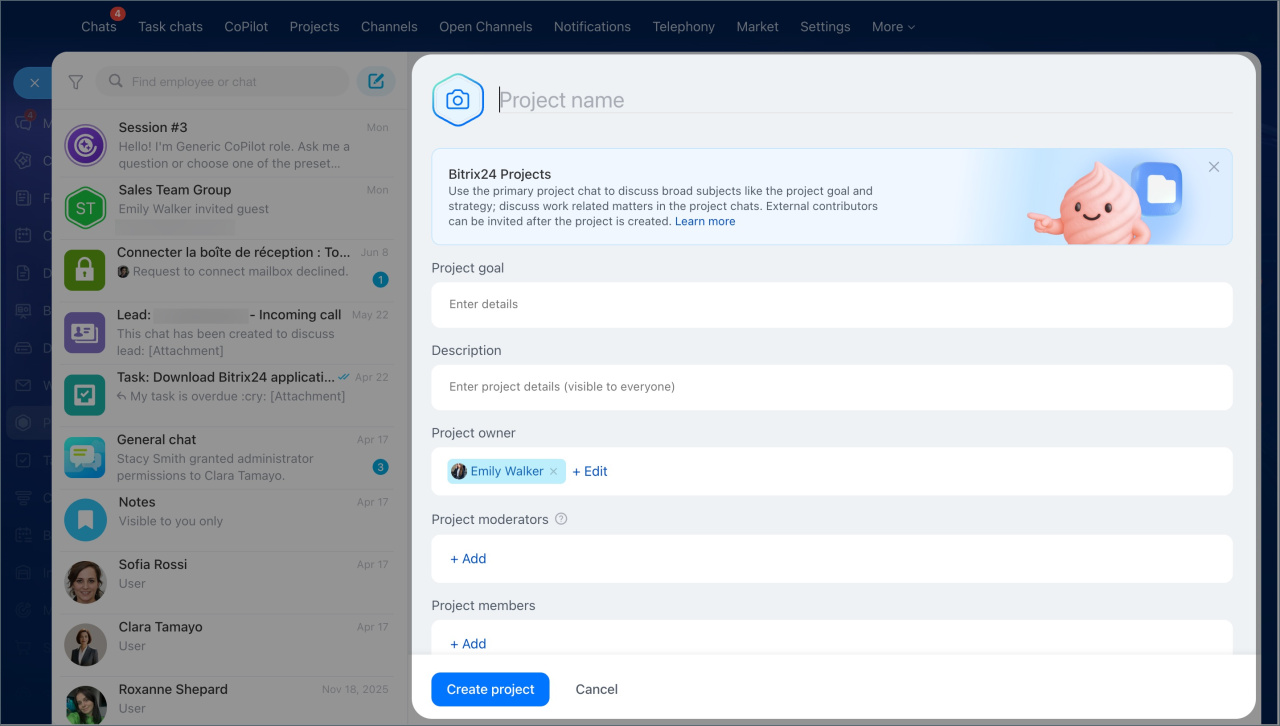
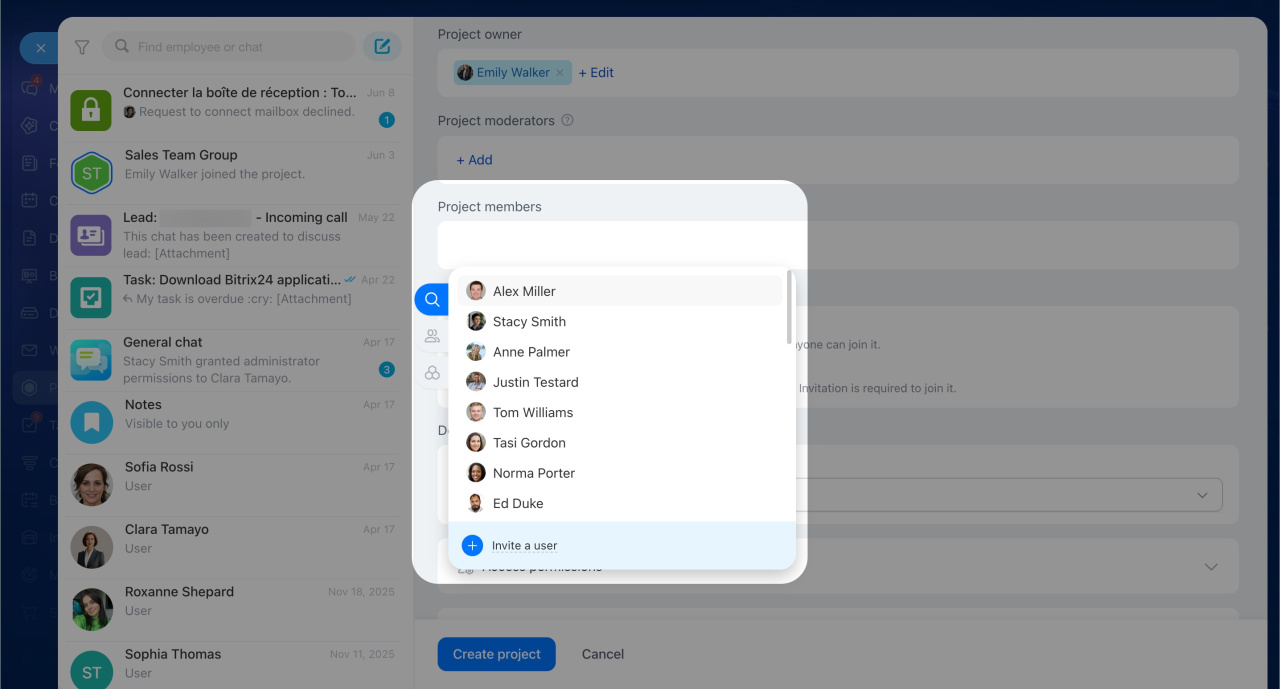
Project members. Project members include colleagues and external users who will work in the project. Click Add and select a user or a subdepartment. You can invite external members after you create the project.
Invite employees or guests to projects
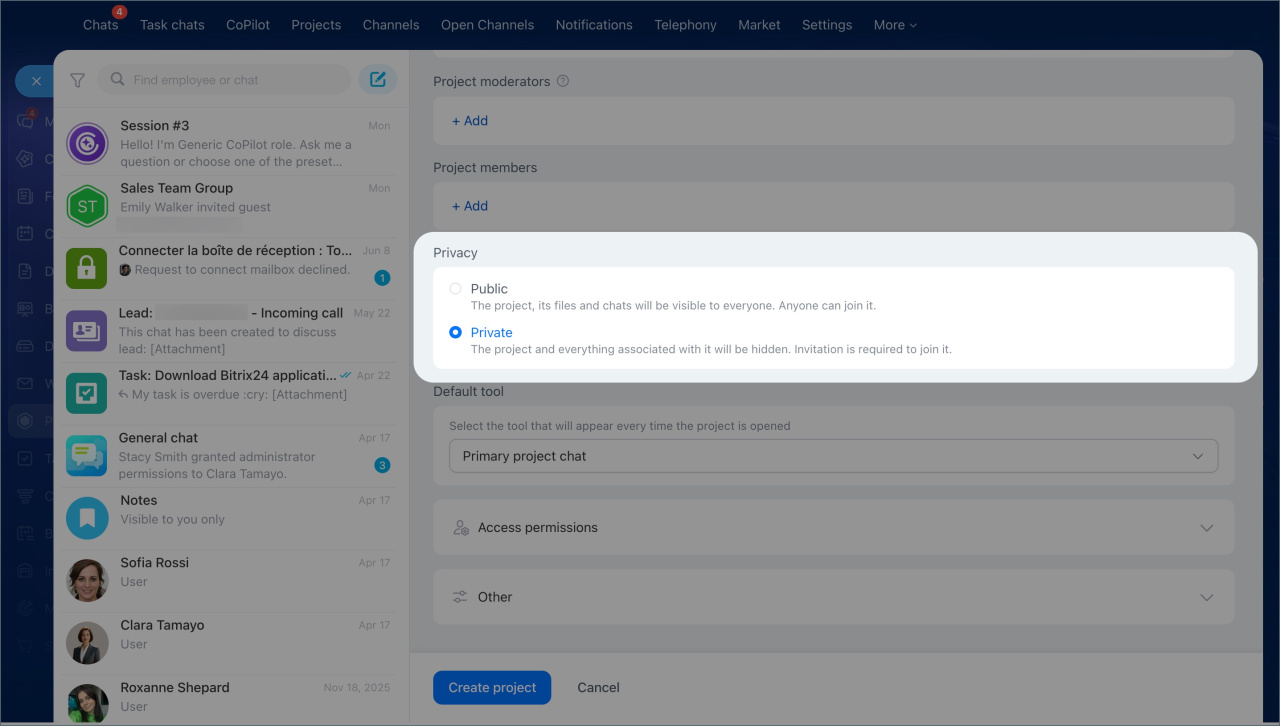
Project type. Choose who can view the project and how users can join it.
- Public — the project and its content are visible to all employees. Anyone can join.
- Private — the project and its content are hidden. Users can join by invitation only.
Default tool. Select which section opens first when someone opens the project. By default, the project chat opens first. You can also choose another section, such as Tasks, Files, Calendar, or Feed.
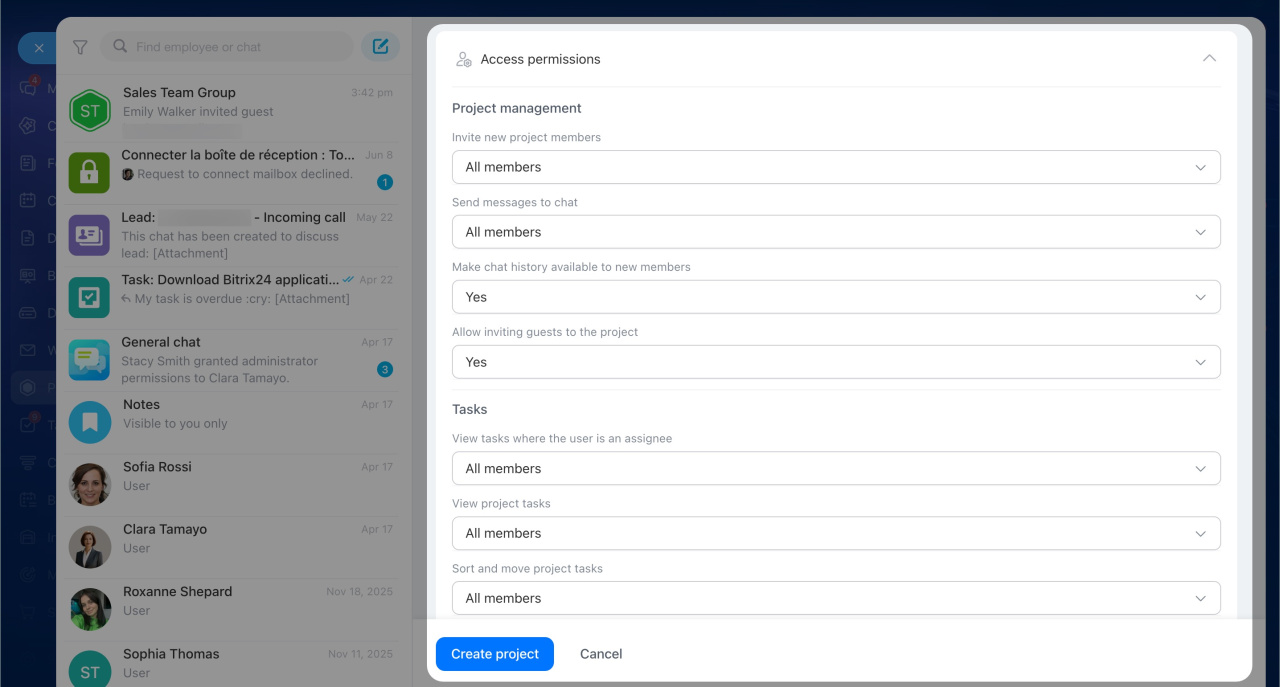
Access permissions. Set which members can invite other users, work with tasks, and post in the Feed. Click the Access permissions block to expand the settings. The default permissions are already set, so you do not need to change them.
Configure access permissions to a project
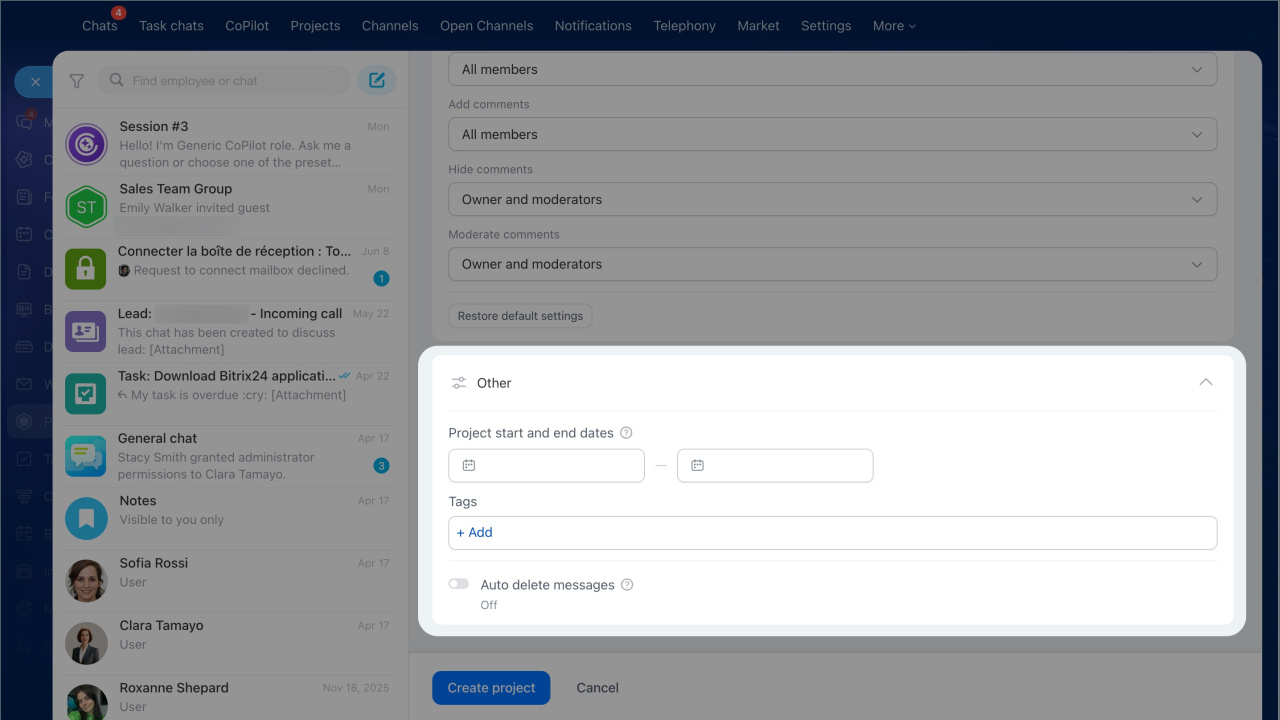
Additional settings. Expand this block to set deadlines, add tags, and turn on auto-delete for messages.
- Project deadlines — enter the project start and end dates.
- Tags — group projects by topic so you can find and filter them faster. Click Add to choose existing tags or create new ones.
- Auto-delete messages — turn on this option to delete chat messages automatically after a set period. This is useful for temporary discussions or when you work with sensitive data.
Auto-delete messages option in Bitrix24 chats
After you complete the required fields, click Create project.
In brief
- You can create a project in Projects, Tasks, or Messenger. All three open the same form.
- Add a name, goal, and description, then select an owner, moderators, and members.
- Choose a project type: Public or Private.
- Use the Access permissions block to manage permissions for the project, tasks, and Feed.
- In Additional settings, you can set deadlines, add tags, and turn on auto-delete for messages.