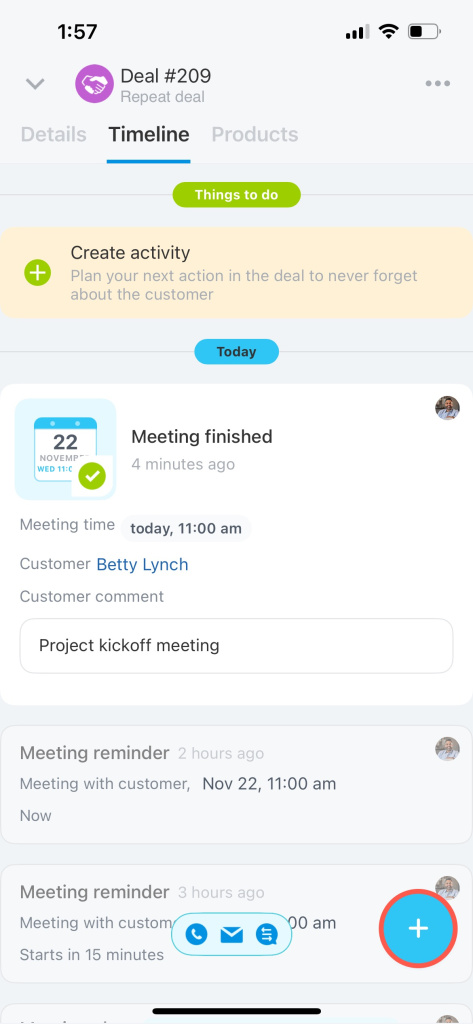
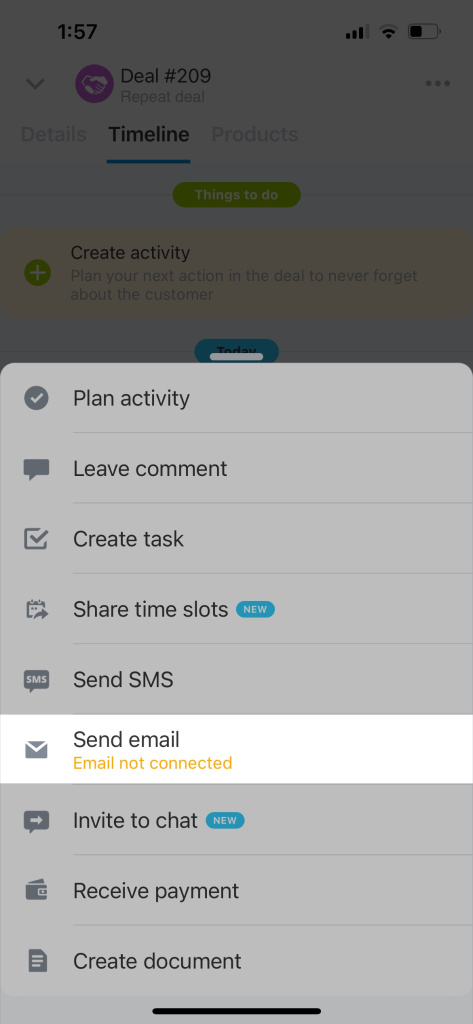
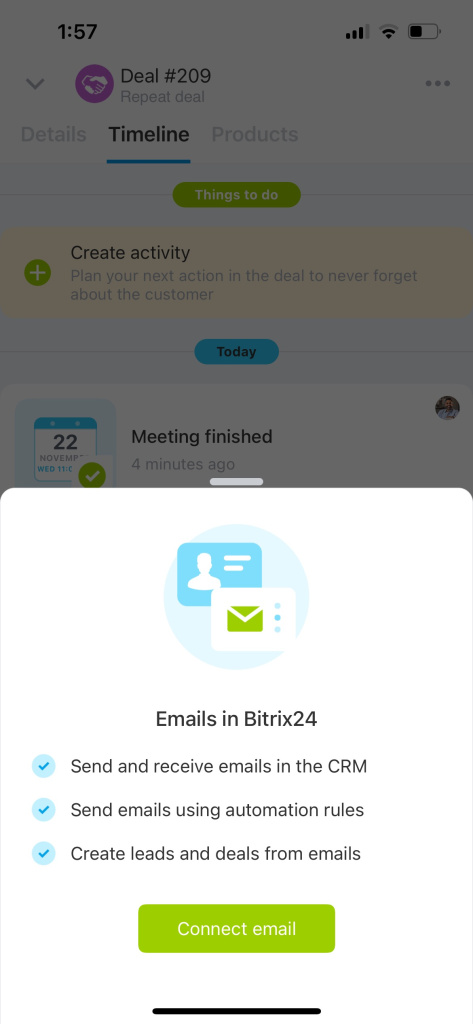
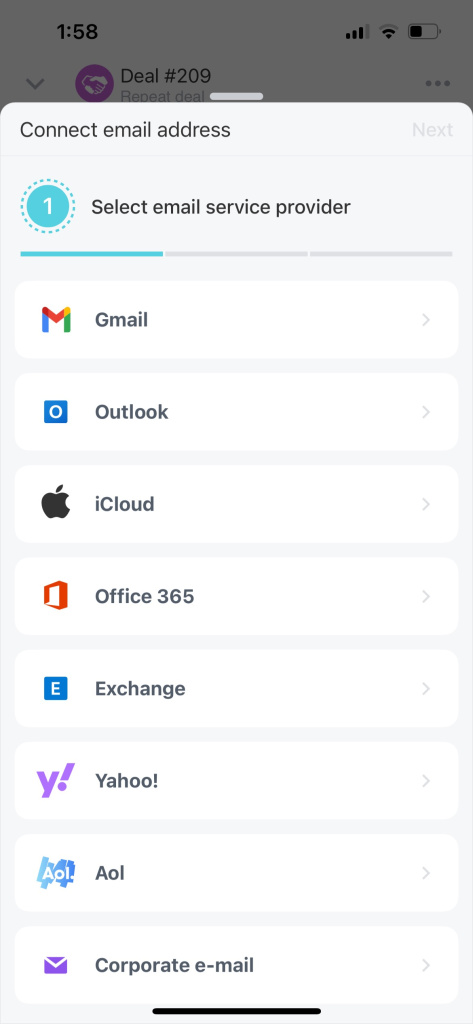
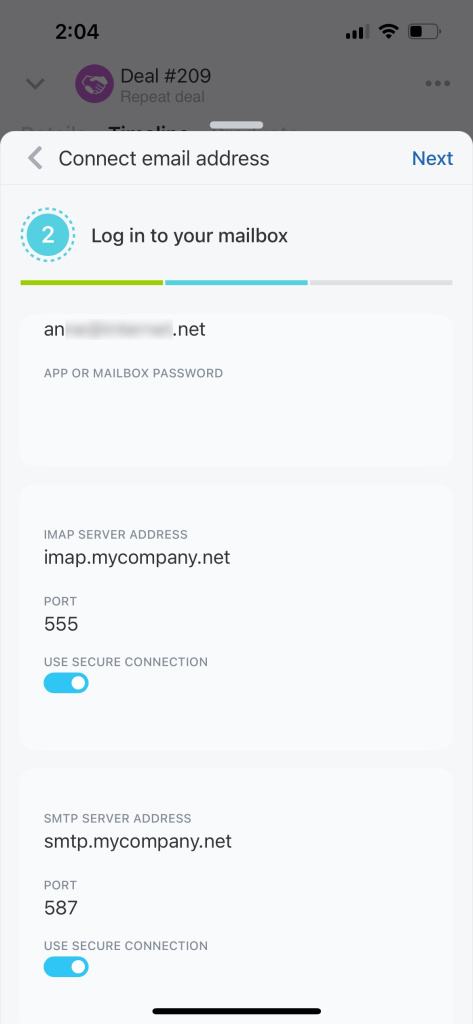
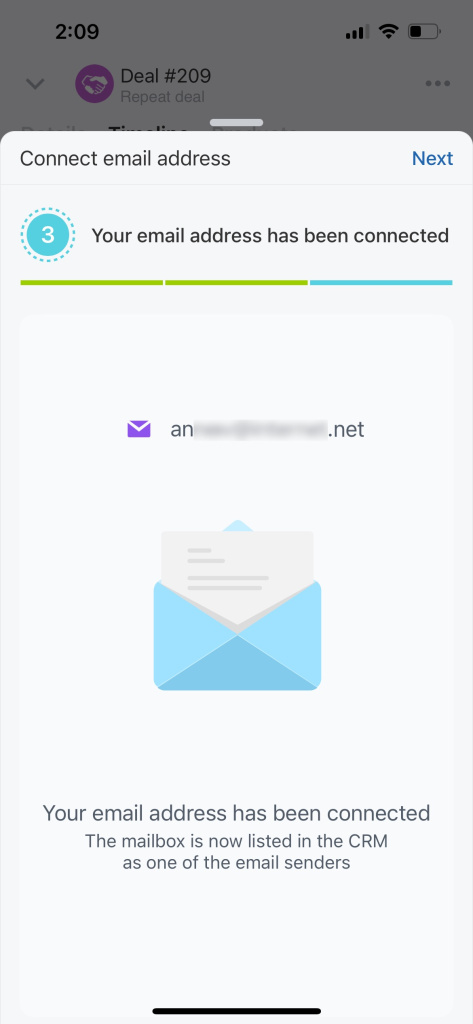
In Bitrix24, you can integrate mailboxes from different email service providers: Gmail, Outlook, iCloud, Office 365, Exchange, Yahoo!, or corporate mail. In this article, we consider different ways to connect your mailbox in the web version and the Bitrix24 mobile app.
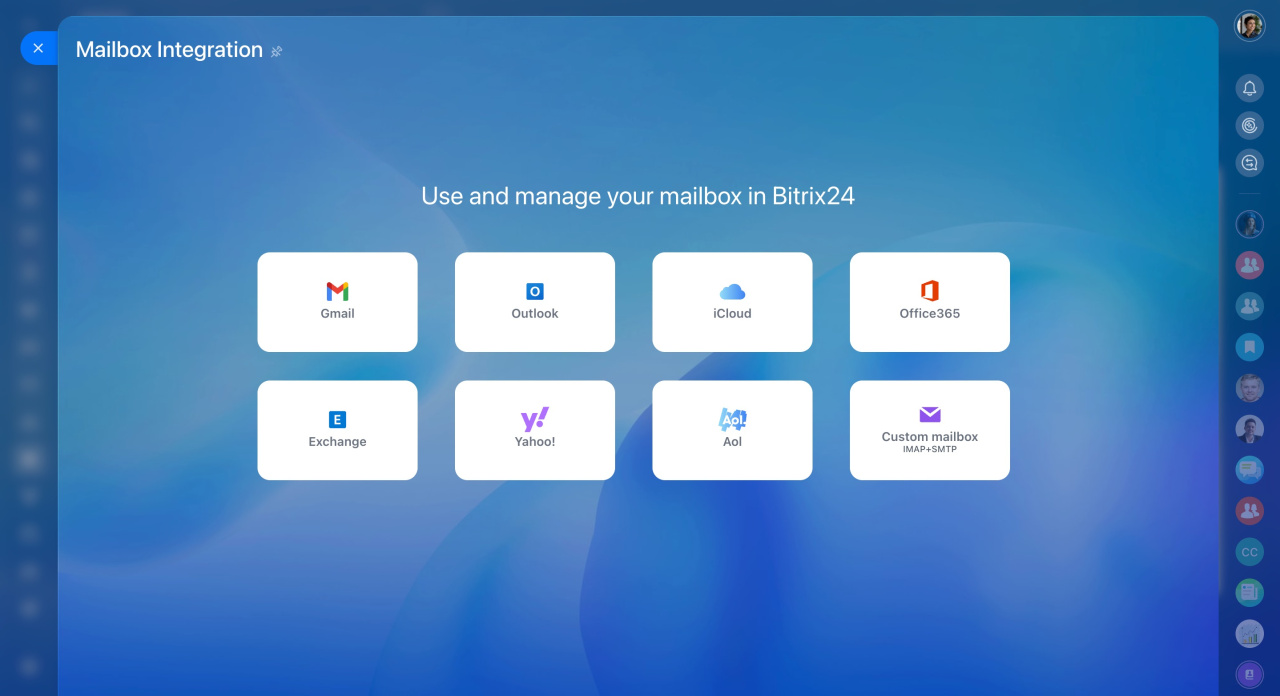
Go to the Webmail section and select your mailbox service provider.
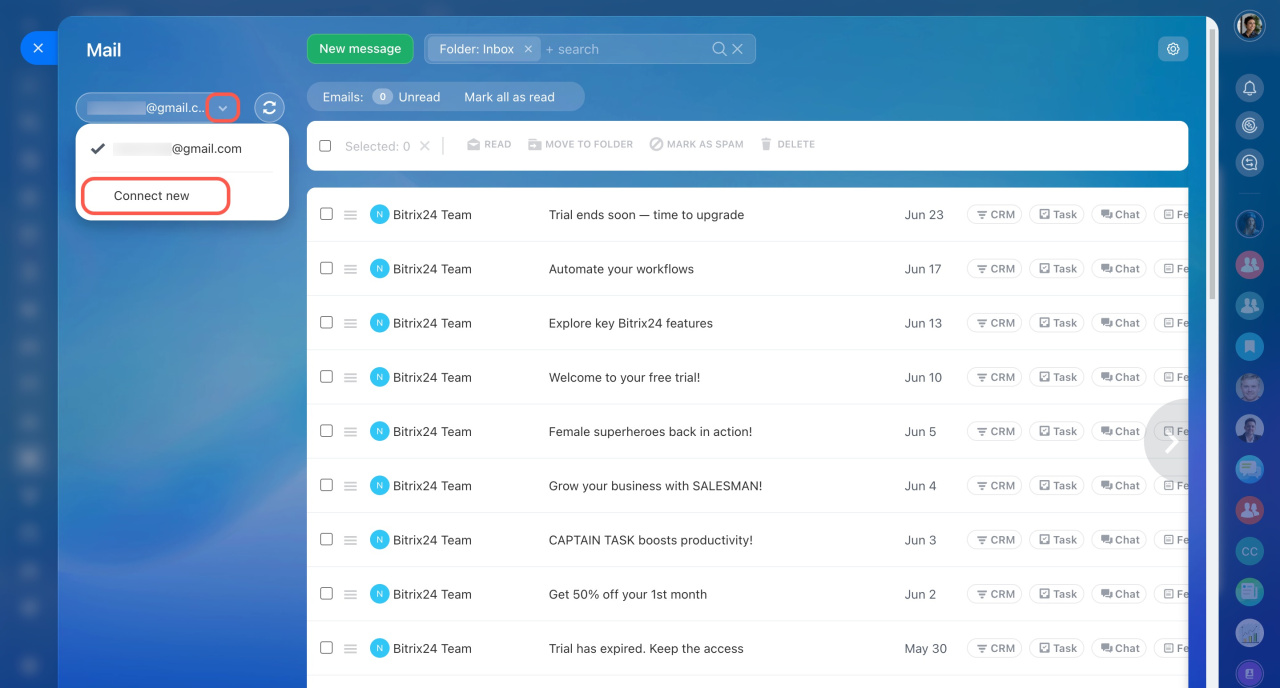
If you already have a mailbox connected to Bitrix24, click the small arrow icon next to your email address on the left and select Connect new from the drop-down list.
There are four ways to connect a mailbox to Bitrix24:
- via the OAuth/xOAuth
- using mailbox login and password
- using an application password
- via IMAP and SMTP
Find detailed instructions for each connection method below.
OAuth/xOAuth
Use this authorization method to allow Bitrix24 to access your mailbox without entering your login and password.
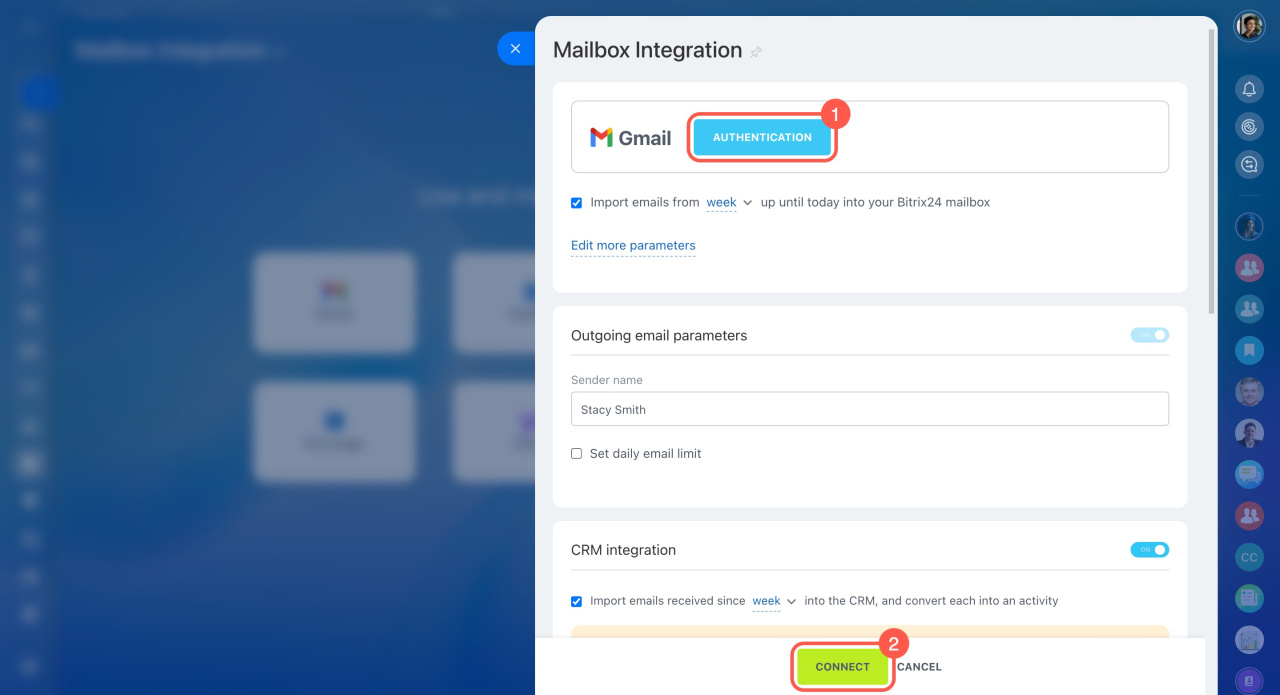
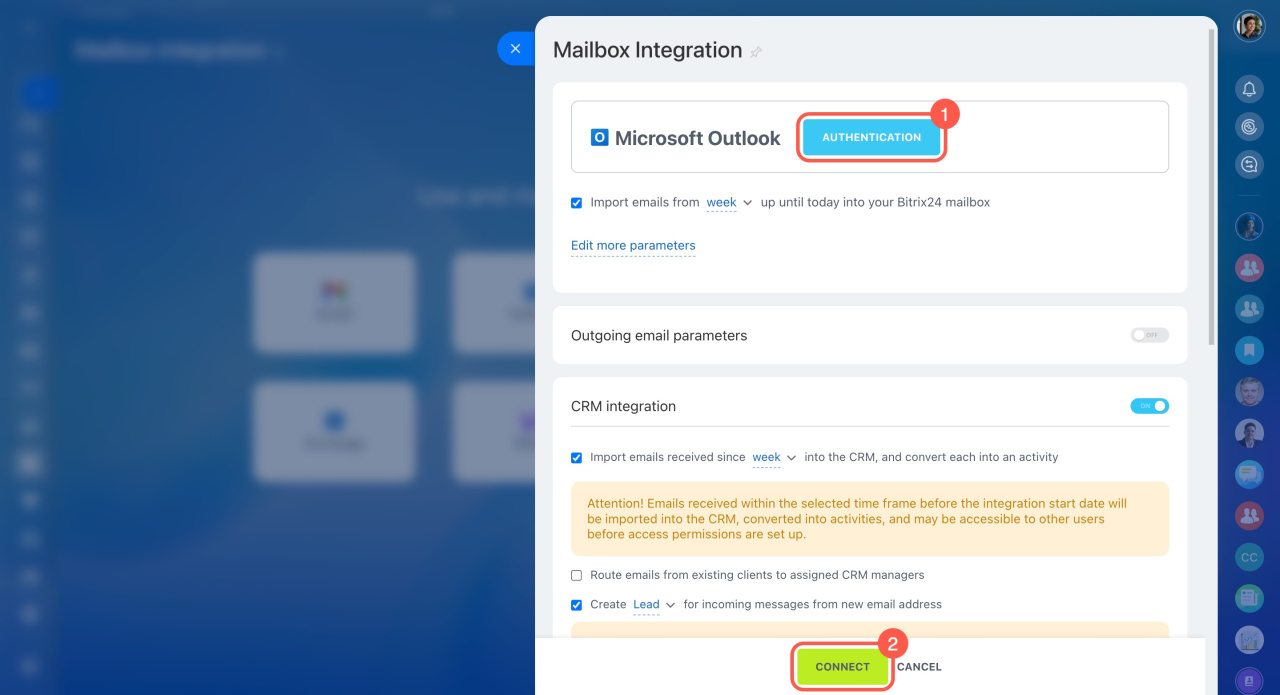
Select your mailbox service provider and click the Authentication button (1).
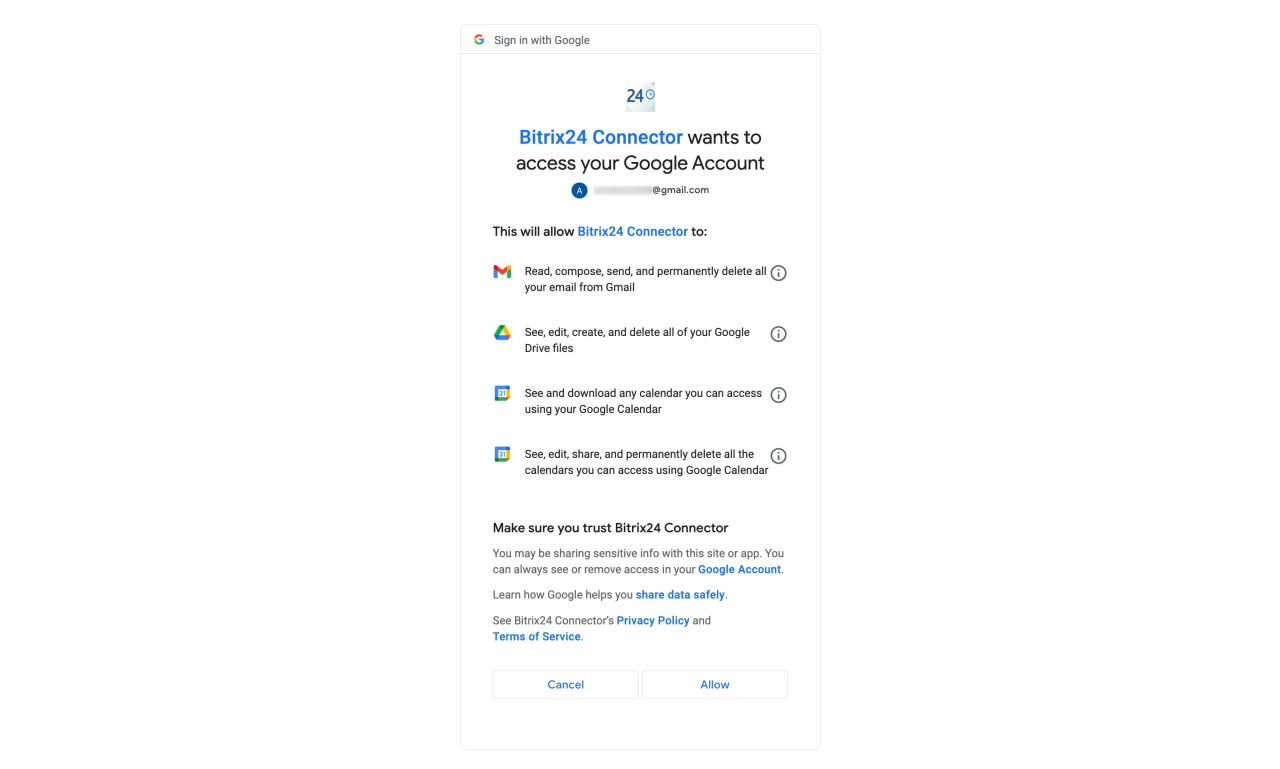
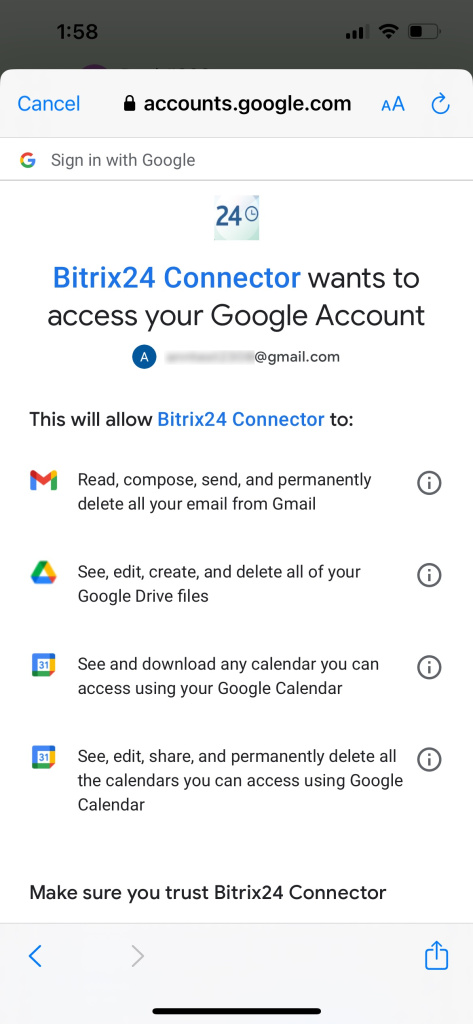
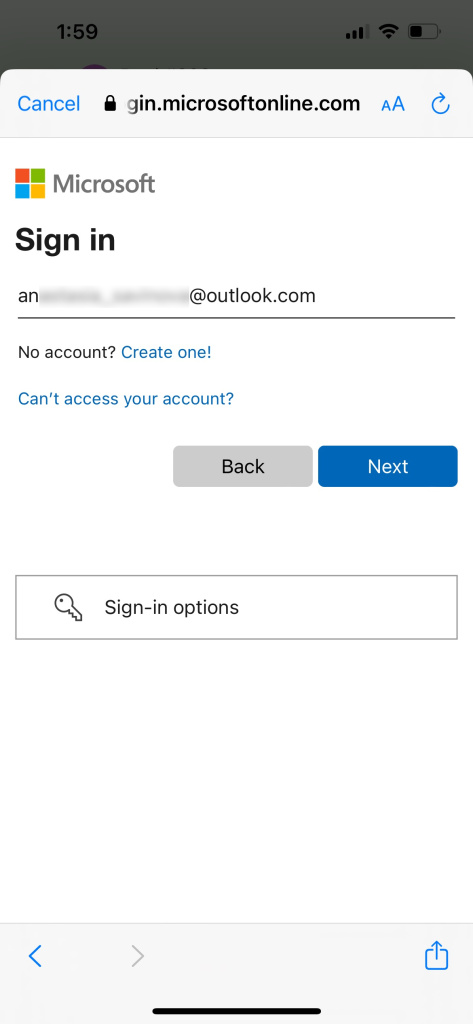
Log into your mailbox account and allow access to Bitrix24 Connector.
Then click Connect (2) to set up the integration. See these topics to learn more:
Mailbox login and password
Use this authorization method to allow Bitrix24 to access your mailbox by entering your login and password.
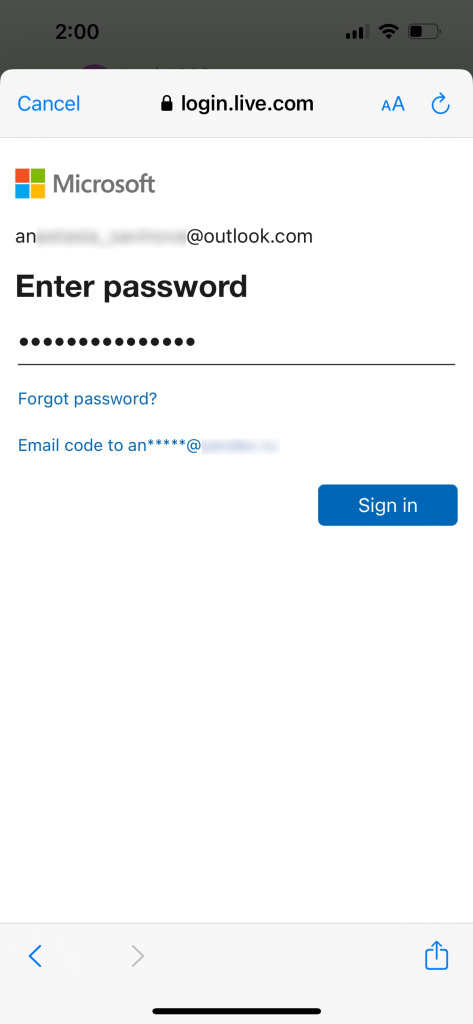
Select your mailbox service provider and click the Authentication button (1).
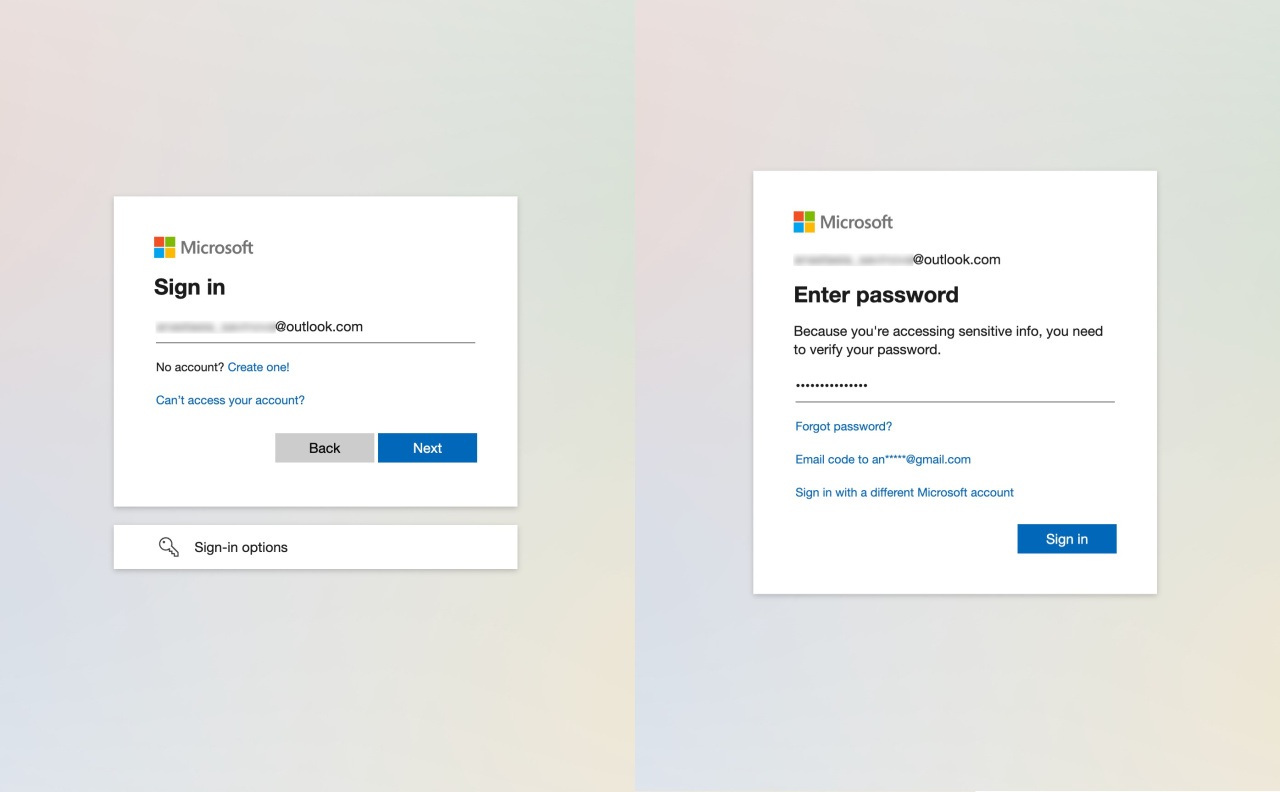
Enter your mailbox login and password. Allow access to Bitrix24 Connector.
Then click Connect (2) to set up the integration. See these topics to learn more:
App password
An application password is a code for accessing your account in a third-party app. It protects your personal data, allowing Bitrix24 to access only your emails.
Find out how to create an app password in different mail services:
IMAP and SMTP
Use this authorization method to connect corporate email addresses to Bitrix24.
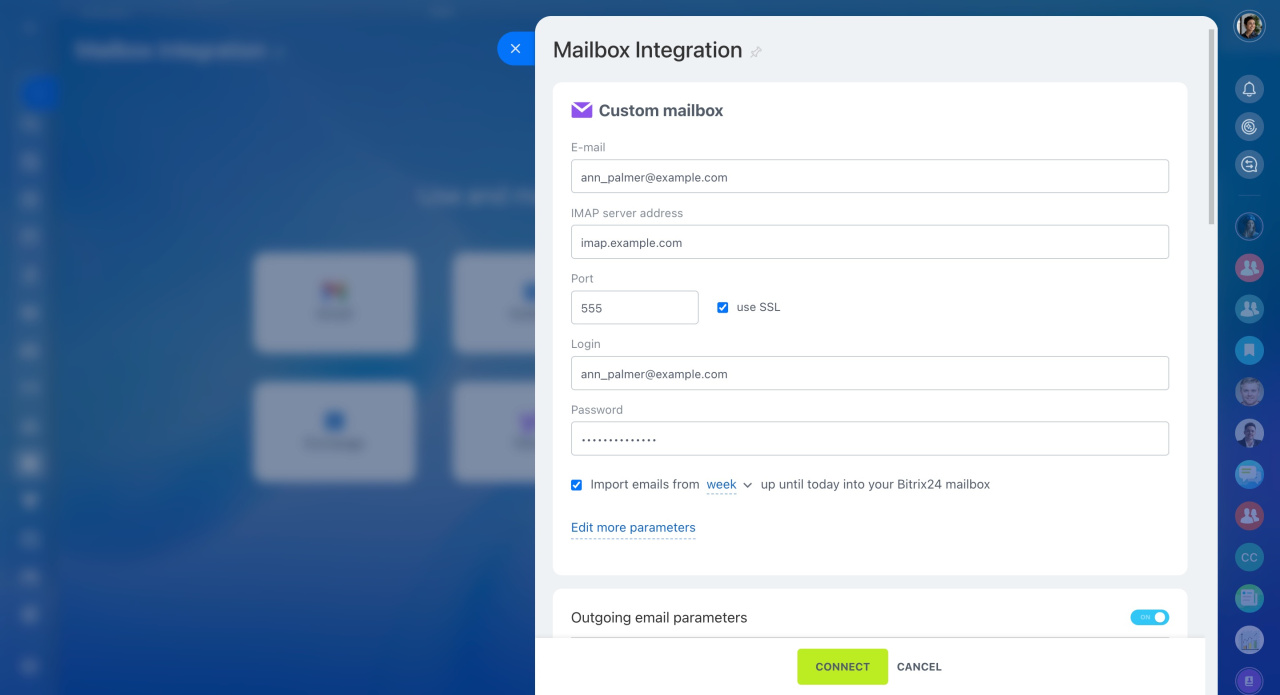
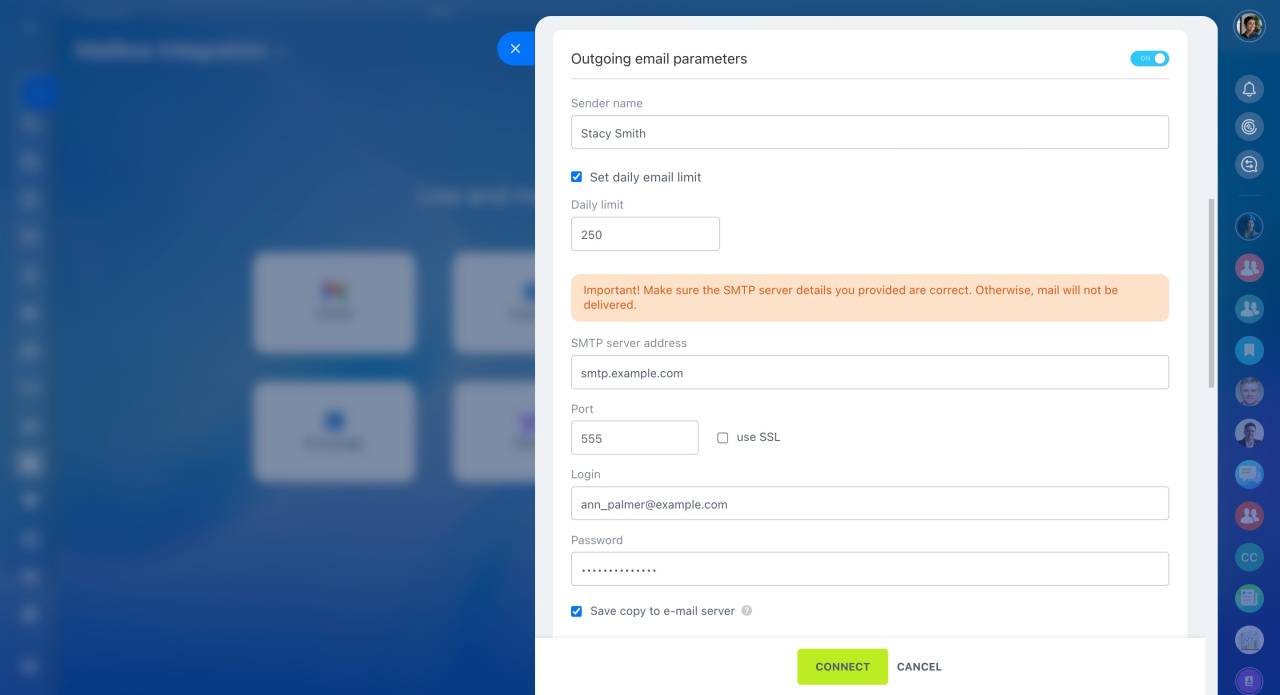
To send and receive emails from your corporate mailbox, fill in the following data:
-
IMAP and SMTP server addresses.
-
Port is a number from 1 to 65535. It allows each network to connect to other networks and share traffic.
-
Email stands for your corporate email address.
-
App or mailbox password.
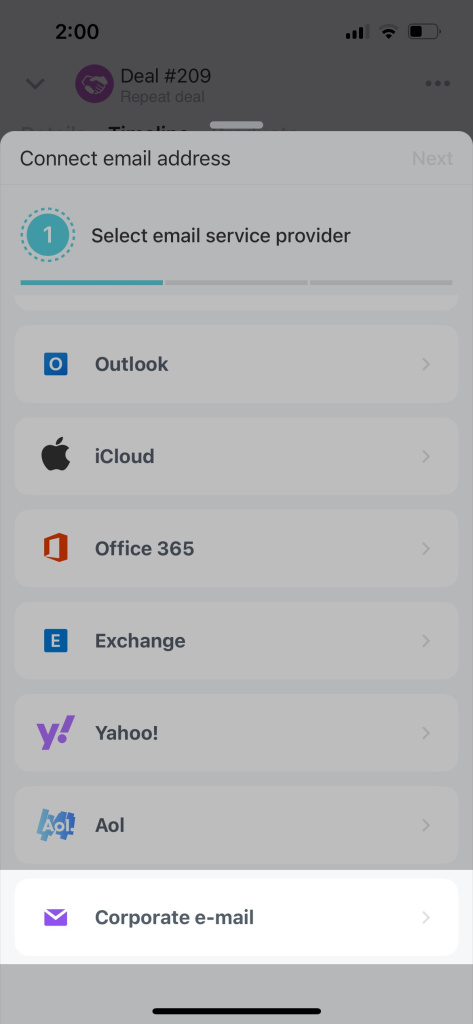
Select Corporate e-mail from the list of mailbox service providers.
Provide the required data: IMAP and SMTP server addresses, ports, email address, and password. Then click Connect to set up the integration.
In brief
-
In Bitrix24, you can integrate mailboxes from different email service providers: Gmail, Outlook, iCloud, Office 365, Exchange, Yahoo!, or corporate mail.
-
You can connect your mailbox in the web version and the Bitrix24 mobile app.
-
There are four ways to connect a mailbox to Bitrix24: via the OAuth/xOAuth, using mailbox login and password or application password, and via IMAP and SMTP.

