Terminal is a tool that allows you to accept payments from customers using a QR code on your smartphone. Previously, it was not linked to deals, and you had to create payments separately in the mobile app.
Now you can create such a payment right in the deal form and choose an employee who will accept it. Once the employee processes the payment, your customer will receive a proof of payment via SMS. All the information about the payment is saved to the deal timeline, and you won't miss anything.
Here are two examples of use cases for this payment method:
-
Courier delivery. An employee contacts a client, creates a deal, and adds products. Another employee (the courier) delivers the products to the client and accepts the payment using a QR code.
-
Pickup point. An employee contacts a client, creates a deal, and adds products. Another employee is waiting for the client at the pickup point to give the products to the client and accept the payment using a QR code.
In the article, learn how to create and accept payments via terminal from the deal form.
How to create payment via terminal from the deal form
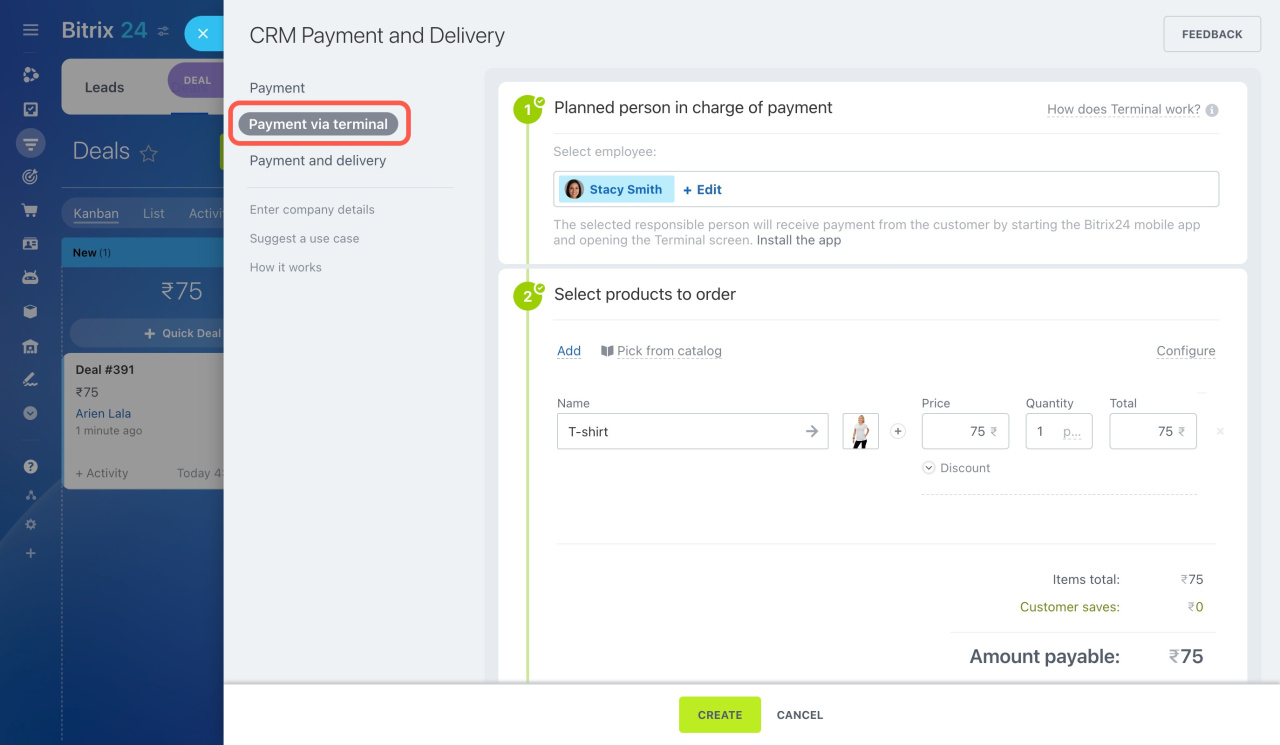
Open a deal form and click Receive payment. Then select the Payment via terminal tab.
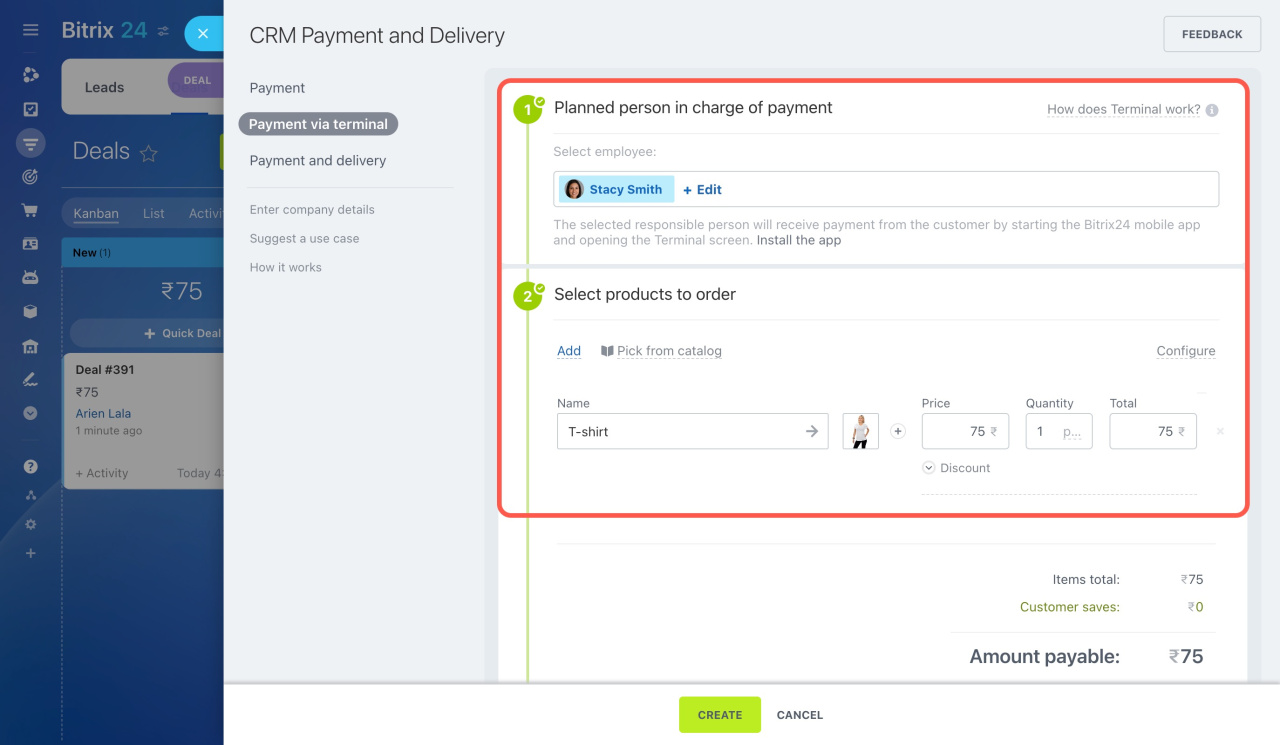
Configure four main areas.
-
Planned person in charge of payment
Select an employee from the list or invite a new one. The selected user will receive payment via terminal in the Bitrix24 mobile app. If you want to accept payment personally, select yourself from the list. Click Install the app to find the installation guide. -
Select products to order
Add the products and specify a discount. -
Payment systems are online
Connect payment systems that customers will use to pay online. -
Automation
Decide whether you want to change the deal stage after the payment is done.
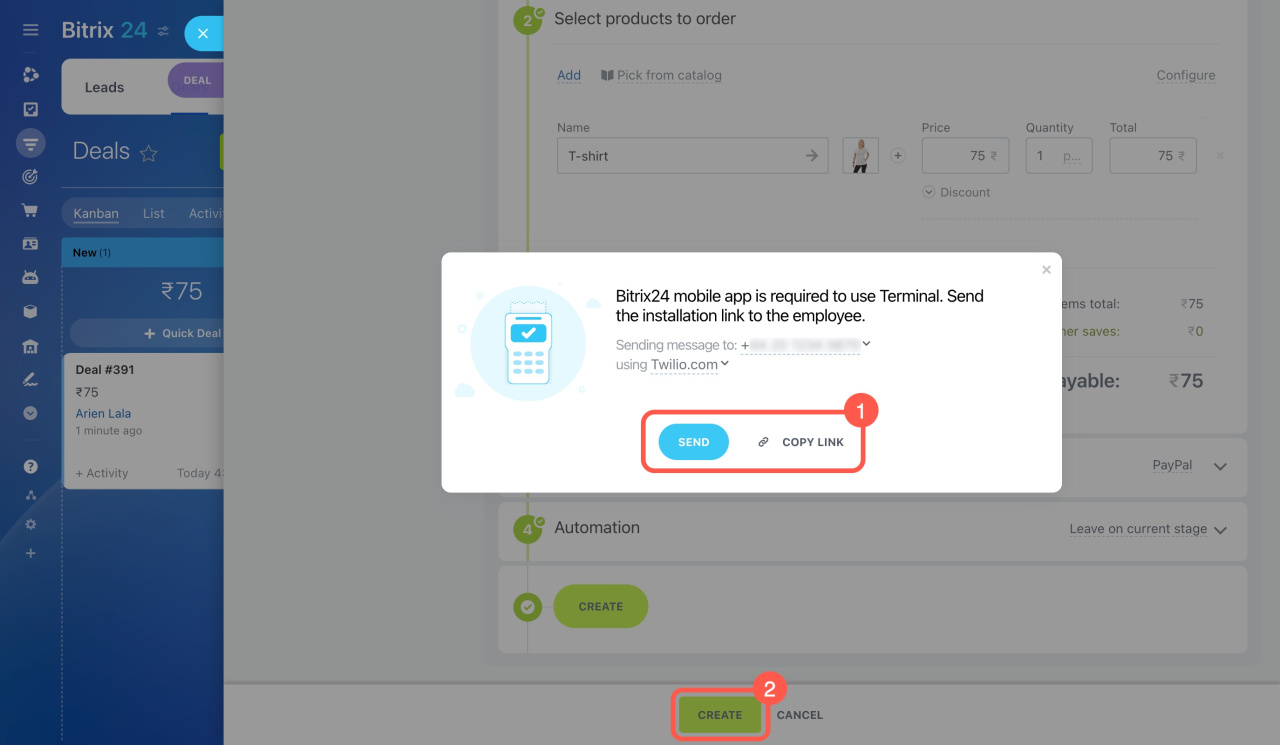
Finally, click Create. The payment will appear in the Terminal section in the mobile app. If the selected employee has not used the app yet, you will see a pop-up window offering to send them an installation link via SMS or copy it to the clipboard.
-
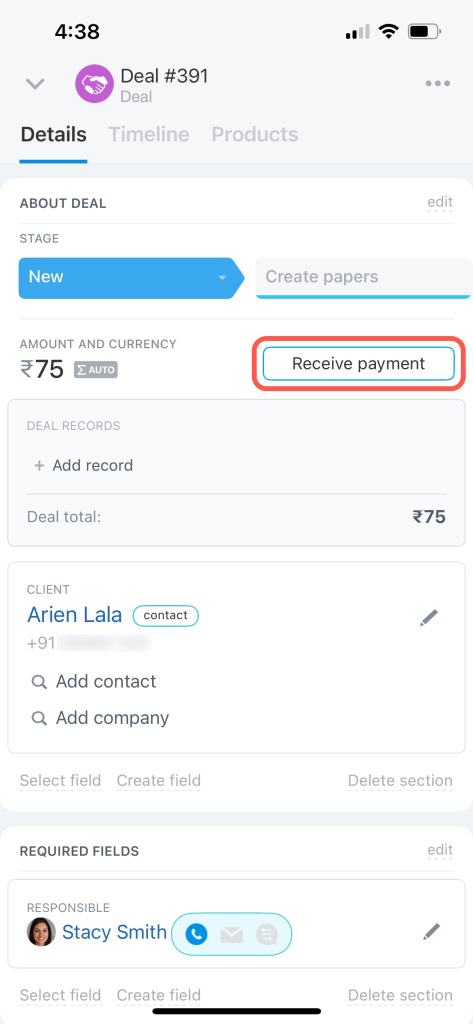
Open a deal in mobile CRM and tap the Receive payment button.
-
Select Payment via terminal on the slider.
-
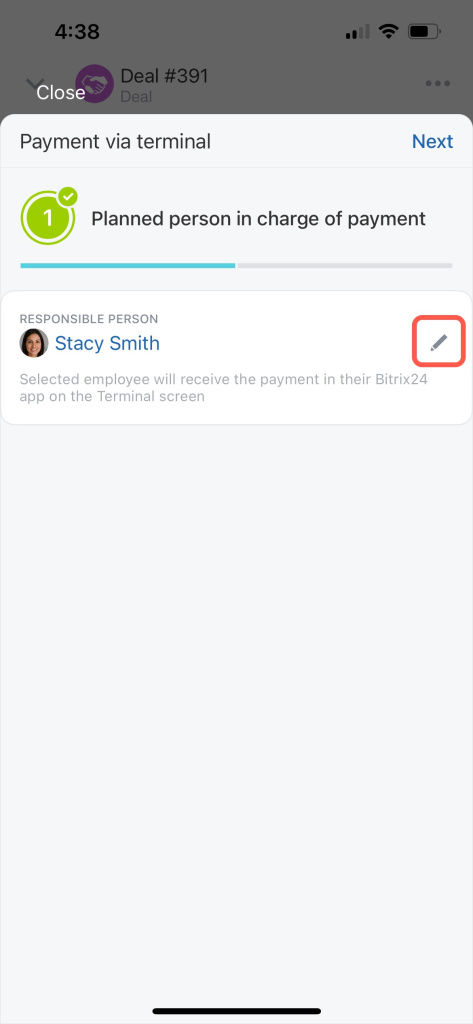
Select the employee who will receive payment from the customer.
-
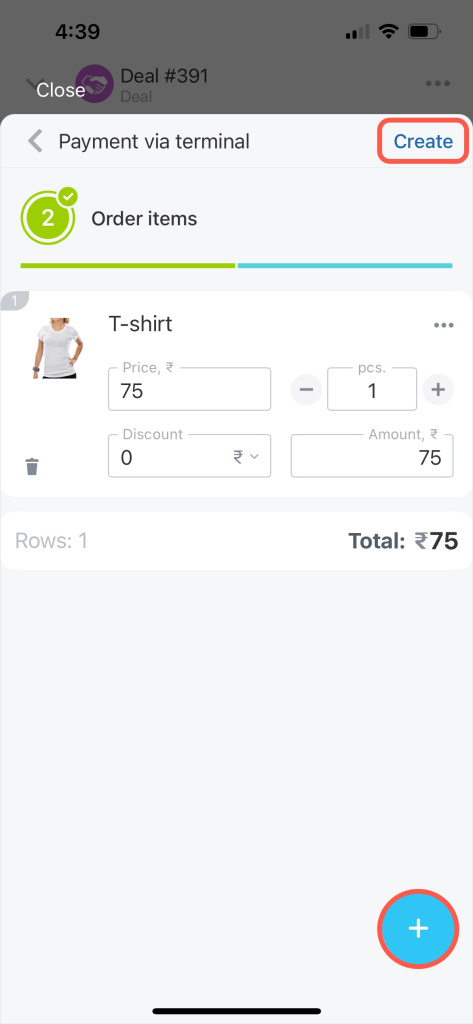
Add products and tap Create in the top right corner.
-
After that, you can go back to deal or receive the payment immediately if you are supposed to do it.
How to receive payment via terminal
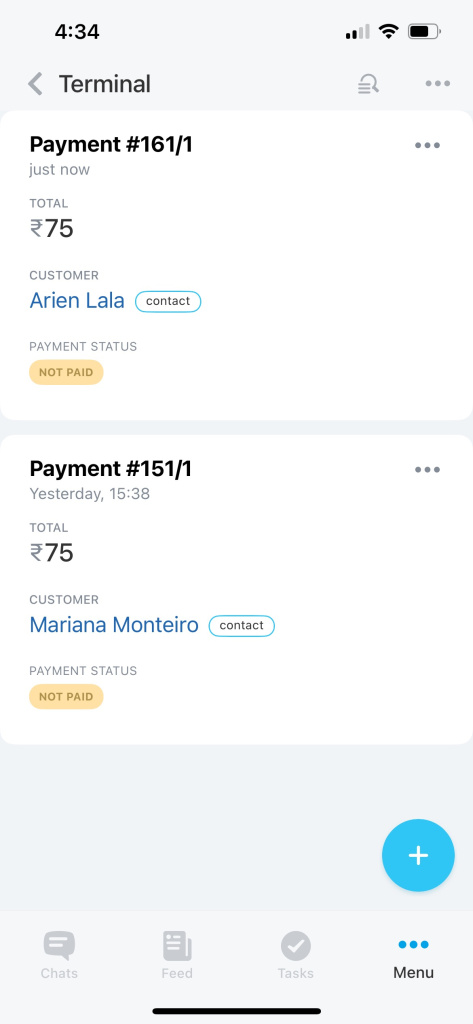
Open the Bitrix24 mobile app, go to Menu, and select Terminal. You will see all the payments you need to accept.
Learn more about access permissions in CRM
Learn how to edit bottom menu in Bitrix24 Mobile app
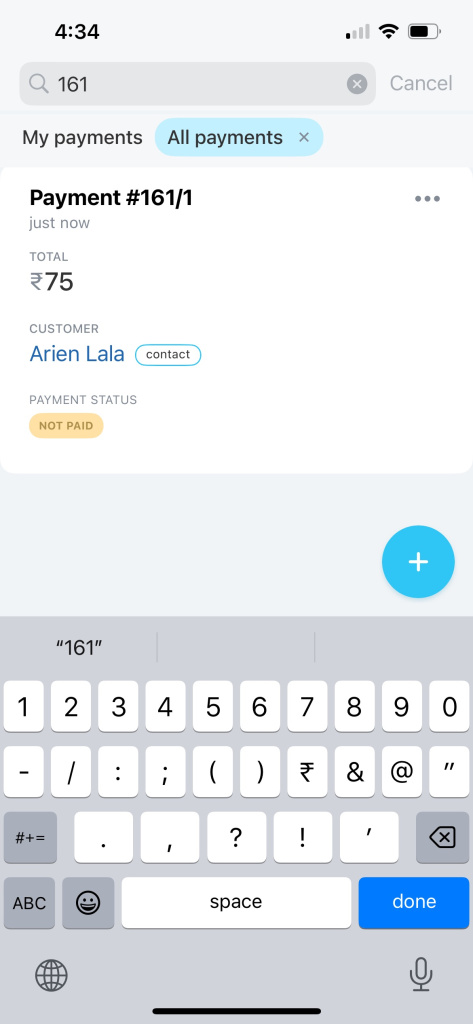
To find and accept a payment from another customer, use the Search area. Here you can search by the amount of payment or client phone number.
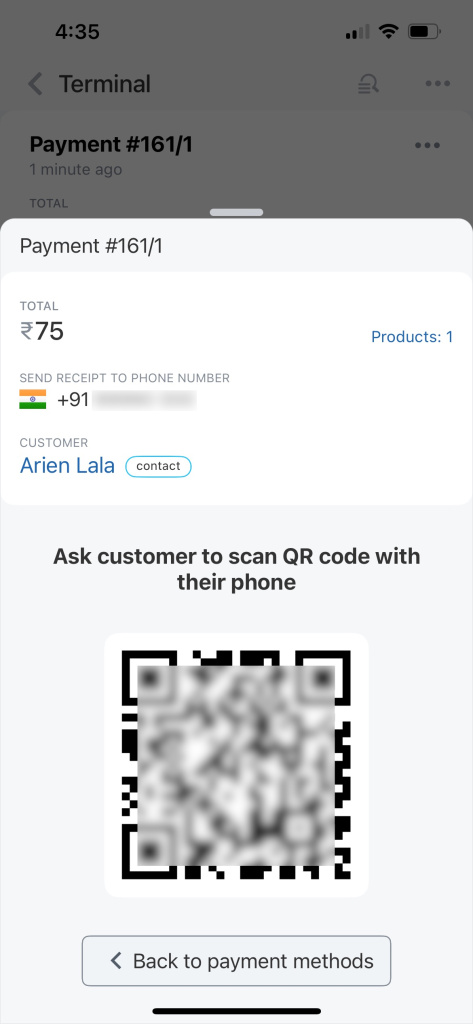
Open a payment form. Select a payment option and ask your customer to scan the QR code.
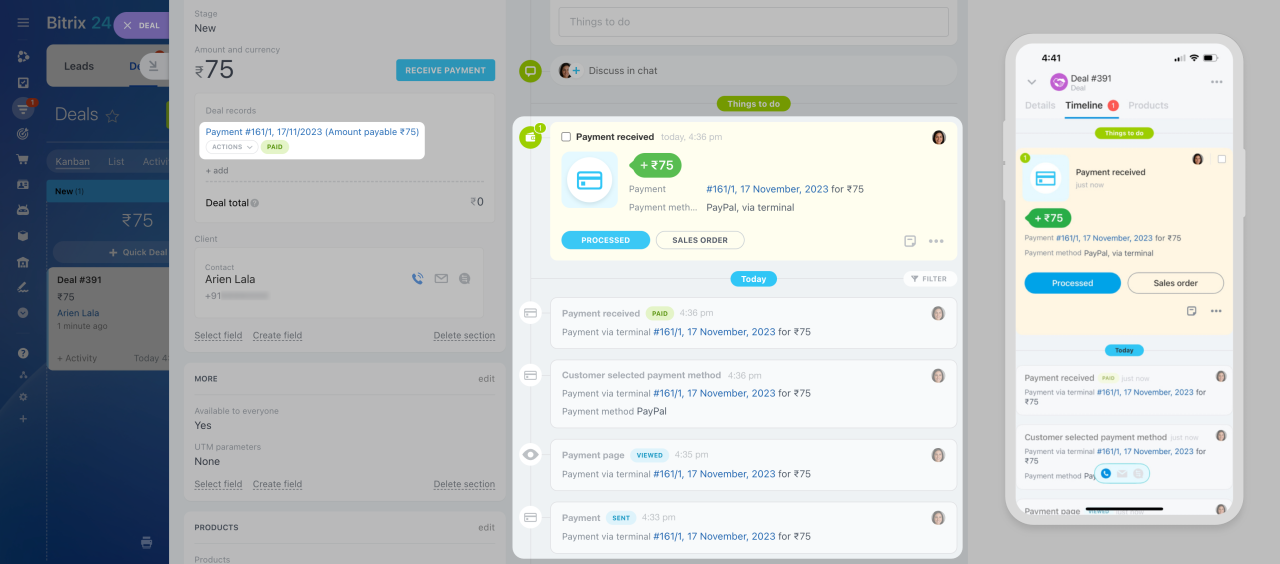
Once the payment is received, you will see it in the deal timeline.
In brief
-
Create payments from the deal form and assign employees who will accept them via terminal.
-
Once the selected employee processes the payment, your customer will receive a proof of payment via SMS.
-
All the information about the payment is saved to the deal timeline, and you won't miss anything.

