Keep all your events in one place by syncing your Bitrix24 calendar with your iPhone calendar, ensuring you never miss important meetings. Events created in Bitrix24 will appear in the iPhone calendar and vice versa.
- Go to Calendar.
- Click Connect calendar.
- Select Connect other calendars.
- In the Mobile calendars section, select iPhone Calendar.
- Click Connect your phone.
On your iPhone, follow these steps:
- Scan the QR code to open the connection instructions.
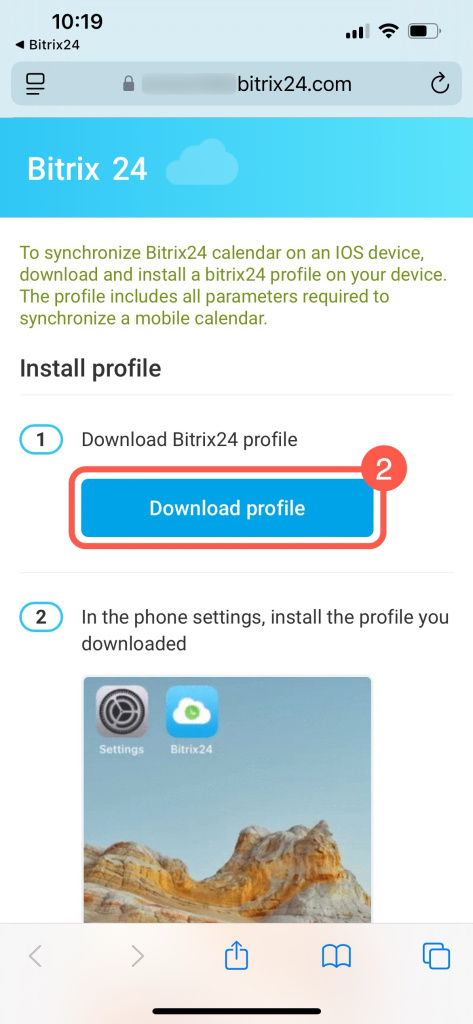
- Tap Download profile.
- Select Download to save it to the Files folder.
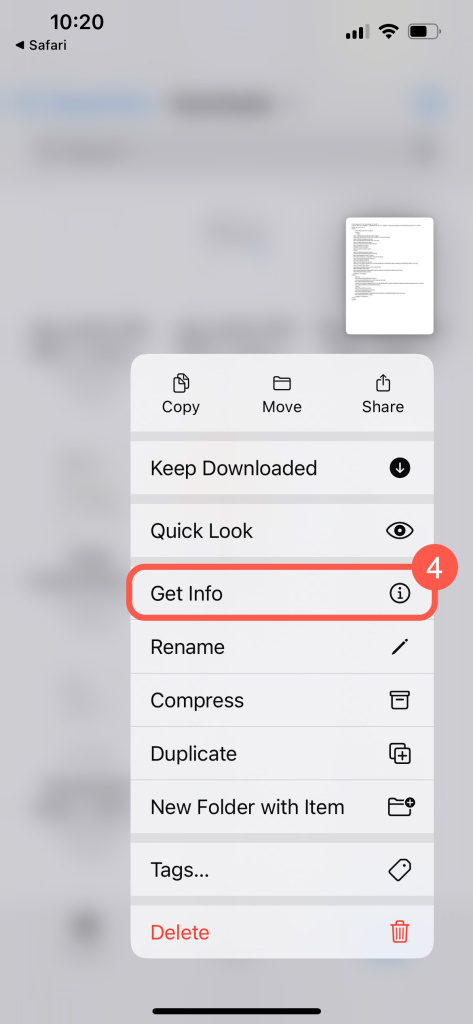
- Find the file in the folder, tap and hold it, then select Get info.
- Tap Open.
- Go to Settings and open the Profile Downloaded section.
- Tap Install.
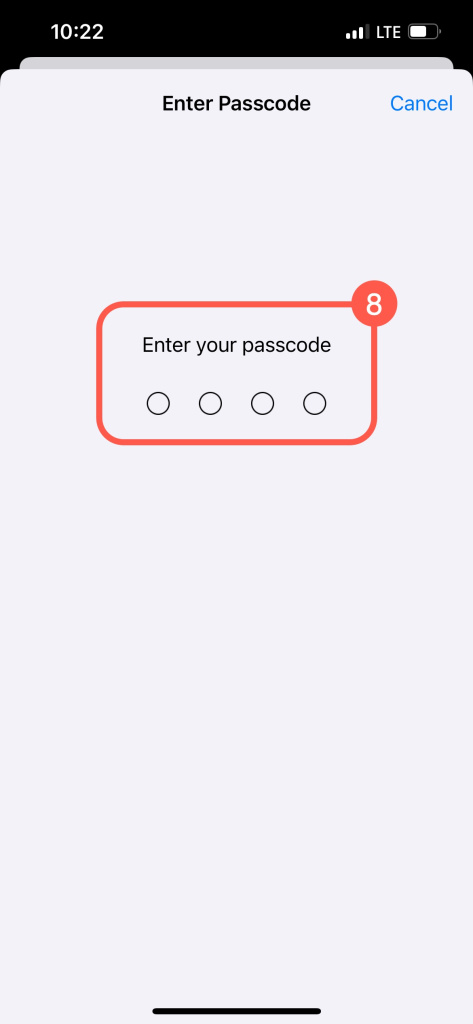
- Enter the device passcode.
- Tap Install again to confirm.
Once the profile is installed, the calendars will sync, and the status will update in Bitrix24.
Synchronize Bitrix24 calendar with iCloud
You can disable sync in iPhone settings. Bitrix24 calendar events will stop appearing, but the synchronization status will remain for 24 hours.
Disable synchronization with iPhone
In brief
-
Sync your Bitrix24 calendar with your iPhone calendar to keep all events in one place, ensuring you never miss important meetings.
-
To sync, simply scan the QR code, download the profile, and install it in your iPhone settings.
-
Enjoy seamless integration across all Apple devices using iCloud sync with your Bitrix24 calendar.
-
Disable sync easily through iPhone settings whenever needed.


