In Bitrix24, there are workgroups and projects. The main difference between them is the ability to set deadlines.
- In a workgroup, you can discuss issues that affect a specific department or the entire company.
- In a project, you can organize the work of the team. Link the project to tasks, set deadlines, assign responsible people and control the process.
You can create a workgroup and a project the same way. Here’s how to create a project.
Select a type
- Go to the Workgroups and projects section.
- Click Create.
- Select the type — Project.
- Click Next.
Configure project settings
In the Features tab, select a design theme, specify the project name, parameters, and add tools.
About project.
- Specify a project name and add a description.
- Select a visual theme, a project icon or upload your own one.
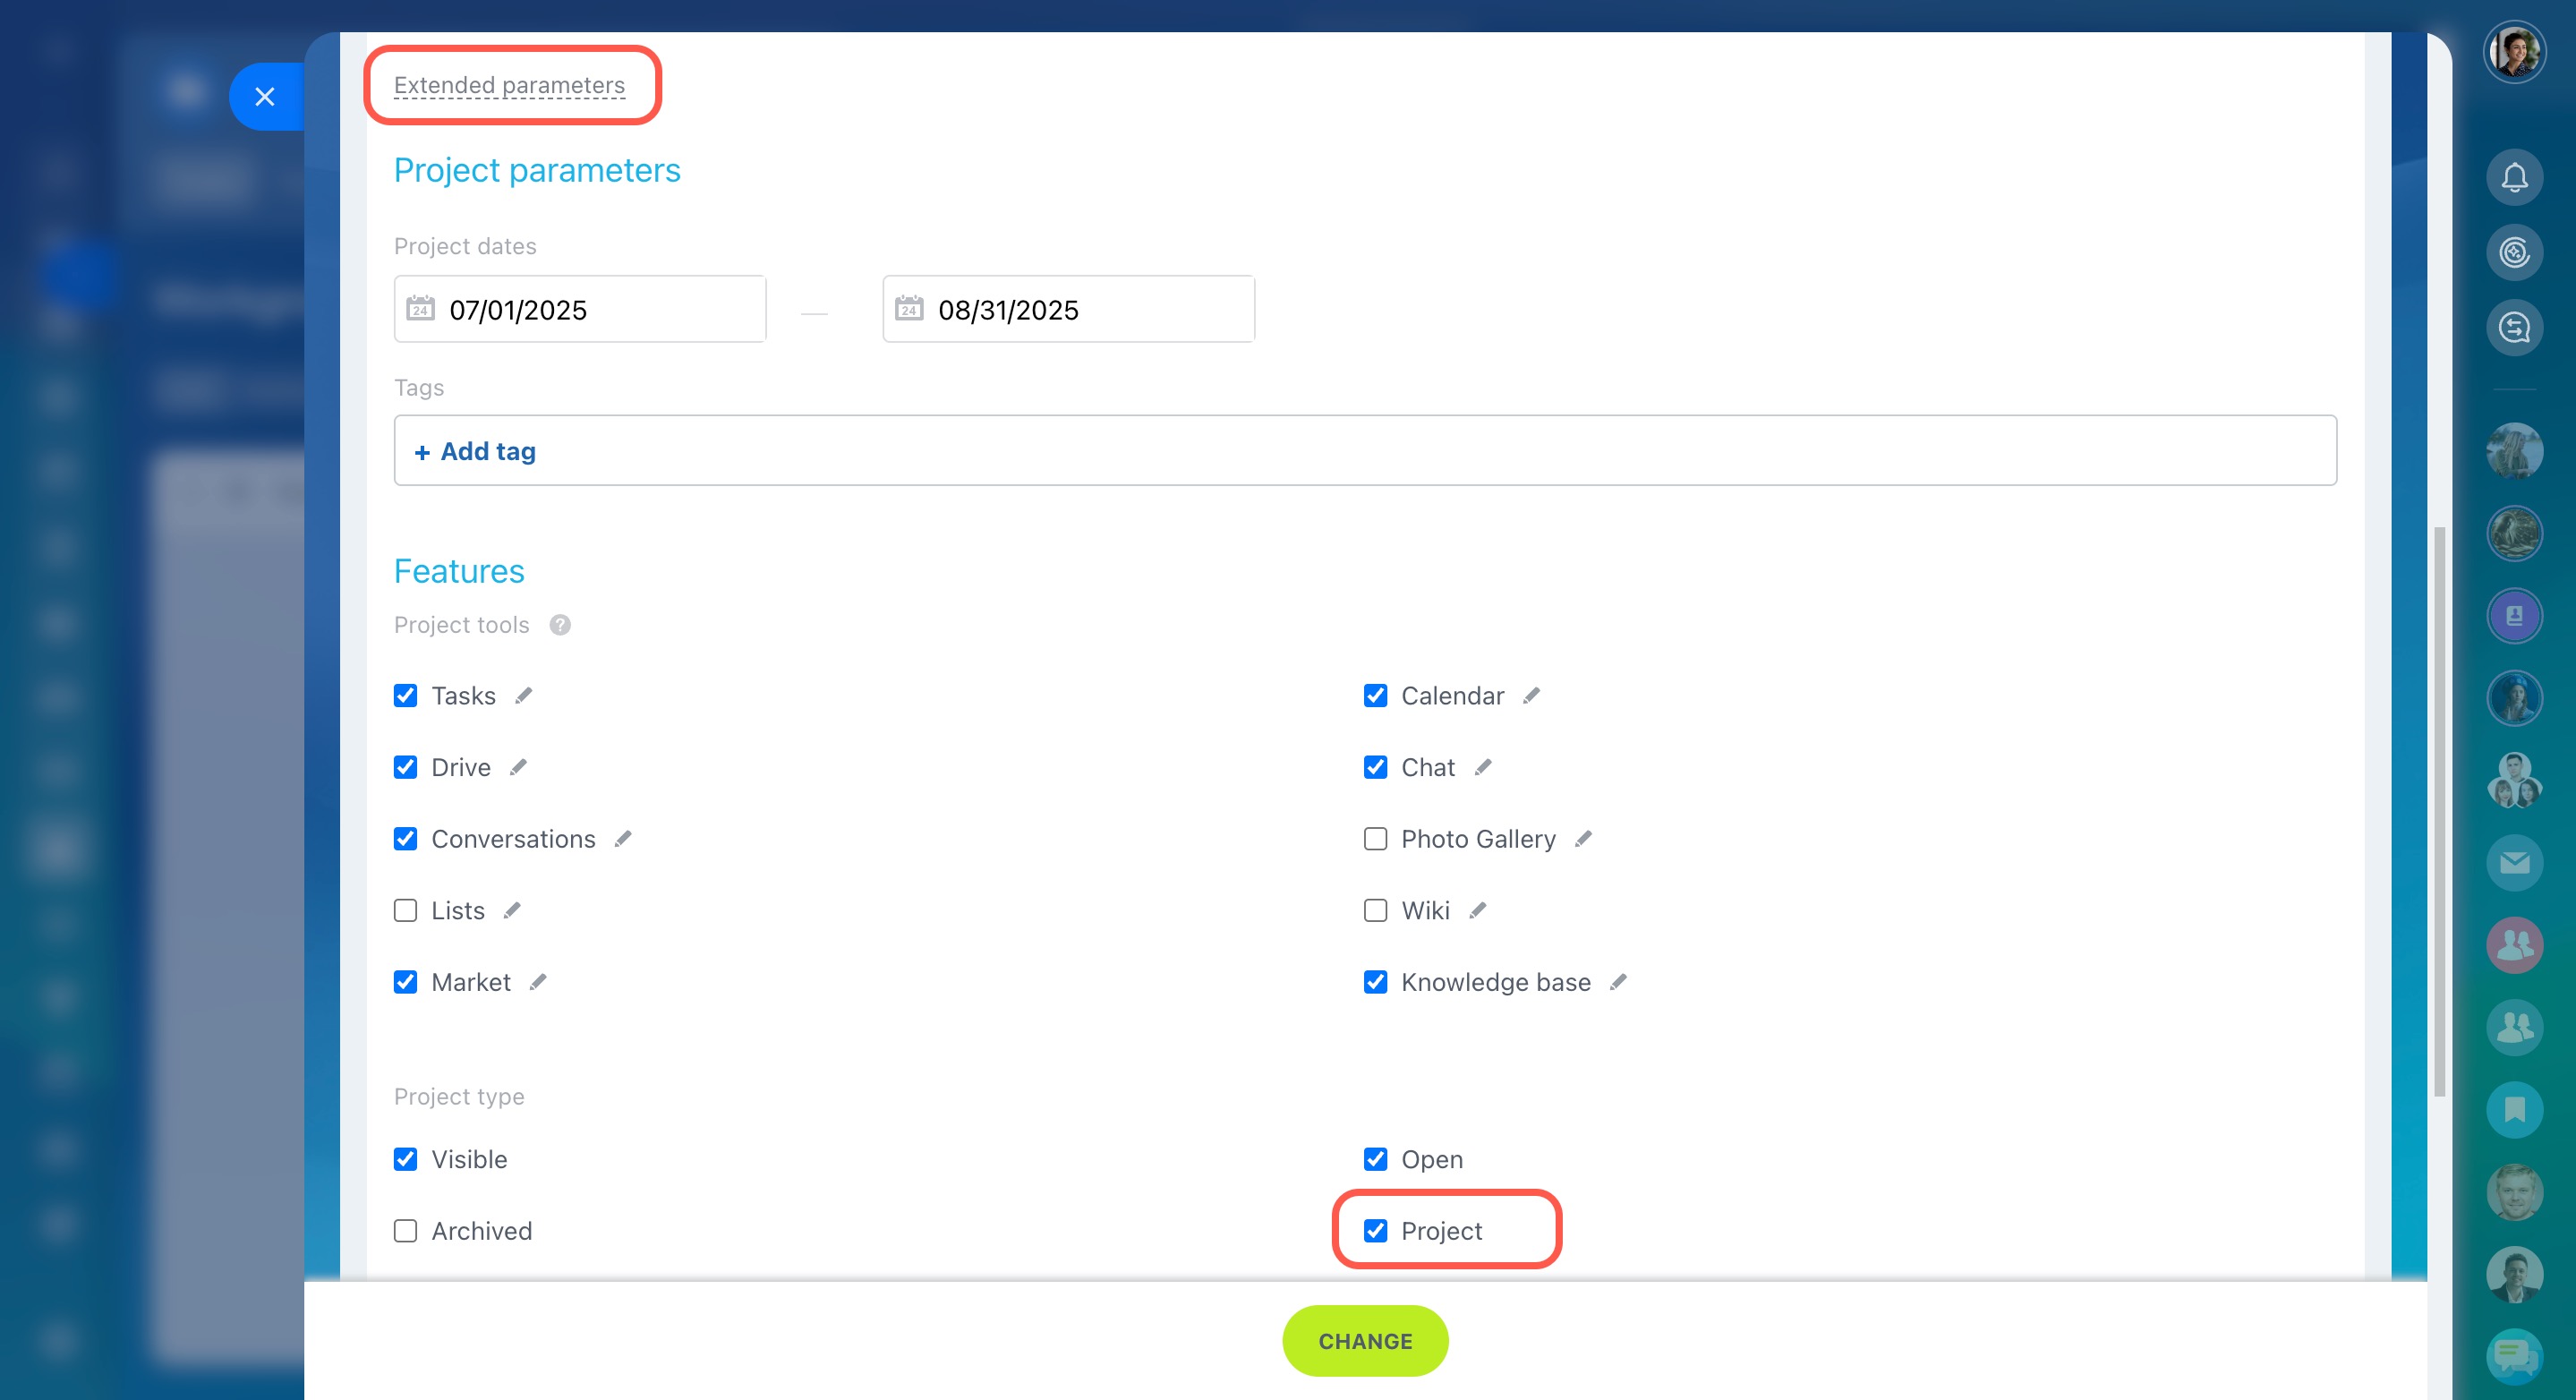
- Click Extended parameters to select project tools and configure parameters.
Project parameters.
- Project dates — specify the time period in which the project needs to be completed.
- Tags — specify tags to filter and search projects by them.
Tags in tasks and projects
Features.
- Project tools — check the boxes next to Bitrix24 tools that are needed for the project.
- Project type — select Publishing on Bitrix24 Sites to post project news on your website and in Bitrix24 knowledge bases.
Select privacy type
There are three levels of project privacy:
Public — a project is visible in the list. Any employee can join it.
Private — a project is visible in the list. Any employee can send a request to join it.
Hidden — a project is not visible in the list. You can join it only by invitation.
Then click Next.
Assign admin permissions
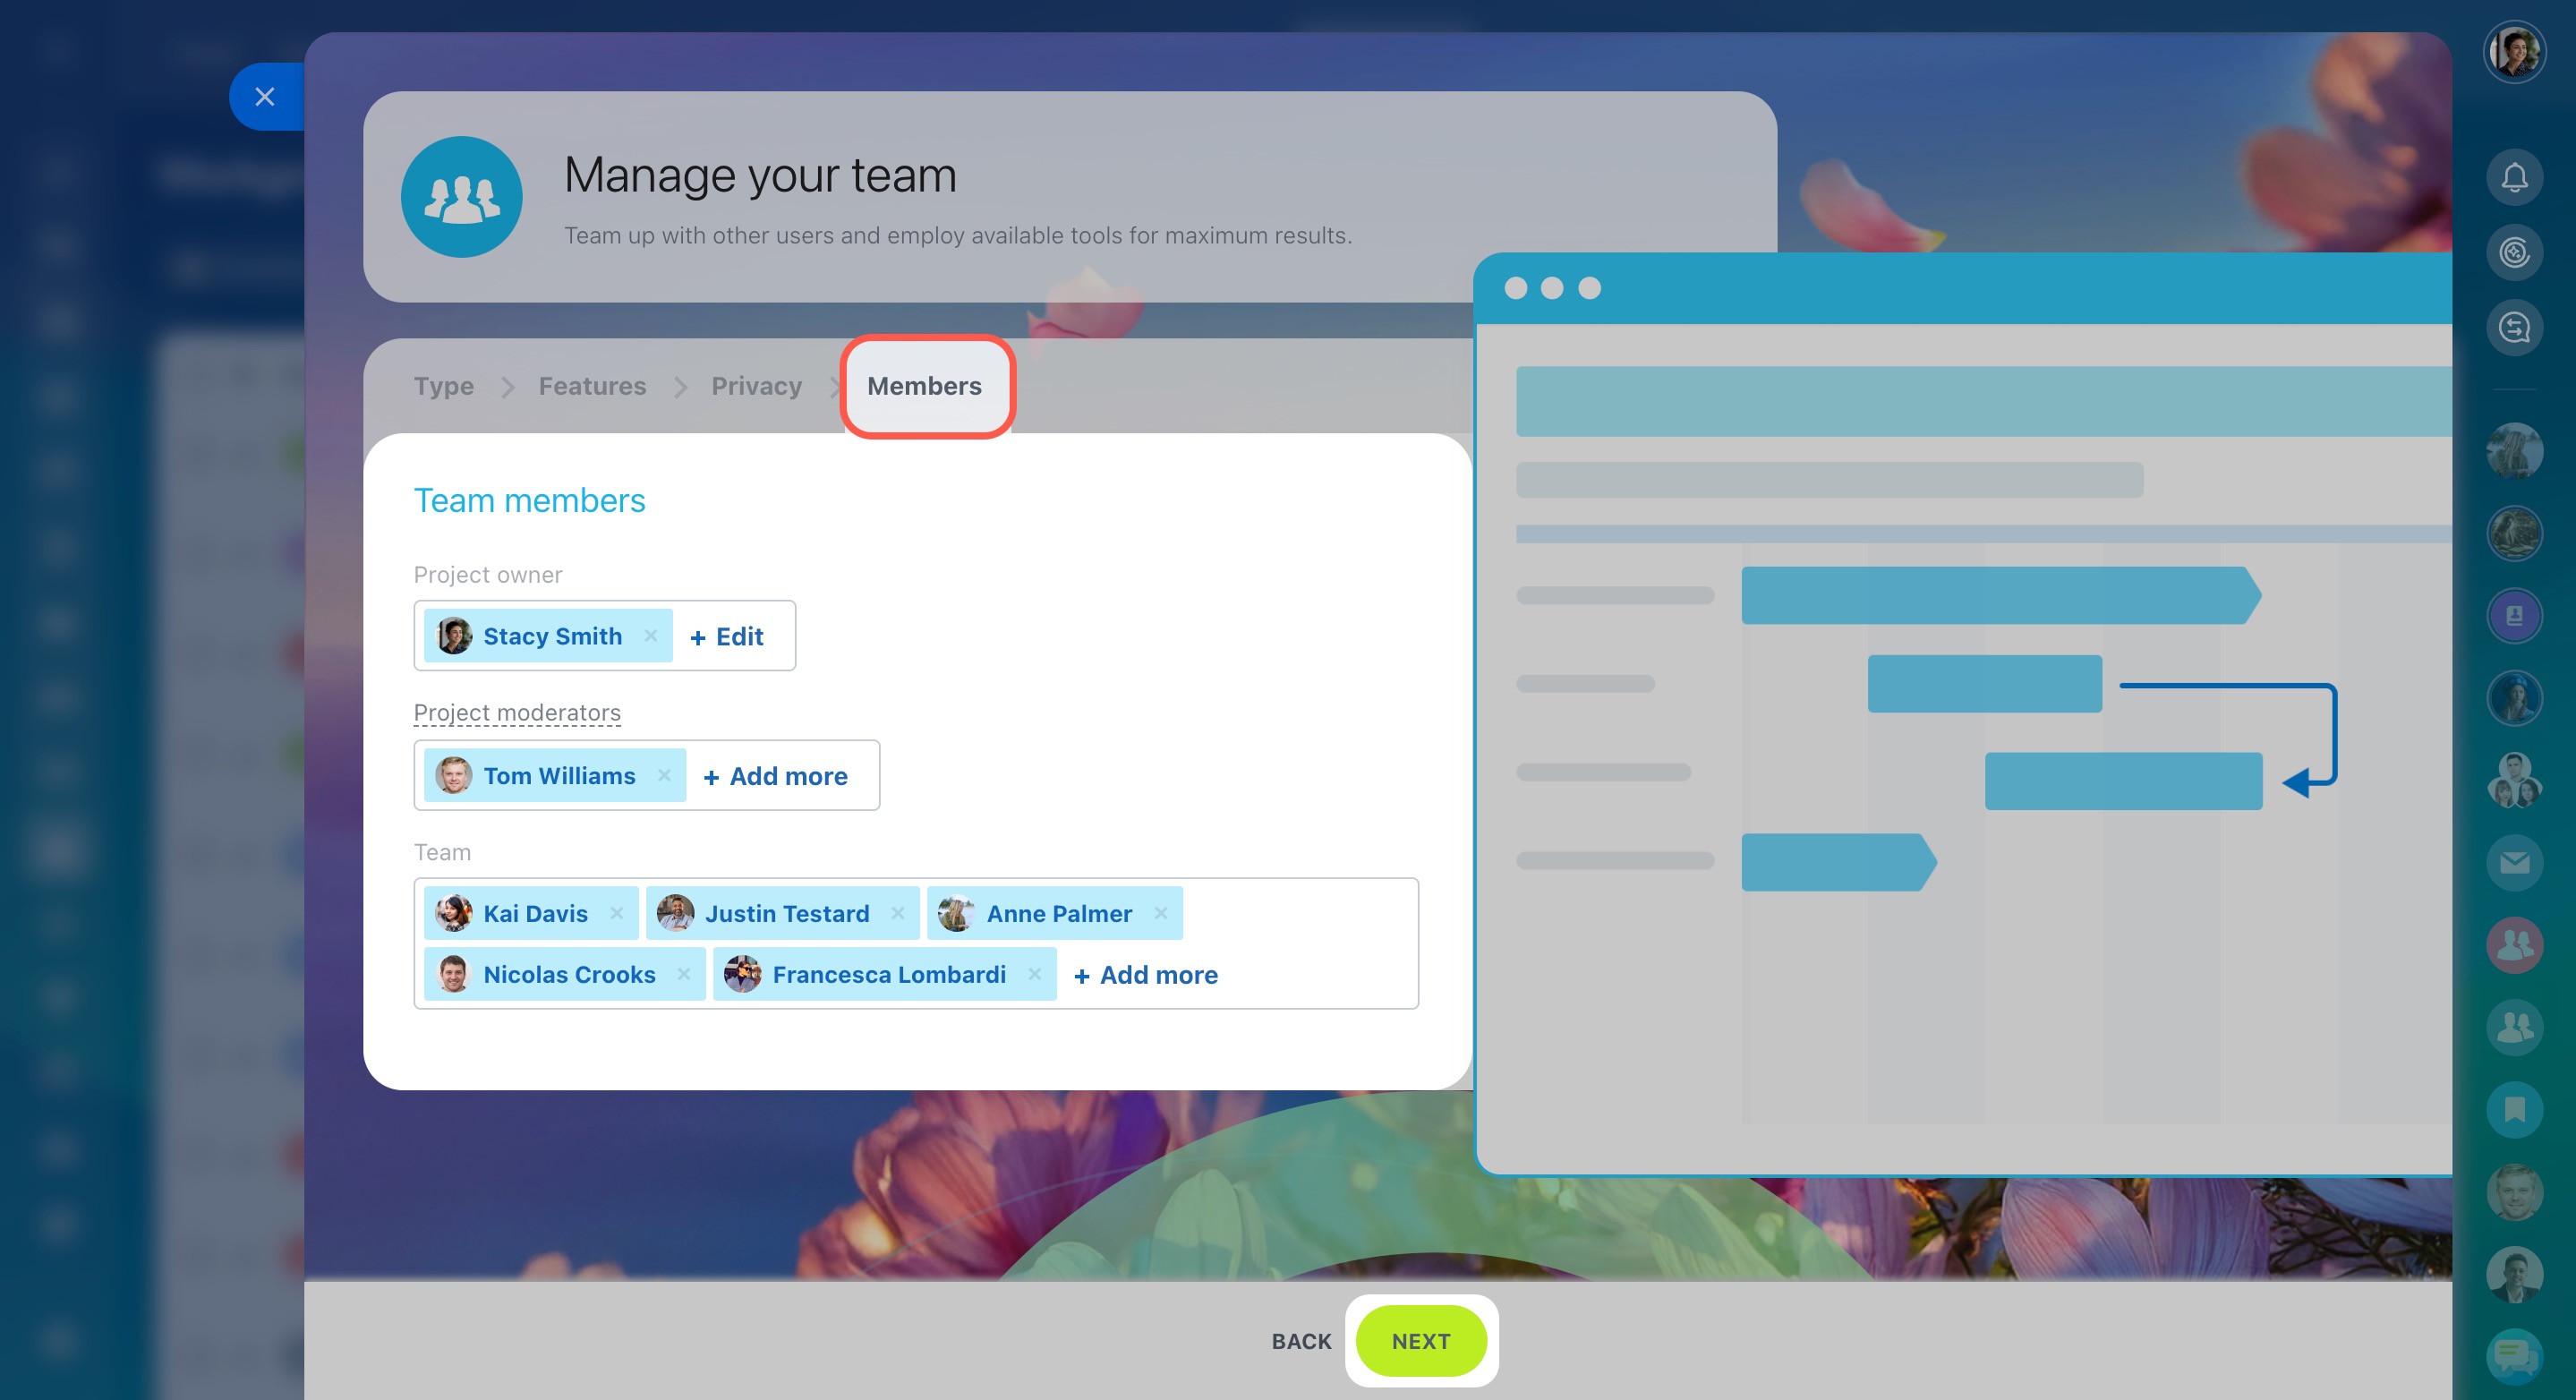
Add project members
- Project owner — specify the responsible person for the project. By default, this is the project creator.
- Project moderators — select one or more employees.
- Team — Add coworkers who are working on the project.
Then click Next.
Edit project
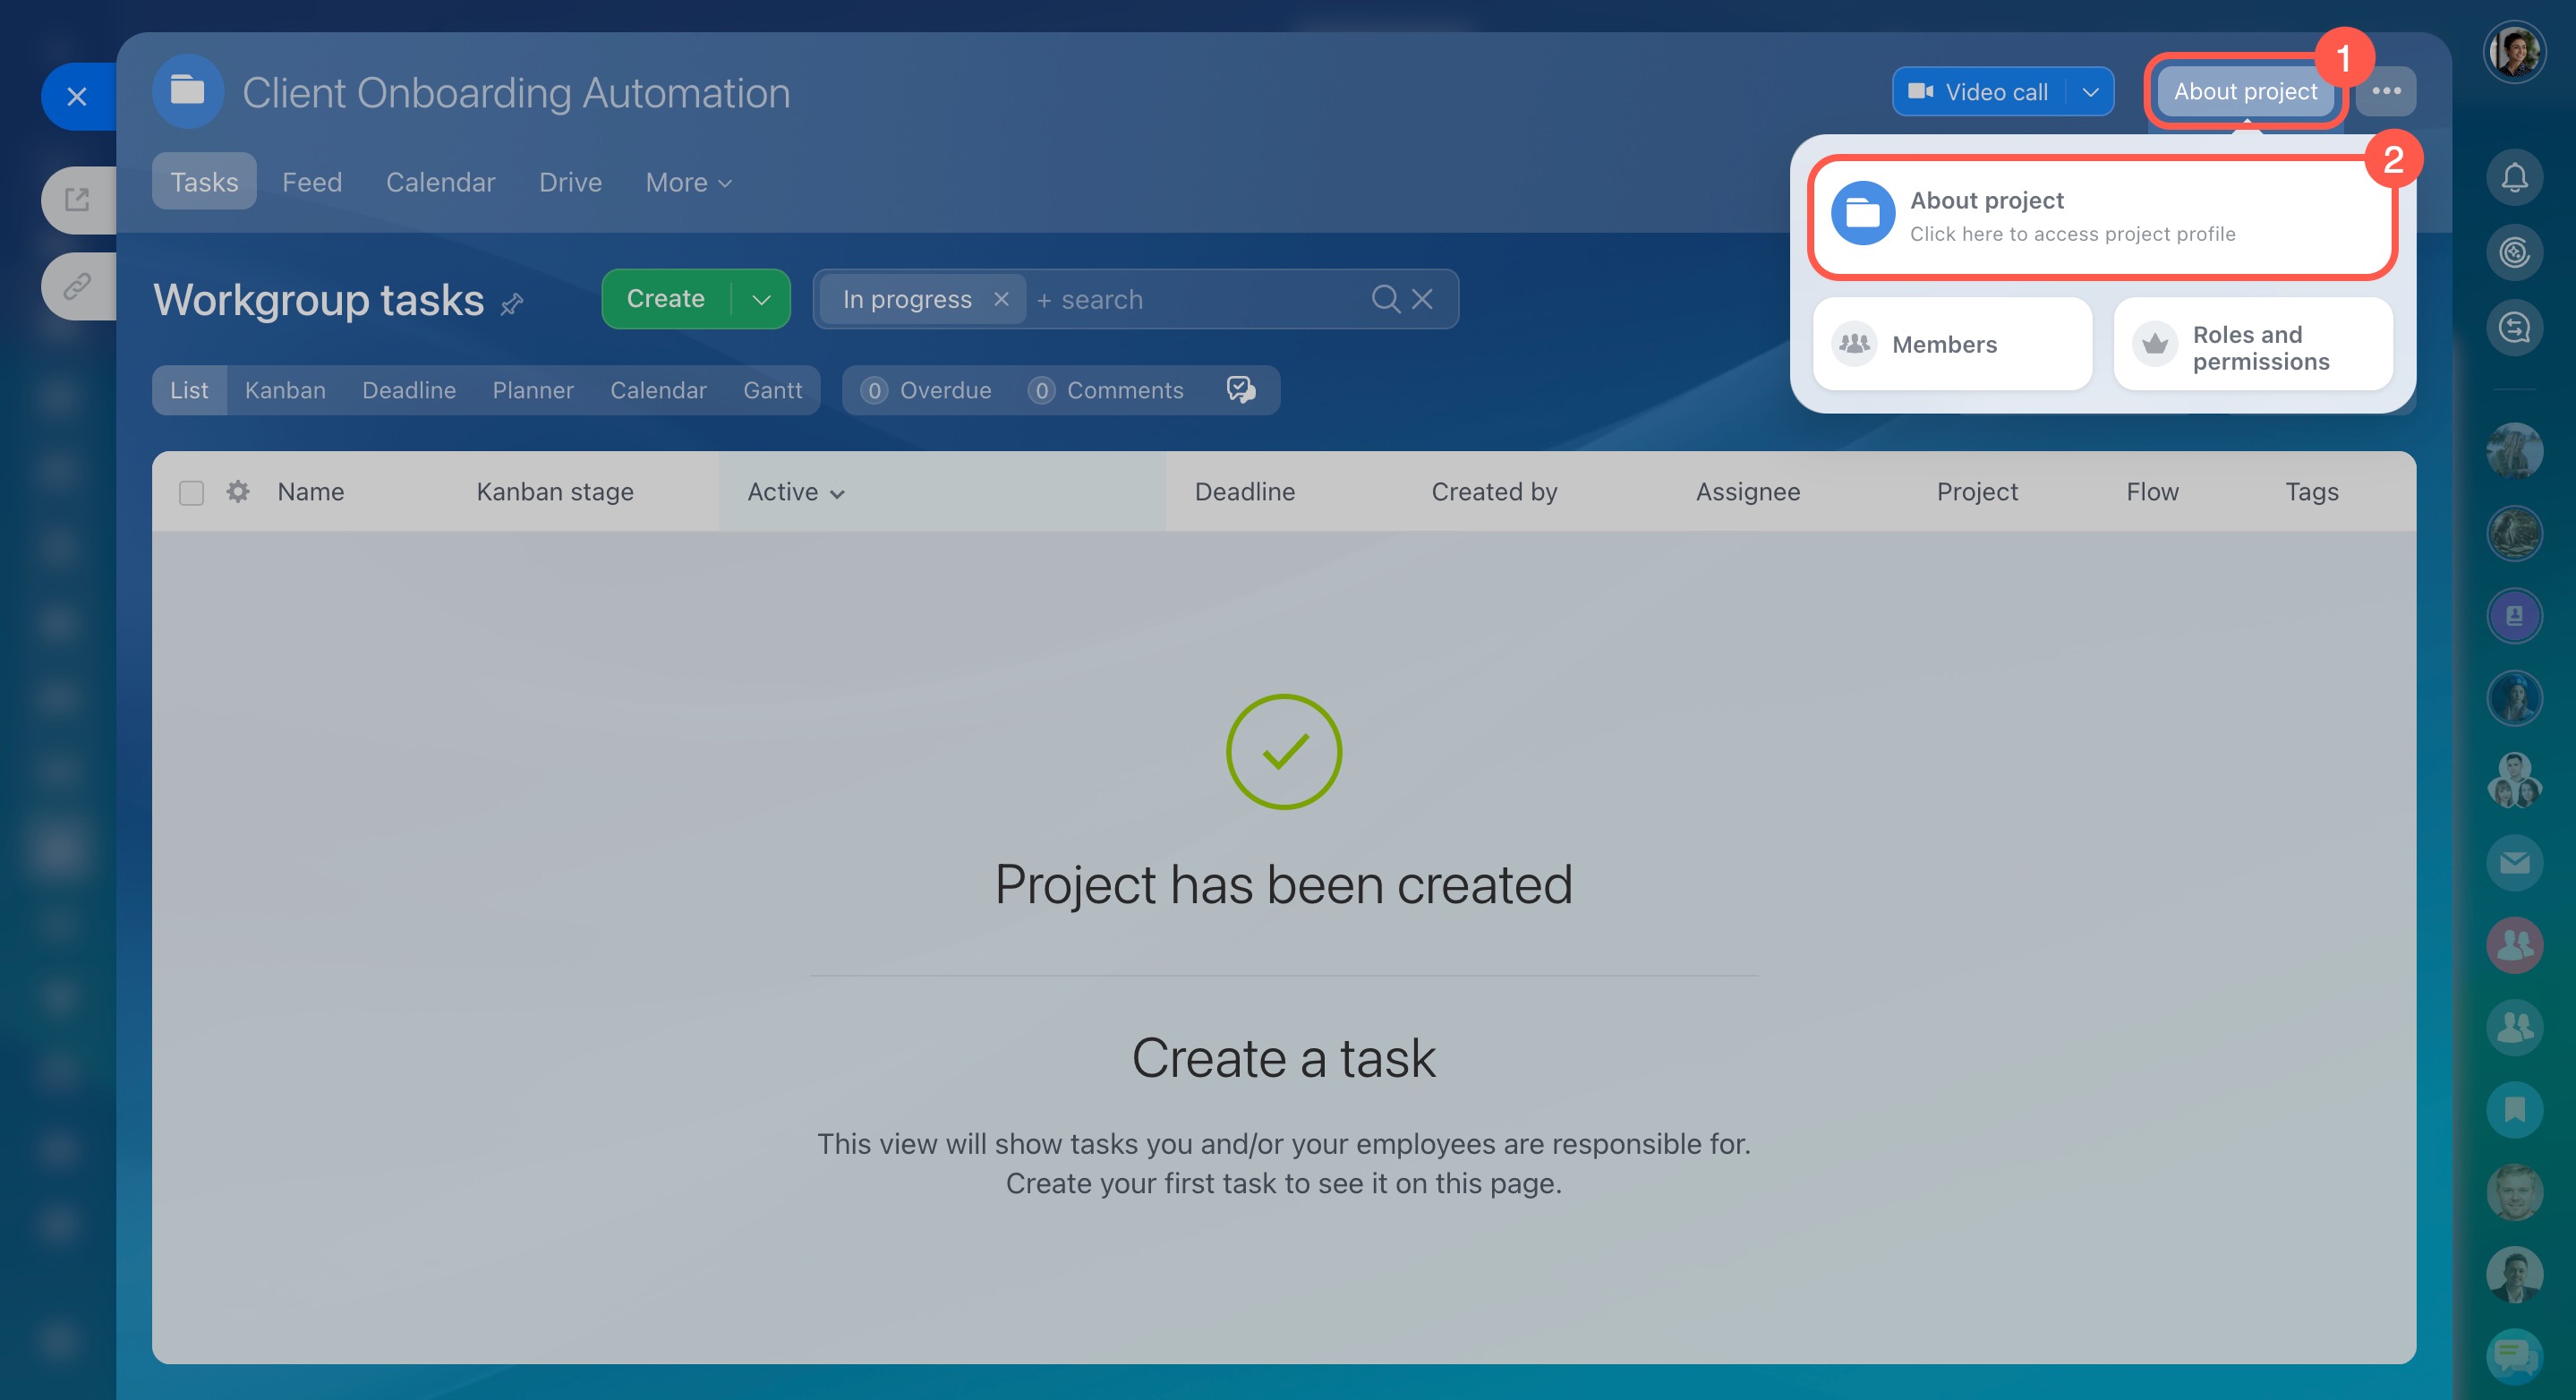
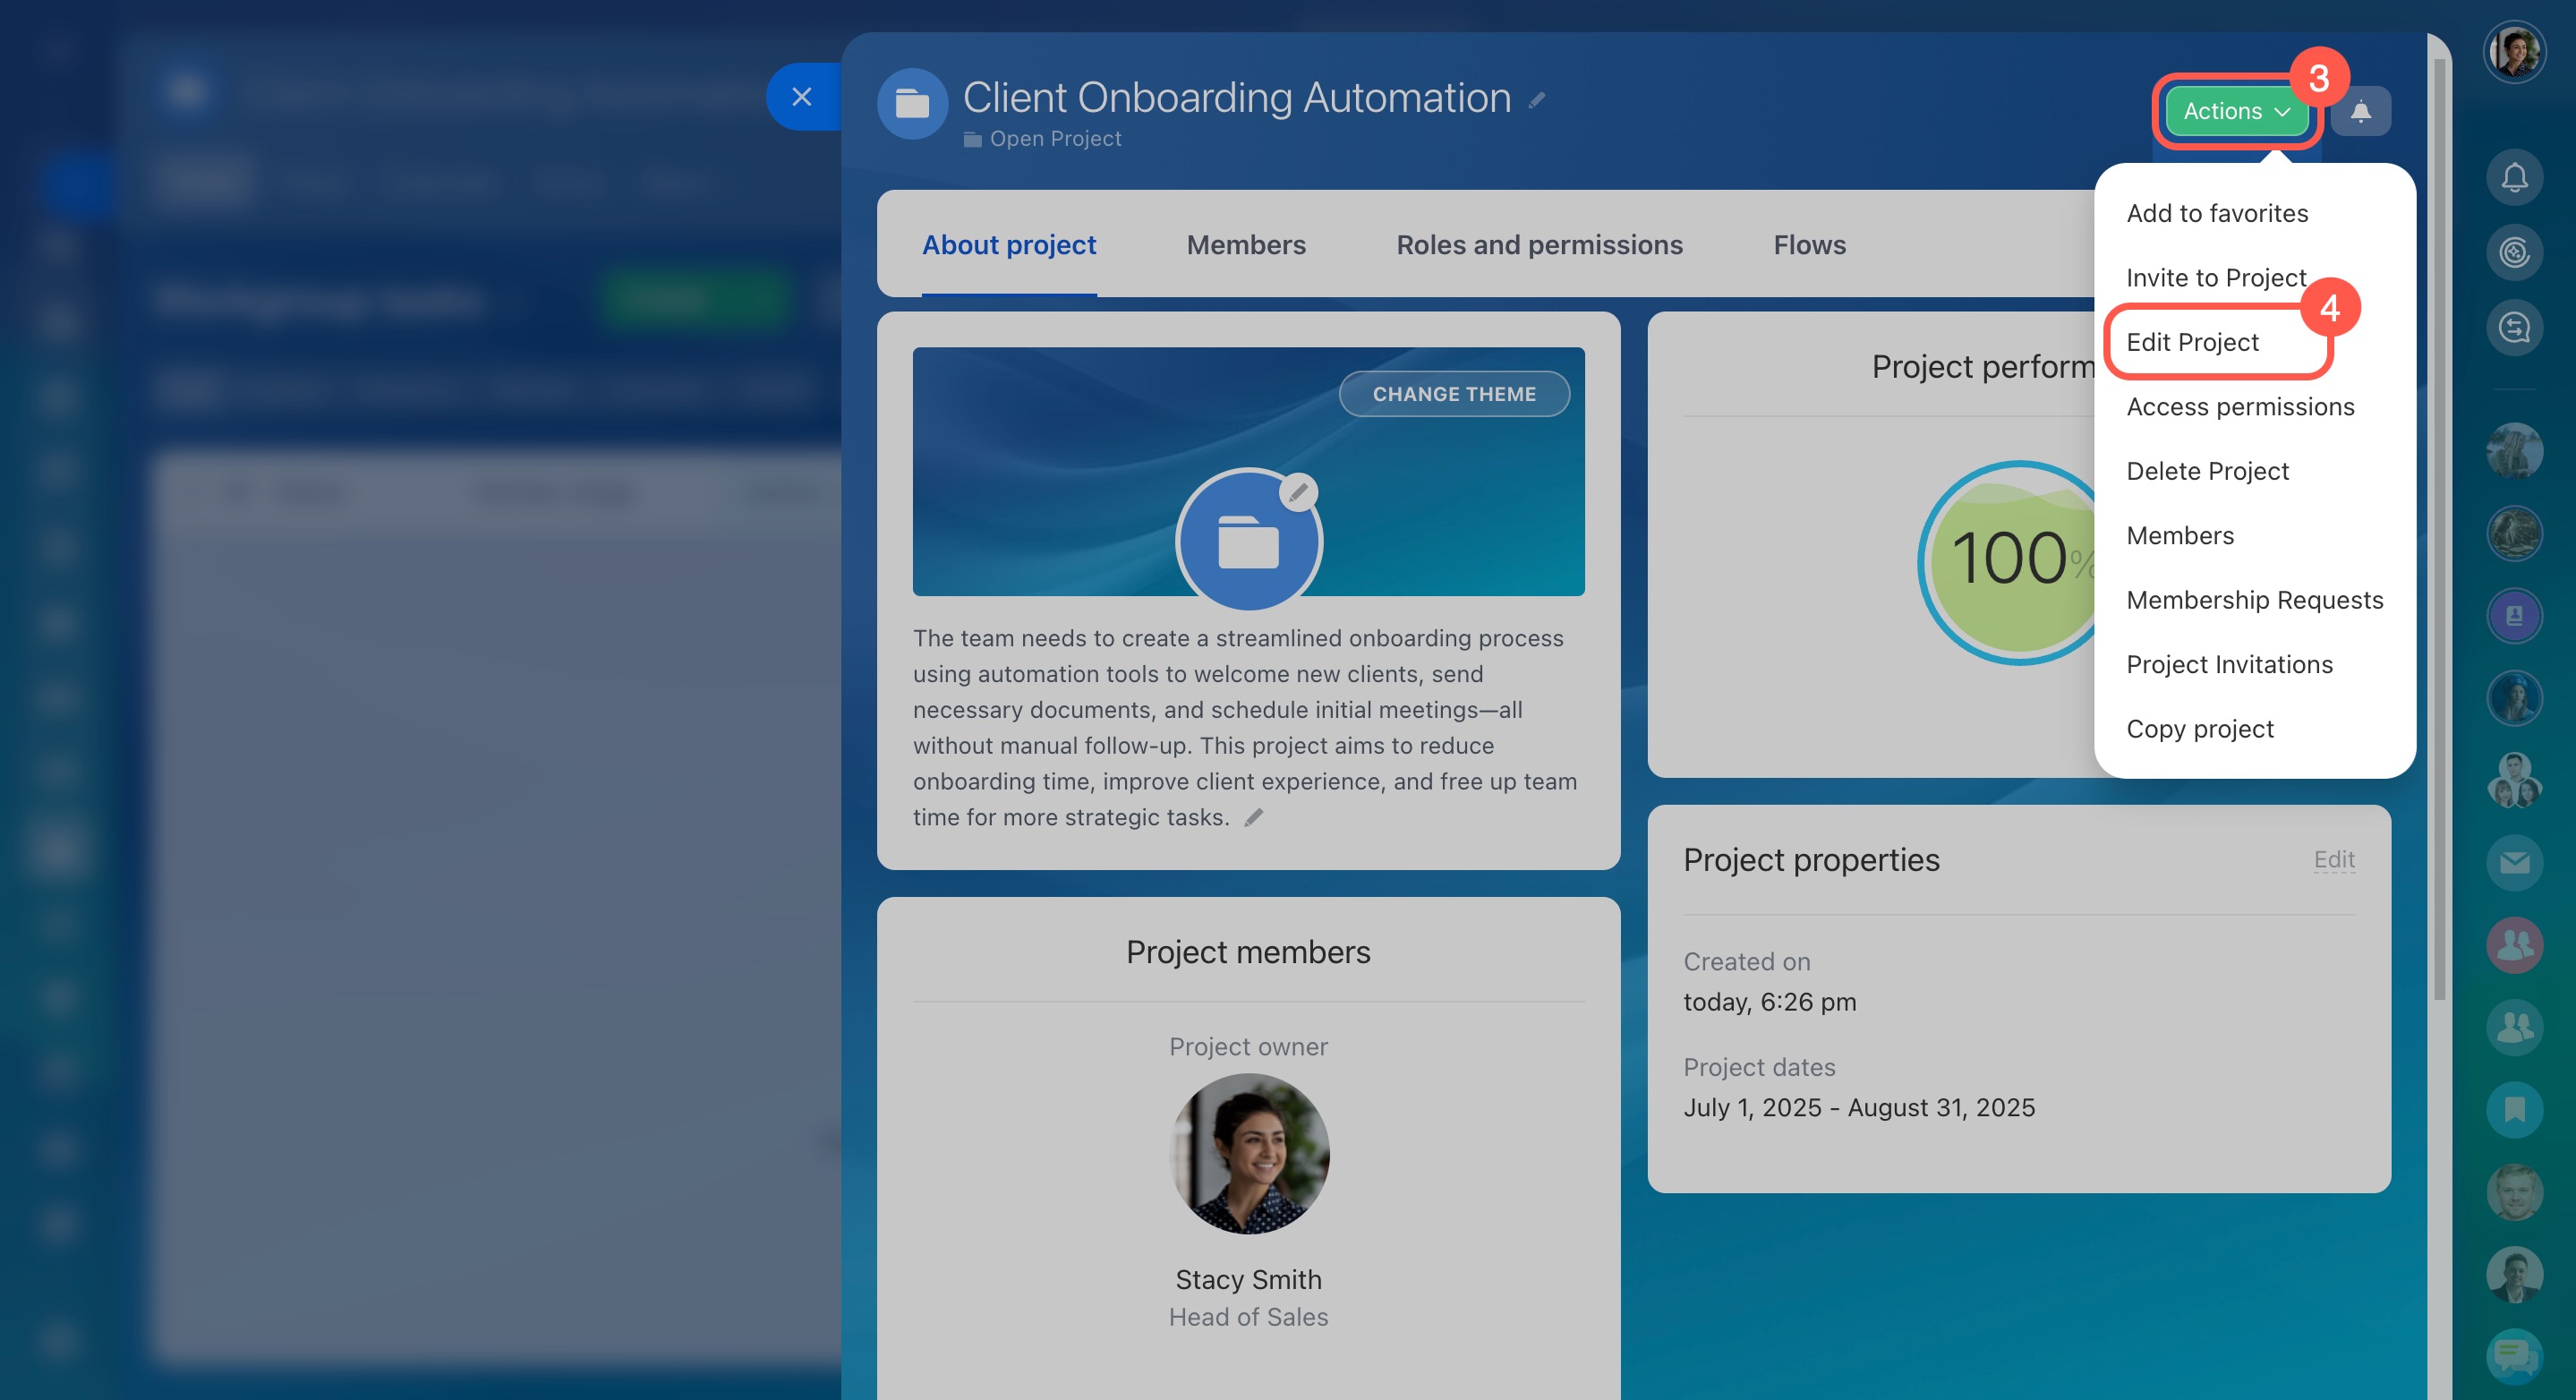
You can edit a project. Click the menu icon and select Edit.
In the project form.
1–2. Open the form and select About project.
3–4. Click Actions - Edit Project.
Change the type - a project to a workgroup
Go to the Extended parameters. Check or uncheck the Project box to change the type.
Then click Change.
In brief
- Bitrix24 has workgroups and projects - public, private and hidden.
- The main difference between them is the ability to set deadlines.
- When you create a workgroup or a project, you need to define the privacy level, add participants, and select tools.
- You can edit workgroups and projects, change the type.


