
Email Campaign is a tool for sending emails to a group of recipients. It can be used to inform customers about promotions, new products, and special offers.
- Go to the Marketing section > Start tab.
- Click on the Email campaign block.
Then do the following actions:
- Select campaign template
- Select recipient segment
- Specify the subject and the sender
- Design newsletter
- Configure the campaign parameters
- Send the campaign

Select campaign template
You can use:
- Standard templates. They can be edited. You can change the content, add images and files.
- Your own templates. You can create them based on standard ones or a new one with HTML.
Go to the Marketing > My Templates section.

To rename a standard template:
- Click on the pencil icon.
- Specify a new name. It will be displayed only in Bitrix24.

Select recipient segment
In Bitrix24, campaign recipients are called a segment. Segments are formed by common characteristics: age, place of residence, purchased goods, and so on.
Create customer segments for marketing campaigns
There are two types of segments:
- Dynamic is a list of recipients that is generated automatically before the campaign is launched.
- Static is a list of recipients that is created manually. You can upload a ready-made list of addresses or phone numbers of clients to Bitrix24.
Select segment. You can use standard segments or select previously created ones. Click Select segment.

Create a segment. If there is no suitable segment, click Create and configure the recipient list.

Exclude segment. You can exclude customers from the main segment who don't need to receive the newsletter.
For example, you can send a promotion campaign to all customers, but exclude those who have already bought a product this month.
- Click Exclusions.
- Select which segment to exclude from the campaign.
- When you have added the exceptions, click Apply.

Specify subject and sender
Specify subject. It will be seen by the campaign recipients. You can keep the standard one from the template or specify your own.
Specify sender. A newsletter will be sent from this email address. Click on the arrow icon and select an address.
If the address is not listed, click Add sender.

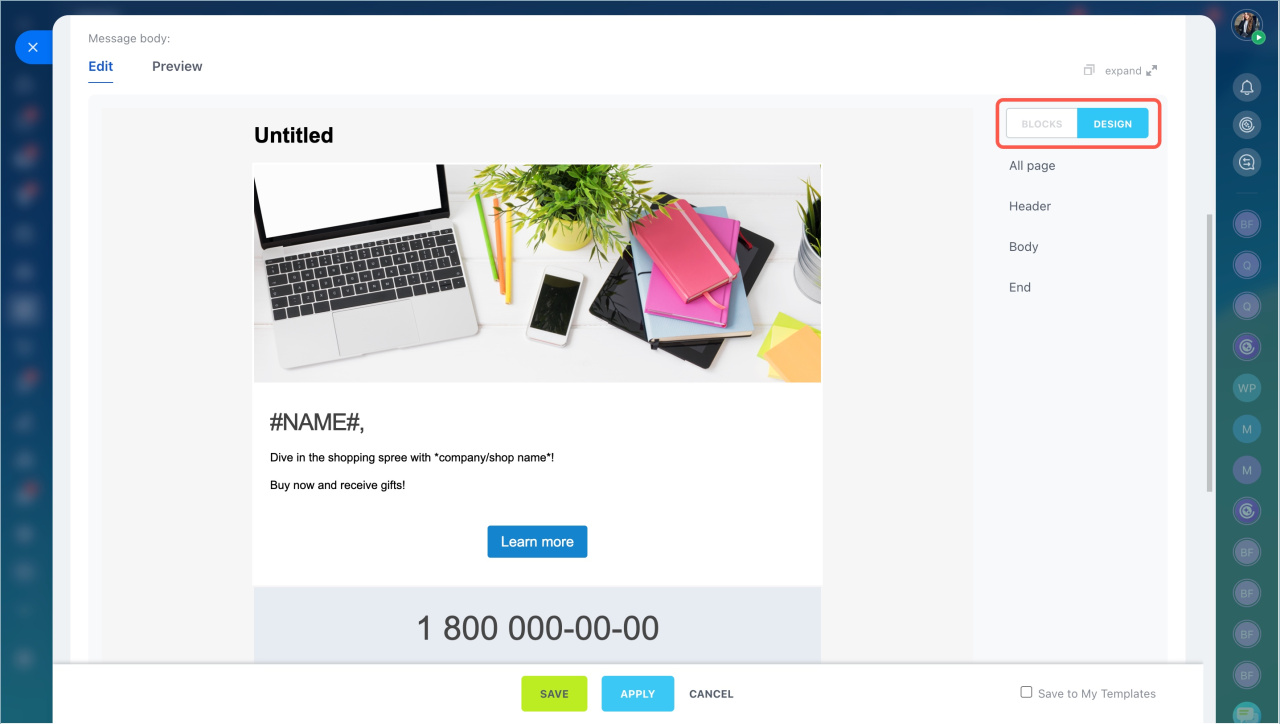
Design newsletter
To make the newsletter attractive for clients, create clear text, add the client's name, images, etc.
Customize blocks. A newsletter consists of blocks: image, text, button, separator and so on. They can be edited, copied and deleted. To add a new block to the newsletter, click on it in the menu on the right and drag it into the newsletter template.


If you use the Custom HTML template for your email campaign, add the footer block using the following code:
<a style="color: #0054a5;" href="#UNSUBSCRIBE_LINK#">unsubscribe link</a>

- Click Design in the menu on the right.
- Select the background, font size and thickness, line height, etc.

Add customer information. You can add information from CRM form fields to the text: name, date of birth and other information. This will help to make the email more personalized.
Go to edit the text block and add variables.
- Click the
 icon.
icon. - Select CRM item.
- The variable will appear in the text.


Check how the email is displayed. Click Preview to see how the client will see the email on different devices. Then click Apply.


Save the template. If you want to use this email template for other newsletters, enable the Save to my templates option.
You can find the saved template in the Marketing section - My Templates tab.

Configure campaign parameters
Configure UTM tags, add attachments, enable email read tracking, and request subscription confirmation in the More section.
Priority. Specify the level of priority to ensure customers don’t miss the campaign.
Link parameters. Add UTM tagsUTM tags are codes added to links. They help track where visitors came from, such as a specific ad campaign or social network. to monitor campaign performance.
- Click UTM tags.
- Fill in the required fields.
- Click Apply.

Attachments. Add additional materials to the campaign, like a catalog of promotional products or a discount coupon. Drag and drop the file into the Attachments field.
Track email reads. Enable this option to track how many customers opened your email and clicked on links.

Track link clicks in outgoing emails


Subscription confirmation. Enable this option to send new customers a subscription confirmation before sending the campaign. Then, select a consent template: choose from the list or create your own.
Email and link tracking and Consent to receive newsletters

Limit sending time. Set the start and end time for campaigns. For example, schedule emails during business hours when customers are more likely to check their inboxes.

Send the campaign
To check how the email looks, send yourself a test campaign. After that, you can send the campaign to customers.
Send a test campaign. Enter the email address to send the test campaign. You can test the final email and the subscription confirmation.
After reviewing the campaign, click Save.

Send the campaign to customers. Choose when to send the campaign and click Save.
Now. The campaign will be sent immediately.
Later, manually. Send the campaign anytime from the Marketing page > Campaigns tab.
Schedule. Set the date and time for the campaign.

In brief
- Email campaigns in Bitrix24 allow you to send emails to groups of recipients.
- Campaigns can inform customers about promotions, new products, holidays, or collect feedback.
- You can use pre-installed templates or create your own ones.
- A campaign consists of blocks like text, images, buttons, and more. Customize them to fit your campaign goals.
- Add customer information like names or birthdays to personalize emails and grab attention.
- In the Advanced section, configure email importance, UTM tags, add attachments, enable email read tracking, and request subscription confirmation.
- To check the email display, send yourself a test campaign. After that, send the campaign to customers.