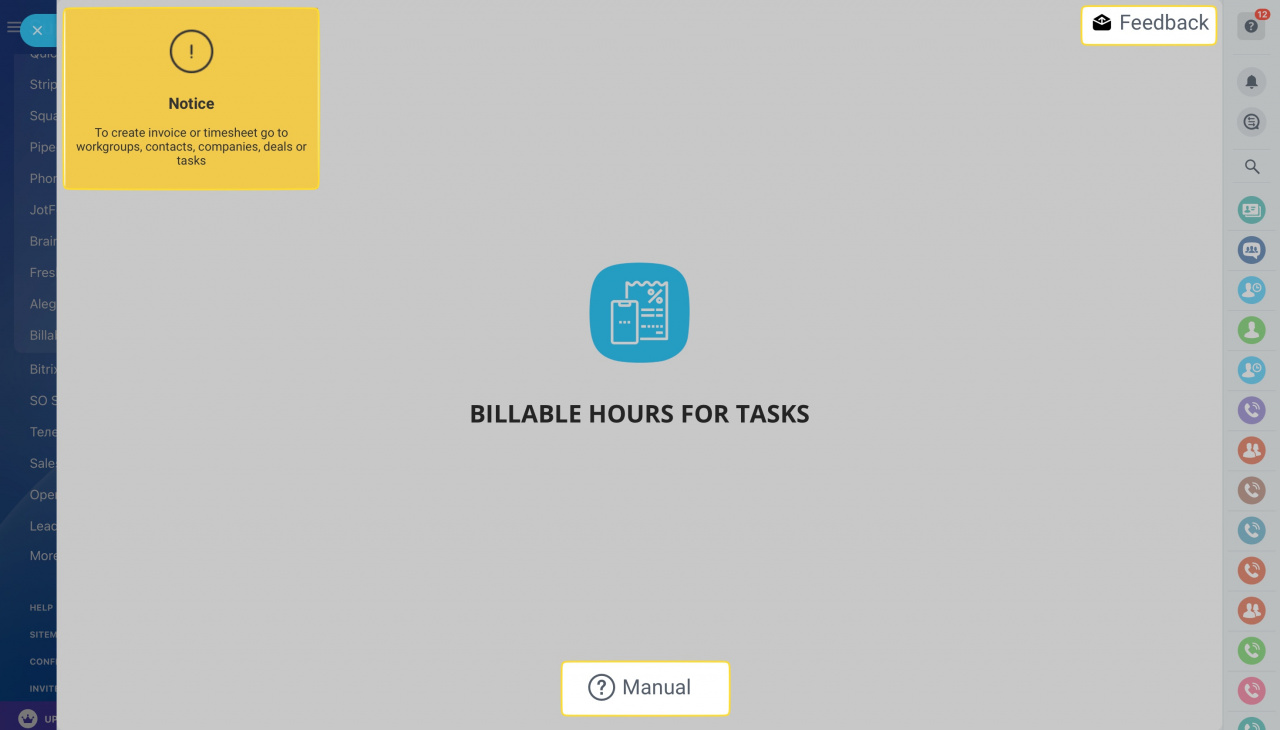
Billable Hours For Tasks is an app that allows creating invoices and timesheets for tasks. With the integration app you'll be able to:
- Keep track of both short-term tasks and full-scale projects.
- Generate reports on the time spent in tasks or issue invoices for them.
- Receive detailed report on employees from workgroups, companies, deals and tasks or issue invoices for them.
You may install the app free of charge on any commercial plan, as simple as that.
Add tasks
In this article, we will use the app for tasks created in a workgroup. Other scenarios are very similar but if there is any doubt, feel free to check the detailed manual provided within the app.
Should you have any idea on how to improve the app, kindly submit it via the feedback form. We'll be happy to address the issue to enhance the app's functionalities according to your needs.
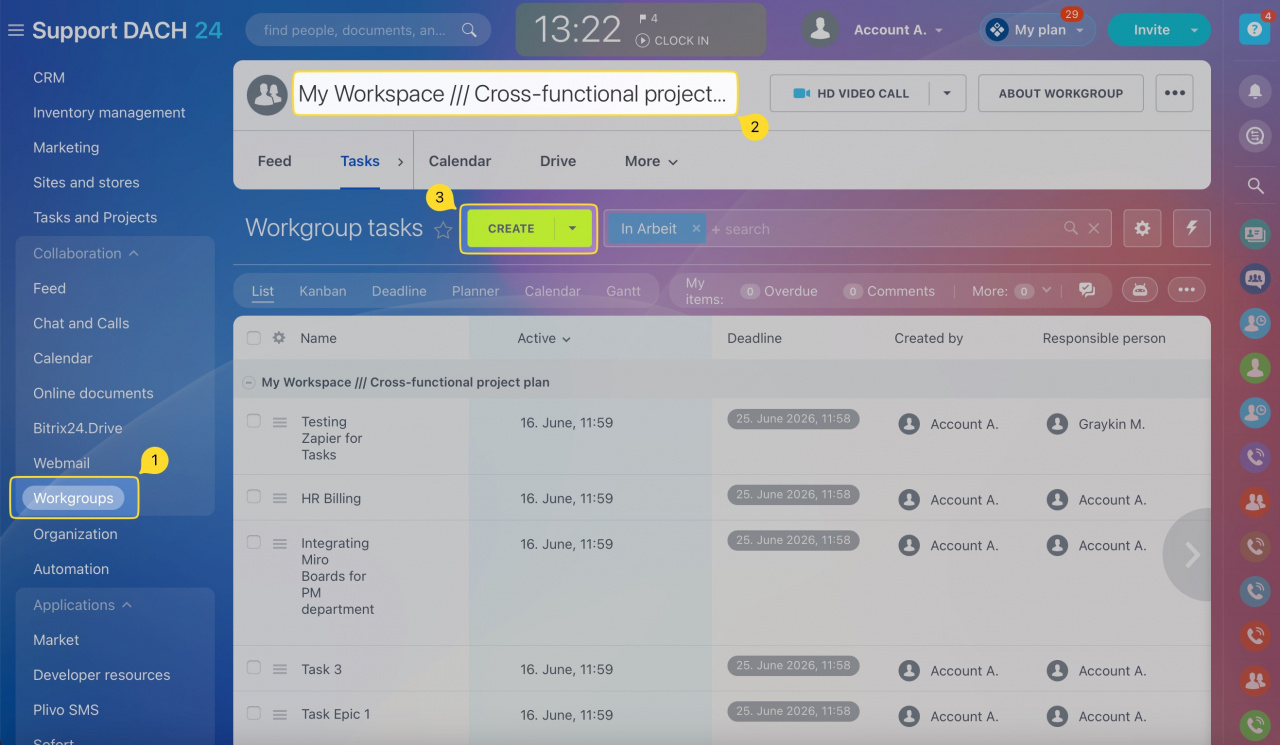
Let us go through some basics which might be helpful in getting acquainted with the app. Go to the Workgroups section, select a workgroup and create a new task.
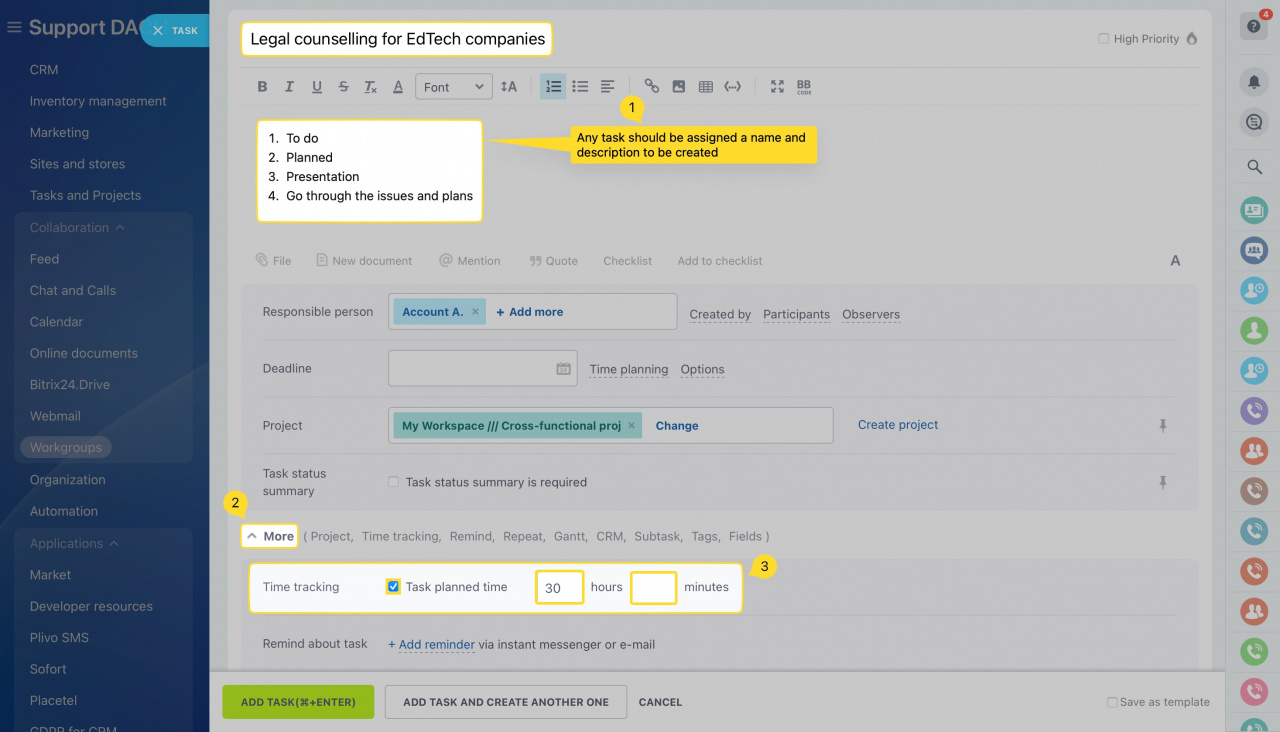
Specify the task name, select a deadline, enable the Time tracking option and specify the Task planned time. The last two options regarding time tracking are crucial, since these are used by the app to track and calculate your task-related expenses.
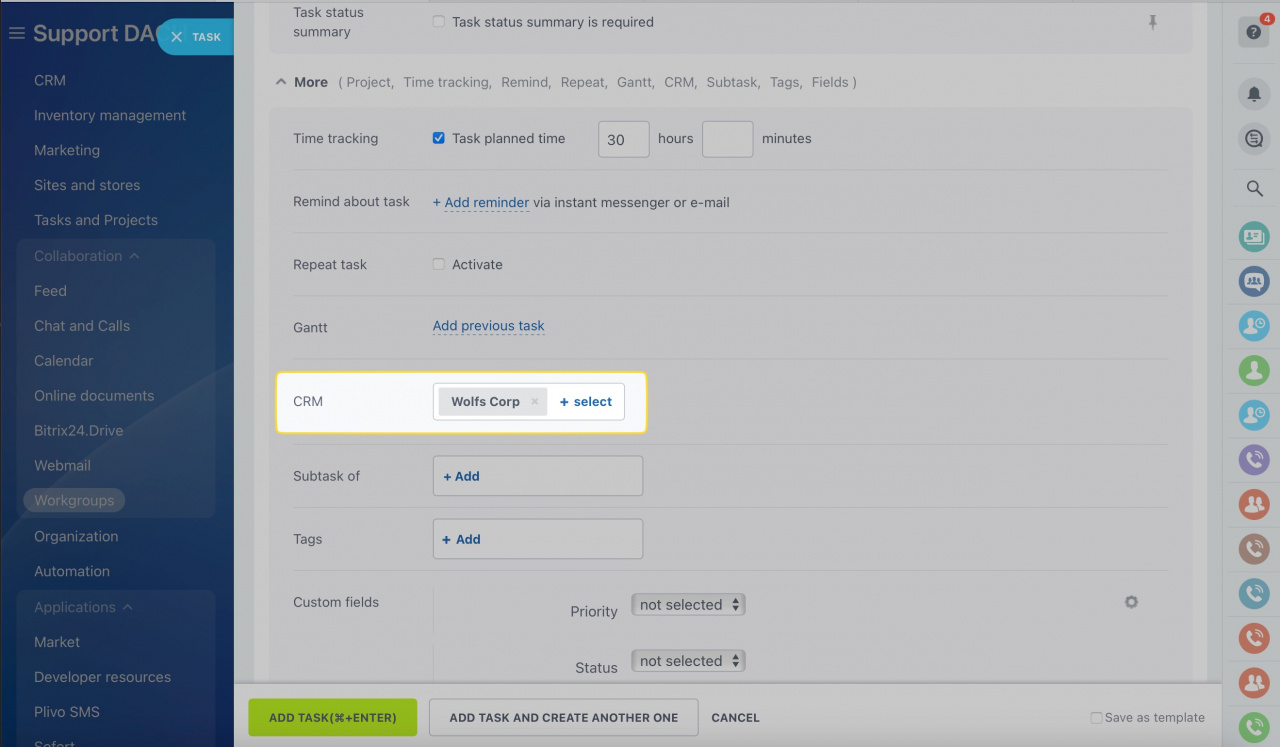
Scroll down and select the CRM element that will be a counterparty. In our case, it'll be a company from our CRM database.
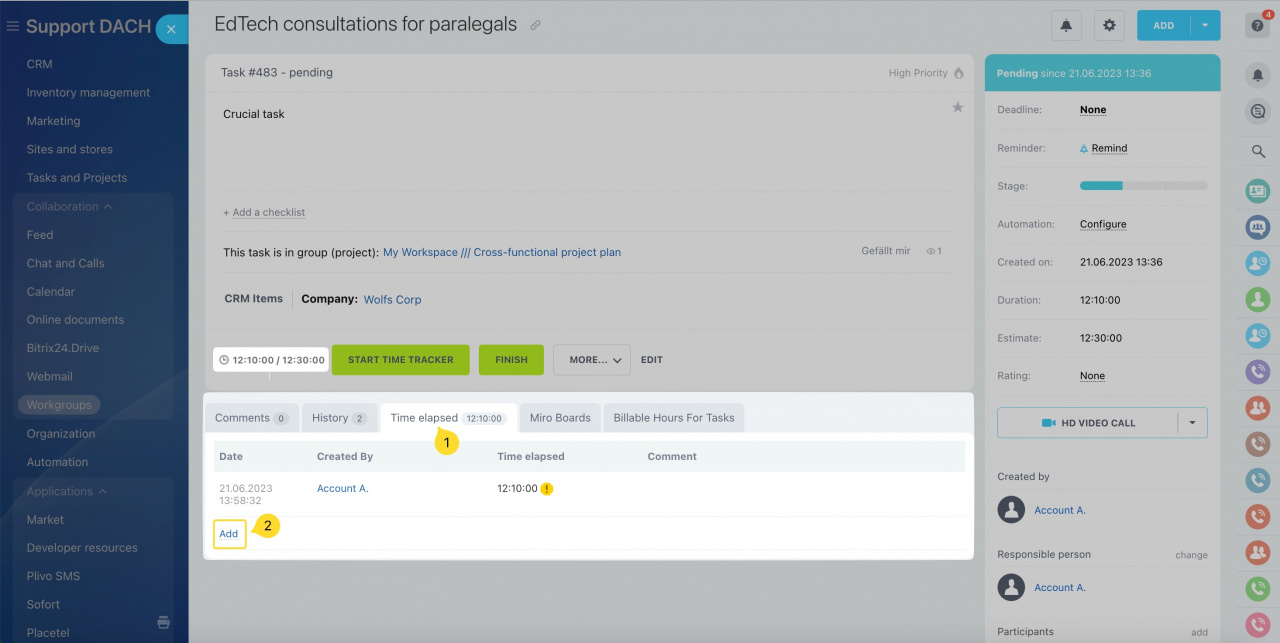
Let's add two more tasks in the same way for a better overview of the reports. You can also add elapsed time manually in the Time elapsed tab above task comments' section for the sake of the test.
Create a timesheet to track time spent for the tasks
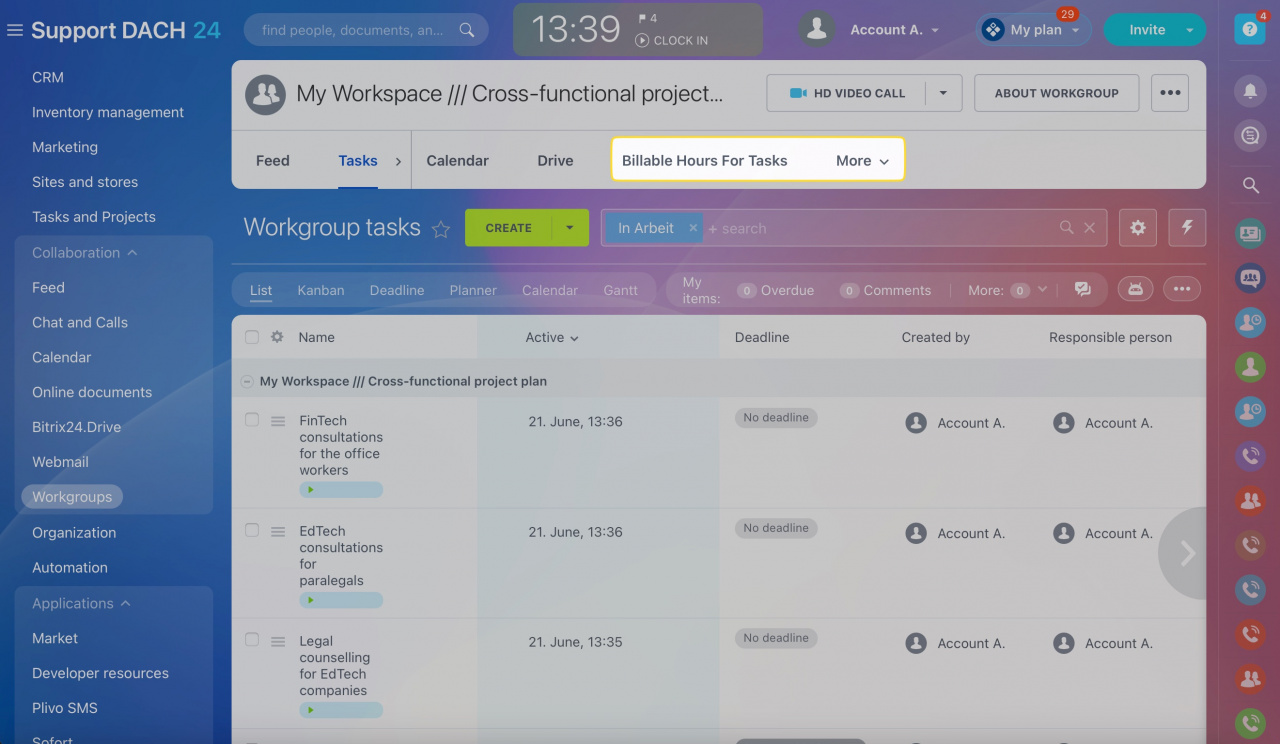
After adding tasks, go to the Billable Hours For Tasks tab from within the workgroup. It might be hidden under More but you can always drag it to the upper menu if that is more comfortable for you.
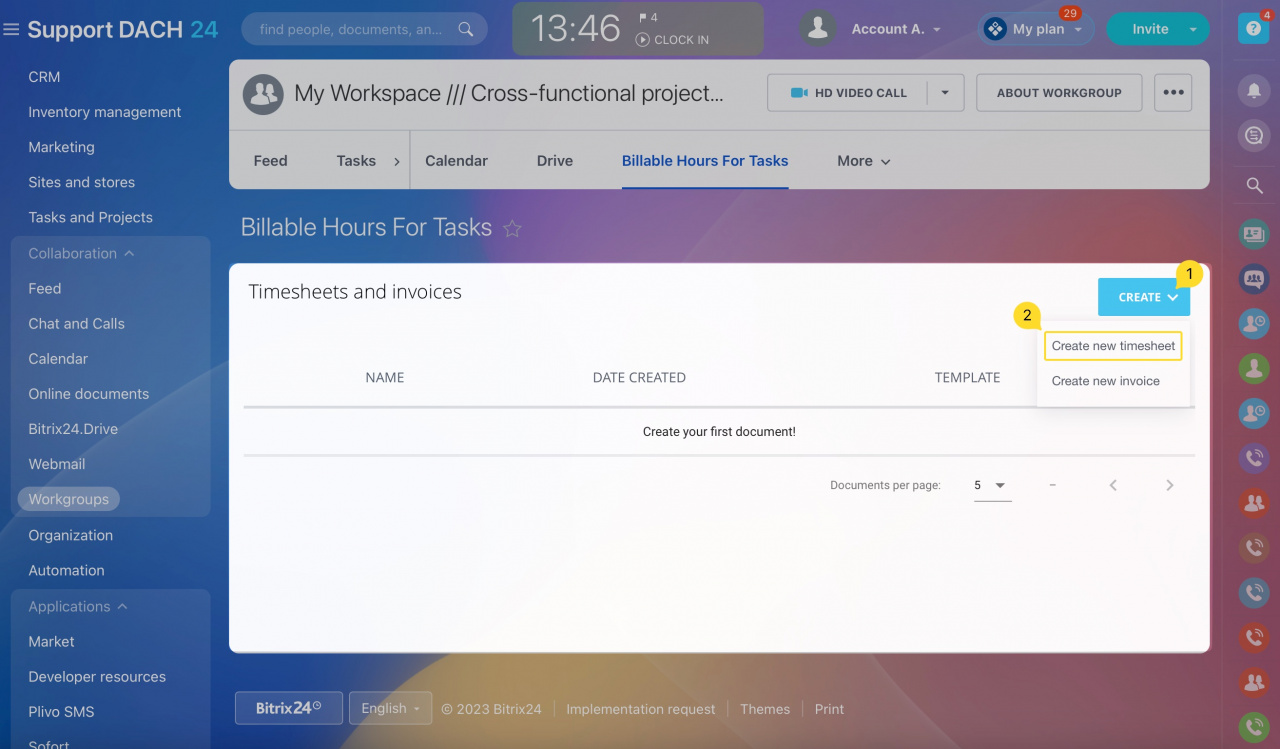
Click Create > Create new timesheet to create a new timesheet.
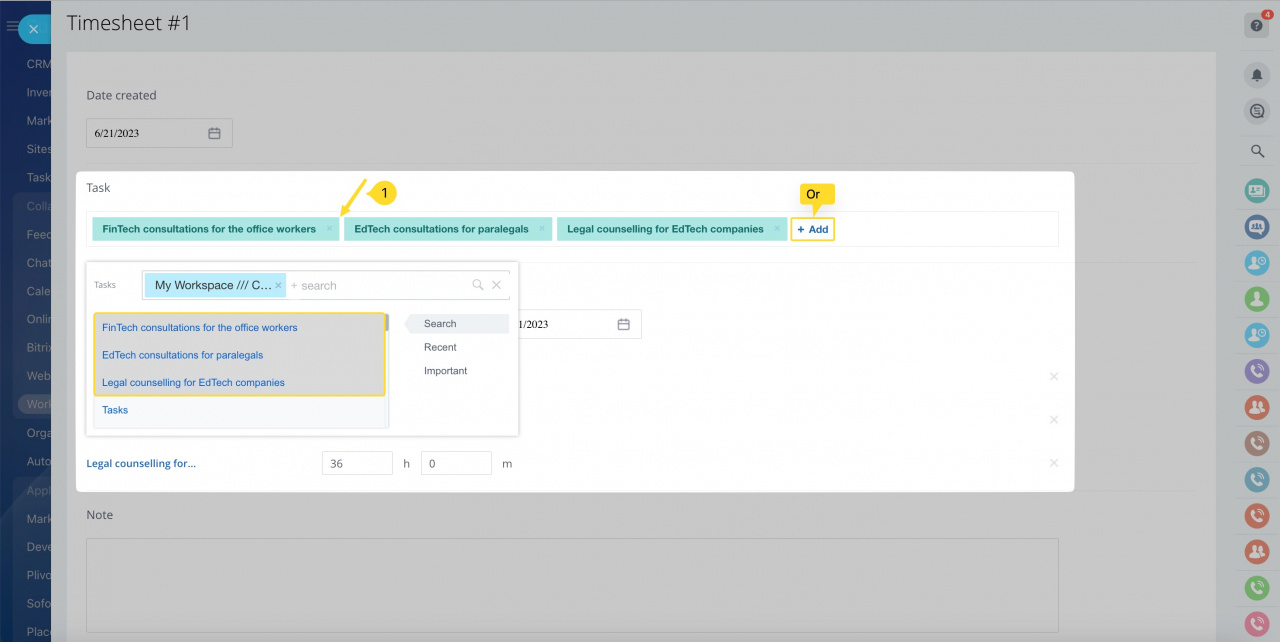
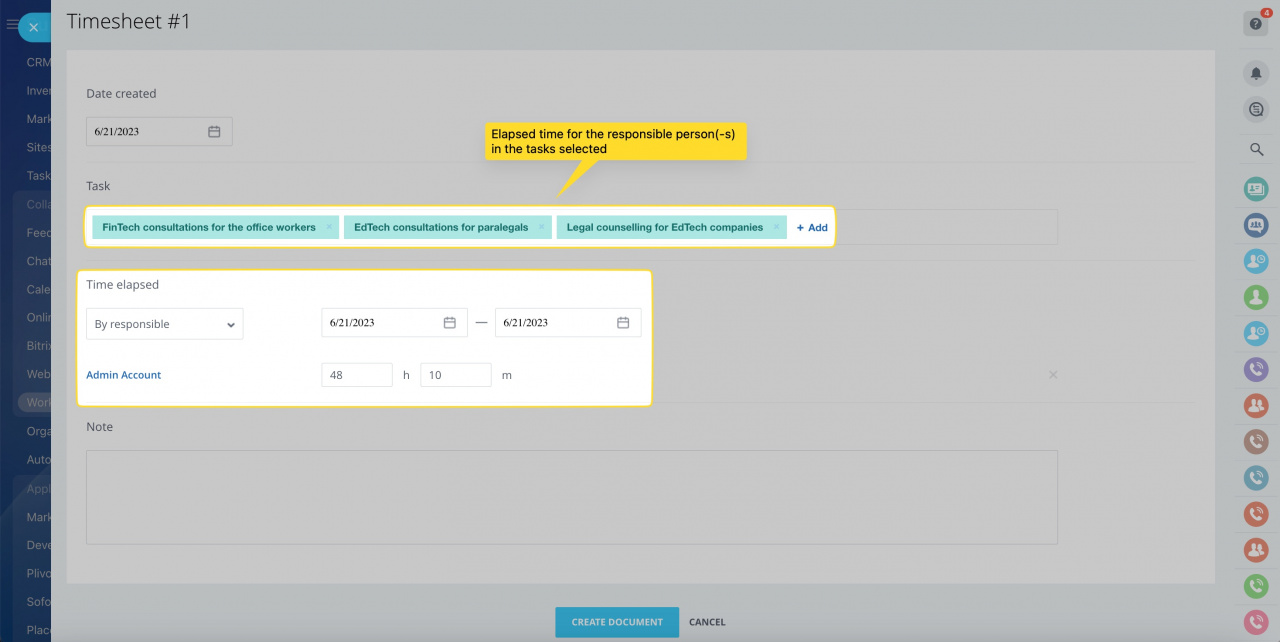
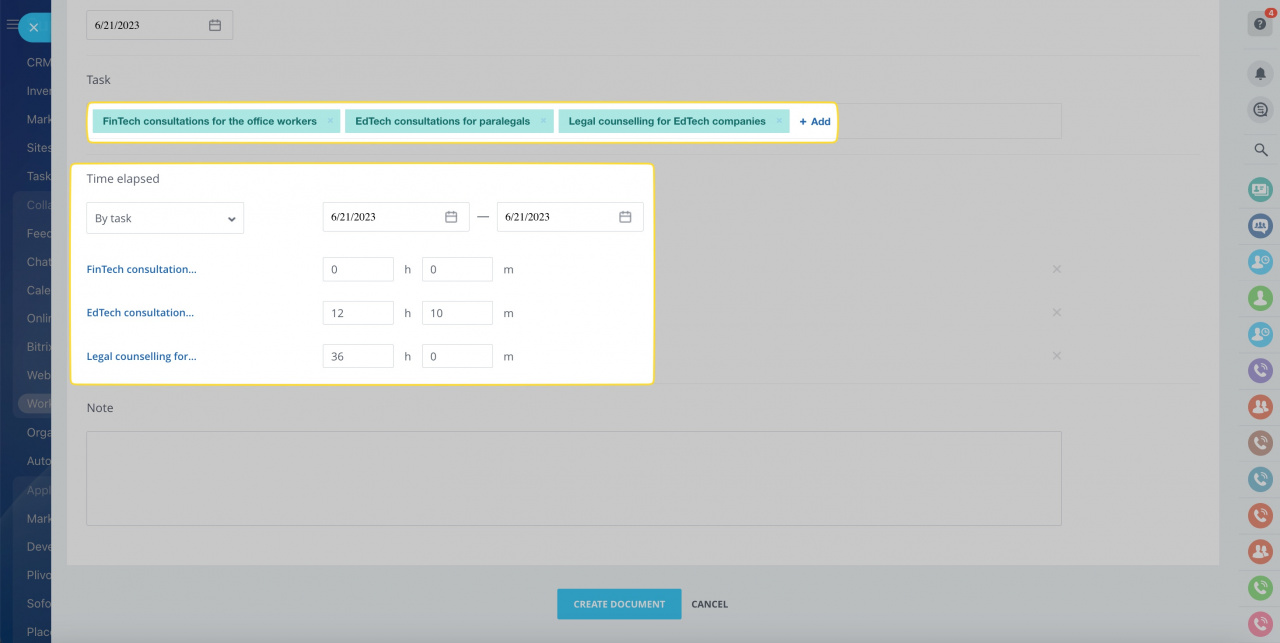
You can use the Task field to select tasks that should be included in the timesheet. You can edit the name of the timesheet as well by clicking unto its default name in the left upper corner (e.g. "Timesheet #1").
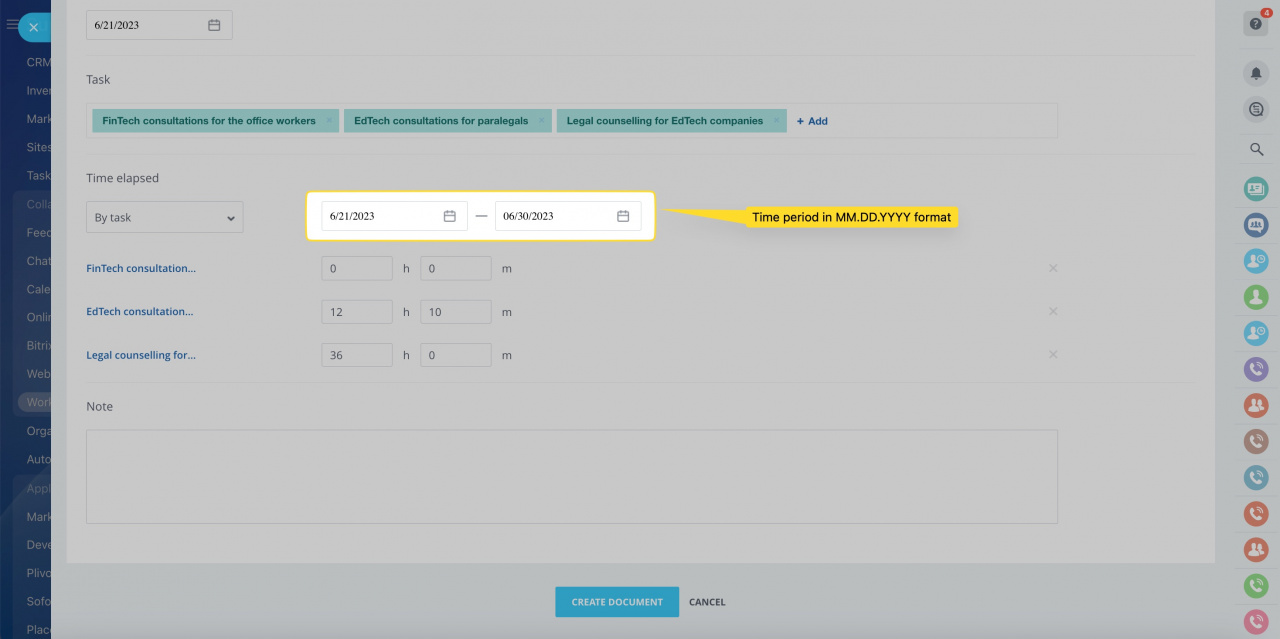
Select the time period that this timesheet is built for. The elapsed time values will be filled out automatically if the task has been in progress for a certain amount of time or in case the elapsed time has been added to the task manually.
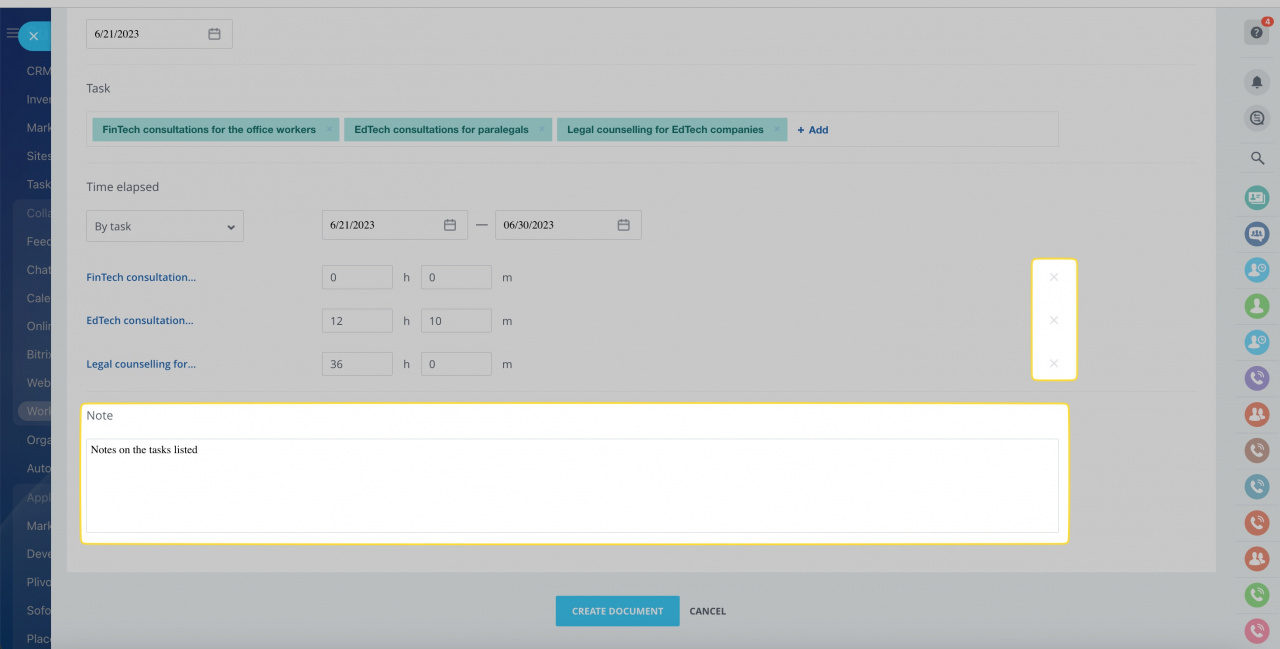
You can add a note to the timesheet. To delete a task from the timesheet, click the corresponding button.
Click Create document to save the timesheet.
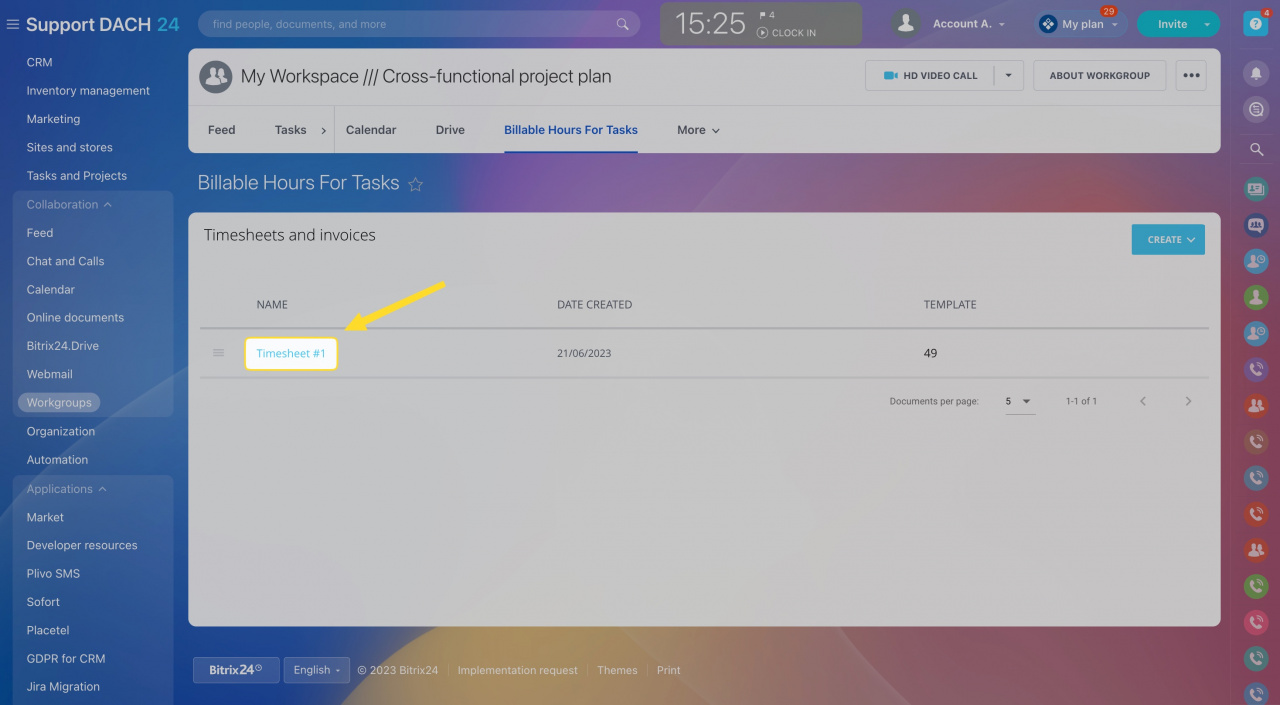
Click on the name of the timesheet to download it (docx. file).
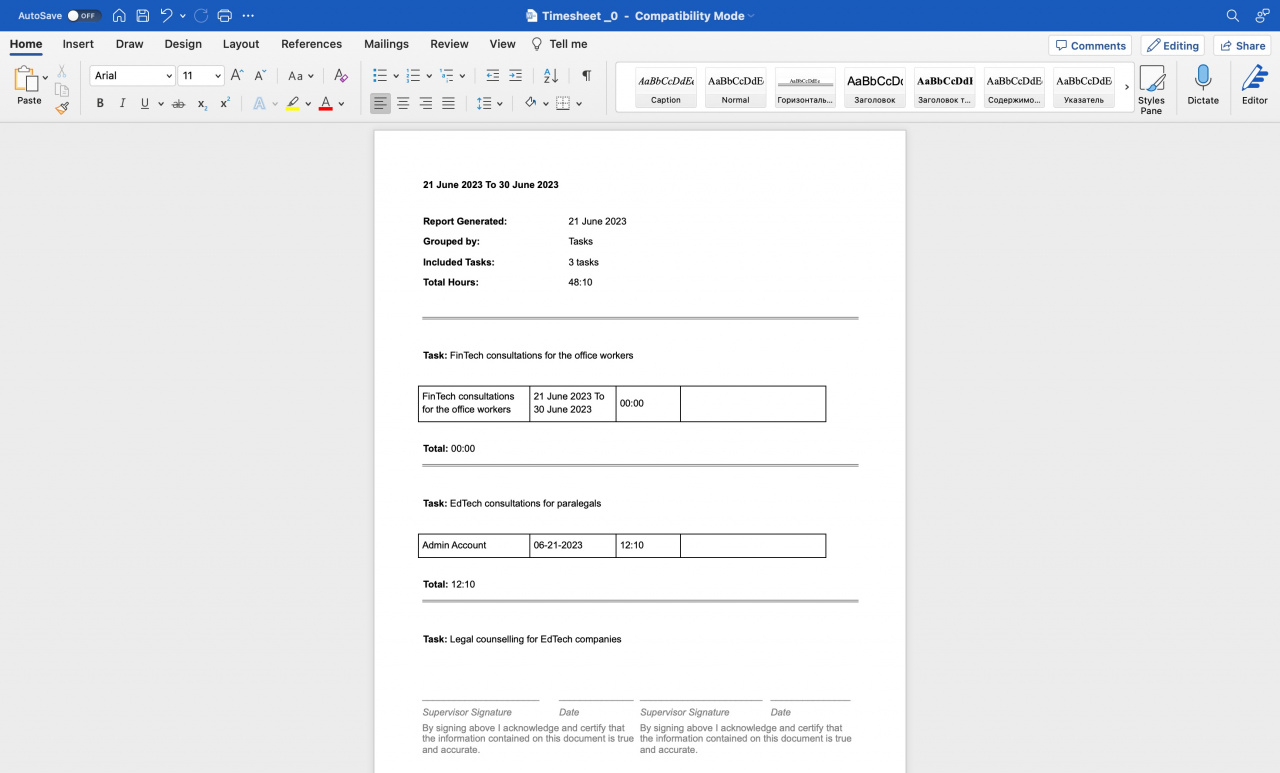
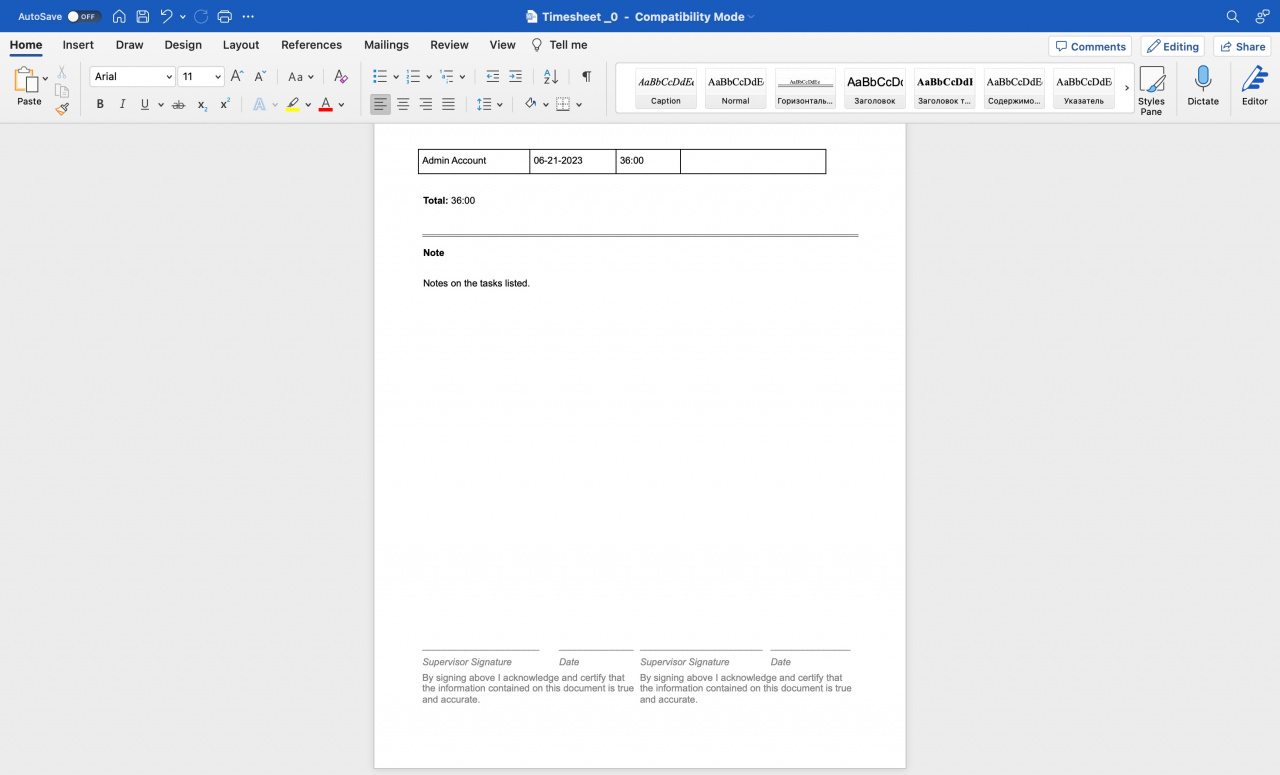
That's how the timesheet will look like:
Create an invoice
Once tasks are completed, you can create an invoice and send it to the counterparty.
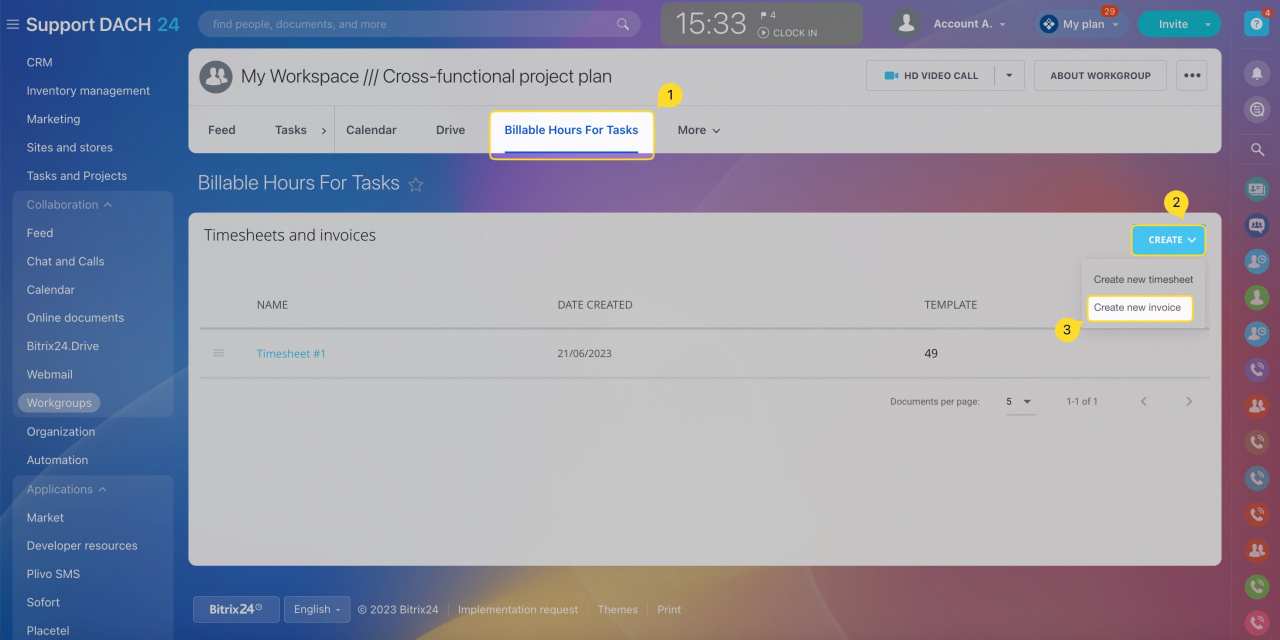
Go to the Billable Hours For Tasks tab > Create > Create new invoice.
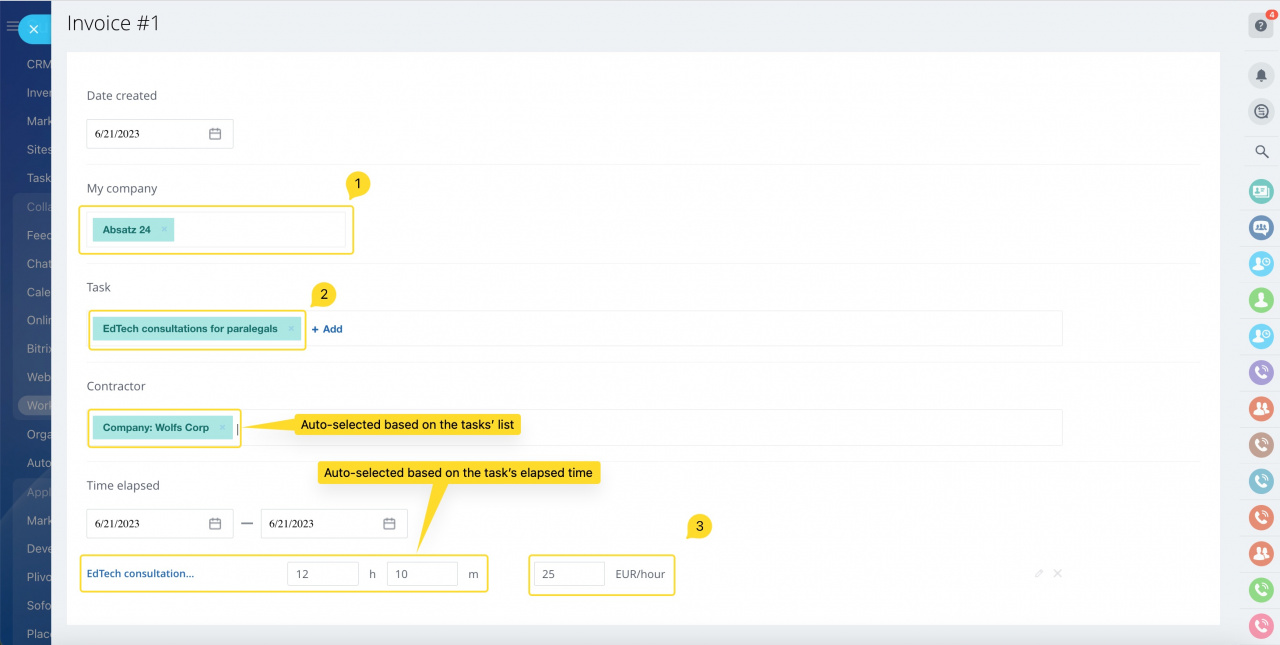
Select your company in My company section. Details of this company will be displayed in the invoice.
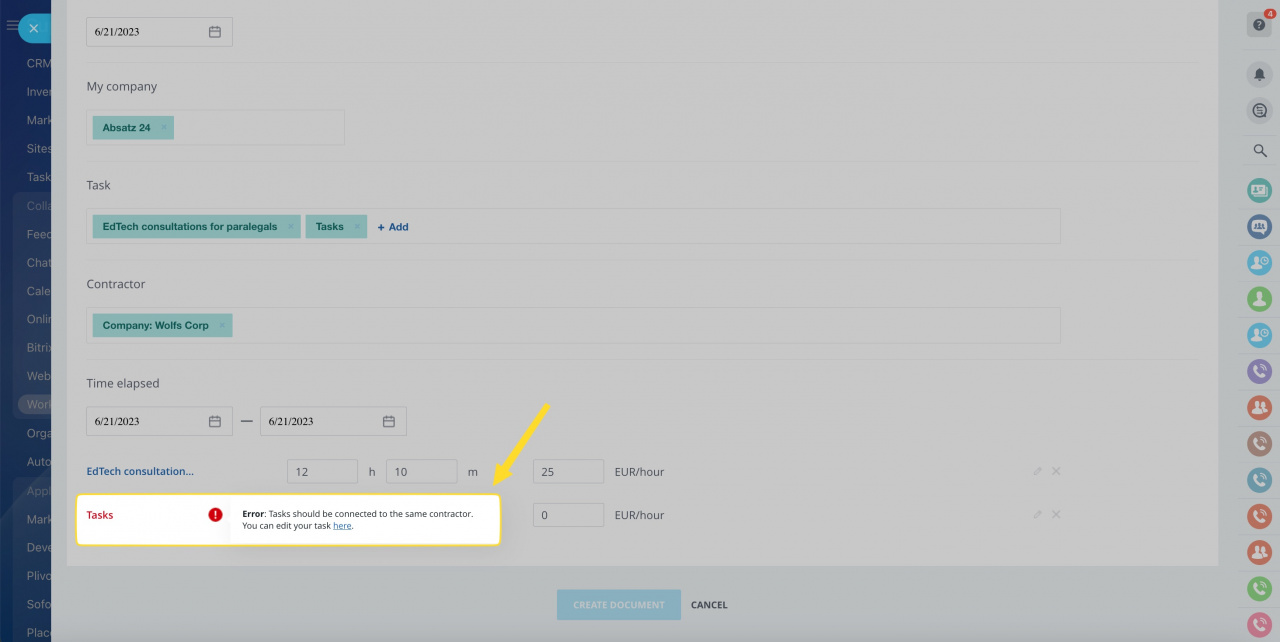
Select completed tasks. These tasks must be bound to the same counterpart (contractor). If they are, the counterpart will be automatically added to the Contractor section.
In this case, you need to edit tasks highlighted with red and bind them to the corresponding CRM element (counterparty).
Select the time period that this invoice is created for and specify hourly rates.
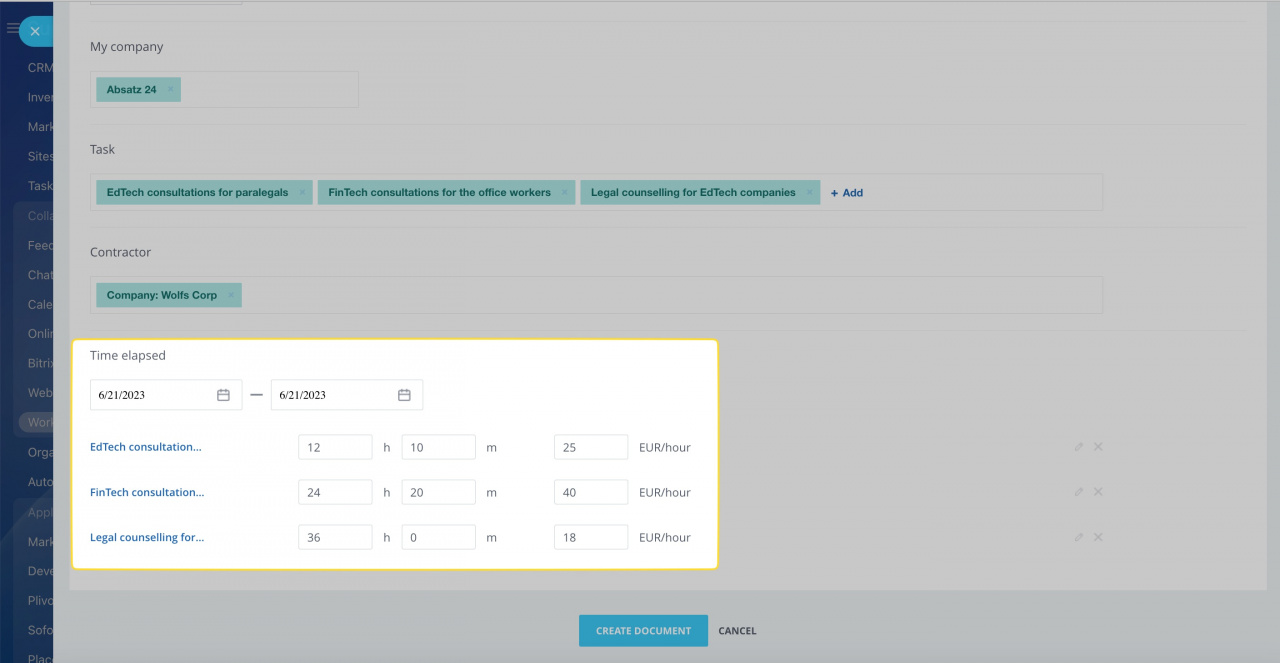
Click Create document to save the invoice.
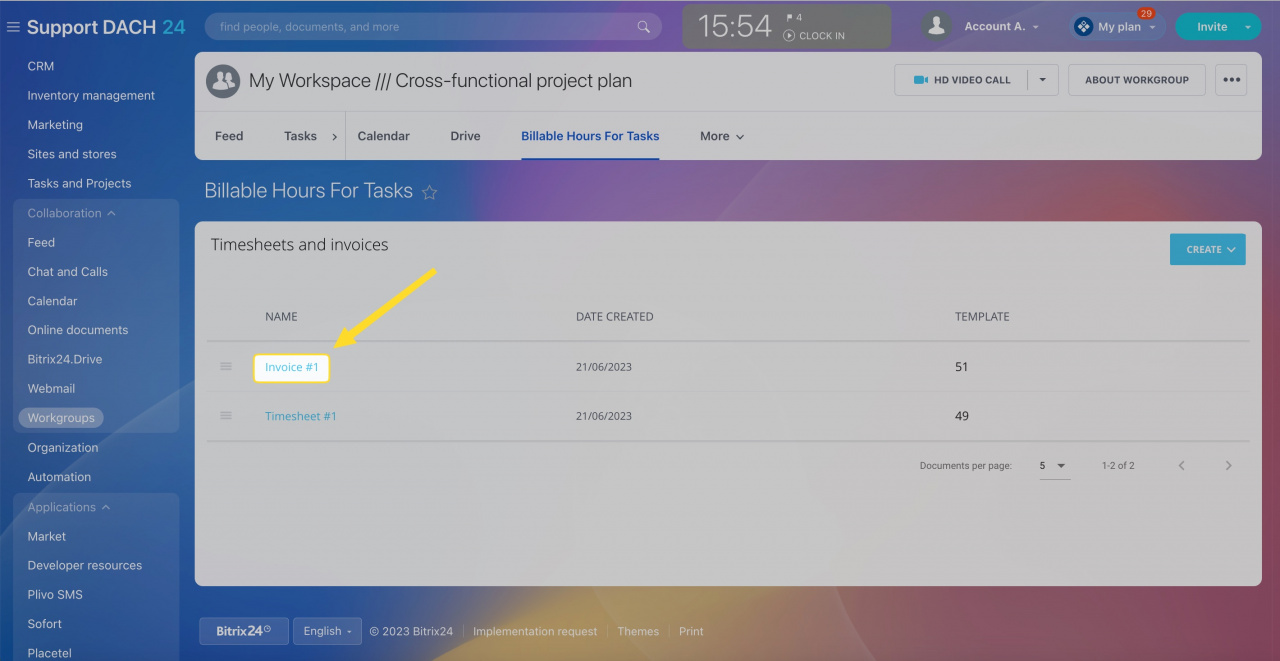
Click on the name of the invoice to download it in DOCX format.
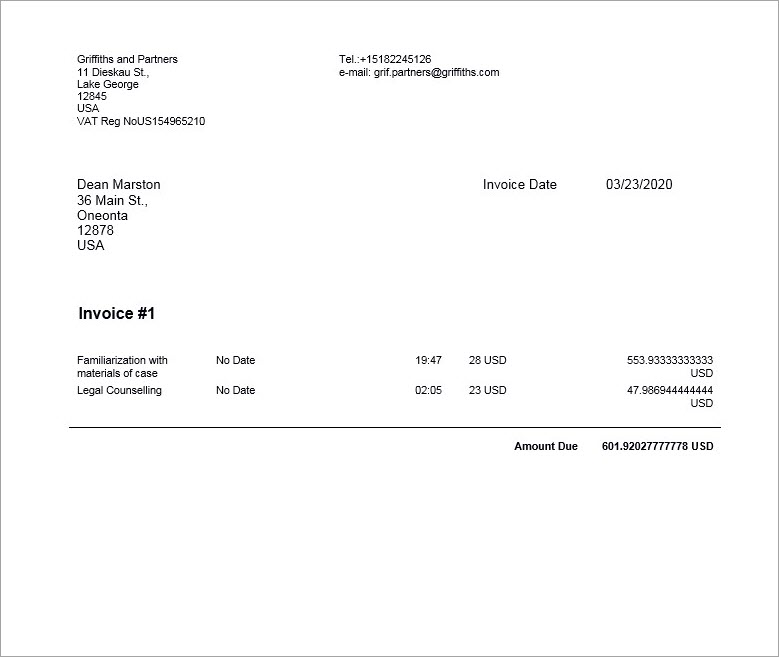
That's what the invoice may look like:
See also:

