In Bitrix24, you can create a website with multiple pages. This is ideal for resources with a large amount of content, such as online stores, blogs, corporate websites, etc.
Add pages
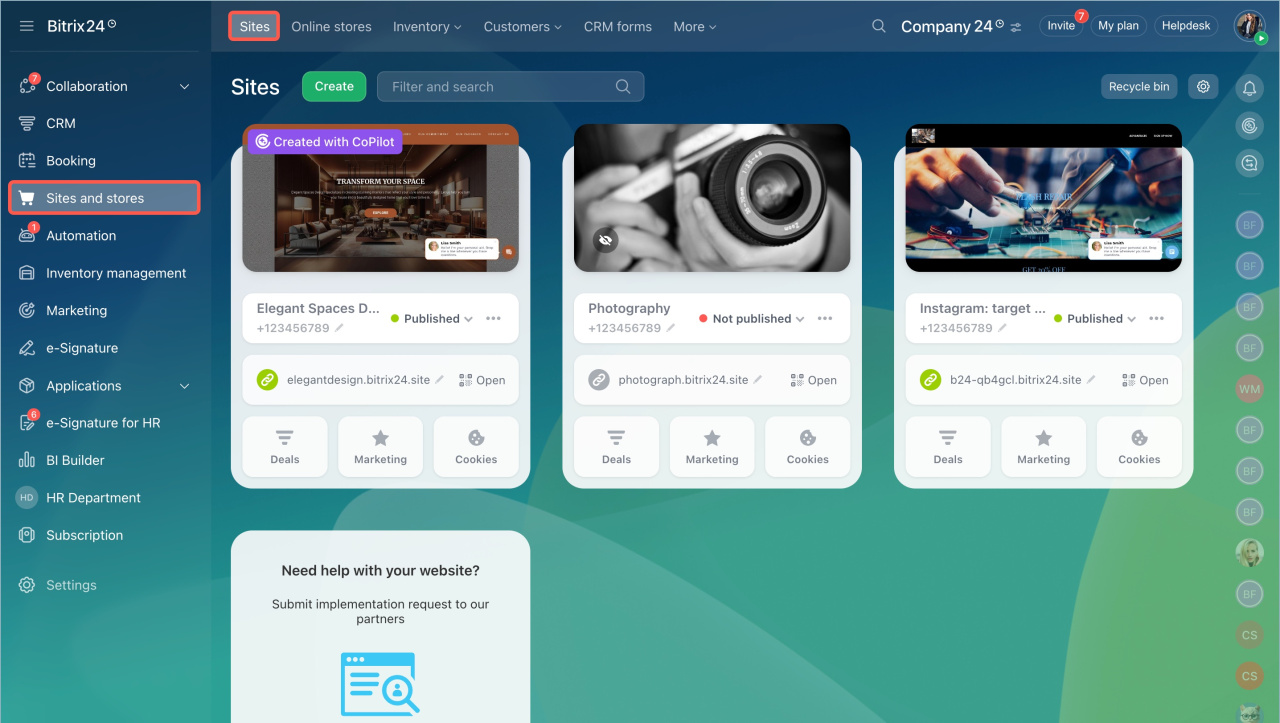
- Go to Sites and Stores > Sites
- Create a new site or select an existing one. Hover over it, and click View pages.
- Click New page. Select a blank template or a ready-made one from the Bitrix24 Market.
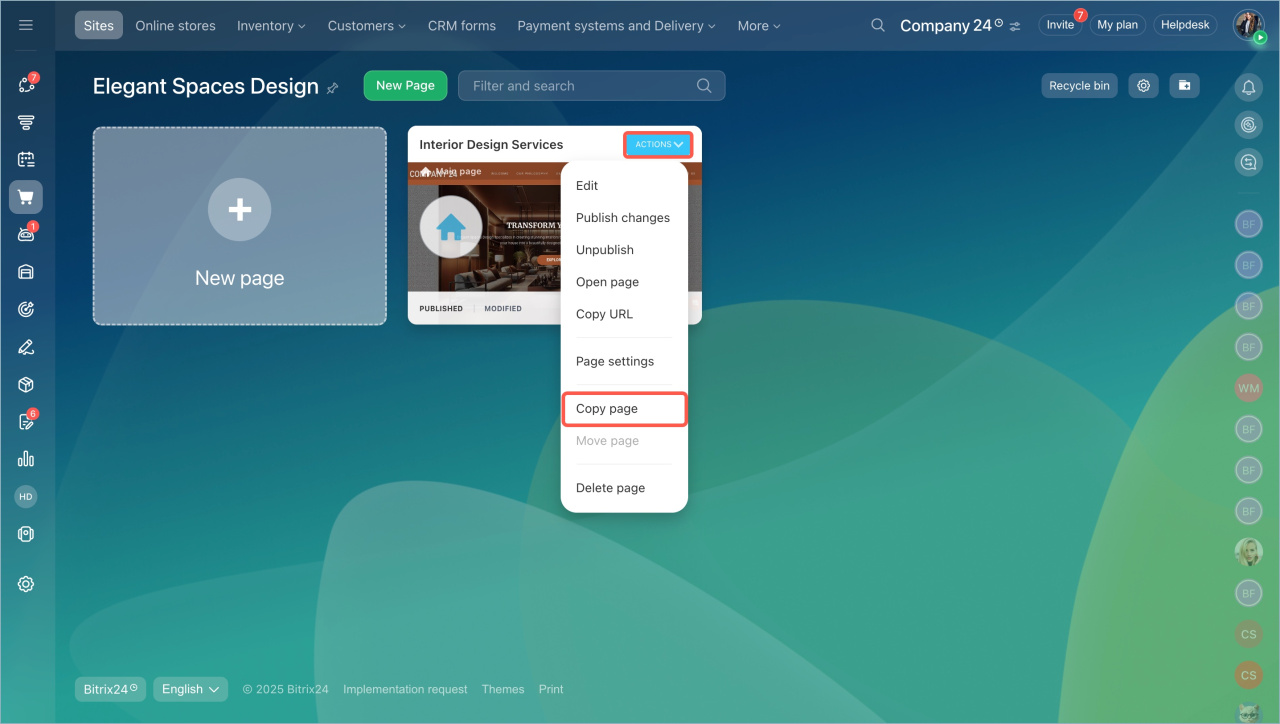
- To create multiple similar pages, click Actions > Copy page.
- Return to the Sites tab. Click the
 icon next to the site status and select Publish — all pages will be published automatically.
Add shared blocks
You can place shared blocks on all pages of the site, such as a header, sidebar, contacts, etc. Let’s configure the Site header block as an example.
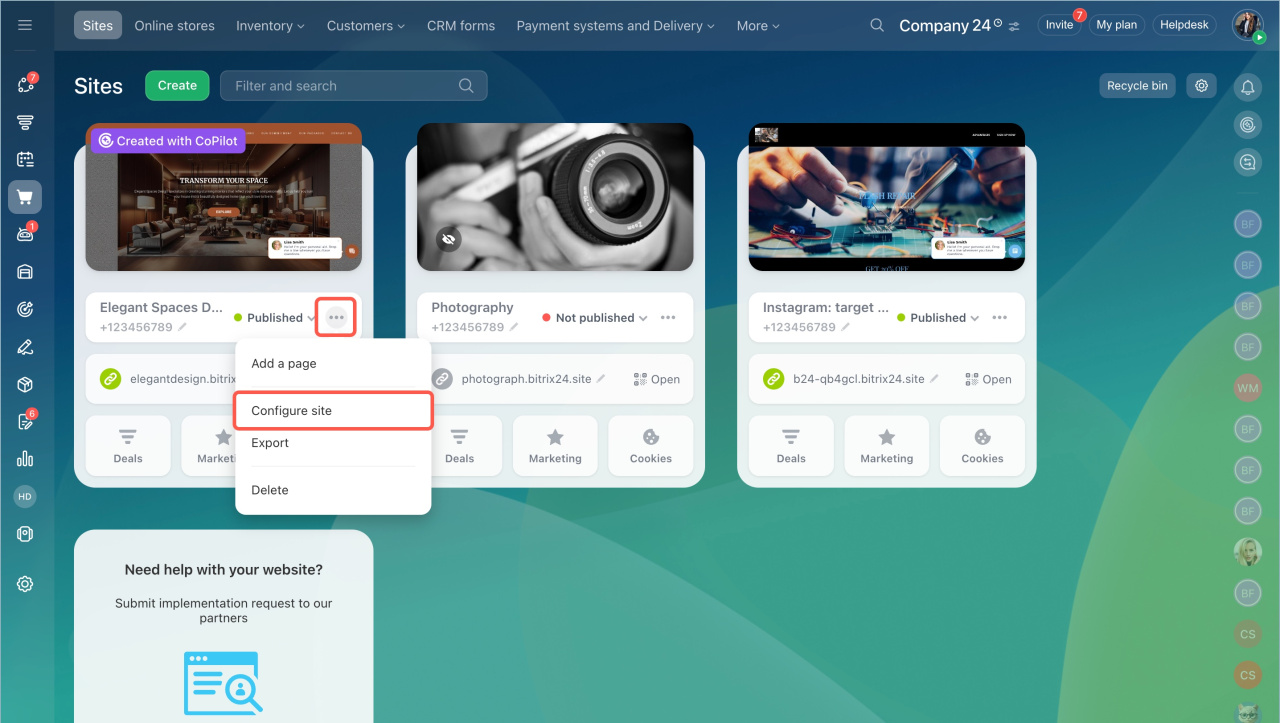
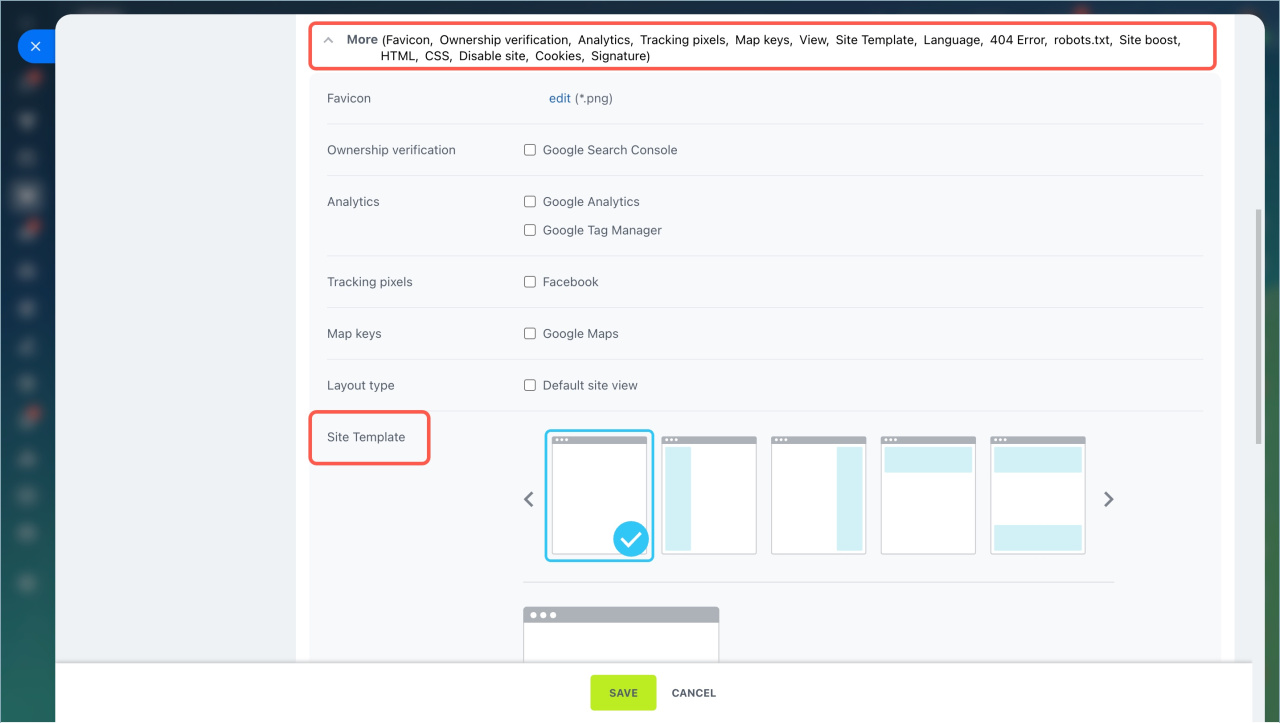
- Click Three dots (...) > Configure site.
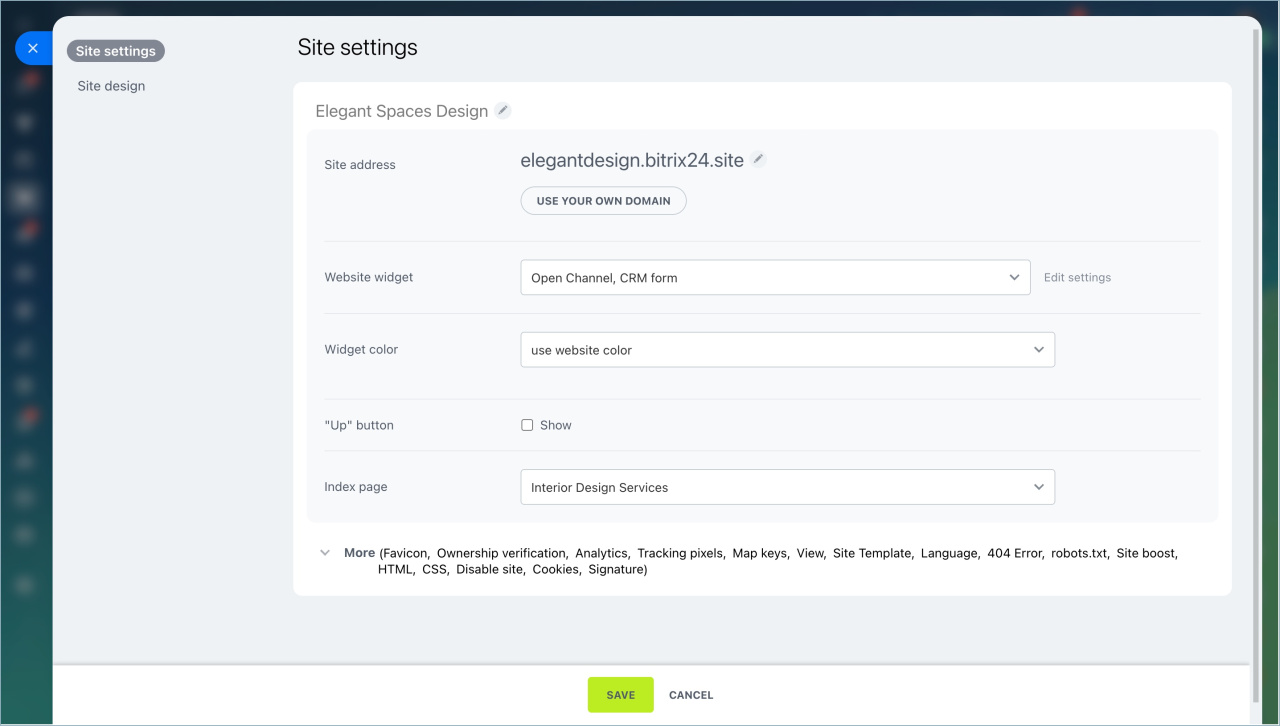
- Expand the Advanced section in the Site settings tab and select a site template with a header. Save the changes.
A page named Area #1 will appear in the list. You don’t need to publish it. The page status doesn’t affect the block functionality.
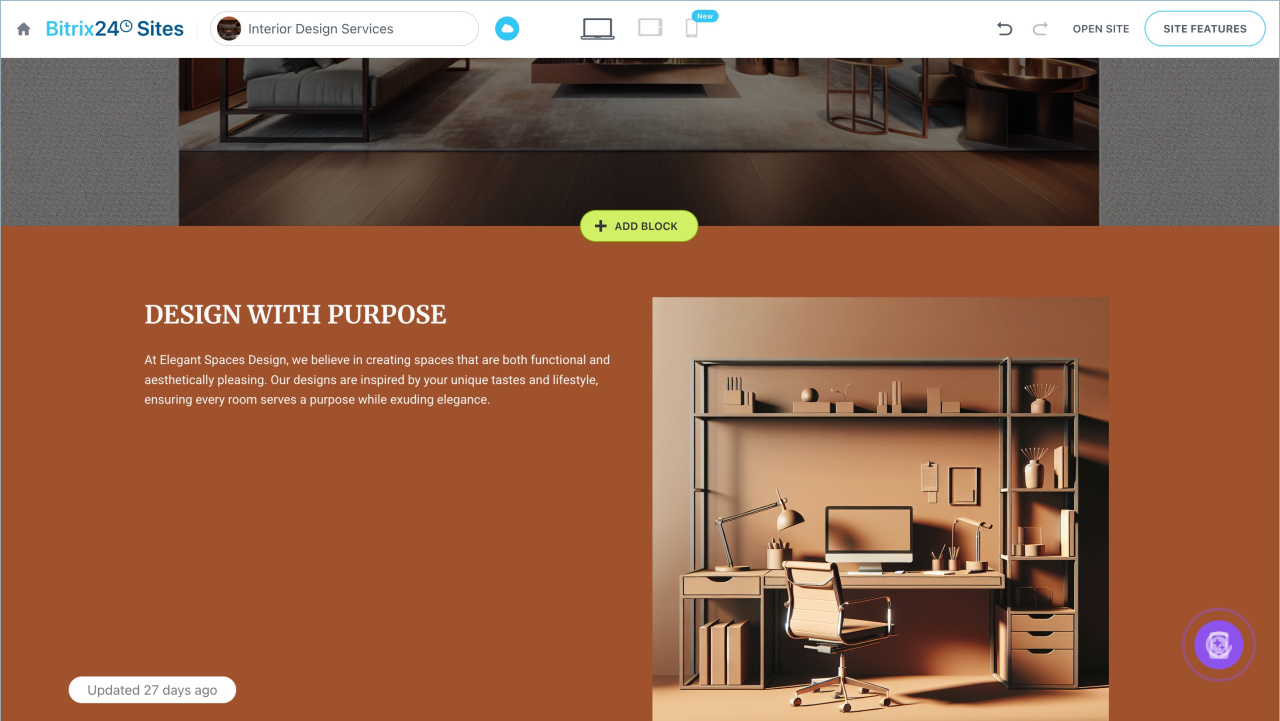
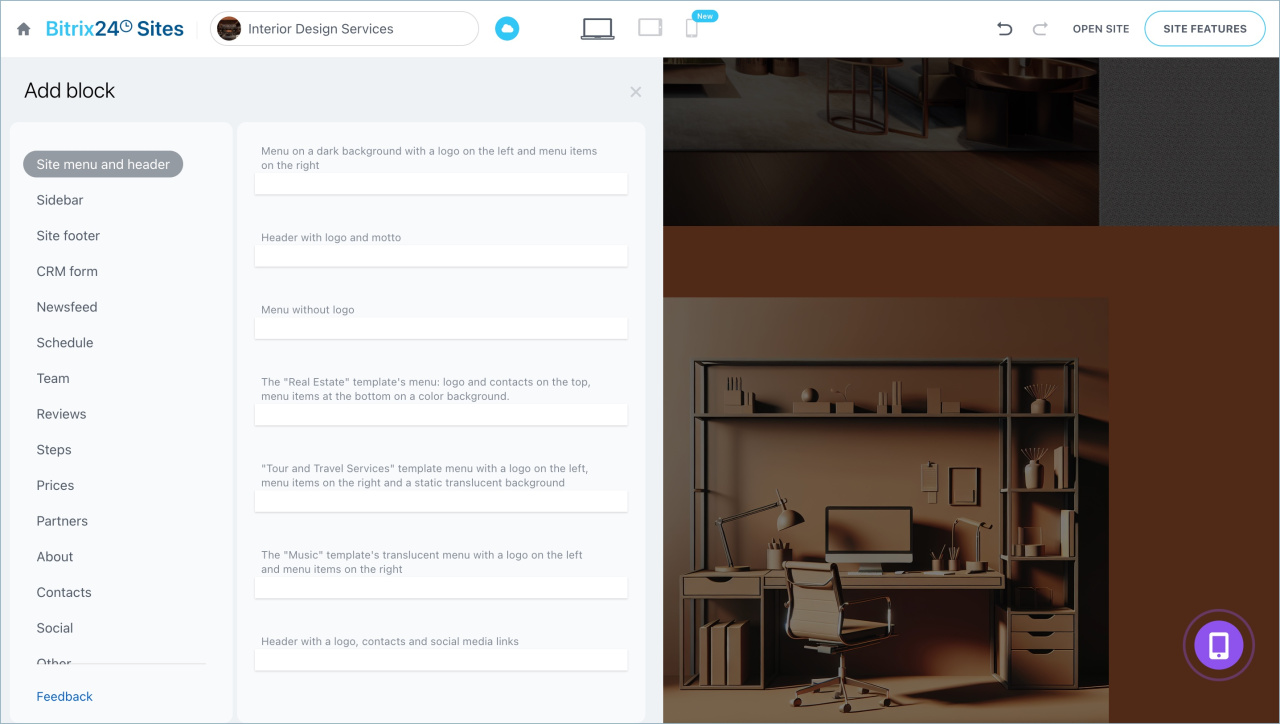
- Open any page and click Add block.
- Go to the Menu and site header tab, select a suitable template — the block will automatically appear on all site pages.
Configure site navigation
To allow customers to navigate between pages, add links to menu items.
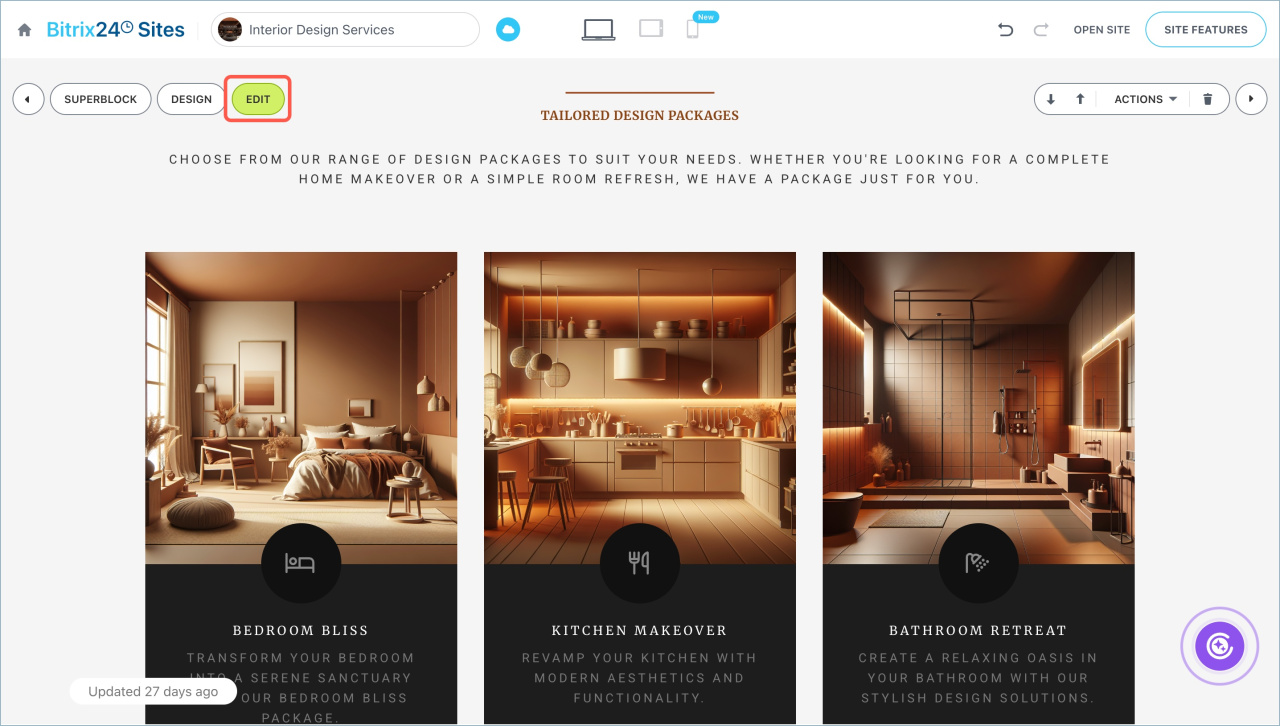
- Hover over the block and click Edit.
- Go to the Block elements tab.
- Click the pencil icon next to the menu item name and change its title.
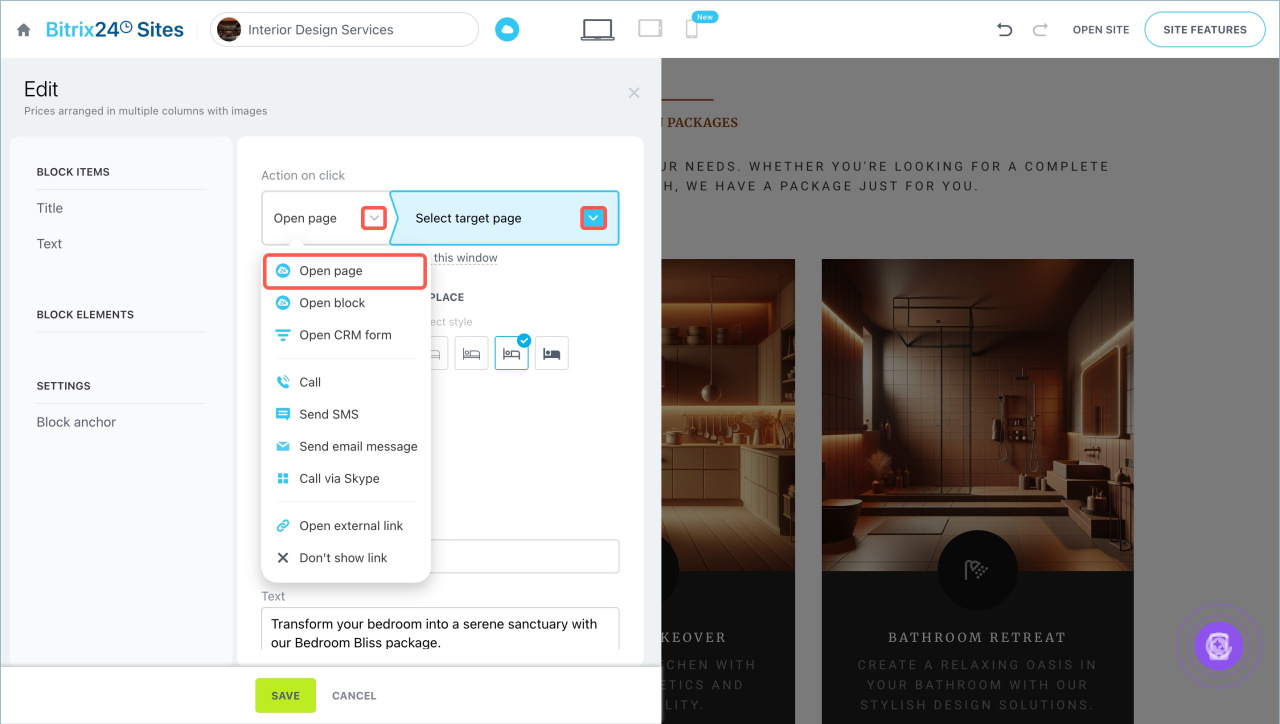
- Configure the click action: select Go to page from the dropdown menu. Click the
 icon and choose the page for redirection. Only published pages will appear in the list.
 - Specify where the page will open: in the current window, a new window, or a pop-up.
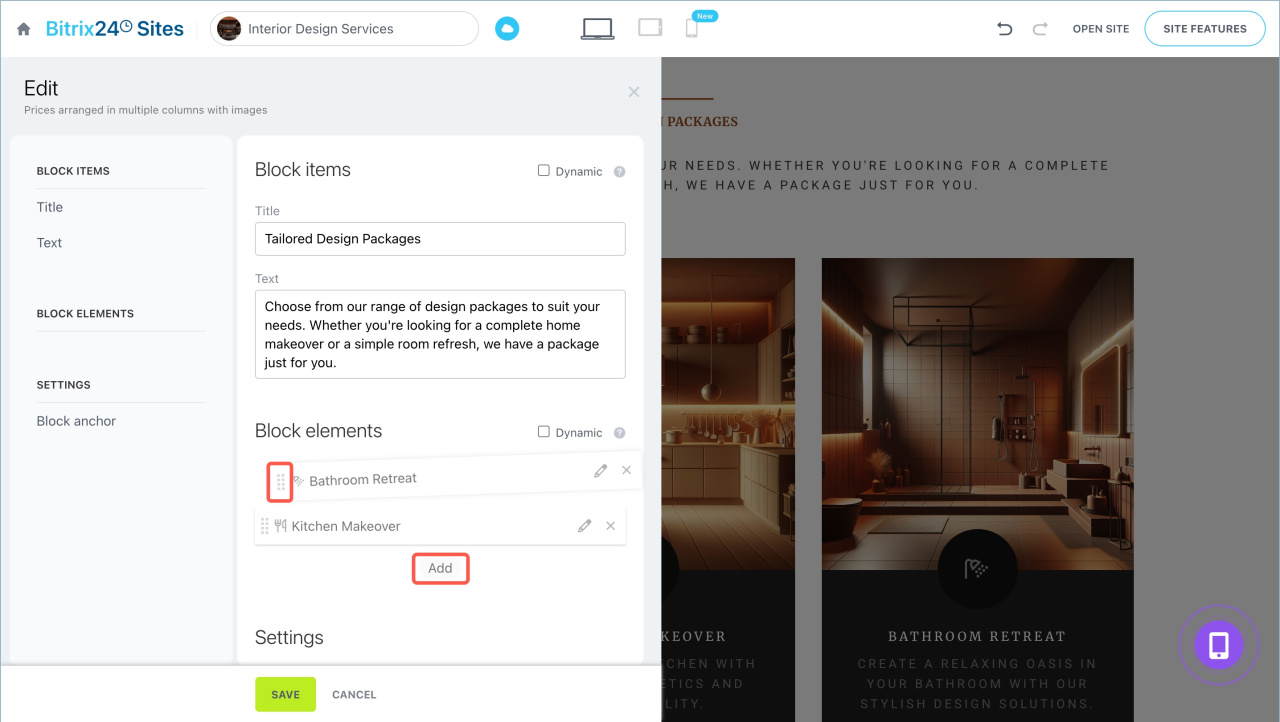
You can change the number and order of menu items.
- Click the cross icon to delete an item.
- Drag the item to change its position in the menu.
- Select Add to create a new item.
- Save the changes.
In brief
- Multi-page websites are suitable for resources with a large amount of content, such as online stores, blogs, corporate websites, etc.
- Go to the Sites and Stores section > Sites. Select an existing site or create a new one. Add pages to it.
- Publish the site. The status of its pages will update automatically.
- Place shared blocks on all site pages, such as a header, sidebar, contacts, etc.
- Configure site navigation: change menu item names and add links to navigate to other pages.

