
Bitrix24 Knowledge Bases 2.0 helps you create knowledge bases for instructions, guidelines, and other useful materials.
With Knowledge Bases 2.0, you can:
- Create an unlimited number of knowledge bases for each department or business area
- Organize content with sections, subsections, and documents
- Set access permissions for each knowledge base and document separately
- Collaborate with coworkers on documents
- Add files, photos, videos, spreadsheets, and links.
- the Professional and Enterprise plans in the Bitrix24 Cloud version. Bitrix24 plans and pricing
- the Business and Enterprise plans in the Bitrix24 On-premise version. To make sure it works correctly, update the Note module to the latest version. Bitrix24 plans and pricing
Update Bitrix24 On-Premise
In this article:
Create a knowledge base
By default, only Bitrix24 administrators can access the Knowledge Base 2.0 section. To allow other employees to view, edit, and create knowledge bases, you must grant them access to the section.
Configure access permissions for Knowledge Bases 2.0
You can create an empty knowledge base or create one with articles.
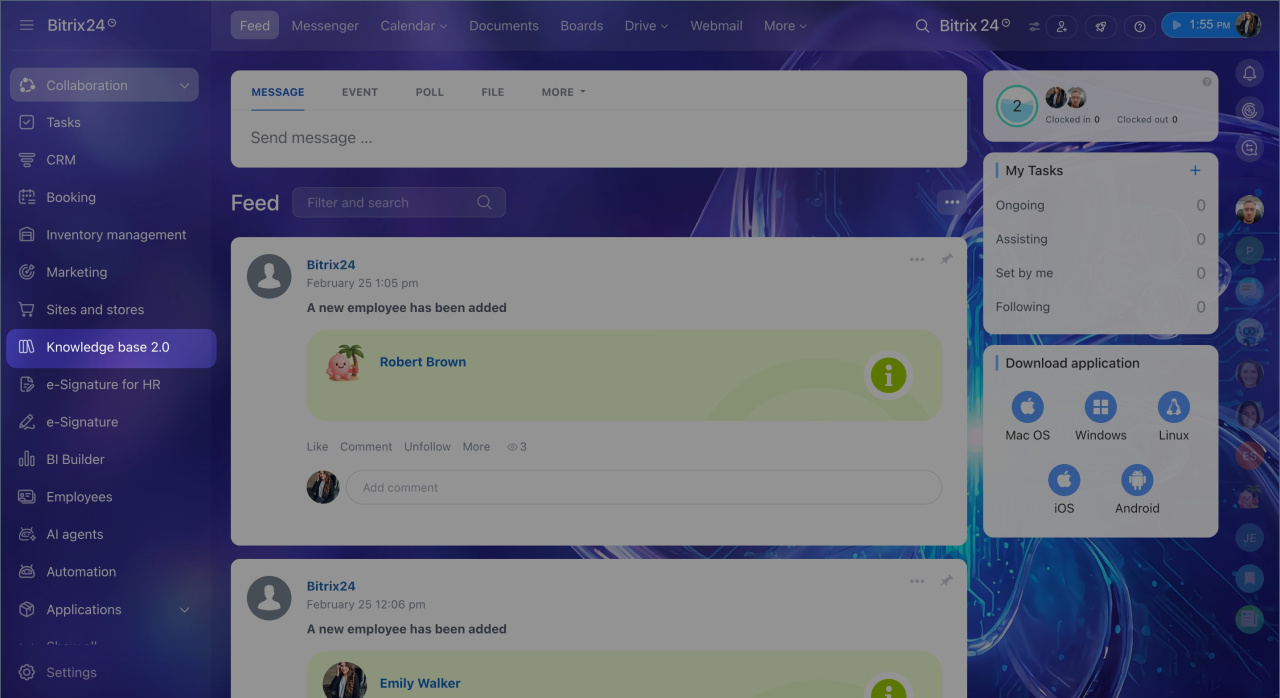
Open the menu and go to the Knowledge Bases 2.0 section.
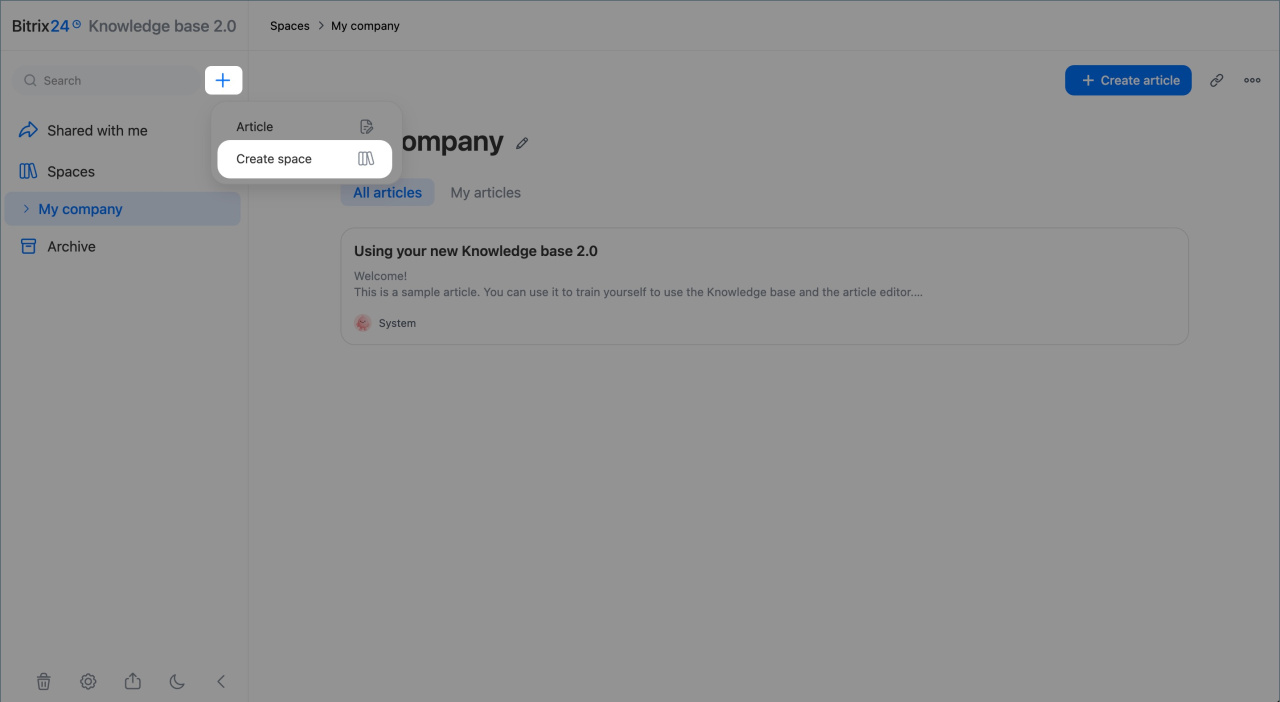
Empty knowledge base. Use this option if you want to set access permissions.
1. Click Plus (+) > Create space
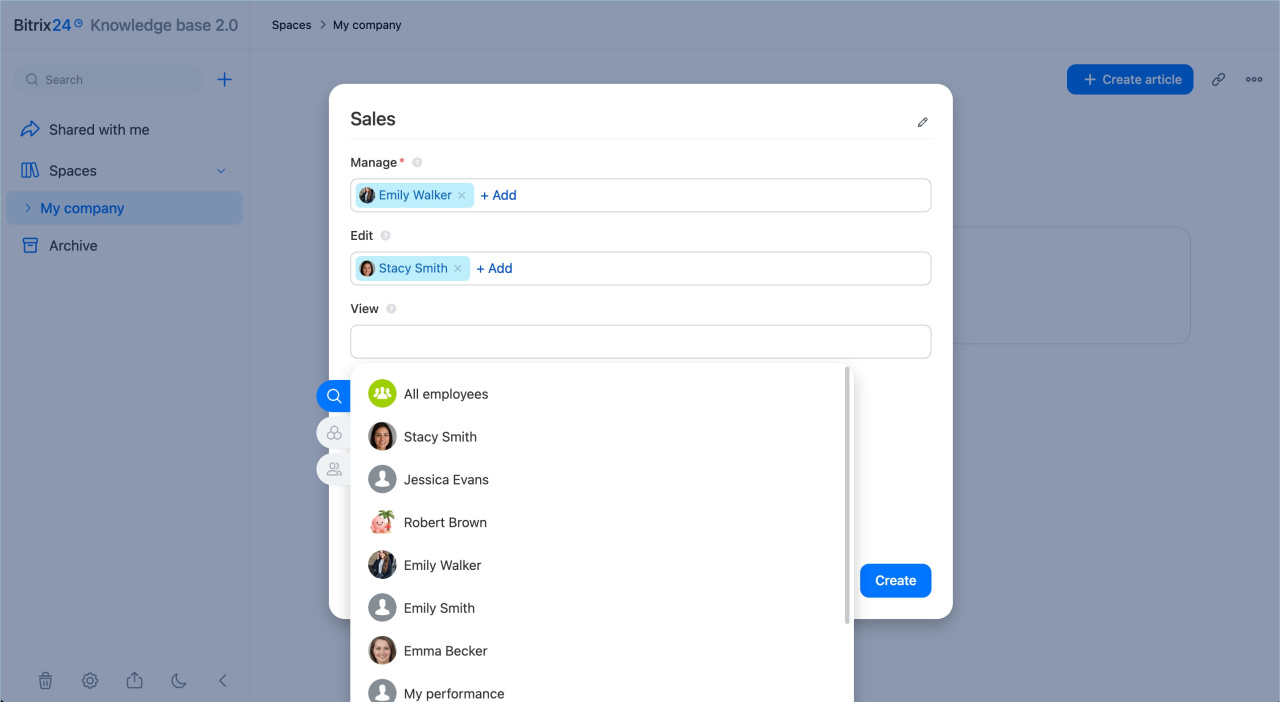
2. Enter a name. It appears in the list and is visible to employees who have access to the knowledge base.
3. Set access permissions for specific employees, projects, or departments.
Configure access permissions for the knowledge base
4. Click Create. The knowledge base appears at the top of the list in the left panel.
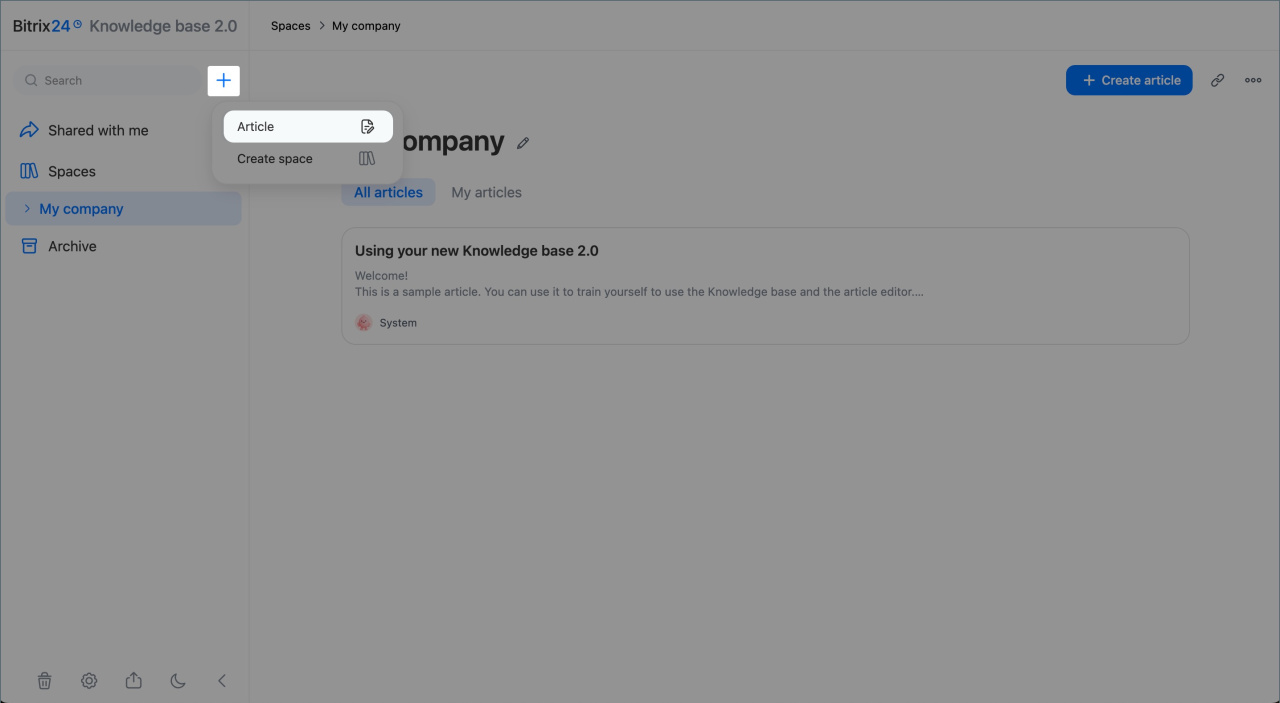
With articles. Use this option if you want to start adding content right away. You can set access permissions later.
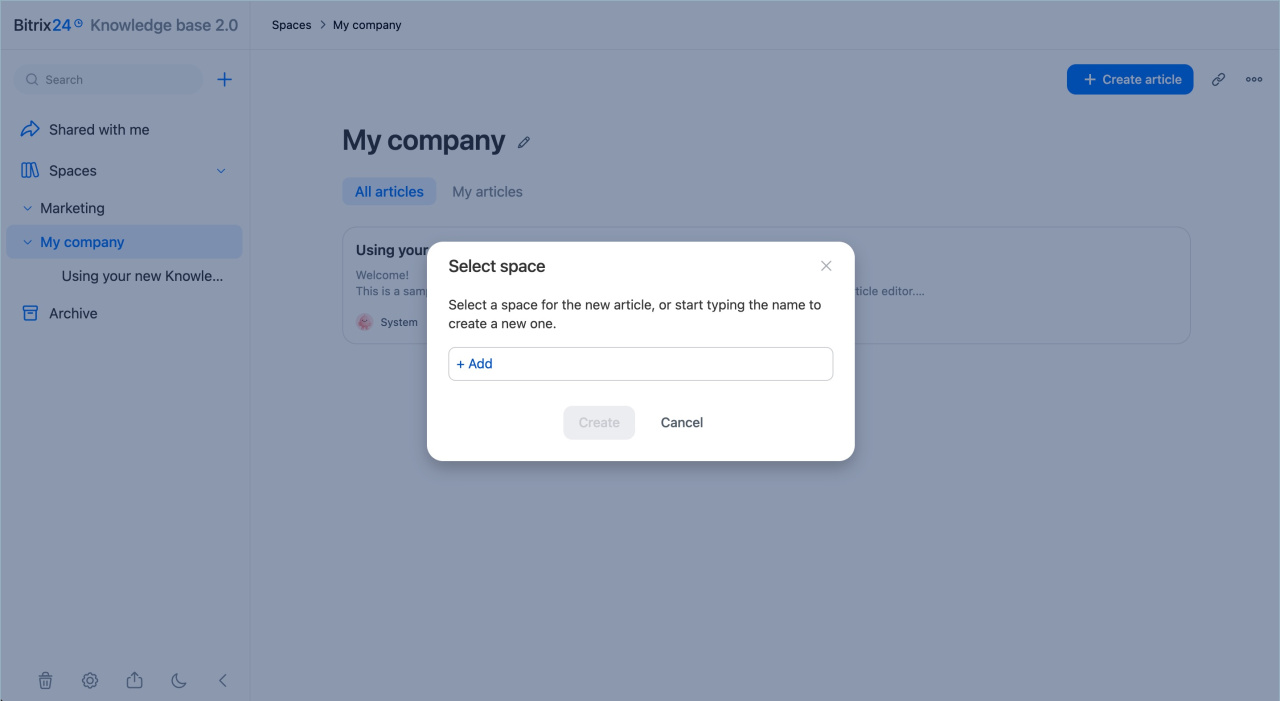
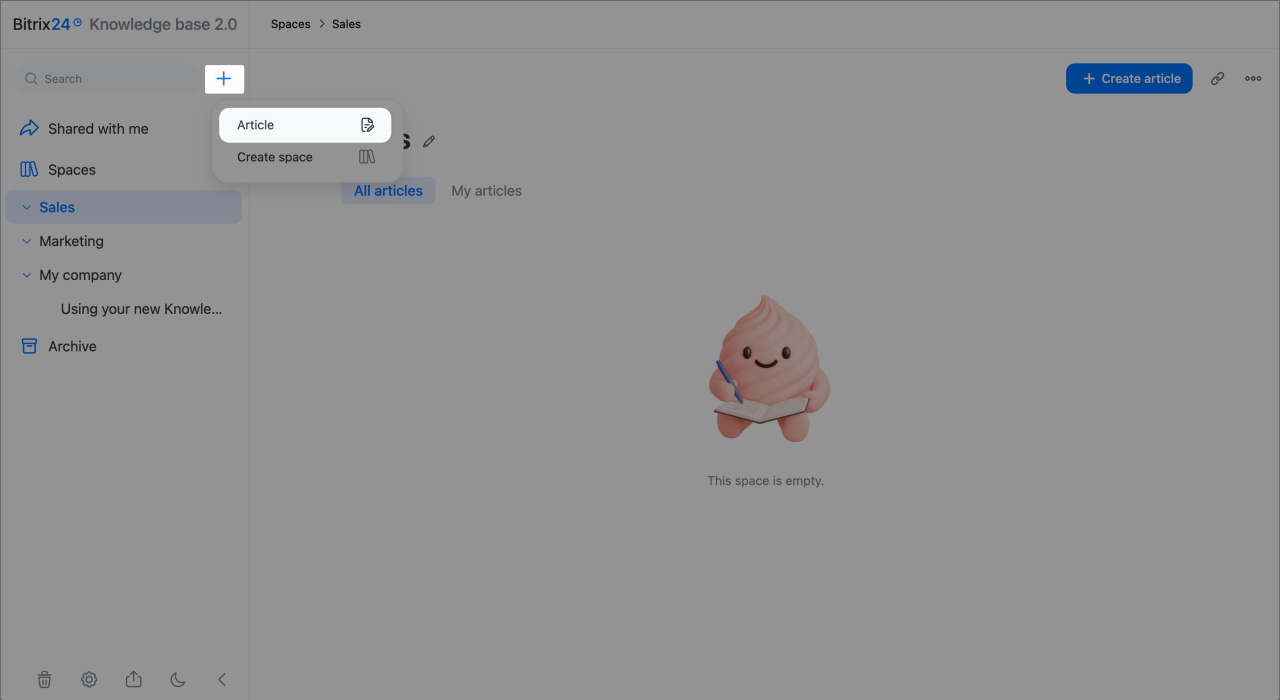
1. Click Plus (+) next to the search bar and select Article.
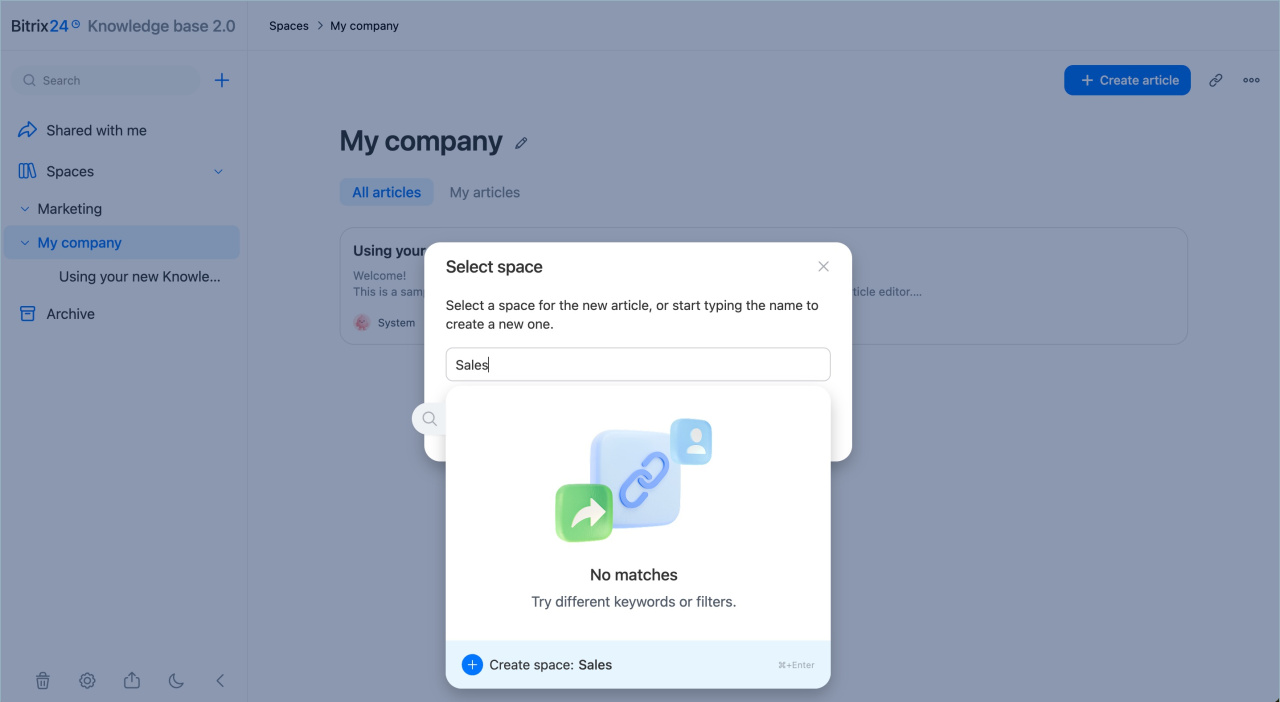
2. Enter the knowledge base name and click Create.
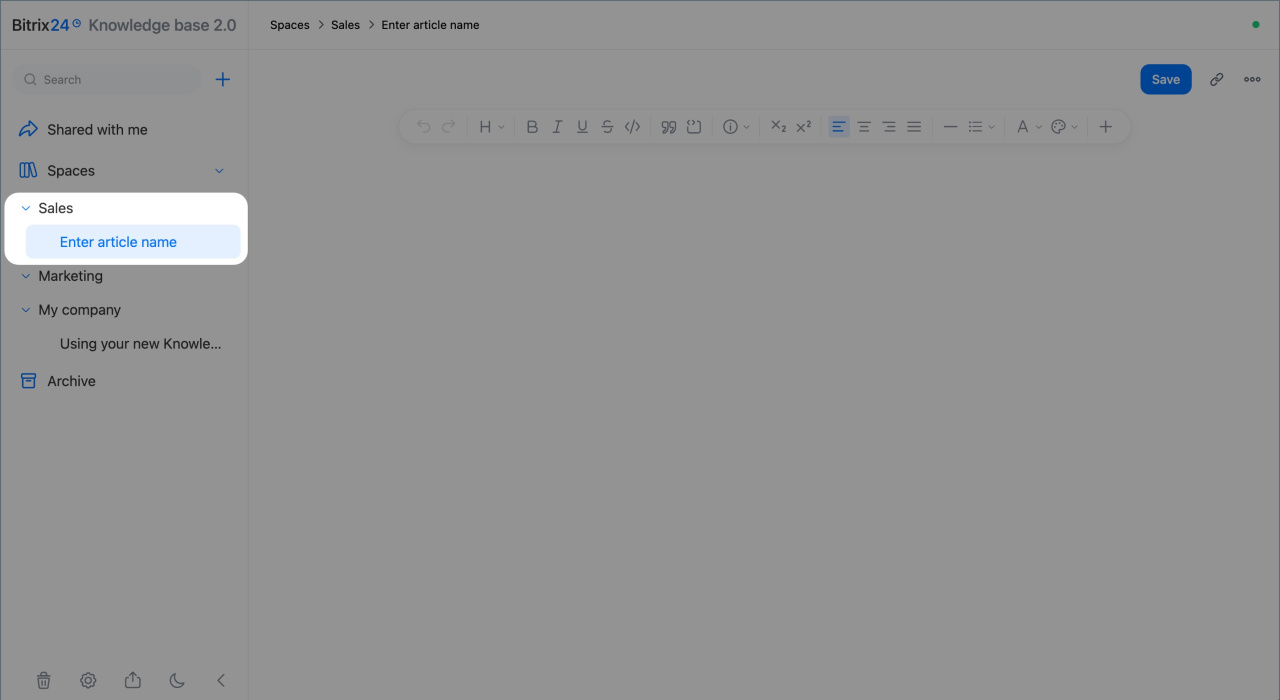
3. The document opens, and the knowledge base appears at the top of the list in the left panel.
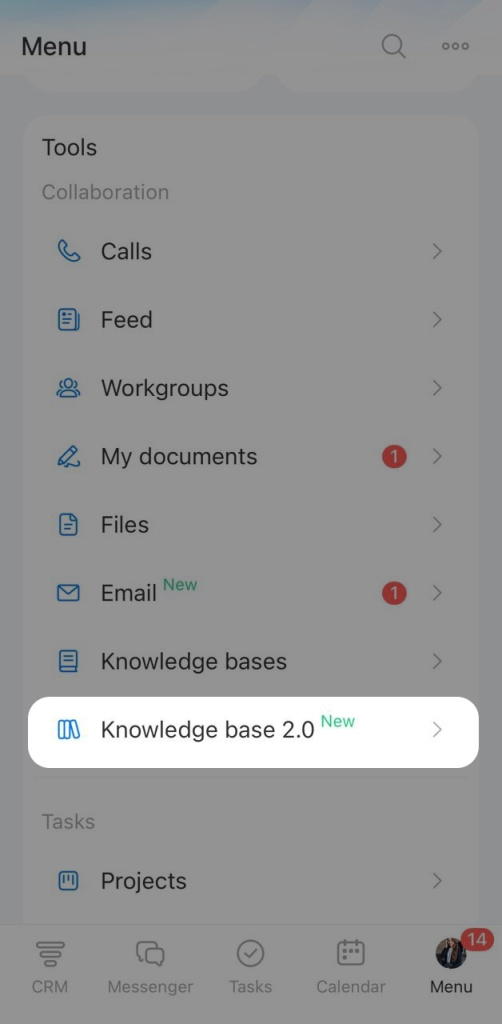
1. Go to Menu > Knowledge Bases 2.0.
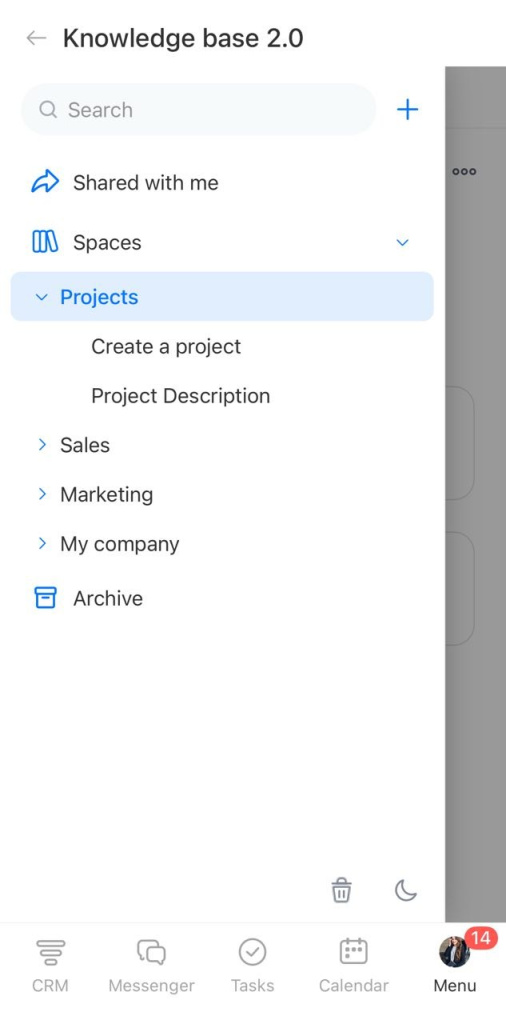
2. Tap Menu (☰ ) in the upper-left corner. The Control Panel opens with the list of knowledge bases.
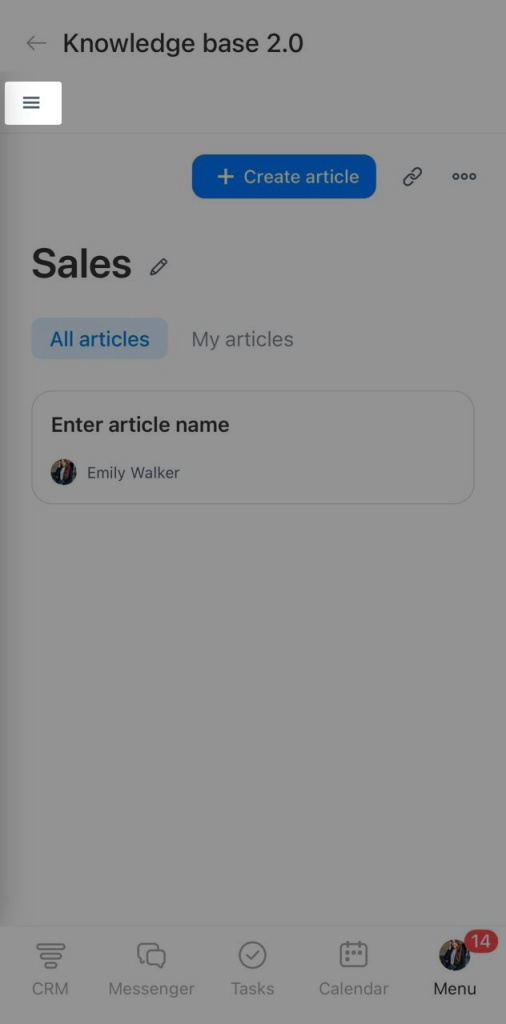
Empty knowledge base. Use this option if you want to set access permissions right away.
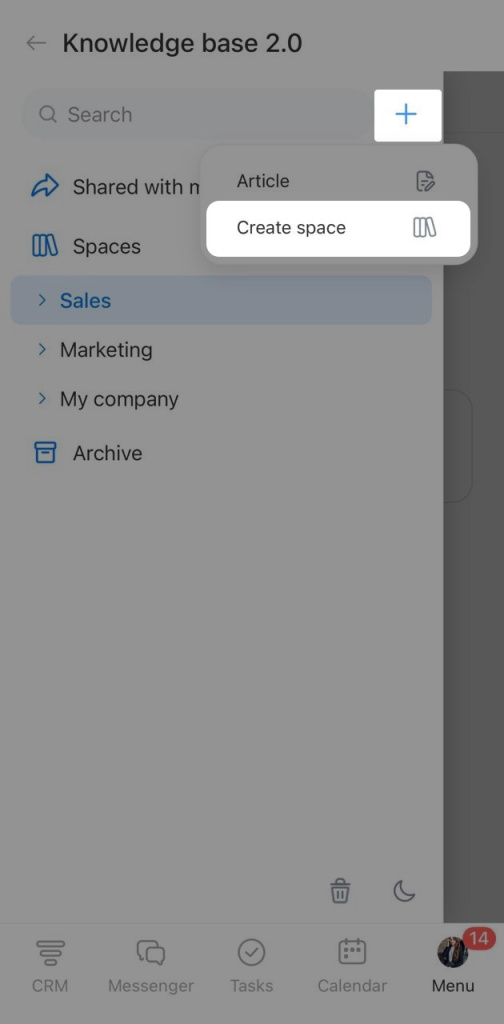
1. Tap the Plus (+) next to the search bar > Create space.
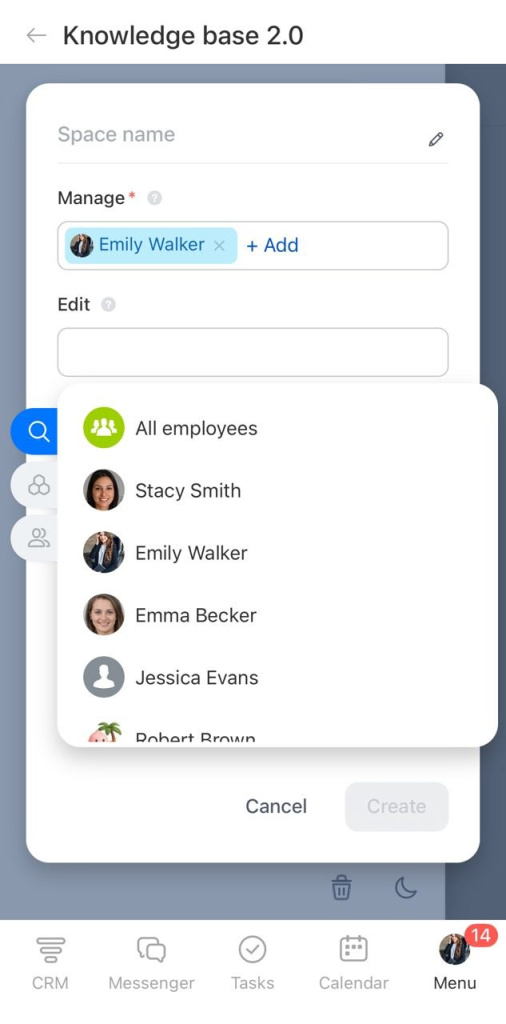
2. Set access permissions for specific employees, projects, or departments.
Configure access permissions for the knowledge base
3. Tap Create. The empty knowledge base opens.
With articles. Use this option if you want to start adding content right away. You can set access permissions later.
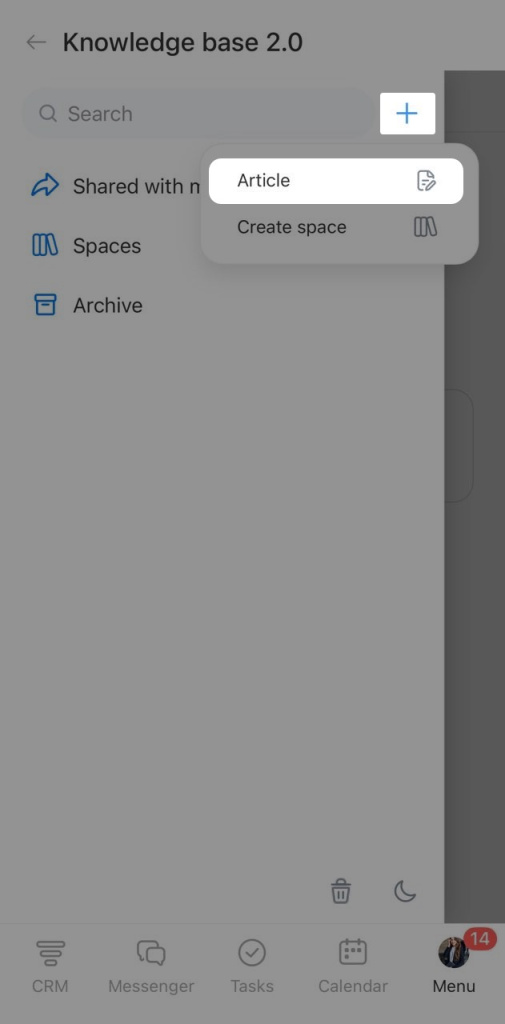
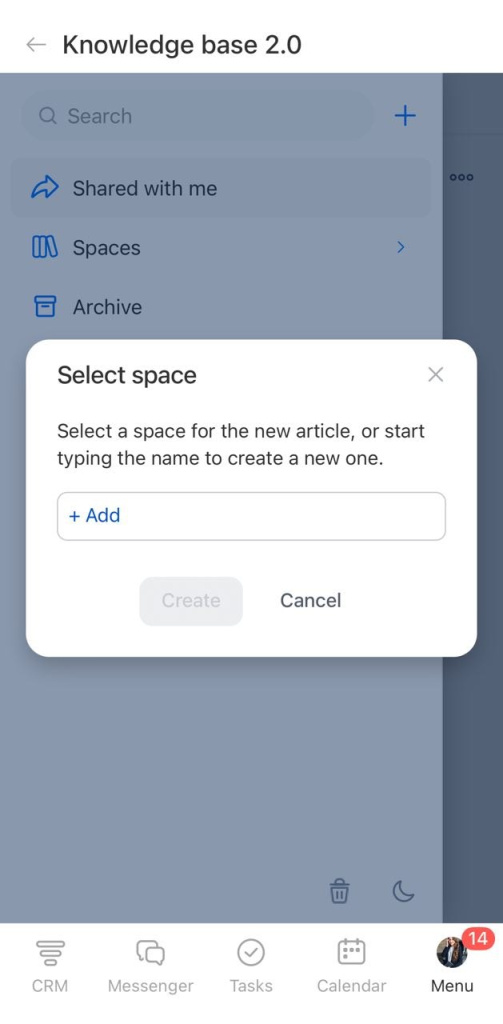
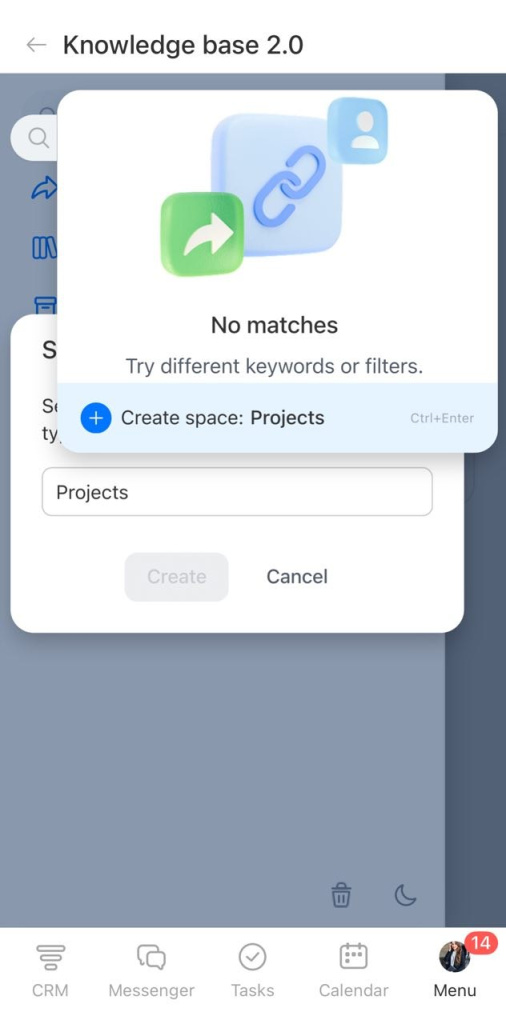
1. Tap Plus (+) > Article > Add.
2. Enter the knowledge base name and tap + Create.
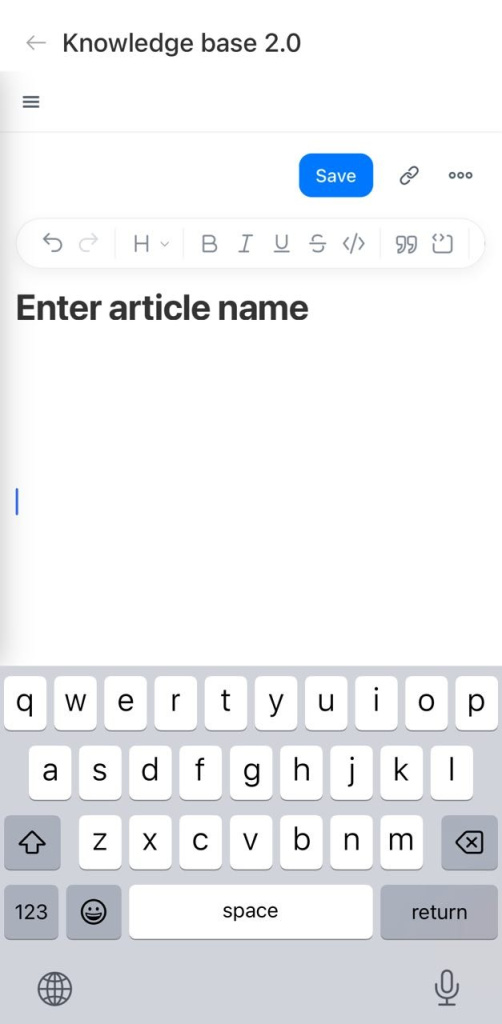
3. The document opens for editing.
Add an article
Articles are stored inside a knowledge base. You can nest documents inside each other to build a hierarchy of sections and subsections.
You can add a new document from the Control Panel or from the knowledge base list.
From the Control Panel. Use this option if you have many knowledge bases and want to add a document without searching through the list.
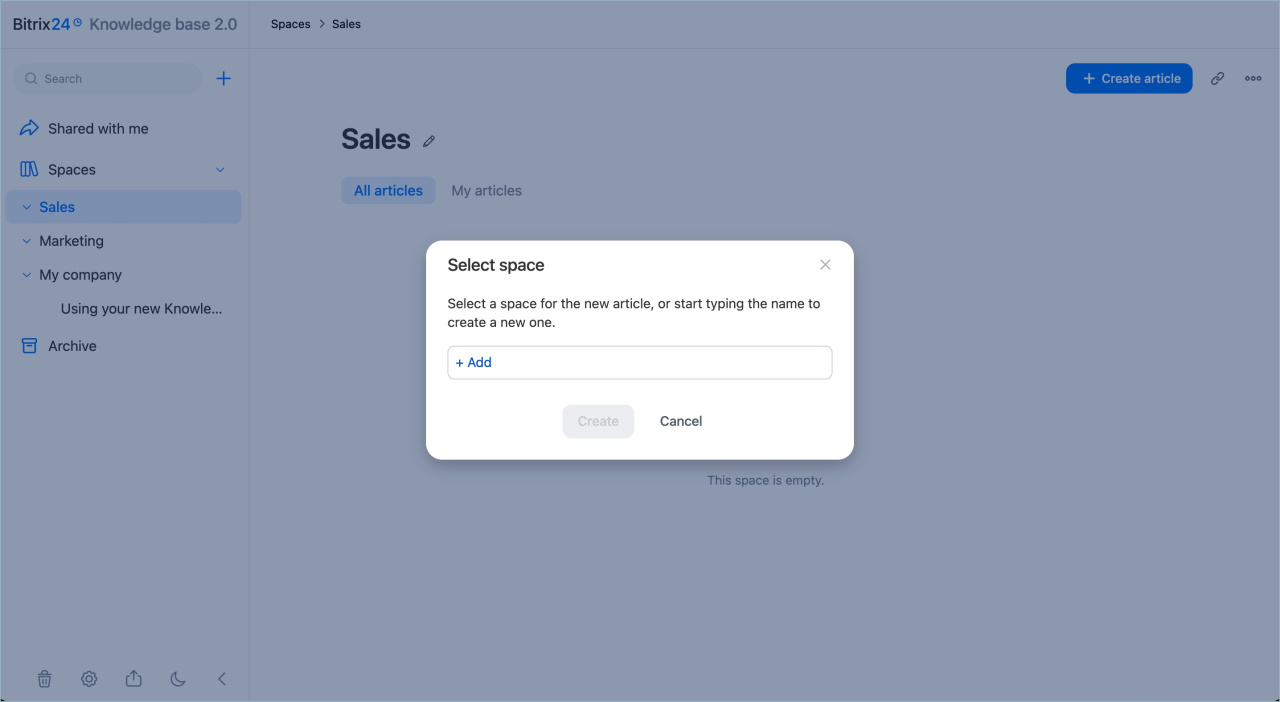
1. Click Plus (+) next to the search bar > Article > Add.
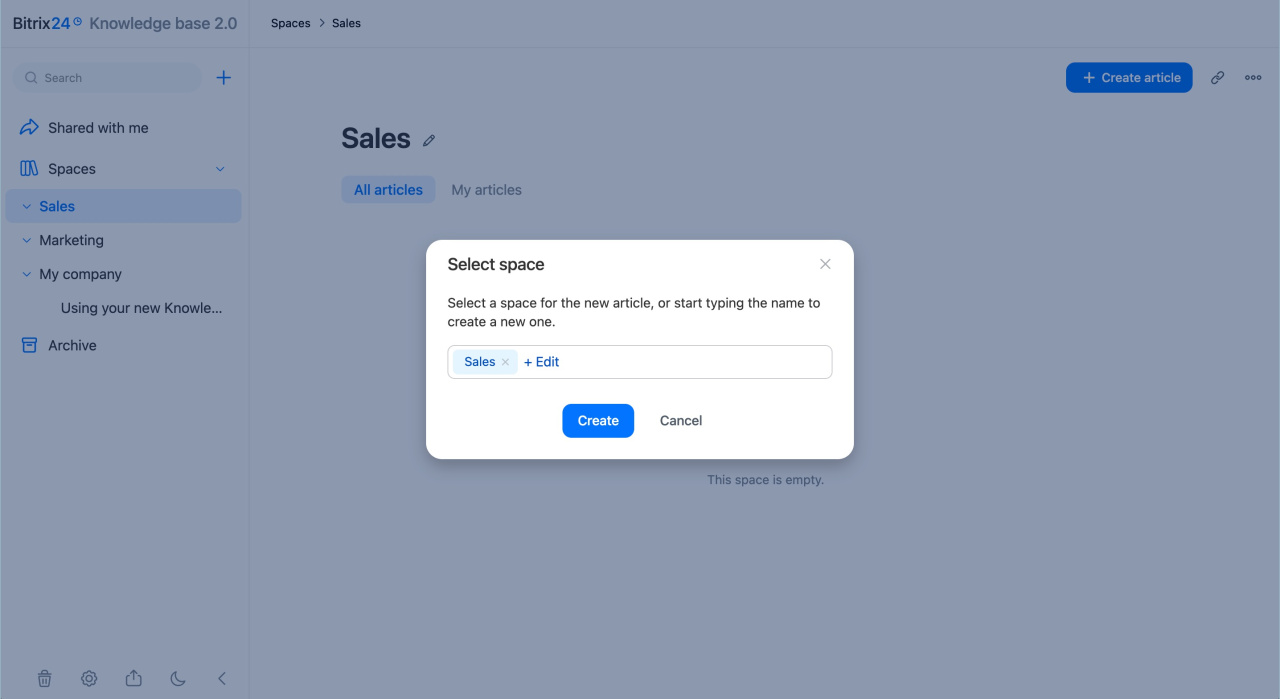
2. Start typing the name and select a knowledge base from the list.
3. Click Create.
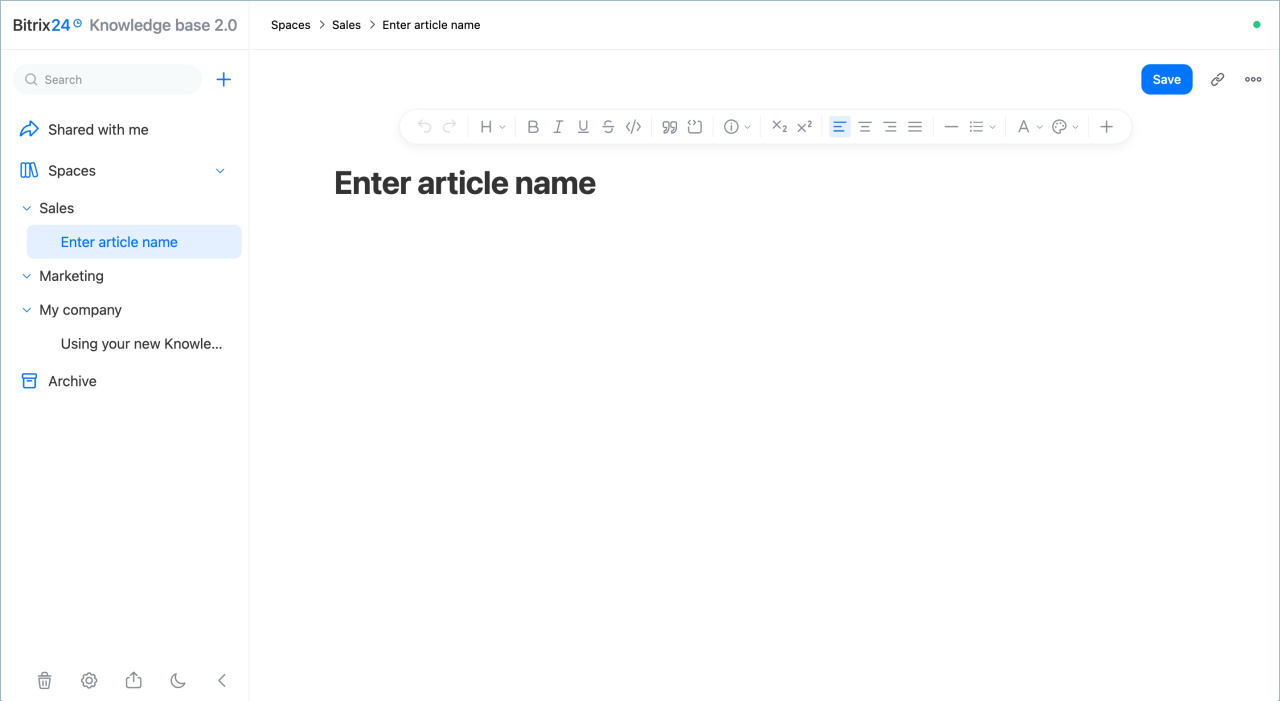
4. The document is added to the knowledge base and opens in editing mode.
From the spaces list. Use this option to add an article to the section you need.
1. Expand the list — click Spaces.
2. Click Plus (+) next to the section you need.
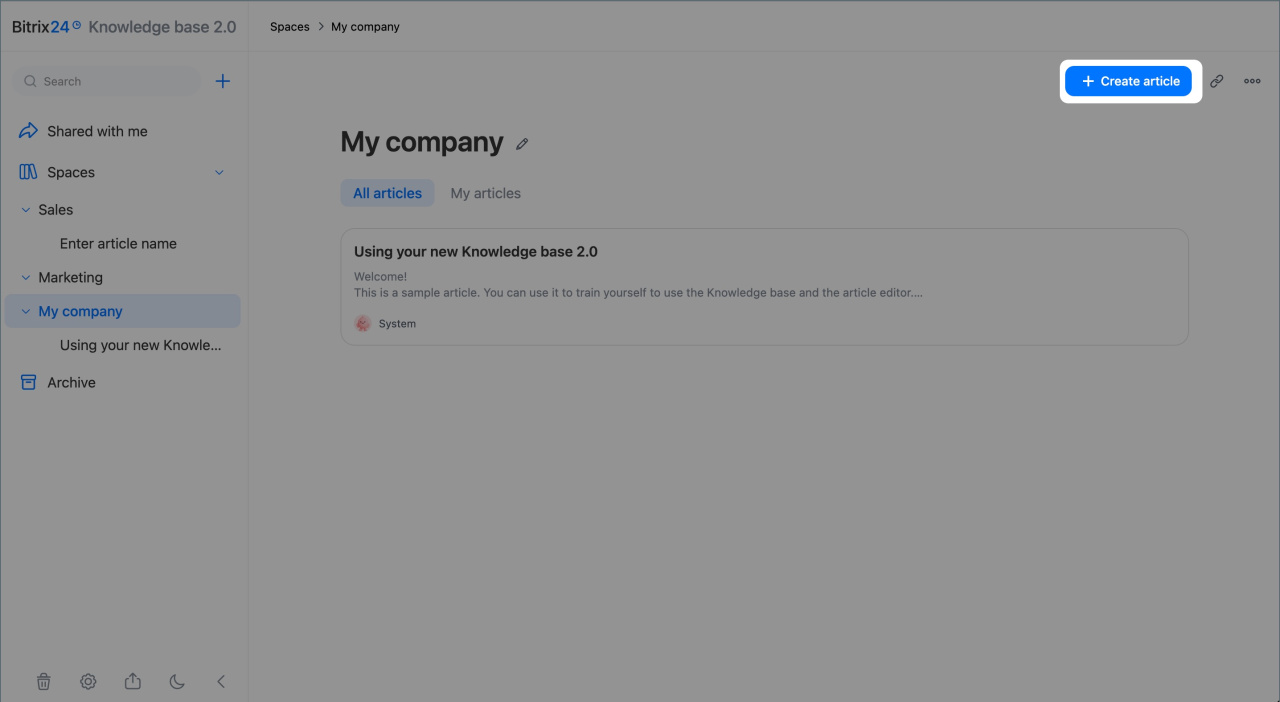
3. You can also open the knowledge base and click + Create article.
4. The article opens in the editing mode.
Tap Menu (☰ ) in the upper-left corner.
From the Control Panel. Use this option if you have many knowledge bases and want to add a document without searching through the list.
1. Tap the Plus (+) next to the search bar > Article > Add.
2. Start typing the name and select a knowledge base from the list.
3. The document is added to the knowledge base and opens in editing mode.
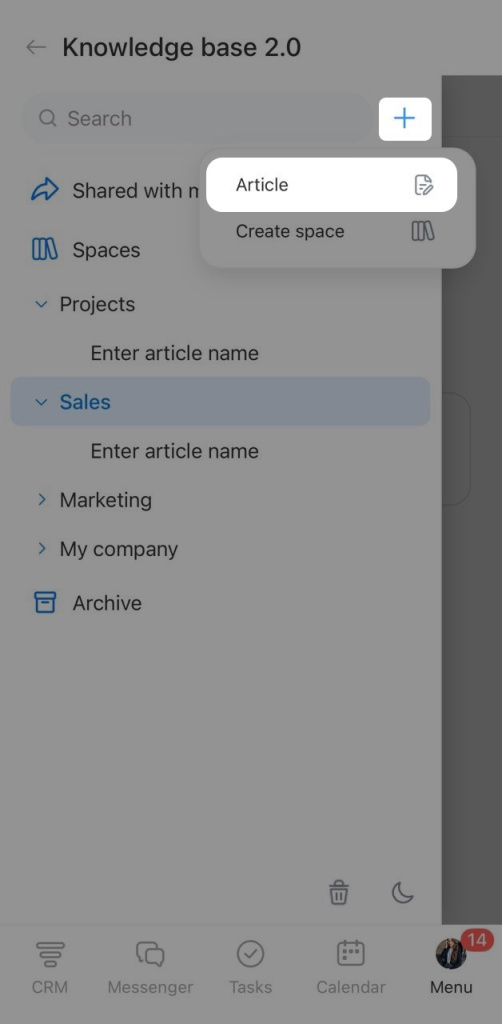
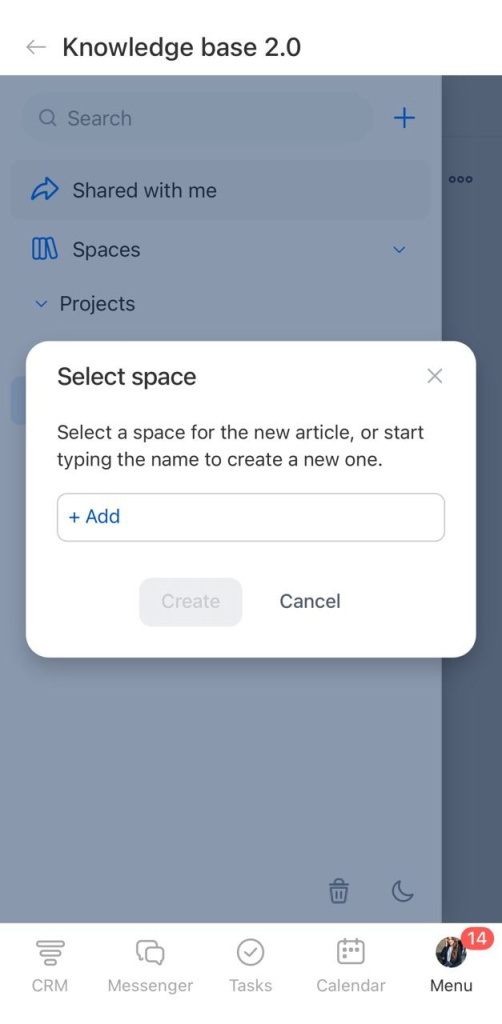
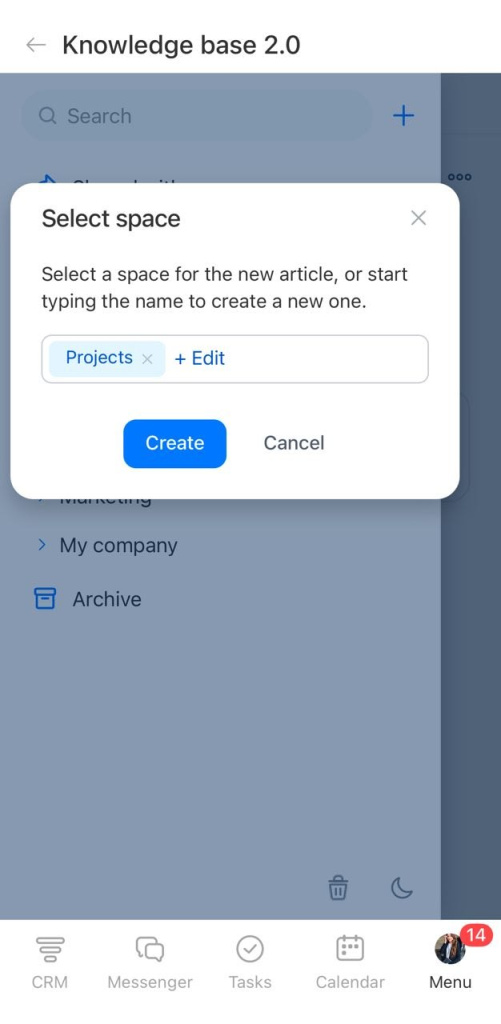
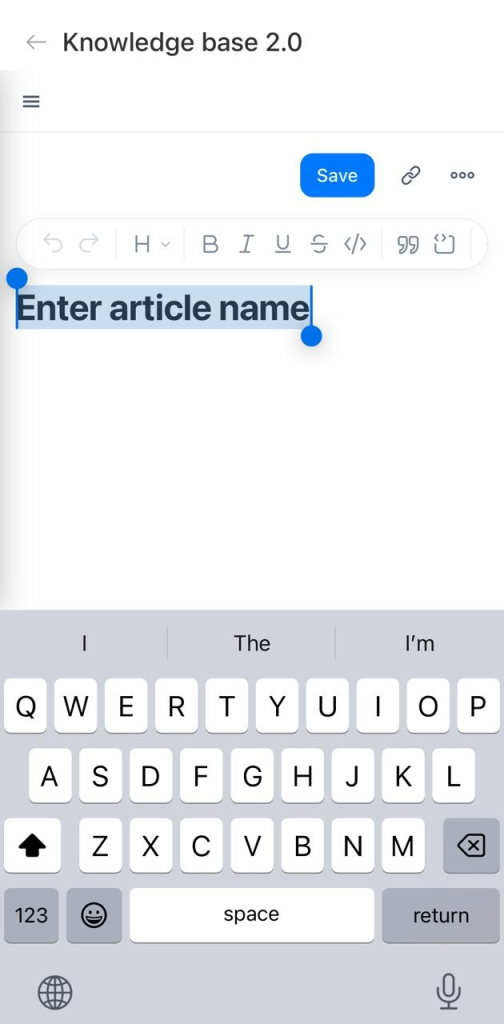
From the Spaces list. Use this option to add a document to the section you need.
1. Press and hold the knowledge base or document. The Plus (+) appears to the right of the name — tap it.
2. You can also open the knowledge base and tap Create document.
3. The document is added to the knowledge base and opens in editing mode.
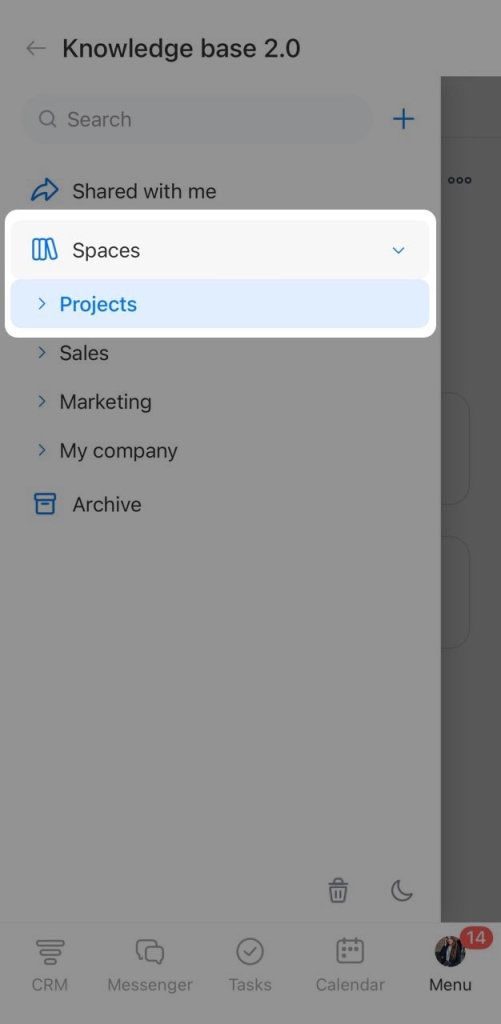

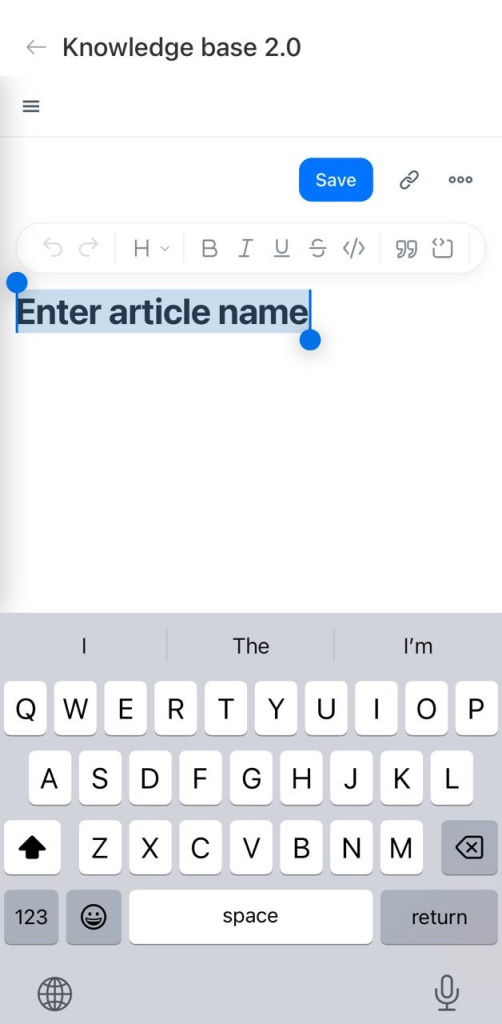
Knowledge Base structure
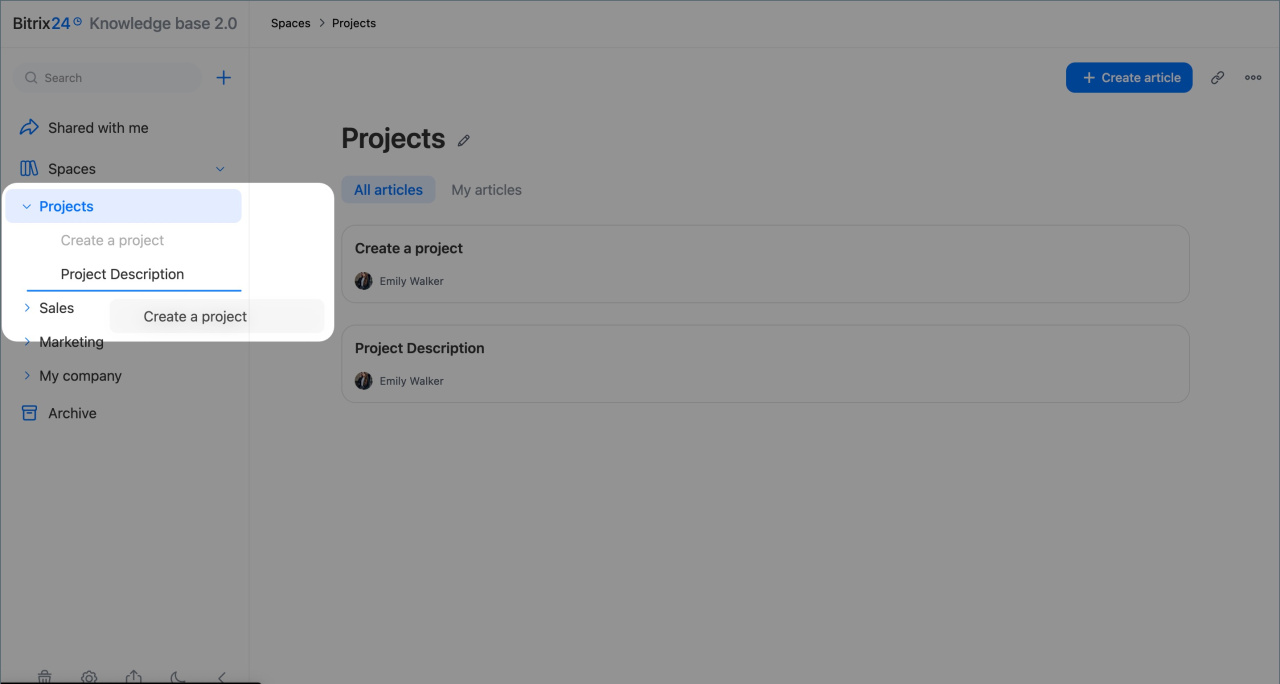
Knowledge Bases 2.0 uses a tree structure. You create articles inside spaces. Each article includes text, files, and other attachments. If you add one article inside another, the parent one becomes a section with its own content and a list of pages.
To reorganize the structure, drag an article in the left panel to a different level in the same knowledge base or move it to another one.
Configure access permissions
Flexible access permissions help you control who can access information at different levels.
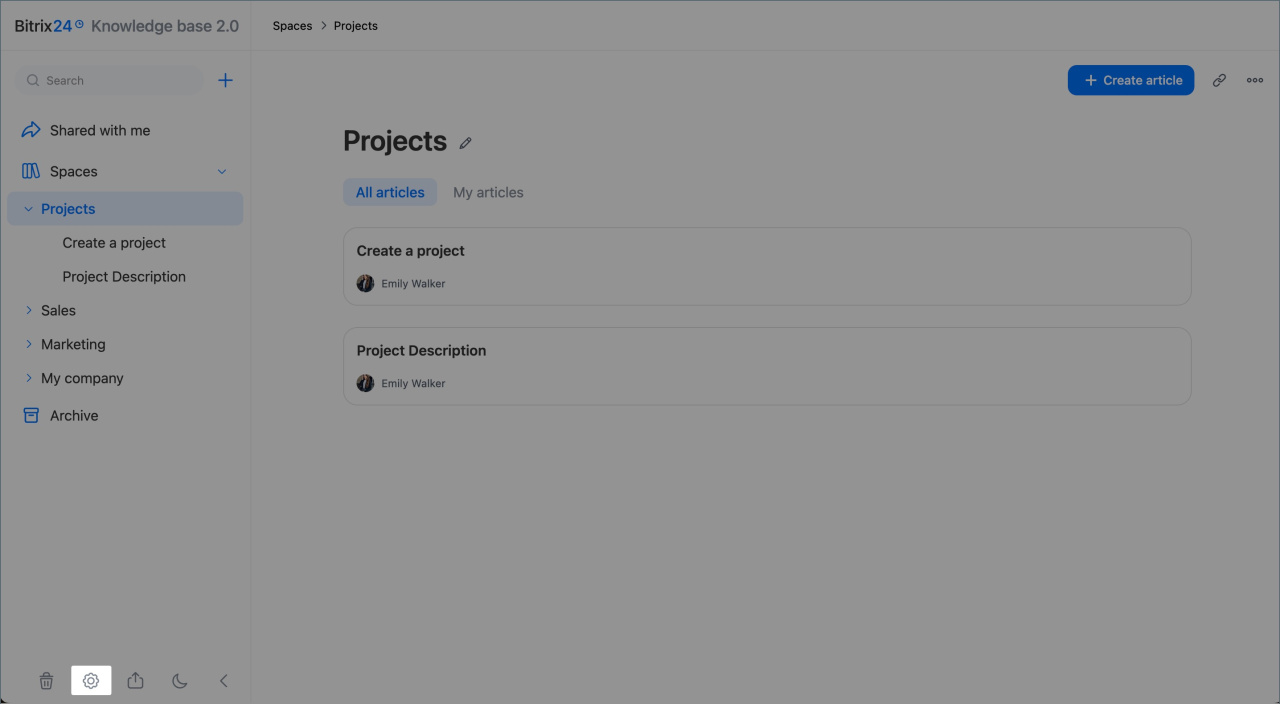
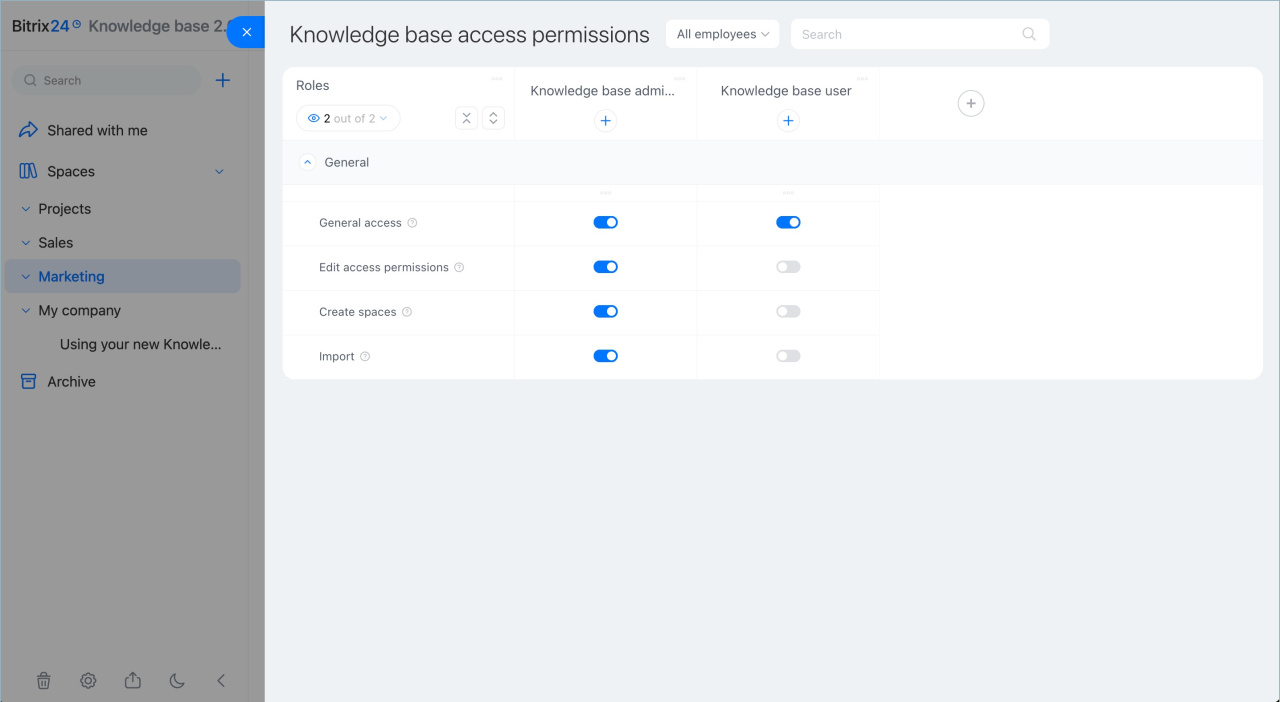
Access to the Knowledge Bases 2.0 section. A Bitrix24 administrator can decide who can create, view, edit, and import knowledge bases.
1. Click Settings (⚙️).
2. Click the Plus (+) button under a role name and select employees, subdepartments, or projects.
3. Click Plus (+) in the last column to create a new role.
4. Set permissions for each role and save your changes.
Access to a knowledge base or an article. You can share a full knowledge base or a single article. For example, you can give all employees access to a knowledge base about workflows, while limiting contract approval instructions to the legal subdepartment. When people can find the right information quickly, new hires ramp up faster and teams follow the same processes.
By default, only the creator can access a knowledge base.
1. Open the knowledge base > click Three dots (...) in the top-right corner.
2. Select employees and specify the access level.
3. Click Save.
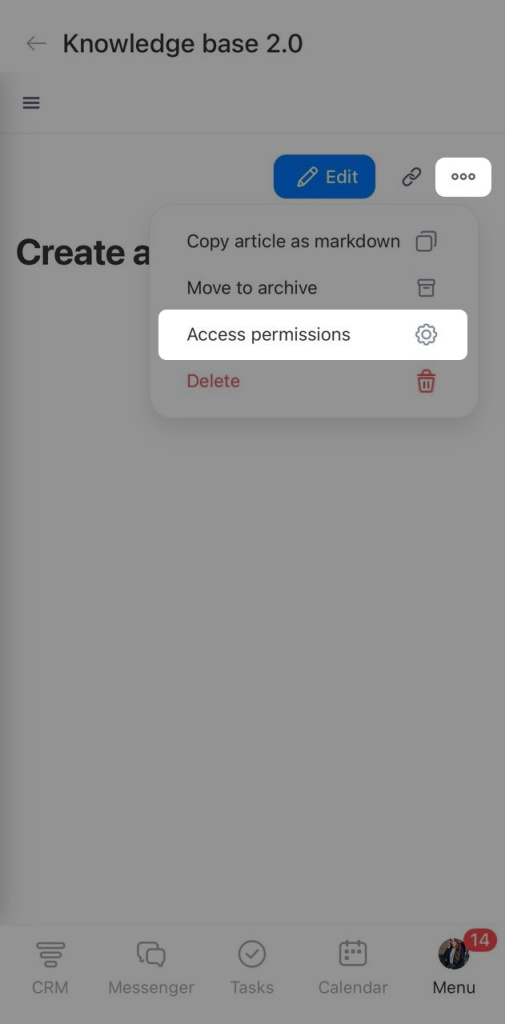
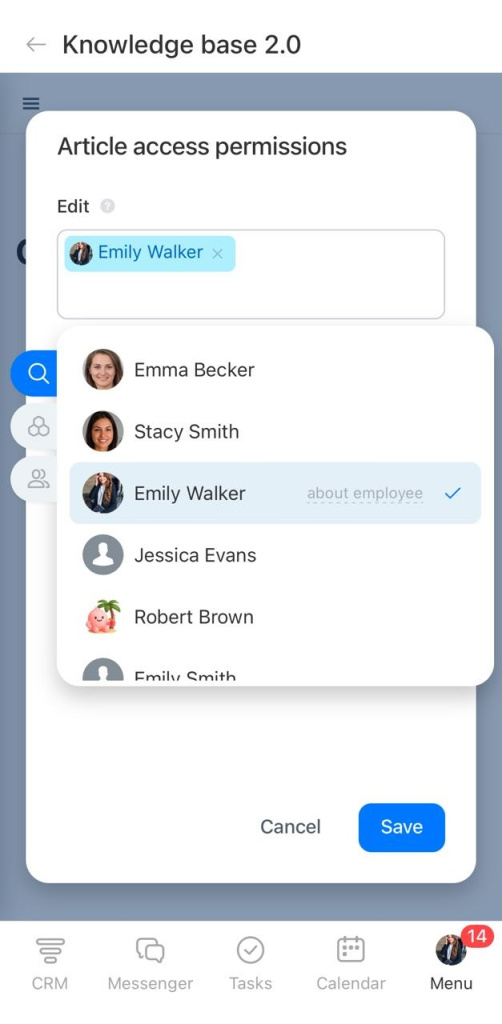
1. Open the knowledge base or document and tap Three dots (...) in the top-right corner.
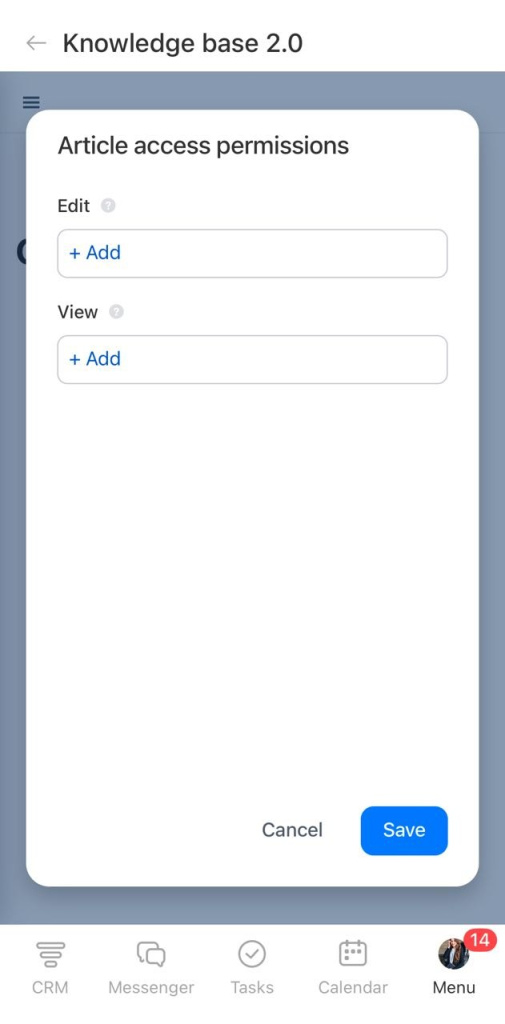
2. Set access. Tap Add and select employees, projects, or subdepartments.
3. Tap Save.
In brief
- Knowledge Bases 2.0 in Bitrix24 helps you store instructions, guidelines, and other work materials in a clear online format. You can create separate knowledge bases for different subdepartments, set up the structure, manage access permissions, and edit documents together.
- Knowledge Bases 2.0 is available in the Bitrix24 mobile and desktop apps.
- Go to Knowledge Bases 2.0 > Plus (+) > Space in the main menu. Enter a name, set access permissions, and click Create.
- You can set access permissions for spaces and articles separately. Open a space or an article, click Three dots (...) and select Settings. Then select employees, a project, or a subdepartment for each access level.