Queue groups in Bitrix24 Telephony are users who handle inbound calls one at a time. This approach minimizes wait times and balances the workload across the department. If you don't assign a queue group in the number settings, calls won't reach you.
To access the queue group settings:
- Go to CRM > Sales > Sales channels > Telephony.
- Click Configure telephony.
- Select Queue groups.
To create a new group, click Add queue group in the top right corner. To edit an existing one, click the Menu (☰) > Edit.
Configure a queue group for inbound calls
Enter the group name and set up these parameters:
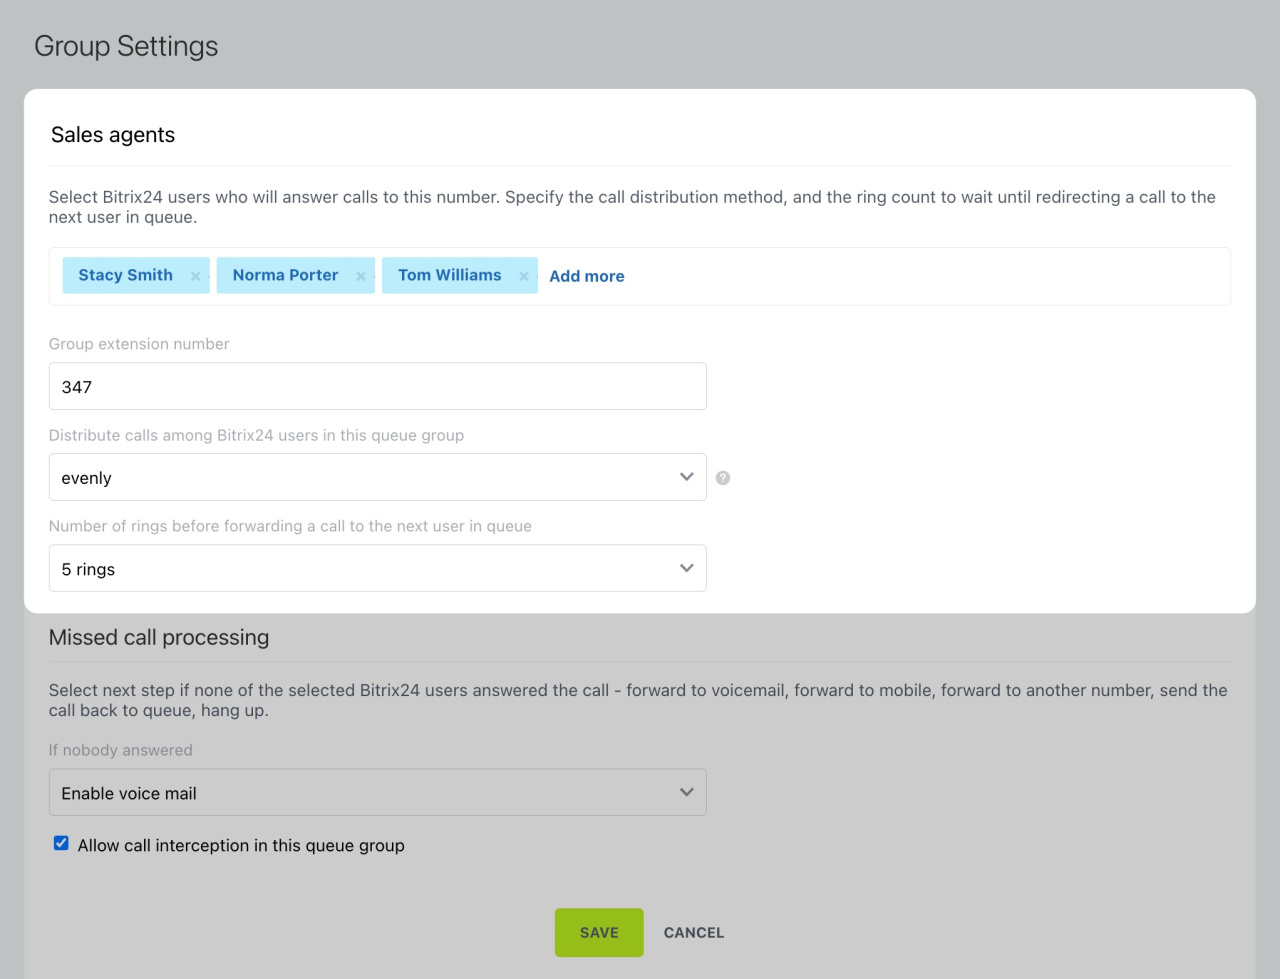
Queue. Select Bitrix24 users who will answer the calls.
Group extension number. Enter a number, up to four digits, to connect directly to the group. This allows any company employee to call colleagues through Bitrix24. Customers can also reach the group by dialing this extension.
Once you've set the extension number in the queue group settings, go to the number settings and enable the Extension number processing option to ensure calls reach the group. Note that entering an extension number only works while the welcome music is playing.
Configure numbers
Distribute calls among Bitrix24 users in this queue group. Select how calls are routed to employees: exactly as enqueued, to everybody, or evenly.
When you select the Evenly distribution option, calls go first to the employee who's had the longest break from calls. Note that a call is counted as distributed even if that user doesn't answer. In such cases, the call is forwarded to the next person in the queue, and the one who didn't answer moves to the back, waiting for the next round of calls.
If a user is absent, but their phone device is connected and online, the call will go to the device. The call will be routed to the Bitrix24 mobile app if it is installed.
Number of rings before moving to the next employee. A phone ring lasts five seconds. Specify how many rings are needed to forward a call to the next employee in the queue.
Specify how to process missed calls
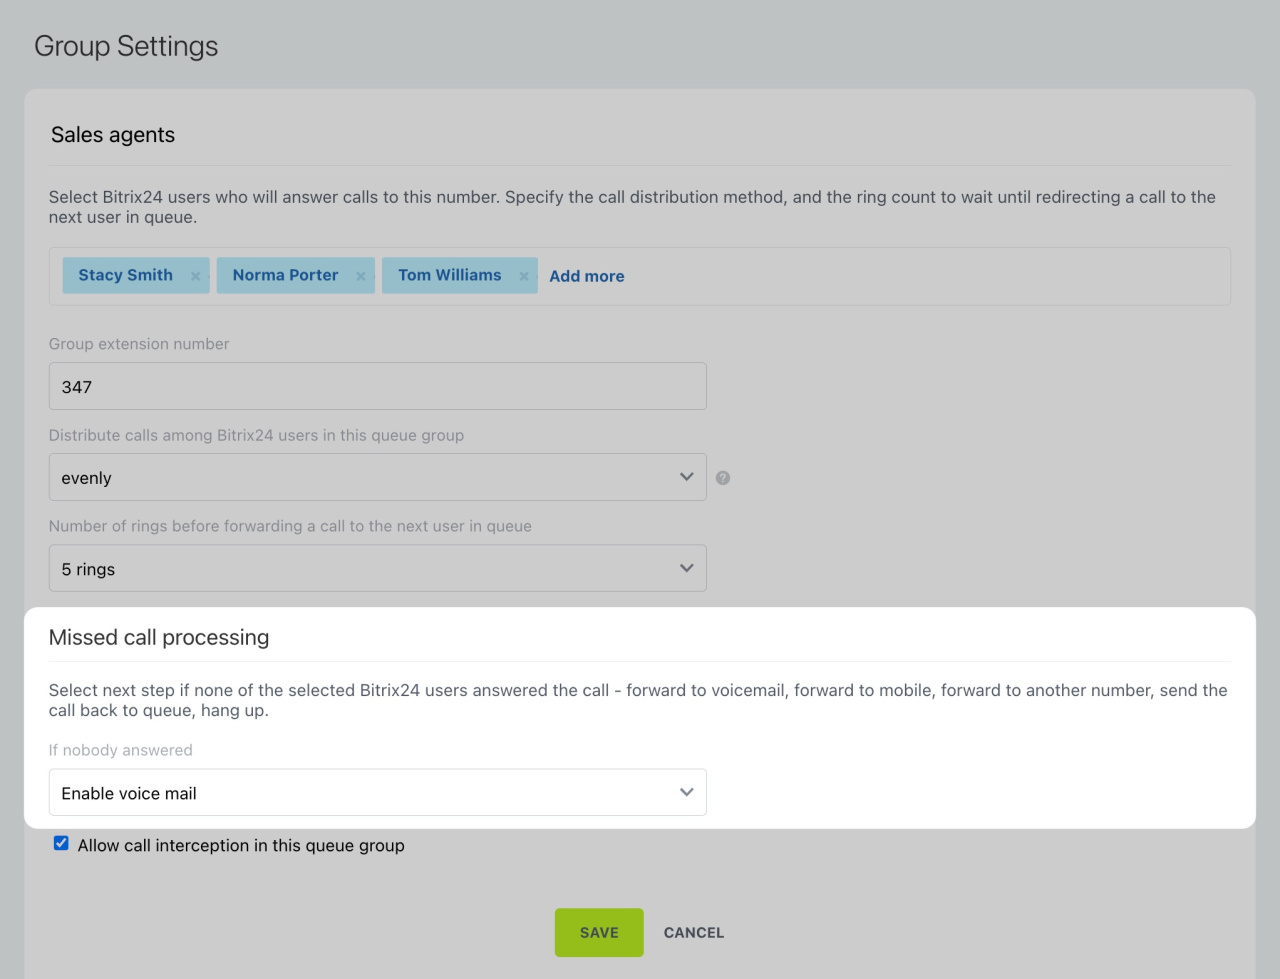
Decide what to do with a call that no one answered:
- Enable voice mail: This option allows the client to leave a voice message.
- Forward call to employee: Select this option to forward a call to the mobile phone number of any employee from the queue.
- Forward call to specified number: Select this option and specify a rented number or connected PBX to forward the call to it.
Configure call forwarding - Wait for available operator: This option allows placing a call in the queue. The caller listens to the hold music until the first vacant operator answers.
- Forward to another queue group: Select this option to send your client to a different group.
- End a call.
Set up call interception
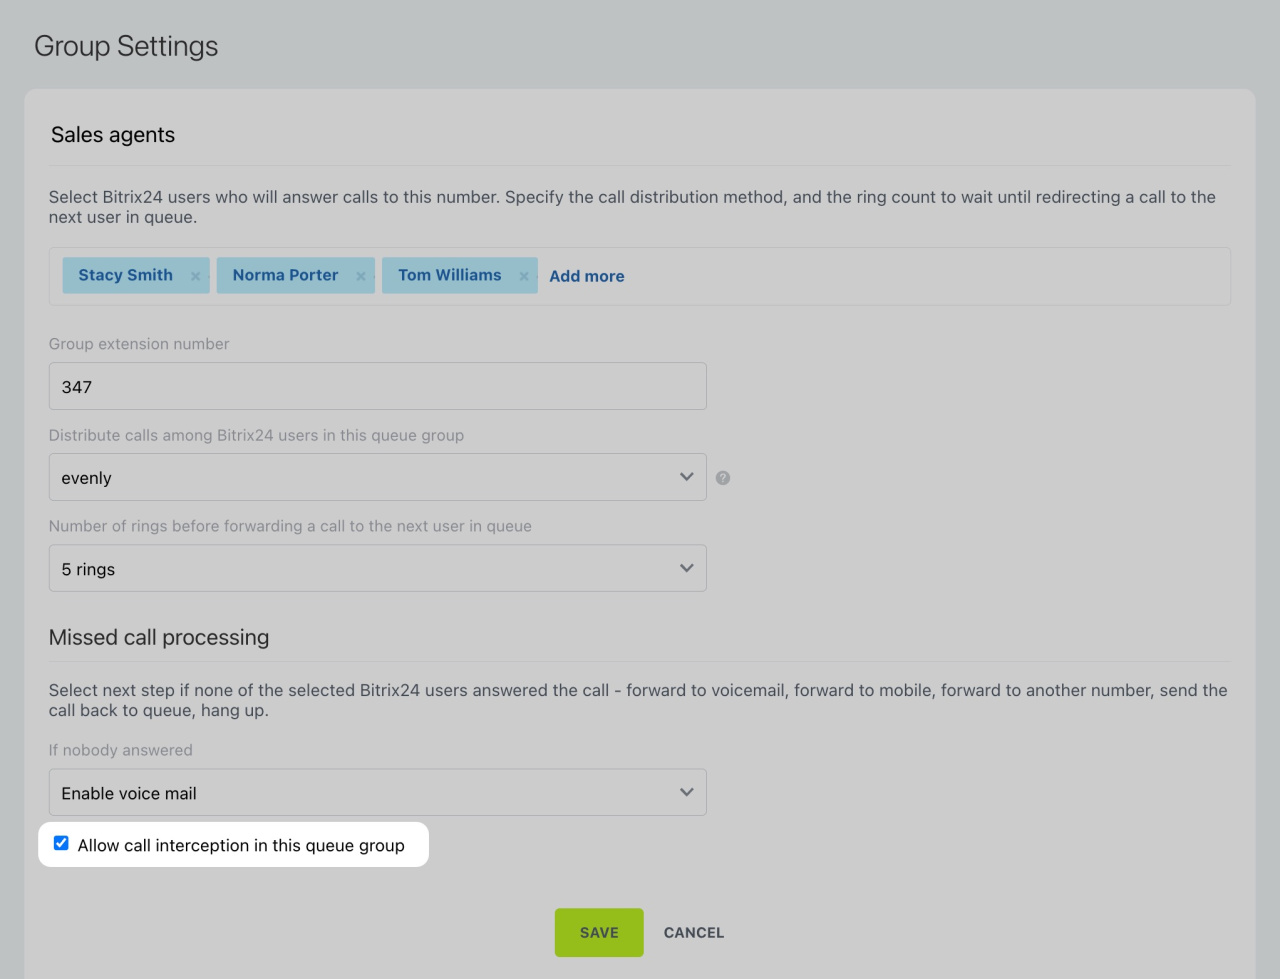
Call interception lets you answer a call meant for another employee. Only employees in the same queue group can use this option. For example, if your colleague is away and receives a call, you can intercept and answer it.
This option is especially useful in an office setting, where operators need to be aware of incoming calls to their colleagues. For example, if an employee hears the phone ringing on a colleague's PC or SIP phone, they can intercept the call on their own device.
If you're using a softphone in Bitrix24 Messenger, click Telephony > Intercept when there's an incoming call to transfer it to yourself.
To intercept a call from a SIP phone, use the dialer to enter a special code. To set it up, go to Telephony > Configure telephony > Telephony settings > Dial codes.
General telephony settings
Select a queue group in the number settings
- Go to Telephony and click Configure numbers.
- Select the number from the list.
- Open the Inbound call routing tab.
- Select the queue group under Route inbound call to queue group.
In brief
-
Create a queue group in Bitrix24 Telephony to handle incoming calls. If you don't assign a queue group in the number settings, calls won't reach you.
- Specify employees who will answer the calls, call distribution type, and number of rings before moving to the next employee.
-
Decide how to process a call if no one answers.
-
Select a queue group in the number settings, so employees can receive calls.


