Integrate Stripe payment processor to accept payments from your Bitrix24 account. No limits or hassle, available free of charge on any Bitrix24 commercial plan. To install the app, just follow the standard procedure for Bitrix24.Market apps, no additional setup is required.
Some of the available methods (for Europe, as an example) are card payments (Visa, Mastercard), iDeal bank transfers, WeChat Pay, EPS, Giropay, SEPA debit, Alipay and more.
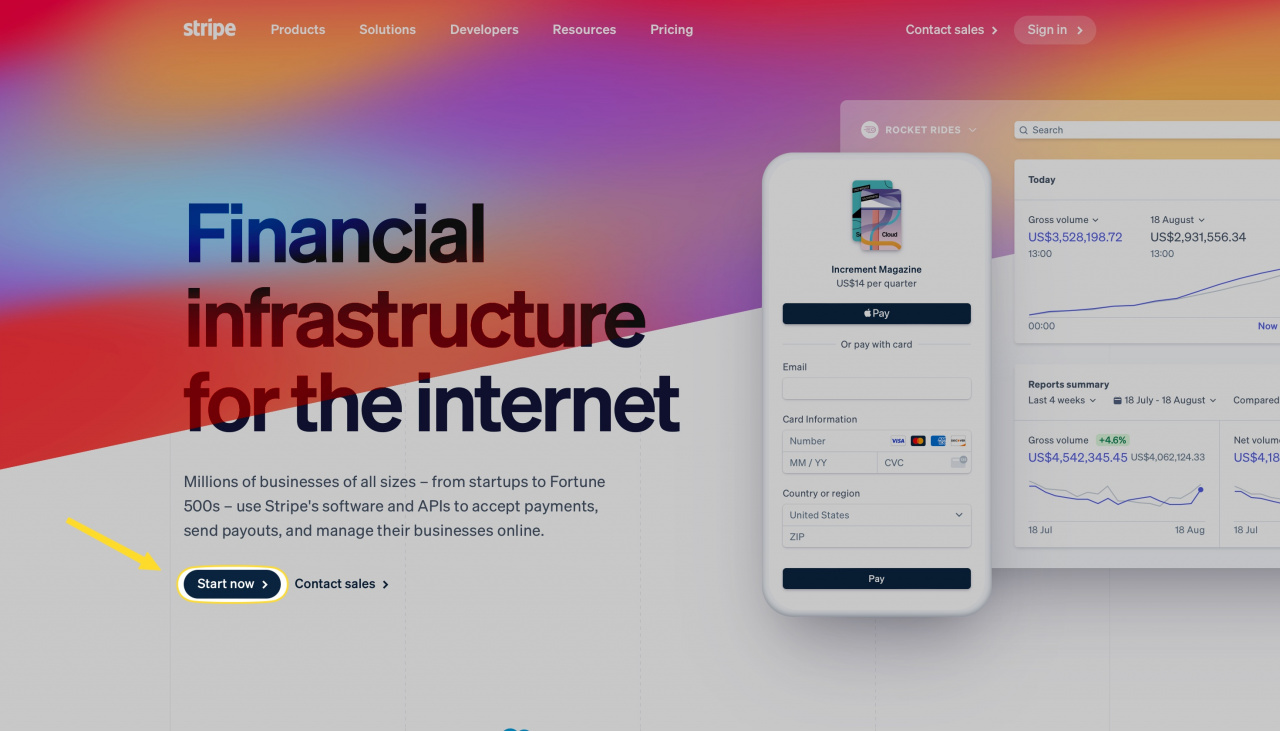
Go to the Stripe website and click unto Start now button to sign up a merchant account.
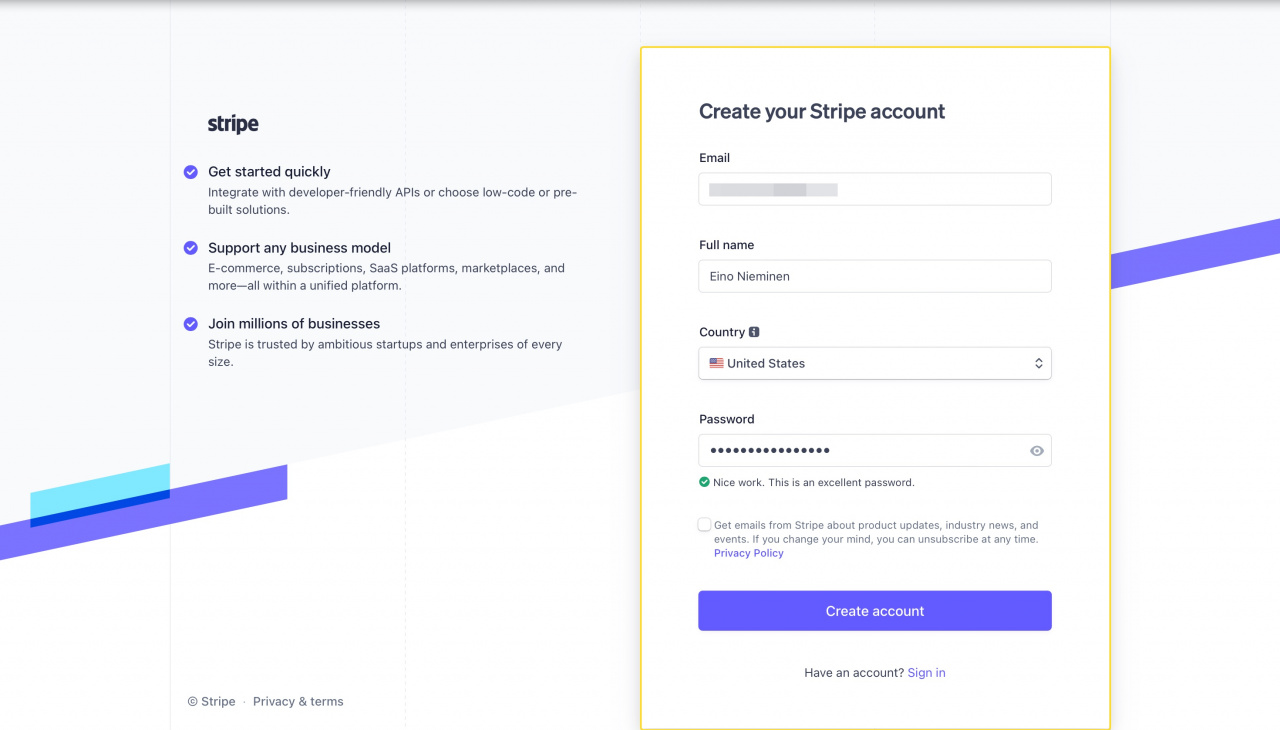
Complete the registration form and click unto Create account button once you are ready.
You may need to switch to your mailbox right from the verification page or to check it manually, depending on your mail service provider.
.jpeg)
Your next step is to activate your account to get access to live (production) API keys. Once you are in, you'll see that the test mode (aka sandbox) is enabled by default.
You may use these API credentials to try basic functions out, however you won't be able to process real-time payments from your customers with this set of keys.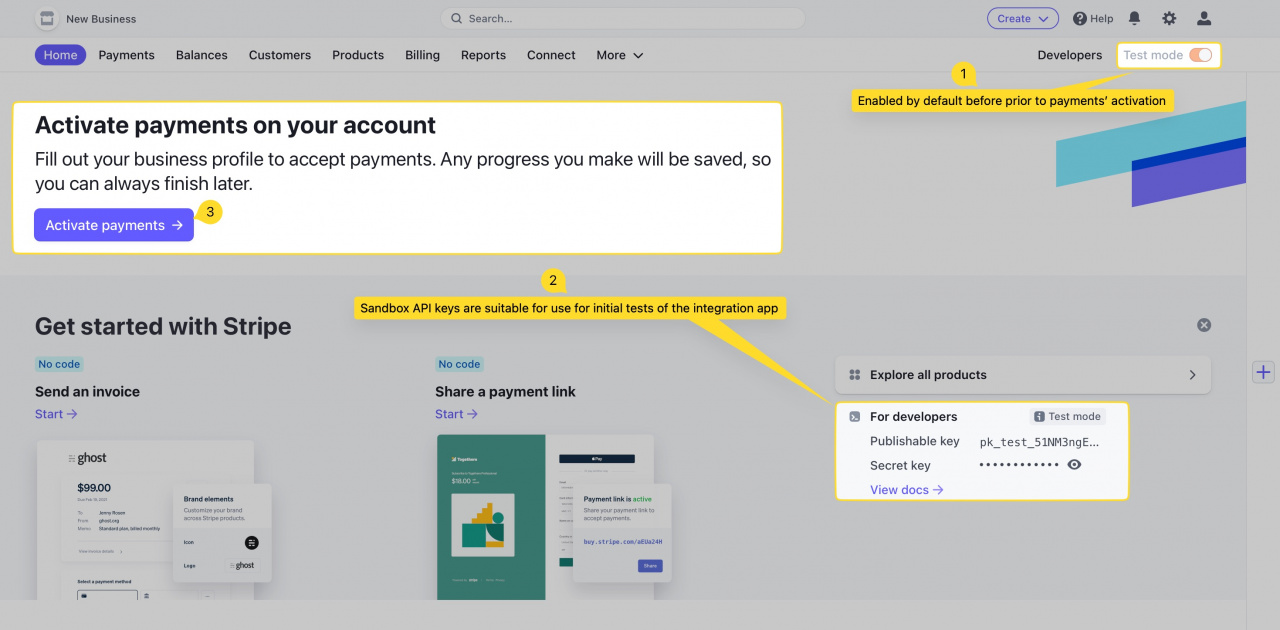
As part of your account setup, Stripe will ask you to upload specific business and identity documents for verification.
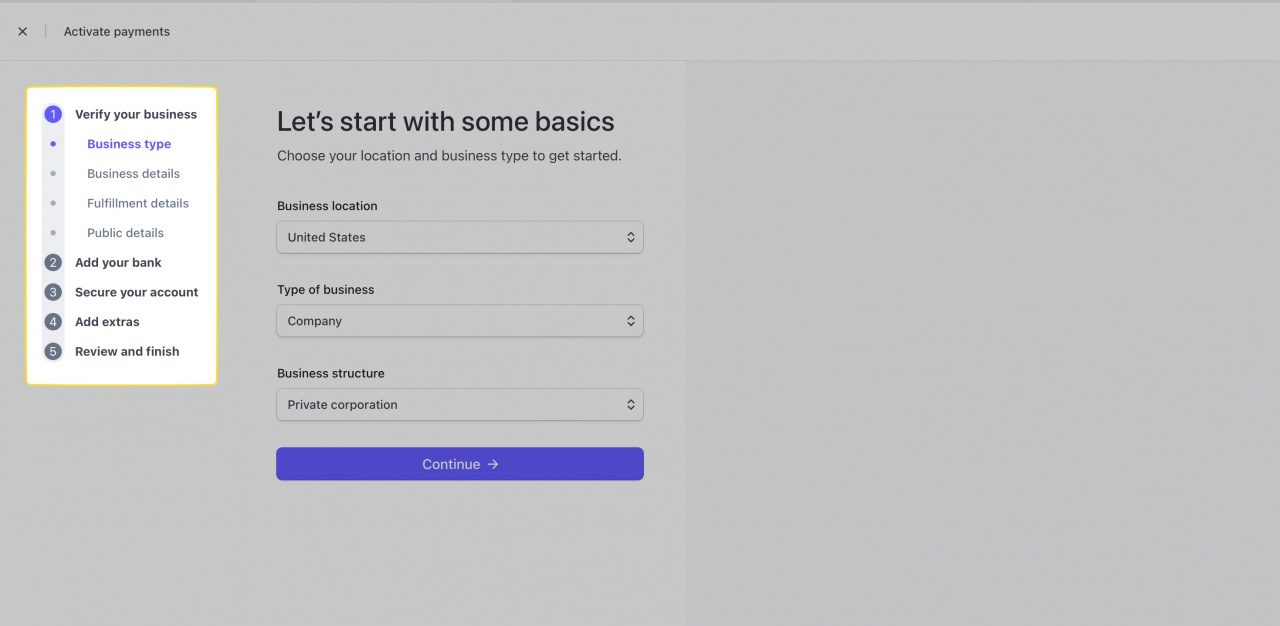
More information on business verification can be found here.
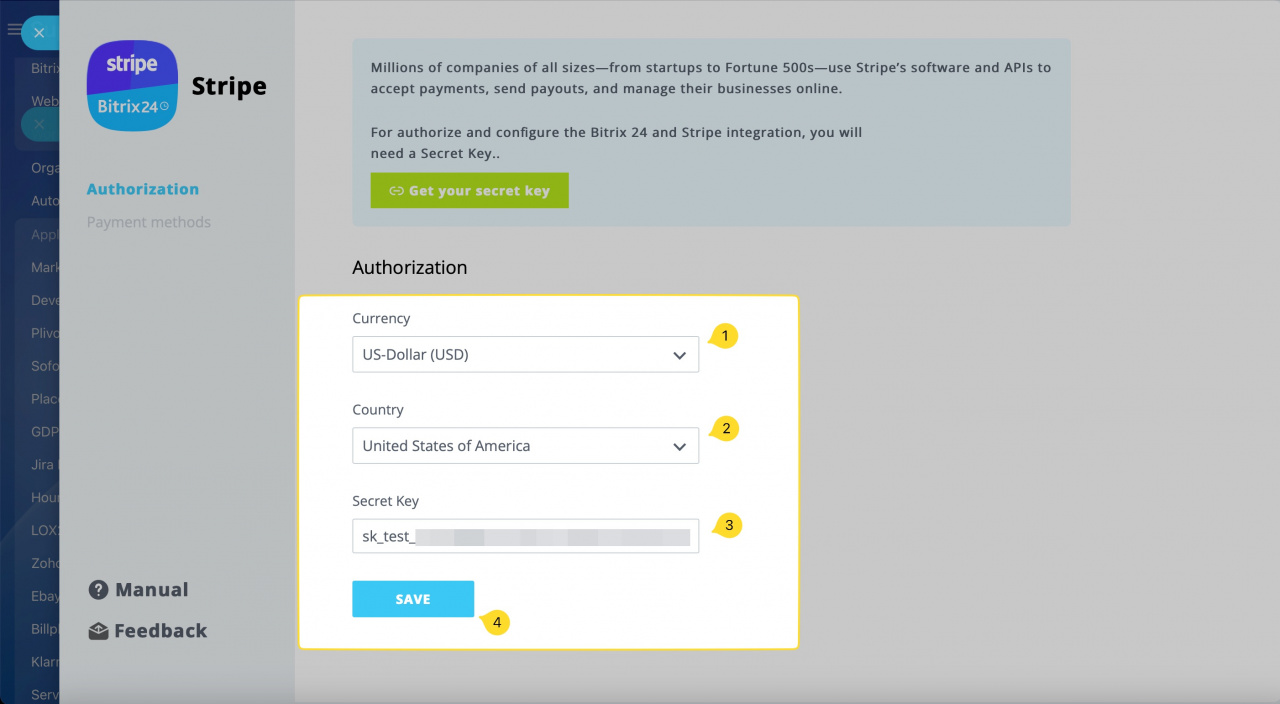
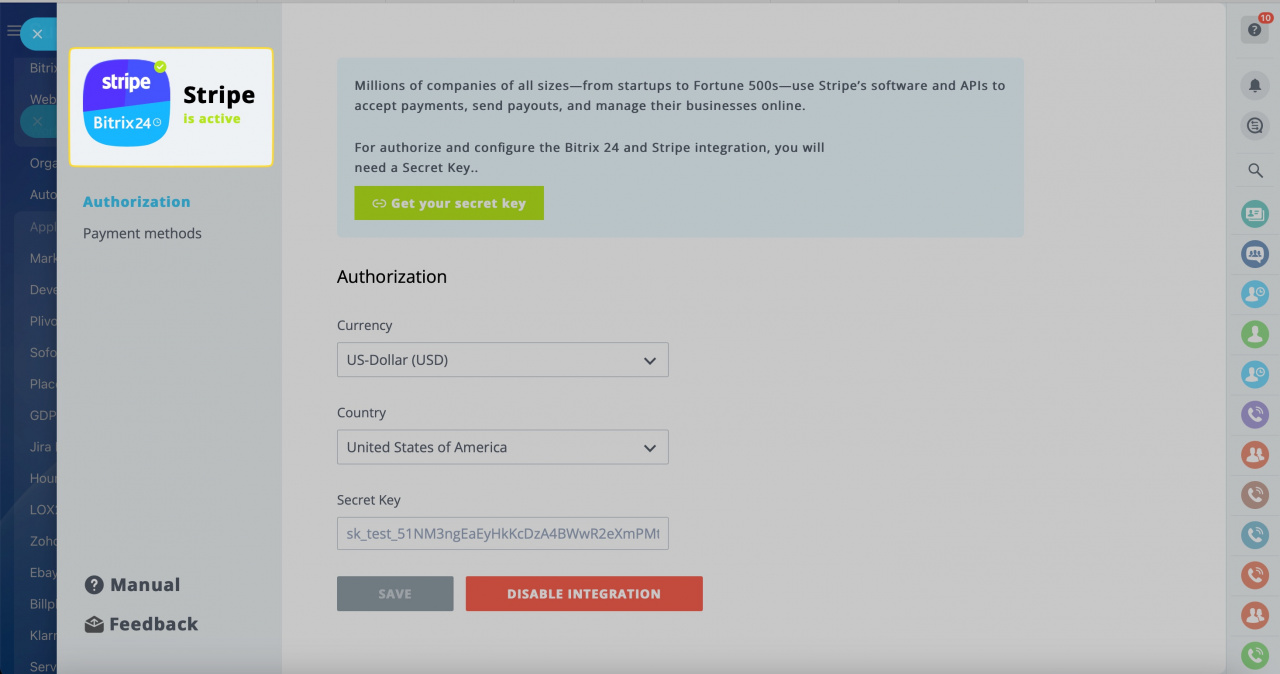
To process the actual payments, you will need to verify your Stripe account and use the live API keys instead. You may change the keys anytime by filling out corresponding fields once more (Authorization tab in an active app) and saving the changes.
Copy and paste the Secret key from your Stripe dashboard, select a payment currency from the list and your region. Click unto Save to apply changes and enable sync.
Done! The integration is successfully configured and is ready for use.
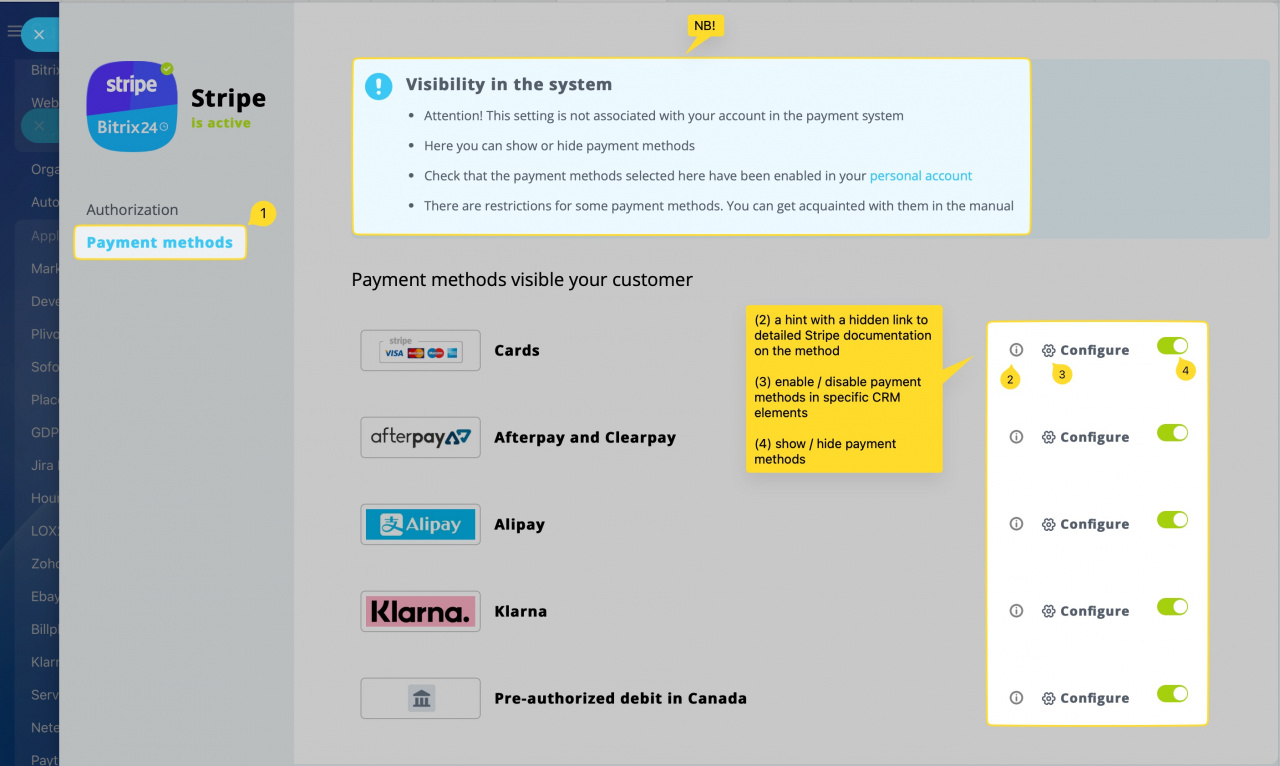
All available payment methods become visible once you enter and save your API keys. You may disable and enable particular methods as you like, depending on which payment methods are the most relevant for you and your clients.
Disabled methods will be hidden from your customers regardless of the payment option used (invoices, forms, etc.).
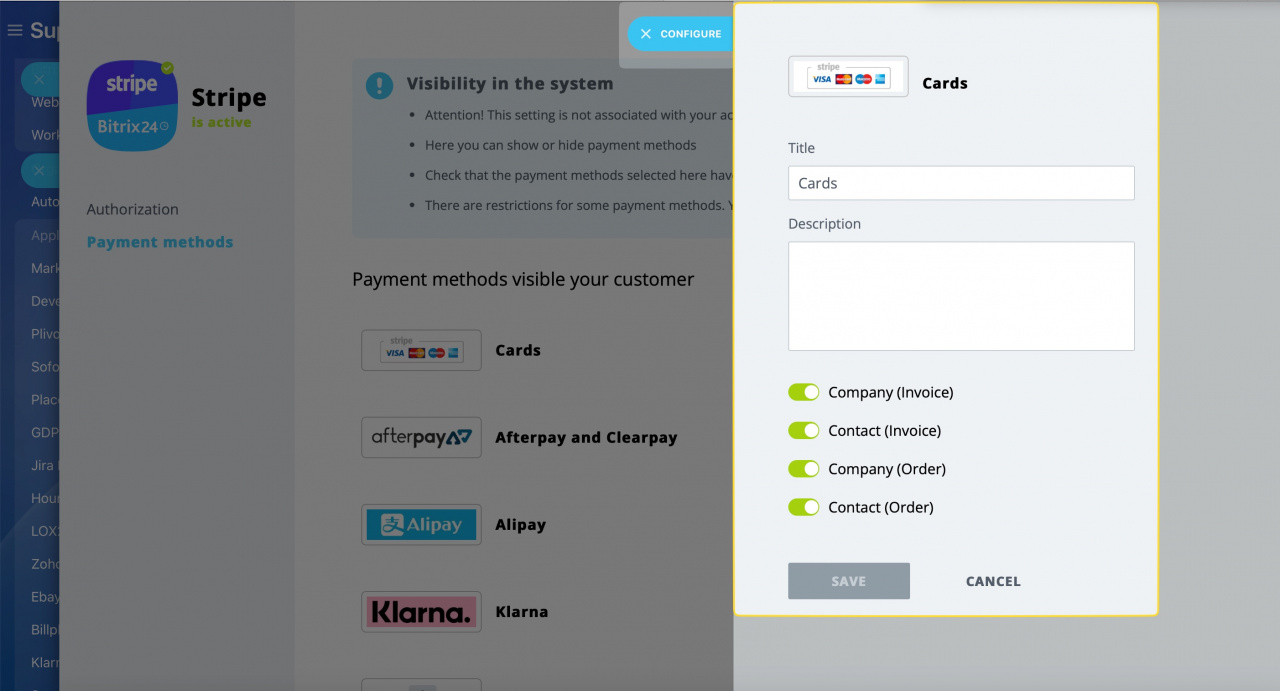
If you click unto Configure button, you'll be able to enable or disable specific payment options for the selected method.
Contact (Order) and Company (Order) will be used in contacts and companies, respectively, for the new invoice types (issued from deals) as well as for online orders at your online stores.
At this page, you can also edit the Title and Description for all four payment method subtypes. Click the Save button to save your changes or Cancel button otherwise.

