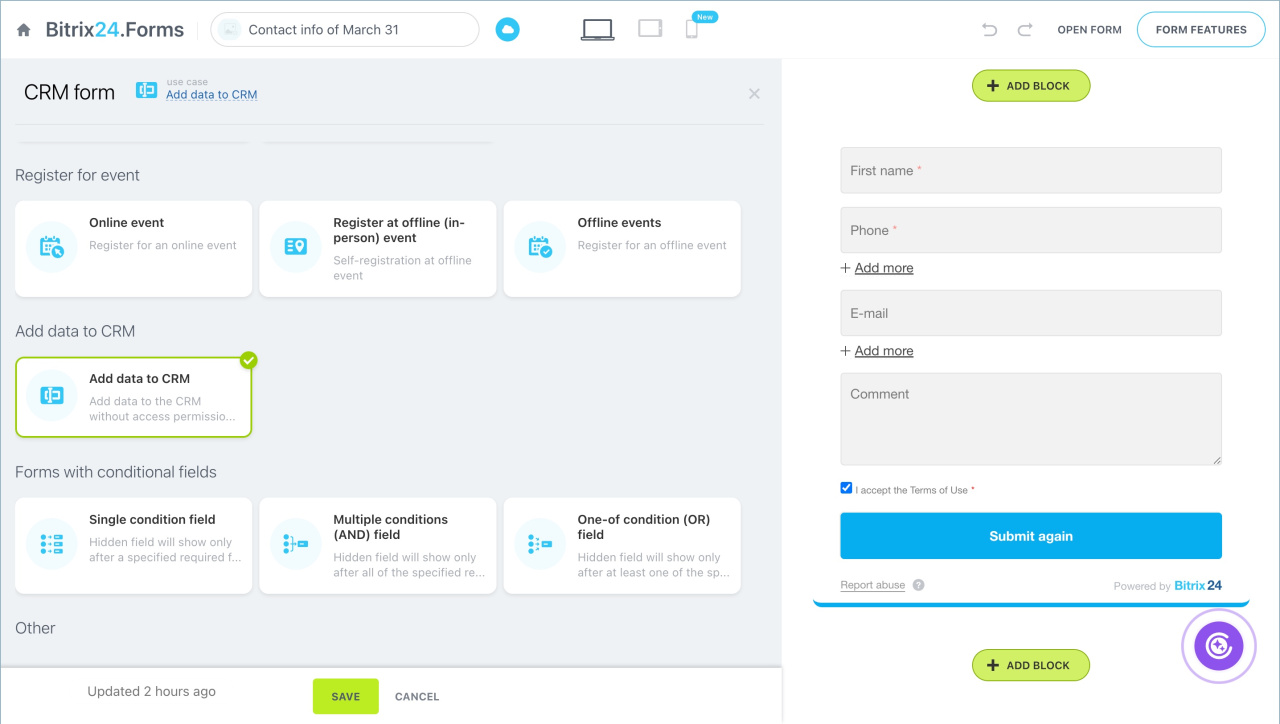
CRM form cases are ready-made templates that help quickly configure forms for typical tasks like collecting contact information, placing orders, or registering for events. You can edit the CRM form for any template.
CRM forms
Create and configure CRM forms
Templates are grouped by the task types they solve.
In this article:
- Client communications
- Sales
- Social media orders
- Prefill form fields
- Order delivery
- Register for event
- Add data to CRM
- Forms with conditional fields
- Other
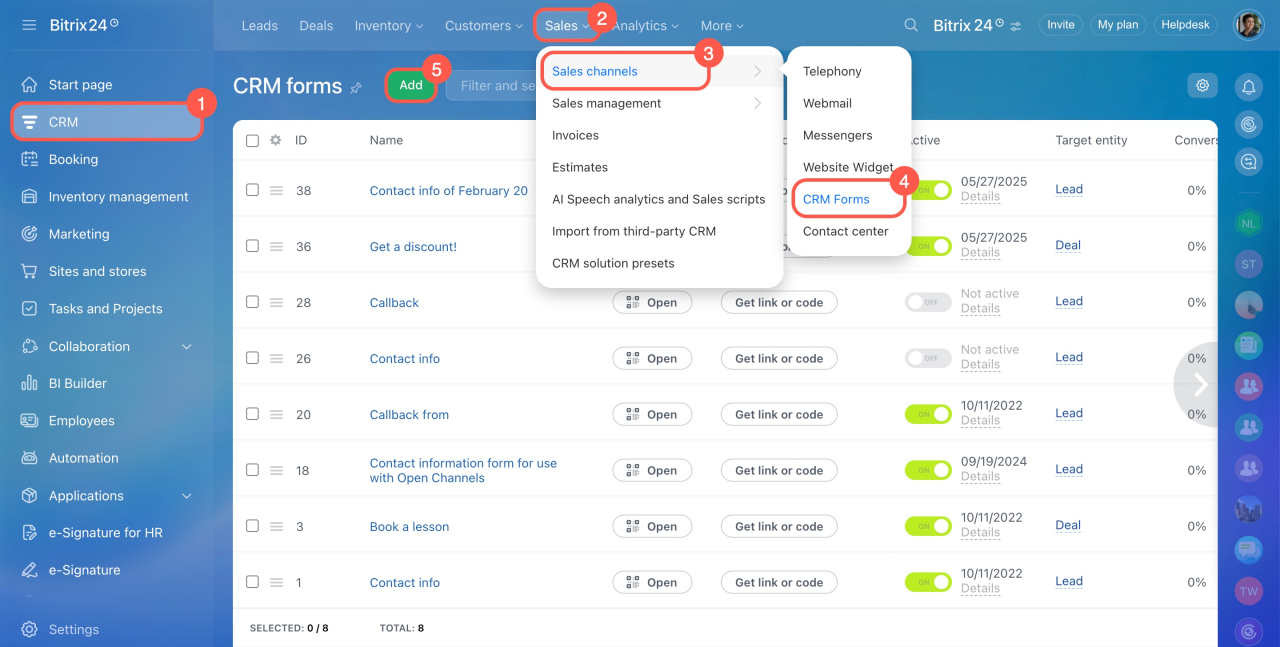
- Go to the CRM > Sales > Sales channels > CRM forms.
- Click Add to create a new form.
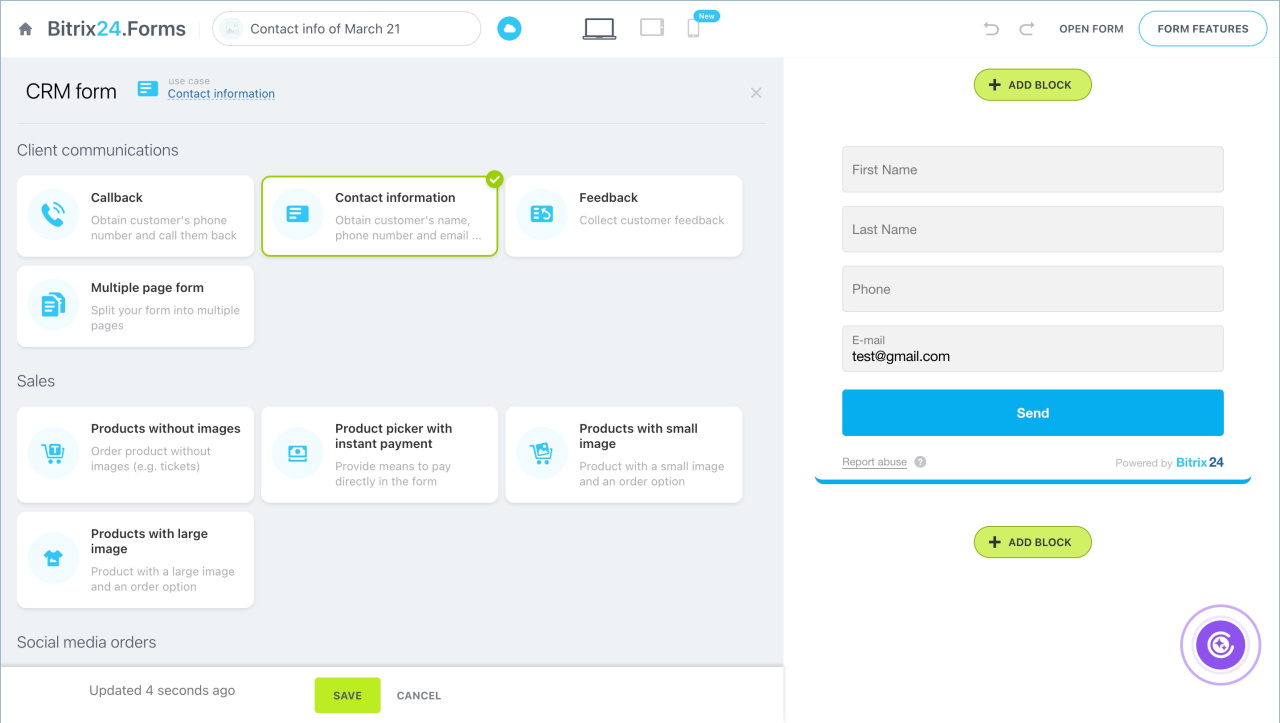
- Select a template.
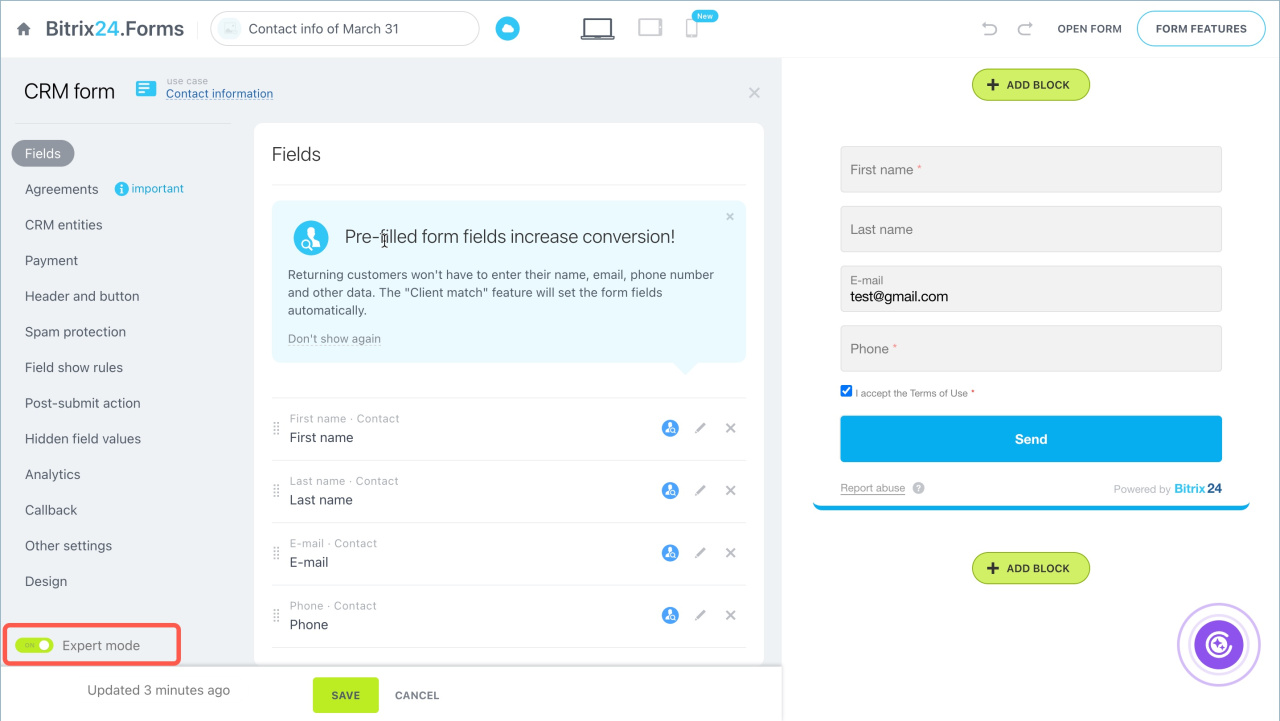
- To see all template settings, click Expert mode.
Client communications
This group of templates helps gather important information for further work with customers.
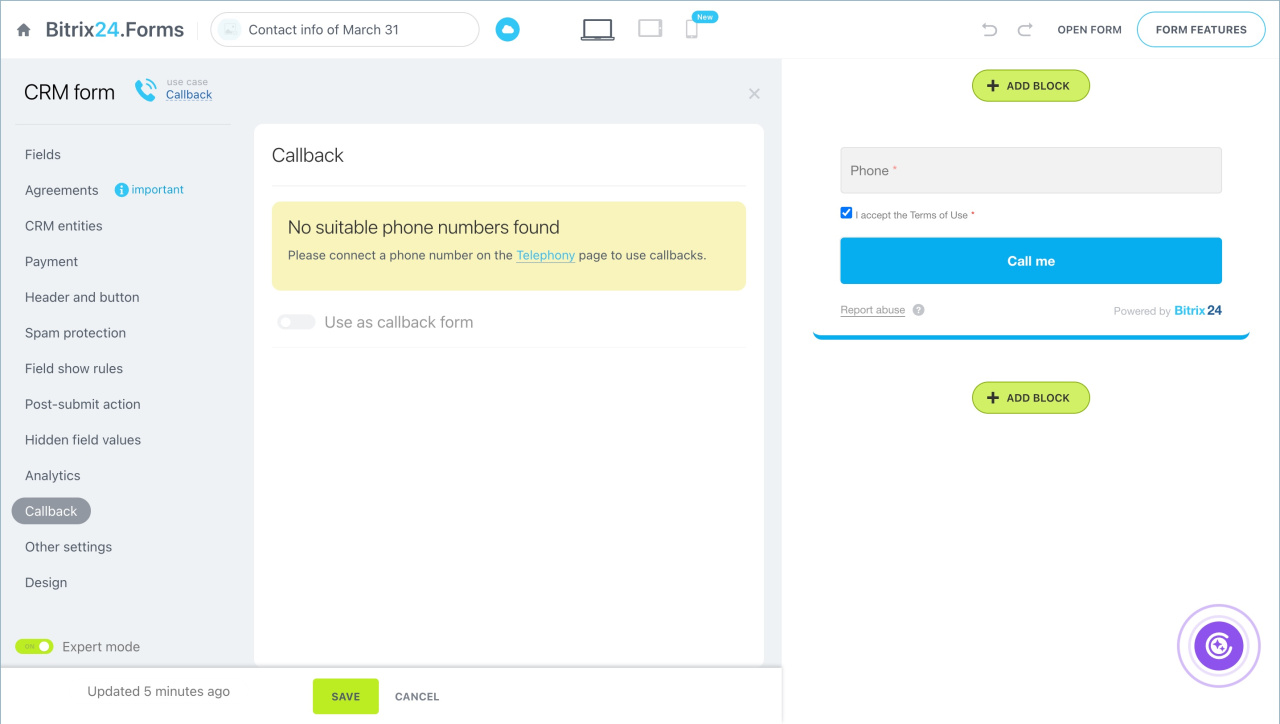
Callback. When a customer enters their phone number in the form, the data goes to the CRM. The manager receives a call and hears a recorded message, such as "New request received." After that, the manager is automatically connected to the customer. To use this template, you need to connect Bitrix24 Telephony.
Telephony connection options overview
Contact information. The form collects basic customer information: name, phone number, email, and other data to start communication.
Feedback. Customers can send you reviews, suggestions, or complaints. Prompt feedback helps improve service.
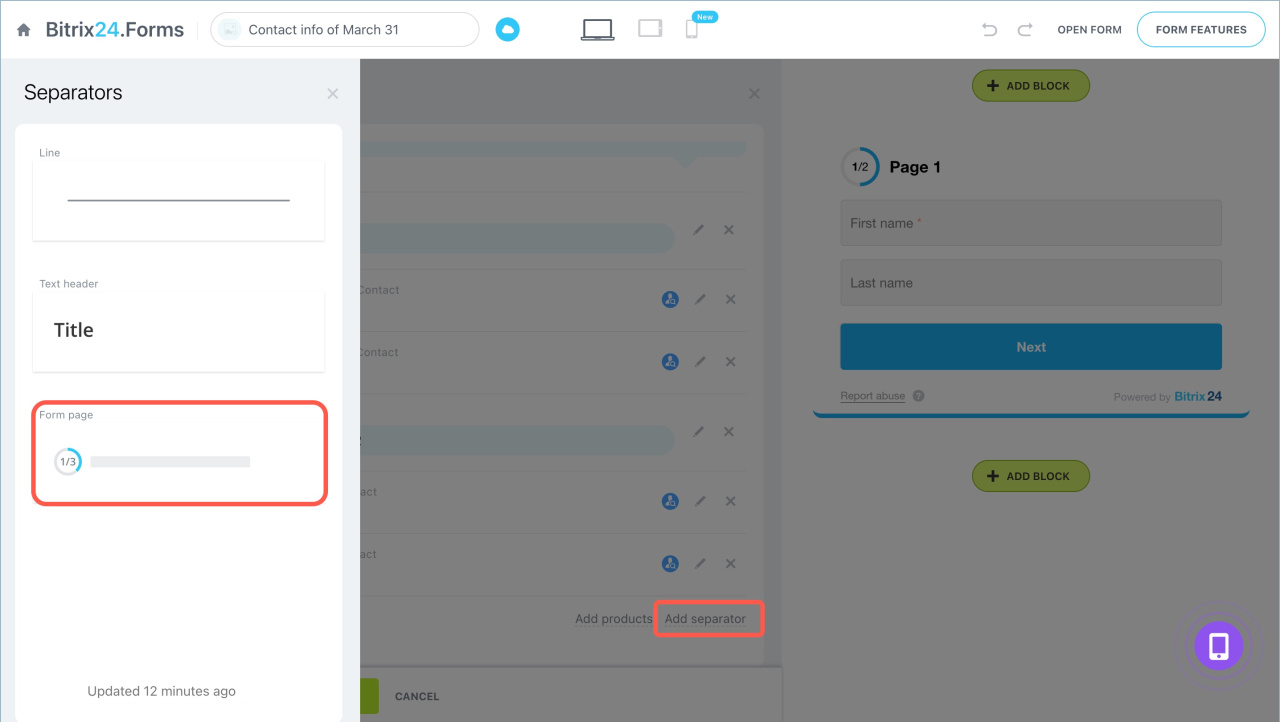
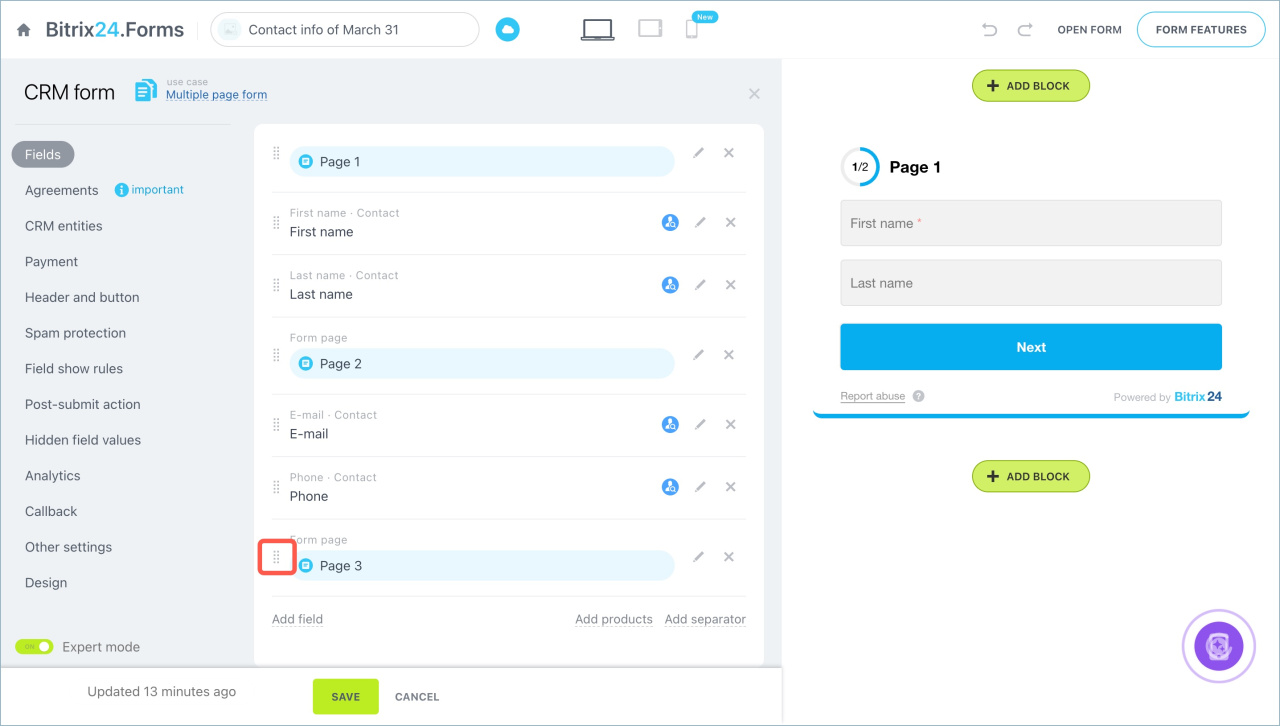
Multi-page form. Suitable for long surveys. Break the form into sections to make it easier for the customer to fill out.
- Click Add separator.
- Select Form page.
- Drag the icon at the beginning of the line to change the order of fields and separators.
Sales
Templates in this group help customers place online orders.
- Click the pencil icon to edit the product list.
- Click Add to create a new item.
- Select a product from the catalog or create a new one: specify the name and price, upload a photo.
Products without images. This case is suitable for services and products where an image is not important, like booking a massage or buying tickets.
Products with payment. This case helps set up order payment directly from the form. To use this template, you need to connect a payment system.
Connect payment systems in Sales Center
Products with a small photo. The form displays the product name and its thumbnail. Customers can quickly find the desired product and place an order.
Products with a large photo. The form shows the product in detail, allowing customers to view it closely before purchasing.
Social media orders
Launch an advertising campaign to attract new customers. Create a lead form in Facebook Ads and link it to Bitrix24. When a customer fills out the form on social media, the data goes to the CRM.
Prefill form fields
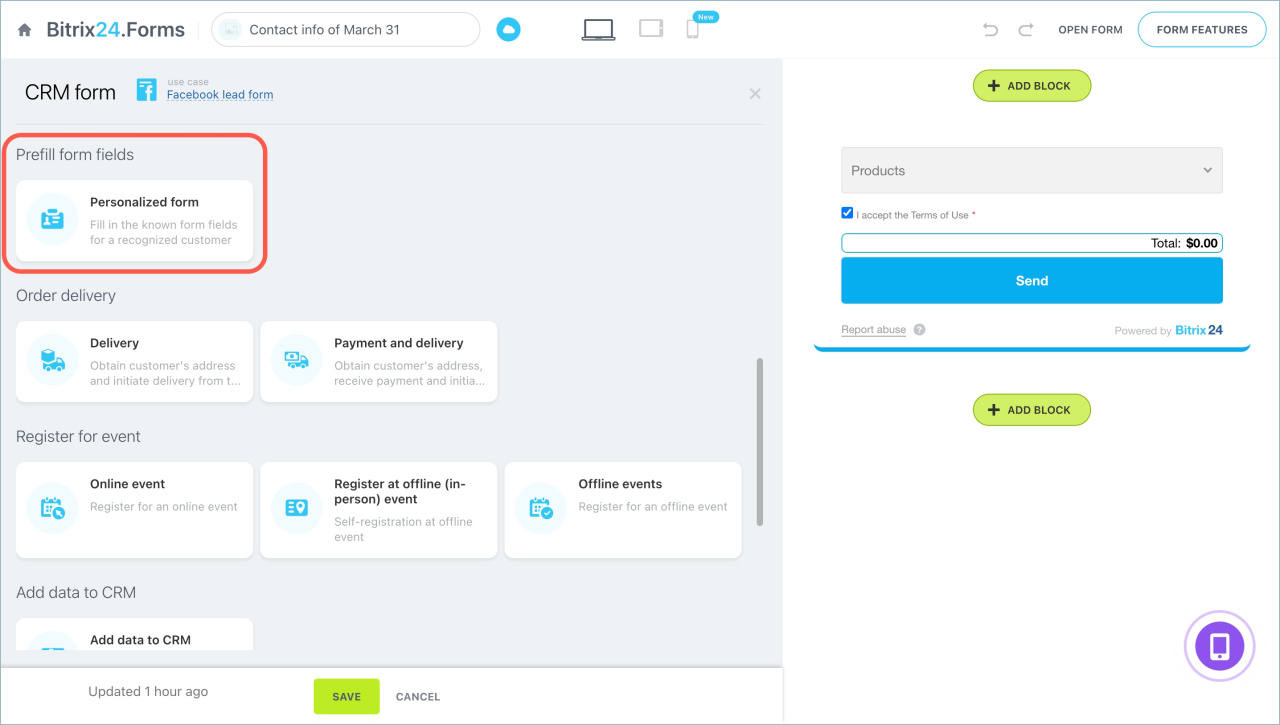
This section does not have a ready-made template. Here you will find information on how to create a personal form.
Use personalization tags—special symbols that insert customer data into the subtitle text when they open the form via a personal link, for example, a customer or a company name.
Autocomplete fields in CRM forms
Personalization tags in CRM forms
Order delivery
This group of templates automatically fills in the Address field in the customer form. To start delivery from the CRM, you need to connect the delivery service.
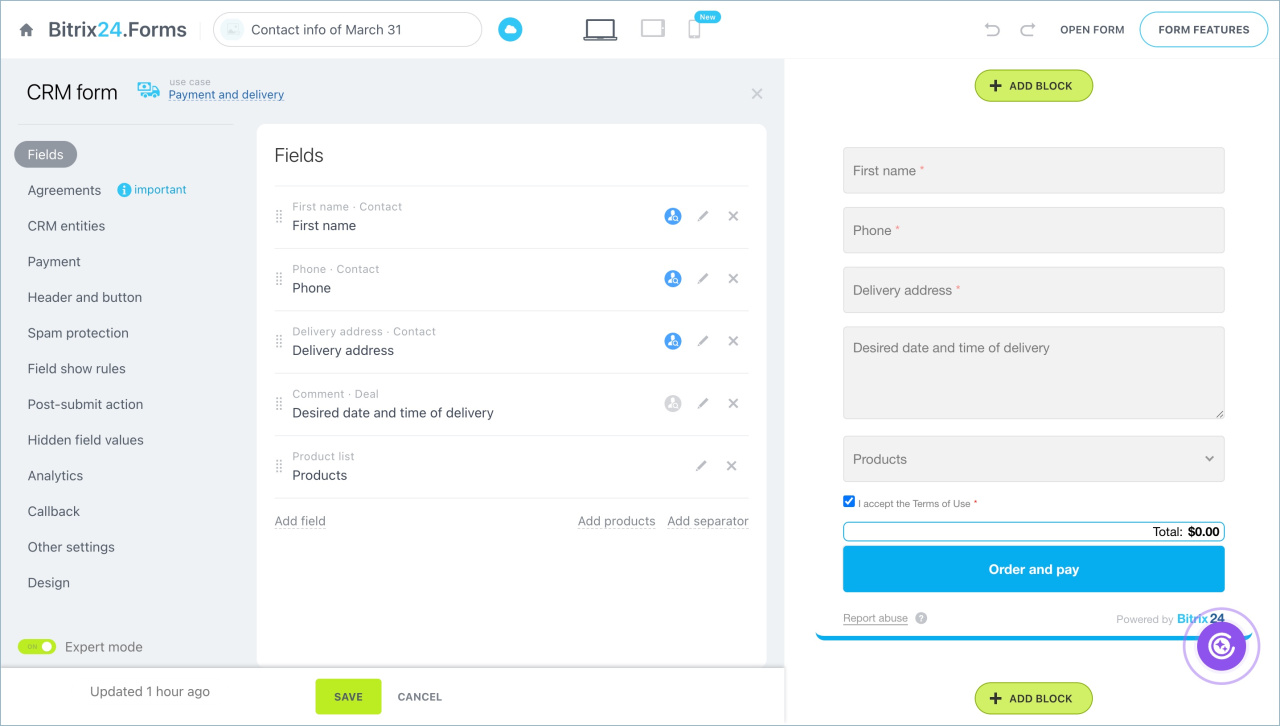
Delivery. This template is suitable for situations where the order can be paid upon receipt. When the form is filled out again, the fields Name, Phone, and Delivery address will be auto-filled. The field Desired delivery date and time needs to be filled in manually.
Payment and delivery. After submitting the form, the customers will be directed to a payment page where they can review and pay for the order. To use this template, you need to set up payment systems.
Register for event
Templates simplify event registration and help create a list of attendees.
Online event. The form is suitable for pre-registration for webinars, virtual exhibitions, online broadcasts, and similar events. For registration, the customer needs to provide contact information and choose a participation format: online, in-person, or recorded viewing.
Register at offline (in-person) event. Place the form on a separate device at the event entrance. When the customer submits the form, the data is automatically cleared from the fields. The next customer can fill out the form immediately without reloading the page.
Offline event. This template differs from Online event only by the default value in the Participation format field. The value In-person is automatically set.
Add data to CRM
The Add data to CRM template allows adding data to the CRM without access to Bitrix24. For example, freelance promoters can quickly enter information about potential customers directly from the event location.
Forms with conditional fields
Set up field display rules to adapt the form for different customers. Depending on their answers, you can hide or show fields.
Single condition field. When a customer selects a certain value in one field, another field will automatically hide or display. For example, if Pickup is selected in the Delivery method field, the Pickup point field will appear.
Multiple conditions (AND) field. To display or hide new fields, the customer needs to fill out more than one field in the form. For example, the Delivery address field will appear if the customer specifies the city and selects courier delivery.
One-of condition (OR) field. When the customer meets one of the specified conditions, a new field will appear or hide.
Configure field show rules in CRM forms
Other
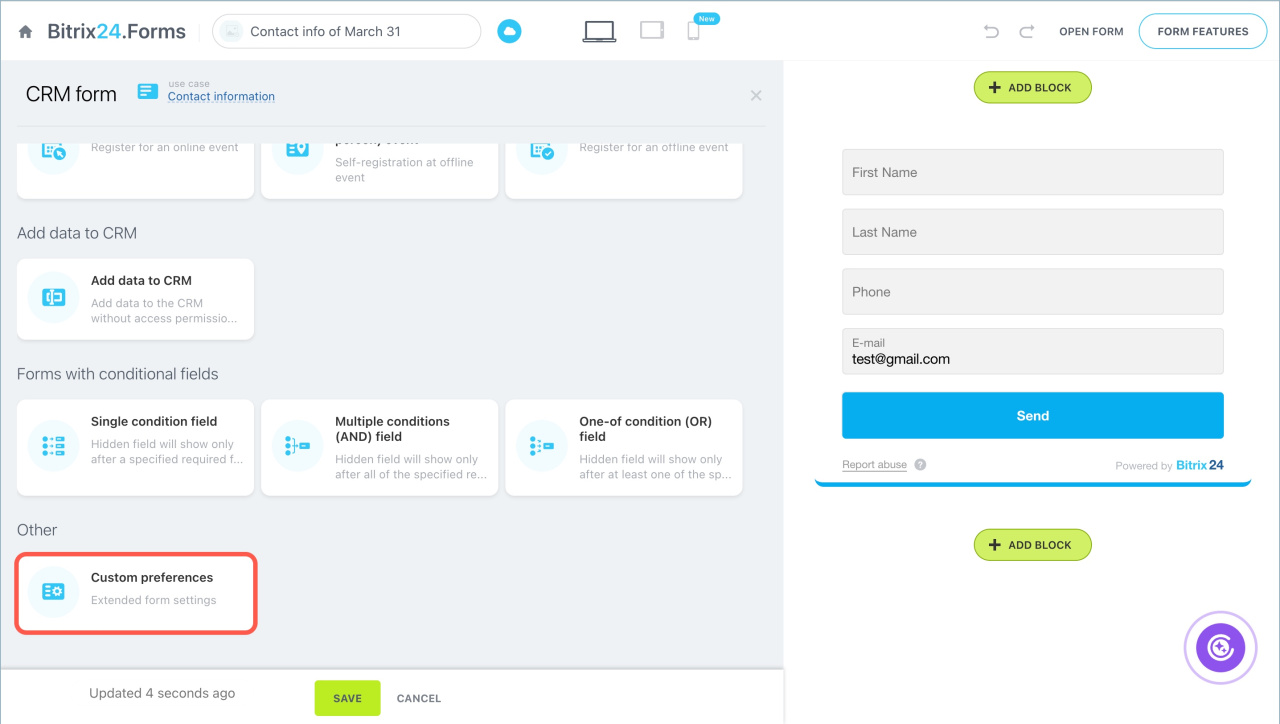
In the Custom preferences template, all CRM form settings are available. You can customize the form to suit your tasks.
In brief
- CRM form cases are ready-made templates for various tasks: customer communication, sales, delivery, etc. You can edit the form in any template.
- Go to the CRM > Sales > Sales channels > CRM forms and select a template to create a CRM form.
- Some templates automatically add custom fields to the CRM.

