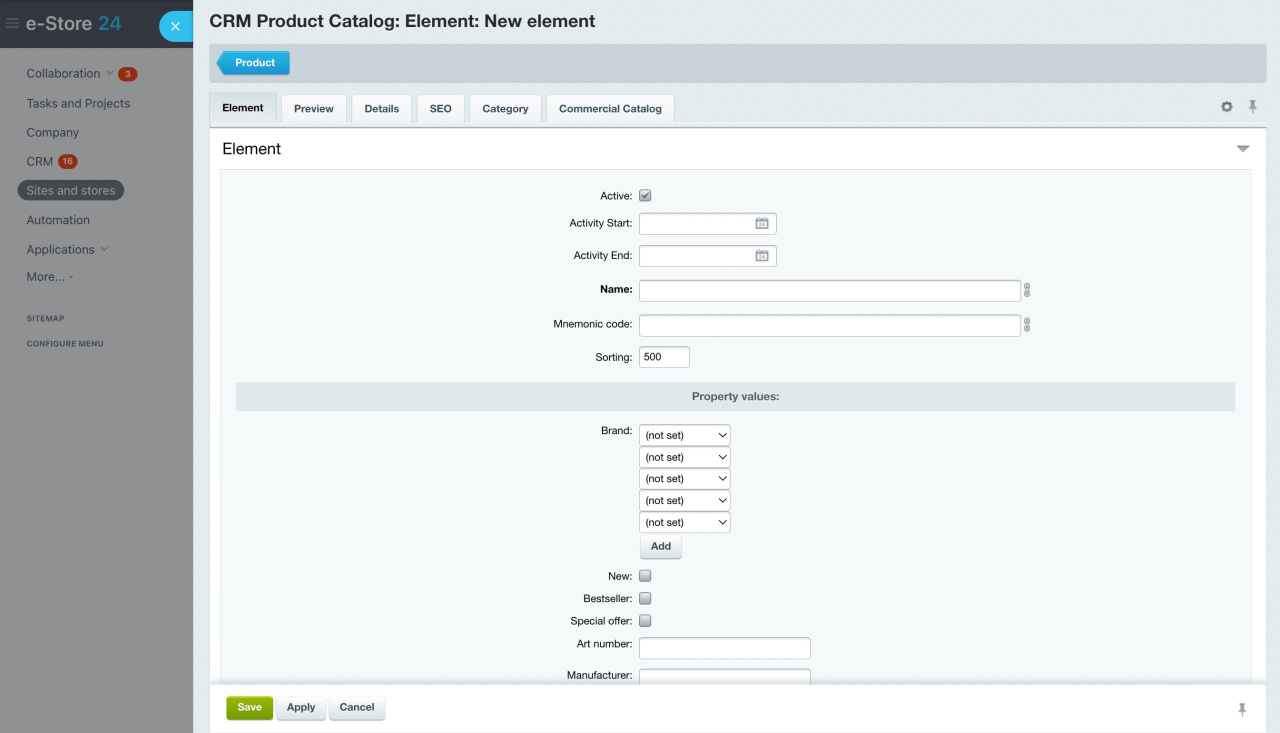
Managing products in the catalog is now simpler with the new product form. You can quickly create products by entering the key details and selecting the right catalog section.
In this article:
Add products
To create a new product:
- Go to the CRM section.
- Under the Inventory tab, select Product catalog.
- Click the Create button.
- Fill in the fields in the General parameters sections.
- Upload a product picture and specify the retail price, barcode, and unit of measurement.
- Set up the product display in your online store.
Hide certain products from the public part of the Online store - Select a section. You can add a product to several sections at the same time.
- Click Save at the bottom. The product will then appear in your catalog.
Create catalog sections
To create a new section:
- Go to the CRM section.
- Under the Inventory tab, select Product catalog.
- Click the arrow next to the Create button.
- Select Section, enter a name, and save your changes.
Add product properties
To add a custom field to the Properties section:
- Open a product details form.
- Click the Create field button.
- Select the type of the field.
- Enter the field name, adjust additional settings, and click Save.
- Click Save at the bottom.
Product and variant properties
Customize the product form
While editing a product, you can add new sections with additional information. To create a new block with product features:
- Click Create section at the bottom.
- Specify the section name and add fields using Select field and Create field buttons.
- If needed, move the sections inside the form by dragging them to the desired area.
Click Standard layout to switch to your custom layout, reset settings, or apply the current layout for all employees.
Change the product type from SKU to simple
By default, all products in Bitrix24 are created with variants (SKU). To switch a product from SKU to simple, follow these steps:
- Open the product form with variants.
- Select all variants and click Delete.
- Confirm deletion without saving the changes.
After deleting all variants, reload the page. The product type will automatically change to simple.
In brief
-
Add a new product to the catalog in a few clicks.
-
Use standard fields to store basic product information.
-
Create custom properties for additional details about a product.
-
Customize the product details form by adding sections and moving them around.


