Bitrix24 is an online service that offers useful tools for your company. This includes chats and calls, tasks and projects, CRM, and AI-powered assistant.
Main features of Bitrix24
Follow the steps below to set up your Bitrix24 before you get to work.
Sign up for Bitrix24
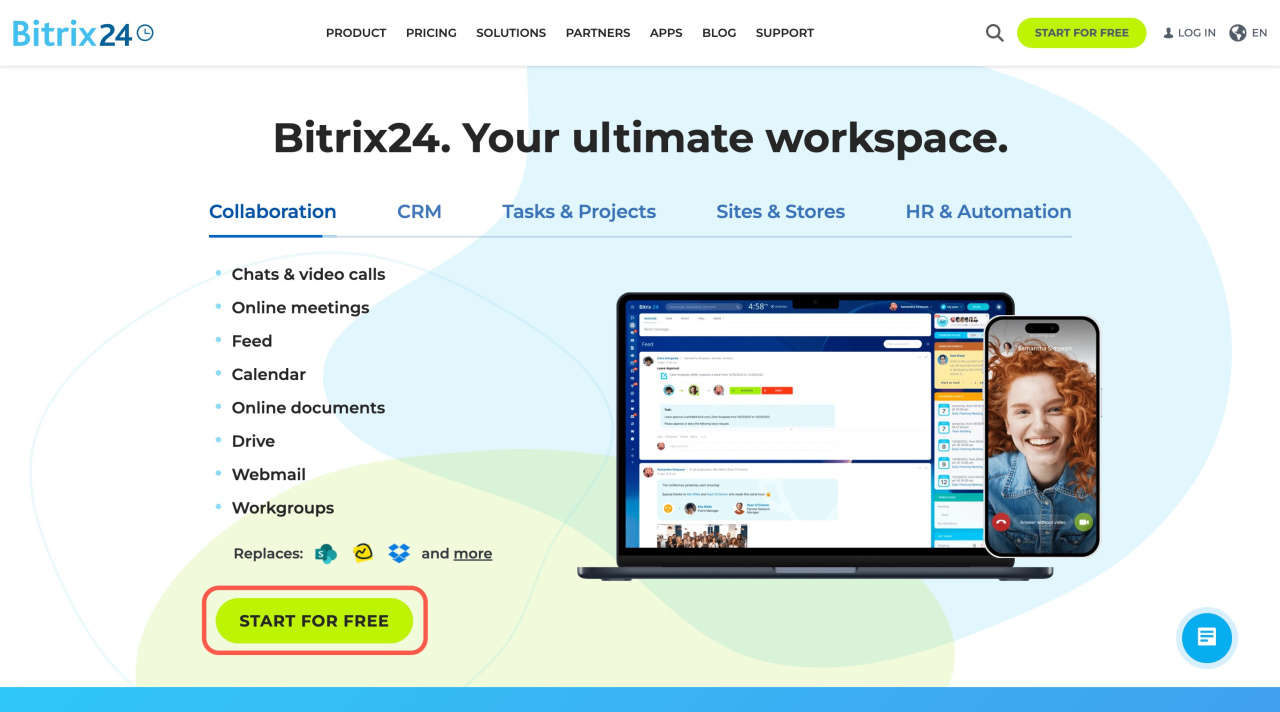
Go to the Bitrix24 website and click Start for free.
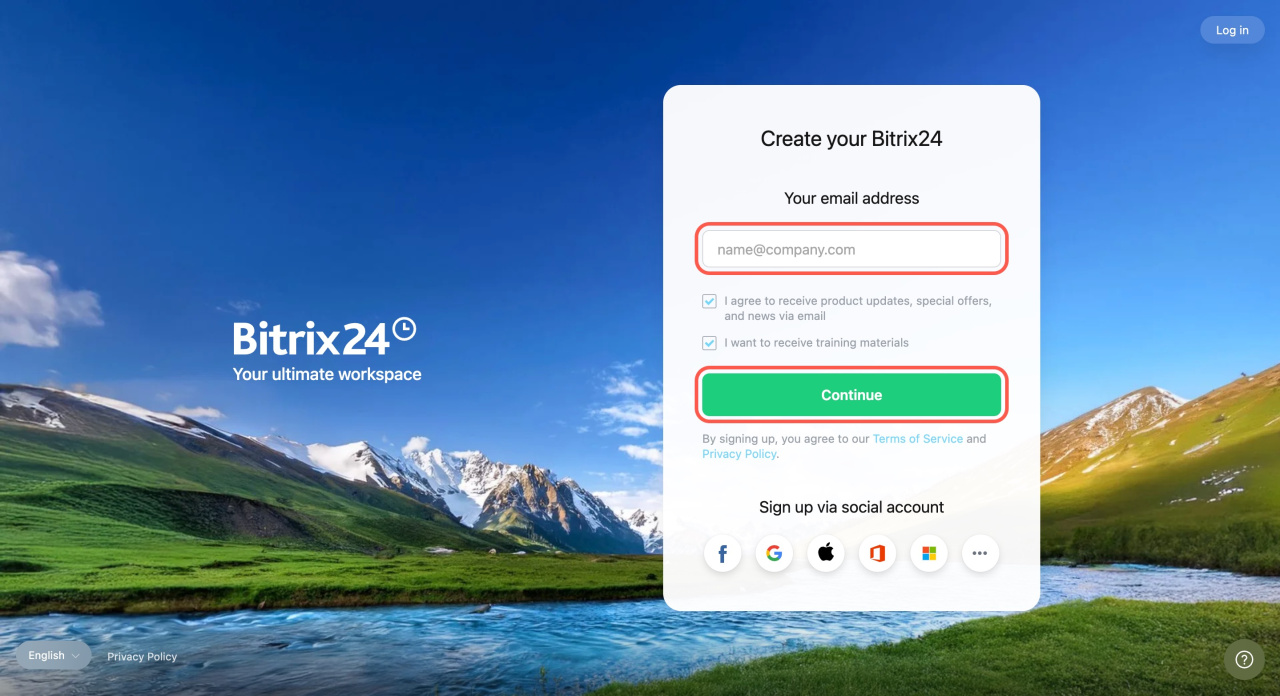
Create Bitrix24
Enter your email or use your social network accounts to sign up. Then, click Continue.
Register a Bitrix24 account
Bitrix24 Network profile
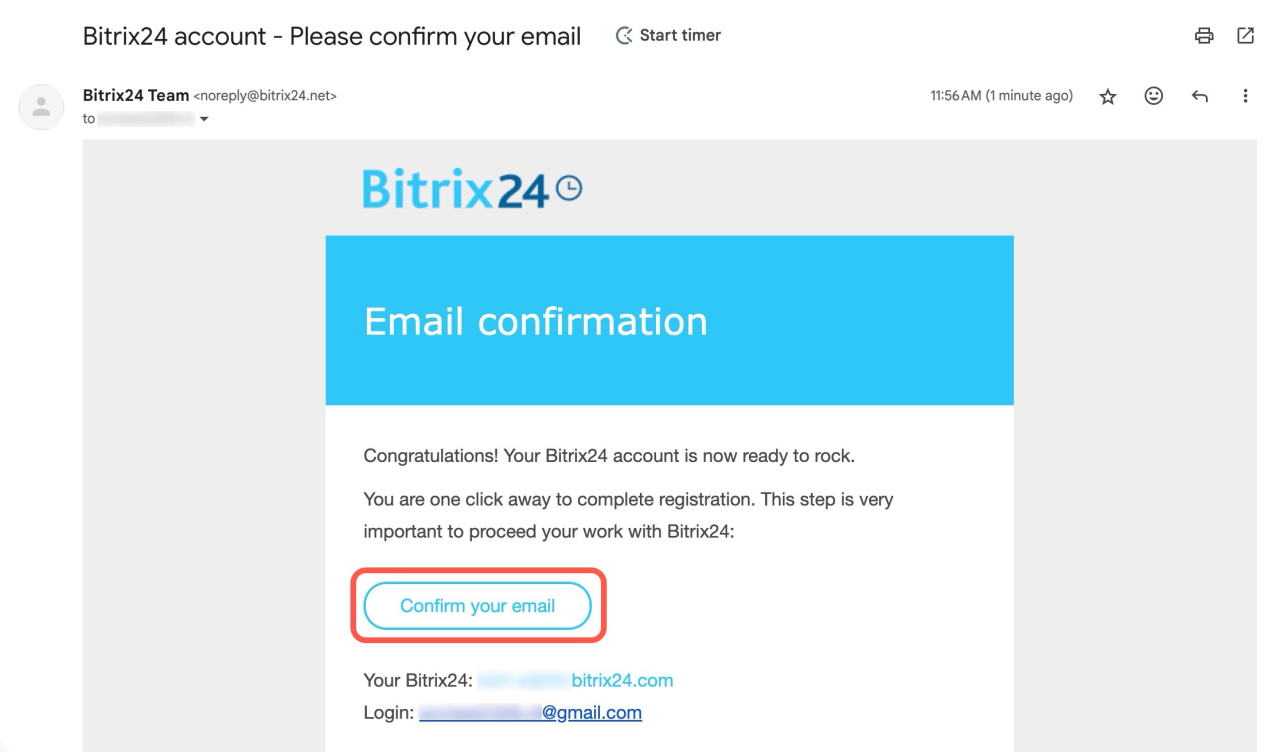
After creating an account, you'll get an email. Follow the link from that email to confirm your email address and set up a password.
Invite employees
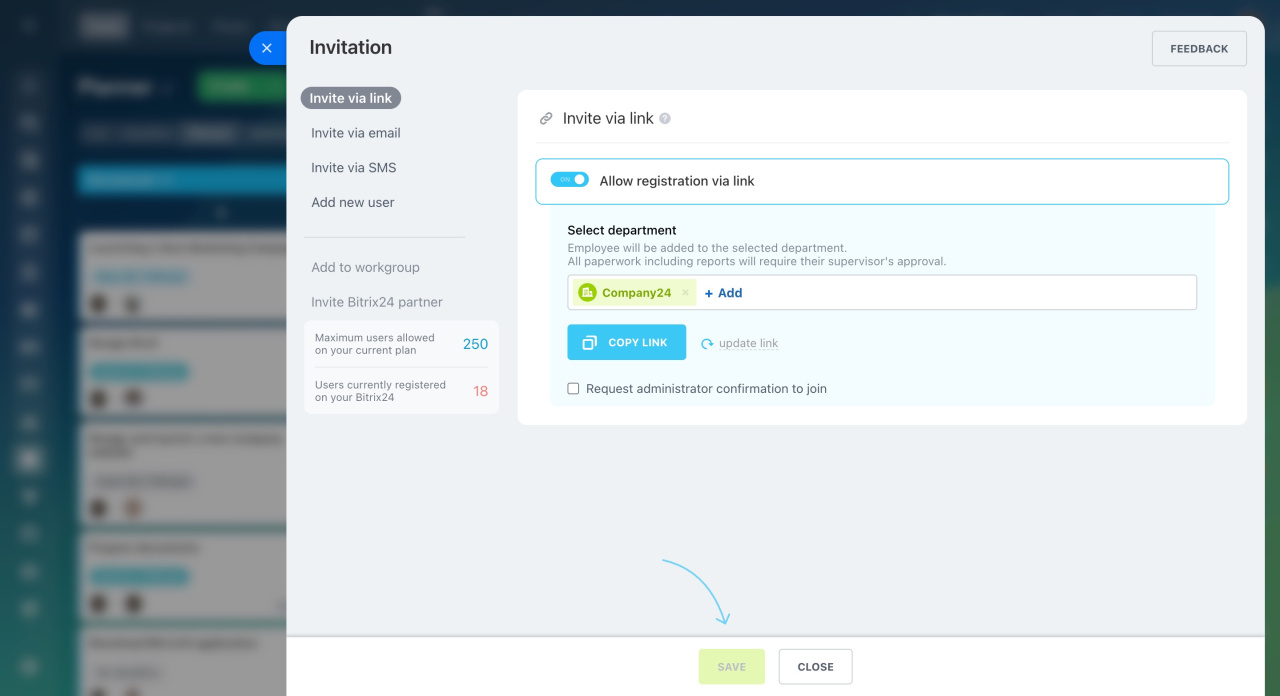
To organize the teamwork within a company, invite employees to Bitrix24. There are several ways to do that:
-
Invite via link: Copy the link and send it to your colleagues. When the person follows the link, they can sign in.
-
Invite via email: Register a new user by email.
-
Invite via phone number: Register a new user by phone number.
-
Bulk invitation: Choose this option to invite many employees at once.
-
Invite to department or workgroup: Use this option after creating departments and workgroups in Bitrix24.
-
Add new user: Enter the employee's details and add them to your Bitrix24 yourself.
Install Bitrix24 apps
Download Bitrix24 Messenger and the mobile app to access your account from any device.
Bitrix24 Messenger. The desktop app has some extra features you won't find on the web. These include audio and video call recording. You can also change your video call background and use a 3D avatar. Plus, it lets you sync Bitrix24 Drive with your computer.
Download and install Bitrix24 Messenger on macOS and Windows
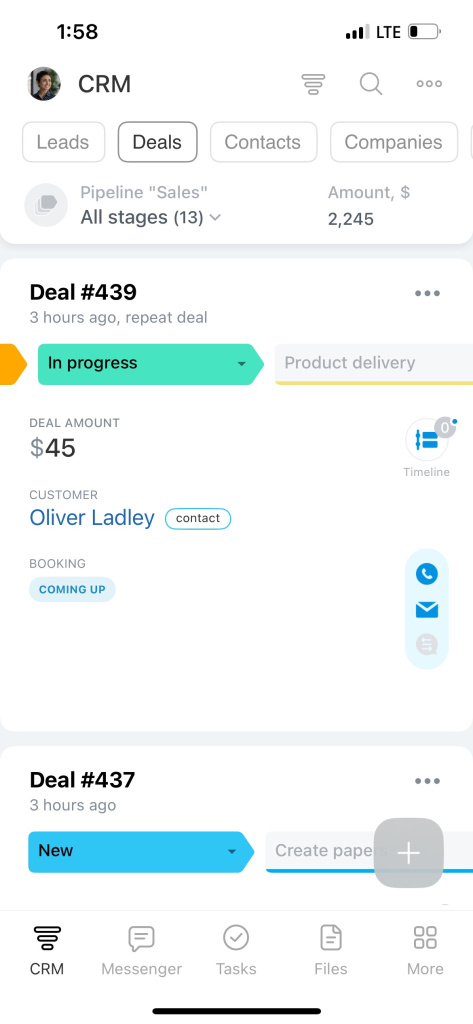
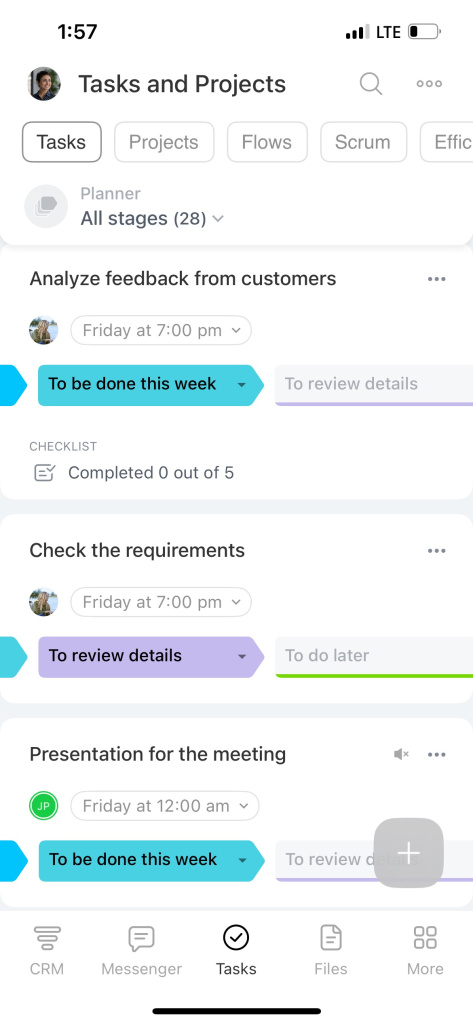
Mobile app. Stay in touch with colleagues and customers. Communicate via chats, make calls, set tasks, and work in CRM.
Download and install Bitrix24 mobile app
Choose your main tools
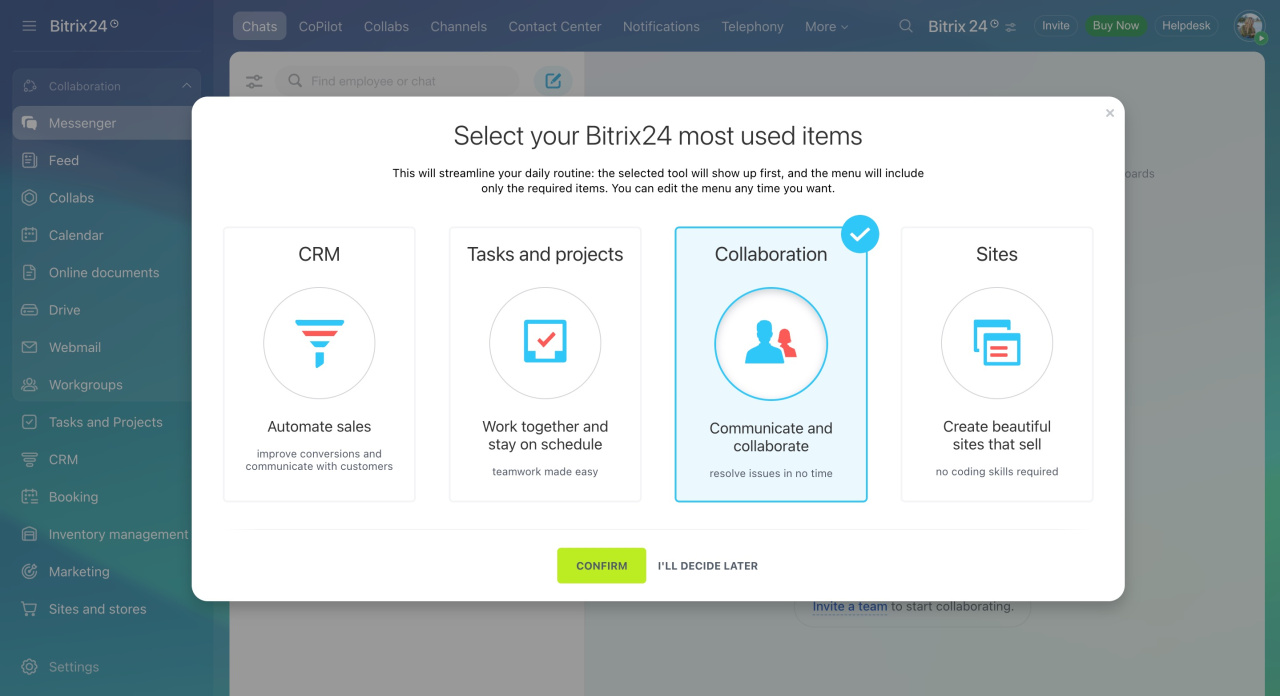
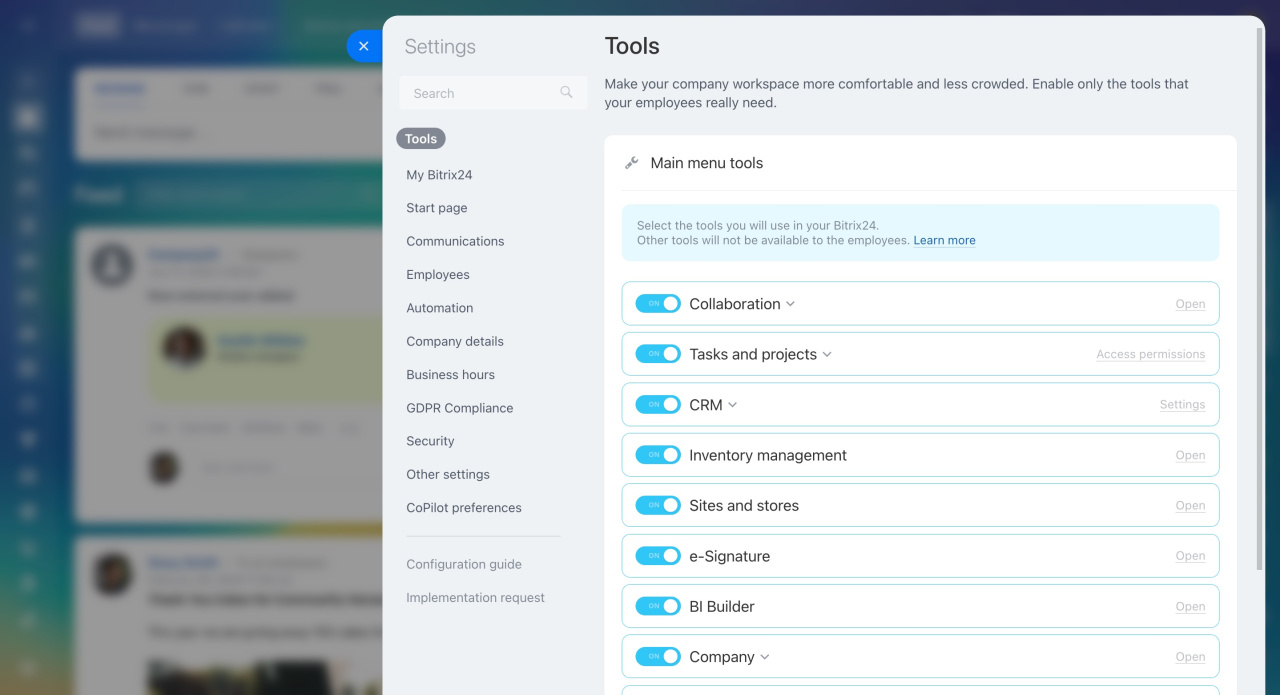
Select the most-used Bitrix24 tools. To discuss work issues in chats and schedule meetings in the calendar, select Collaboration and confirm.
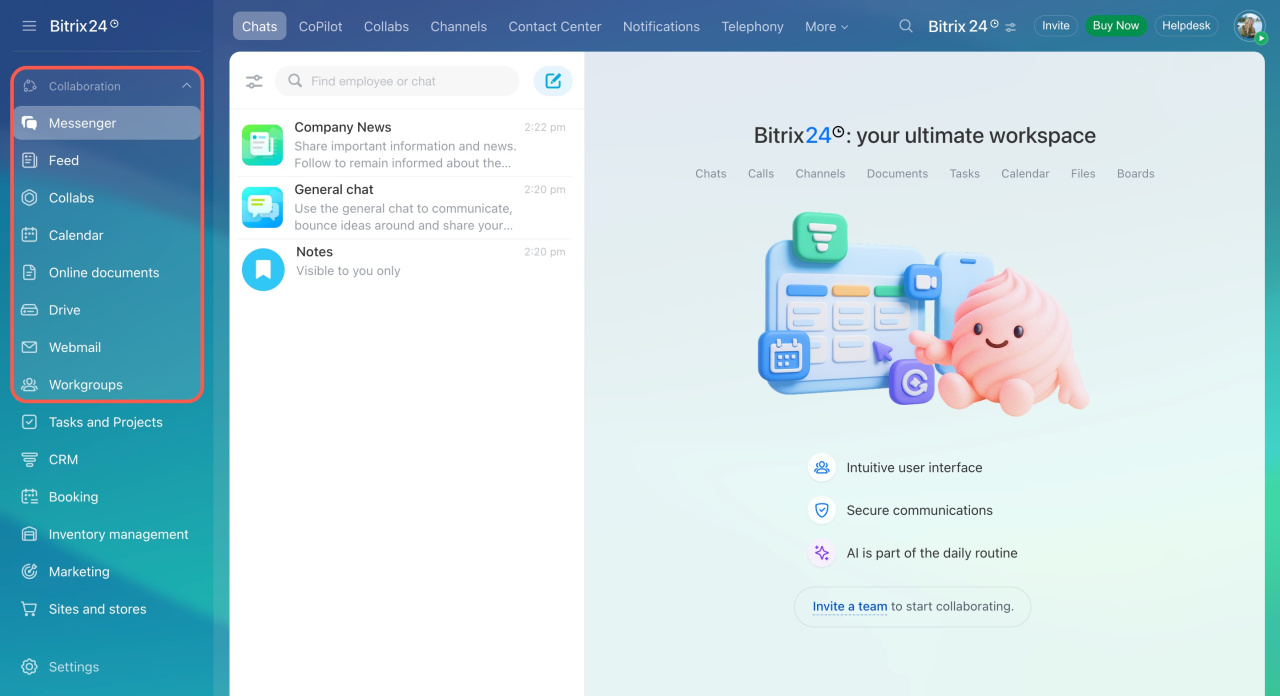
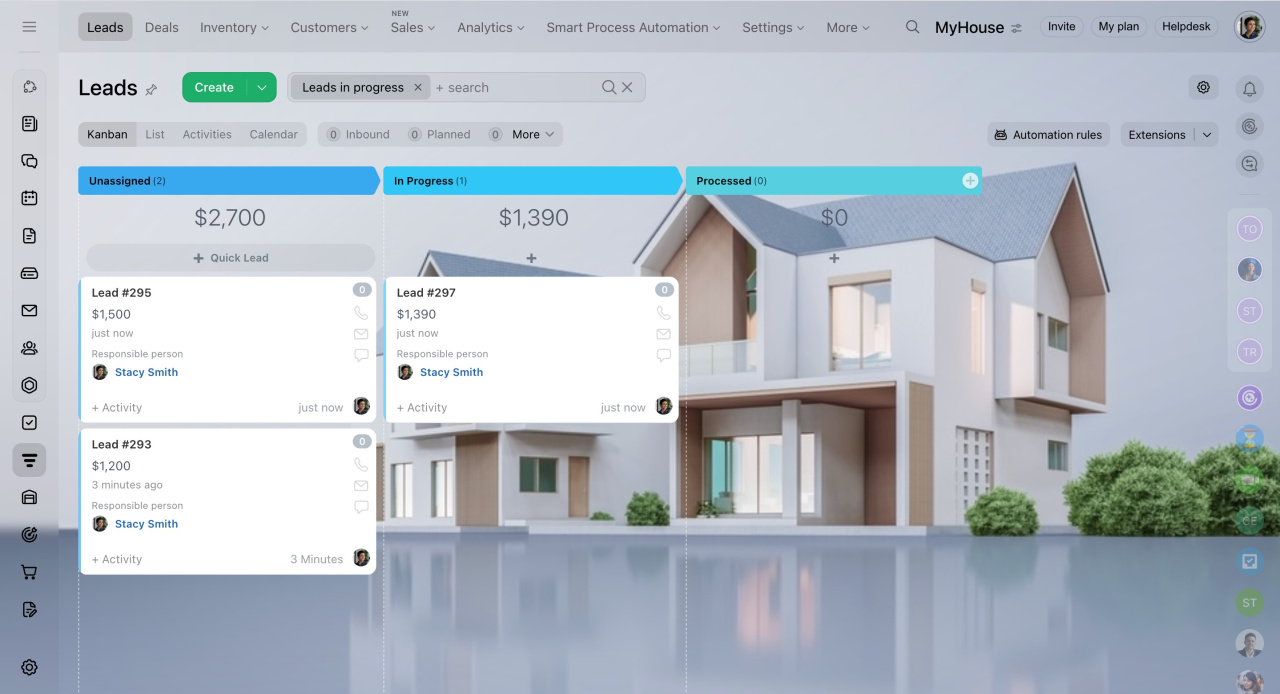
The selected tool will appear at the top of the main menu for easy access.
Main menu in Bitrix24
Adjust account settings
All Bitrix24 settings are in one place, and you can access them via the intuitive widget. To open the settings, click the toggles icon next to your company name and select Settings.
Here, you can do the following:
-
Enable the tools that employees need for work
-
Set up work schedules for your company and departments
-
Create a landing page with your company details
-
Track the login history of employees and allow them to work in your Bitrix24 only from certain IP addresses
Assign admin permissions
Fill out your profile
Each Bitrix24 user has a page with their personal details. To help your colleagues get to know you better, add a photo to your profile, provide contact information, and share your hobbies.
Profile page
Customize your workspace
To make your account reflect your brand, set the background, specify your company name, and change your Bitrix24 URL. Click the toggles icon at the top menu and select My Bitrix24.
Name. Specify the name of your company or add a logo.
Change Bitrix24 name and logo
Bitrix24 address. When you create your Bitrix24 account, it is assigned an address, for example, b24-aokwy2.bitrix24.com. Such an address is hard to remember and pronounce, so it's better to change it. You can specify your company name in your Bitrix24 address or use your own domain name.
Change Bitrix24 address and connect your domain
Default theme. You can set the same design theme for all employees of your company. Select a ready-made theme or add your own image.
Set account theme for all users
Organize your company structure
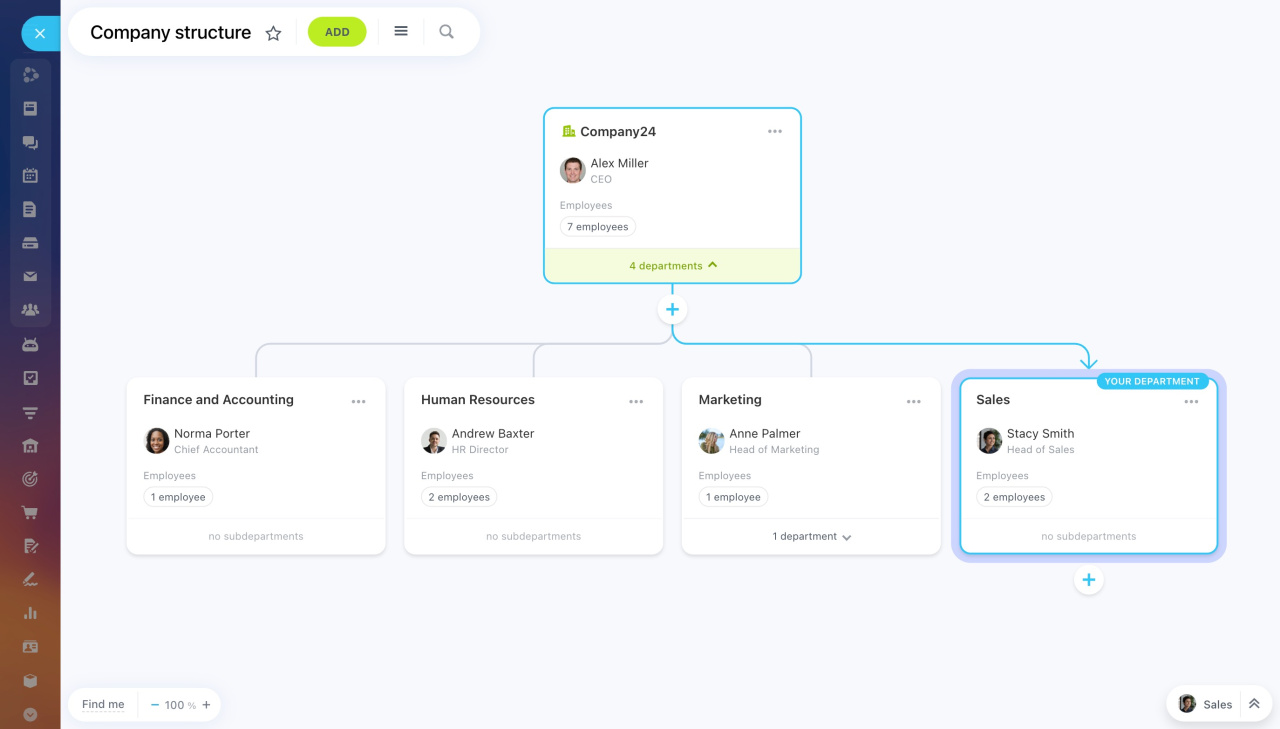
The company structure is a chart showing your company's departments, employees, and supervisors. Access permissions to some Bitrix24 tools depend on the company structure. For example, supervisors can see their subordinates' work reports and tasks, while regular users can see only their own.
Company structure: New interface and features
Company structure and Bitrix24 tools connection
Choose a plan
In the Bitrix24 lineup, there are five main plans:
- Free
- Basic (this plan is not available in some regions)
- Standard
- Professional
- Enterprise
Select a subscription plan according to your company's size and needs.
Bitrix24 plans and pricing
Bitrix24 Cloud plans
Try the free 15-day trial to explore more features and find the right plan.
Free 15-day trial
Choose a Bitrix24 partner

