Simplify and speed up your paperwork process with the help of Bitrix24. Create documents in the web version or mobile app. Select a template and wait until the system automatically fills it out with CRM data.
Customize document templates in CRM
Bitrix24 pricing page
Create a document
To create a sales document,
-
Open a CRM item form.
-
Click the Document button in the top right corner.
-
Select a template from the drop-down list or add a new one.
The PDF file preview is generated. It includes your company details and the information from the CRM item form.
Add company details
Ensure that all the data is correct. Click Edit Document to change it if needed.
If the file has multiple pages, switch between them using arrows at the bottom. Zoom in on the document to enlarge the text.
To view all documents created in a specific CRM item, click the Document button and select Documents.
Here, you can find the creation date, name, and template of each document. View or delete them in this section if required.
To create a sales document,
-
Open a CRM item form.
-
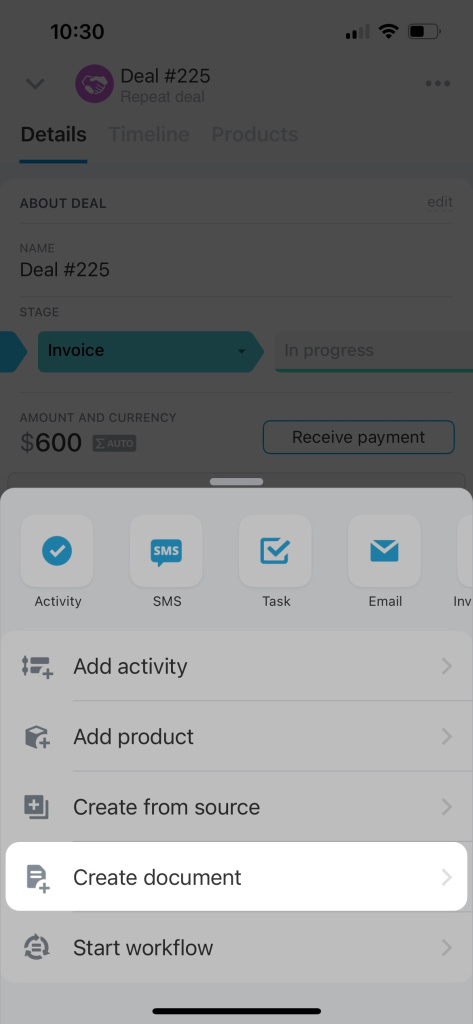
Tap on Plus (+) in the bottom right corner.
-
Select Create document from the drop-down list.
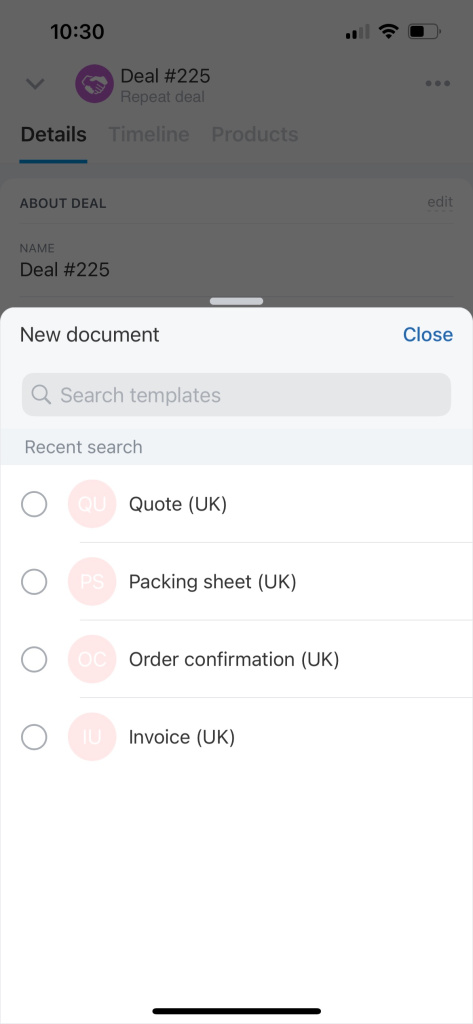
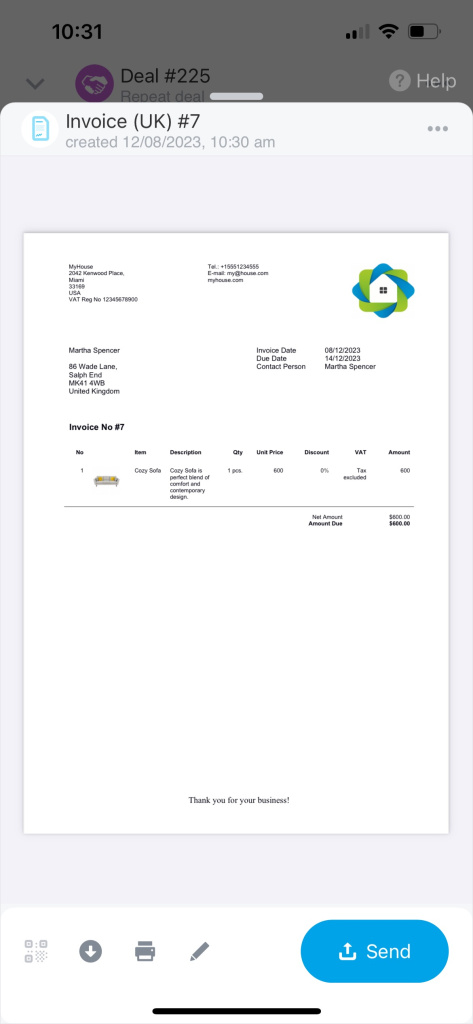
Then choose a template and wait until the PDF file preview is generated.
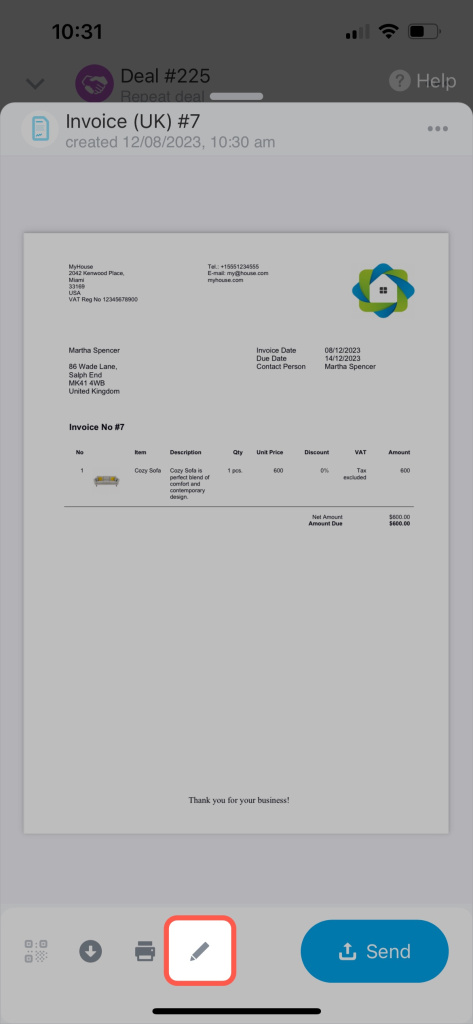
Ensure that all the data is correct. Tap the pencil icon to edit it if needed. After you make changes, tap Save.
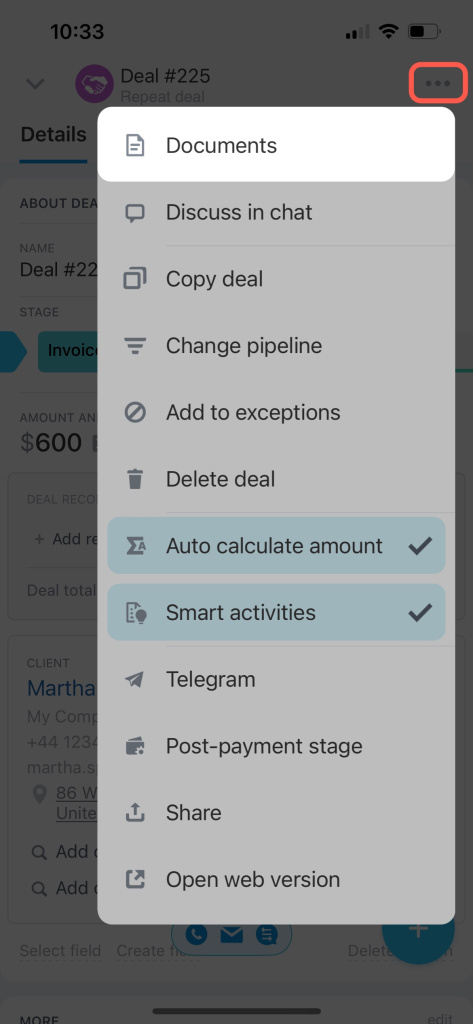
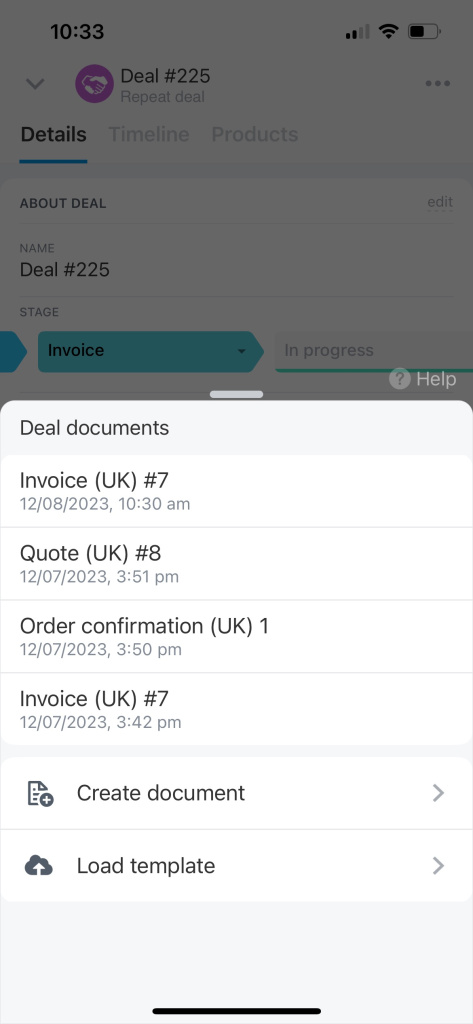
To view all documents created in a specific CRM item, tap the three dots (...) and select Documents.
Save and print a document
Send a document to a client
Share documents with your clients via SMS, email, or Open Channel.
Contact Center
When you preview a document, the list of channels is shown on the right. The active ones are highlighted, and the inactive ones are grayed out.
-
SMS. If you choose this channel, your client will get a message with a link to your document. To use this option, you should first set up an integration with a messaging service. Configure the built-in Twilio integration or look for a solution in our Market.
-
E-mail. You can select this option if you have a client's email address. They will receive your document in PDF format.
Manage emails with CRM -
Open Channel. This item is available if a client contacted you earlier via one of the communication channels connected to your Bitrix24. You cannot initiate a conversation on your own. To send a link to your document, copy it to the clipboard first. A document will be provided for downloading or printing in PDF format.
Click the gear (⚙️) to view all the available channels. Reorder them to access the frequently used channels faster.
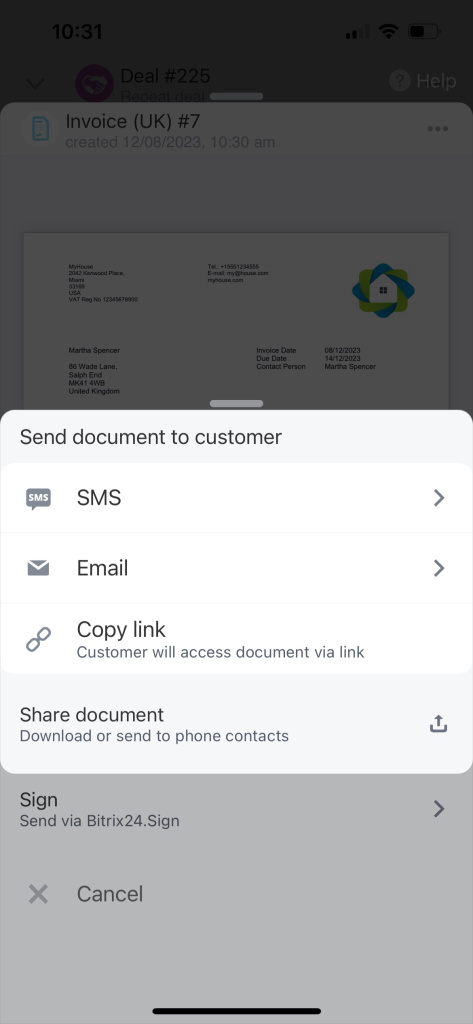
Share documents with your clients through any application installed on the phone, SMS, or email. Tap Send at the bottom and select a channel you prefer. The active ones are highlighted, and the inactive ones are grayed out.
-
SMS. If you choose this channel, your client will get a message with a link to your document. To use this option, you should first set up an integration with a messaging service. Configure the built-in Twilio integration or look for a solution in our Market.
-
E-mail. This option is available if you have a client's email address. They will receive your document in PDF format.
Manage emails with CRM -
Share document. Download a document and send it to a client via any app installed on your smartphone.
Use additional options
In addition to the basic features, CRM documents allow you to add your company stamp and signature or use Bitrix24 e-Signature to process documents.
-
Stamp and signature. If you upload your stamp and the CEO's signature when adding company details, you can insert them into a document in a few clicks.
-
Sign. Submit your electronic document for signing using our special built-in tool.
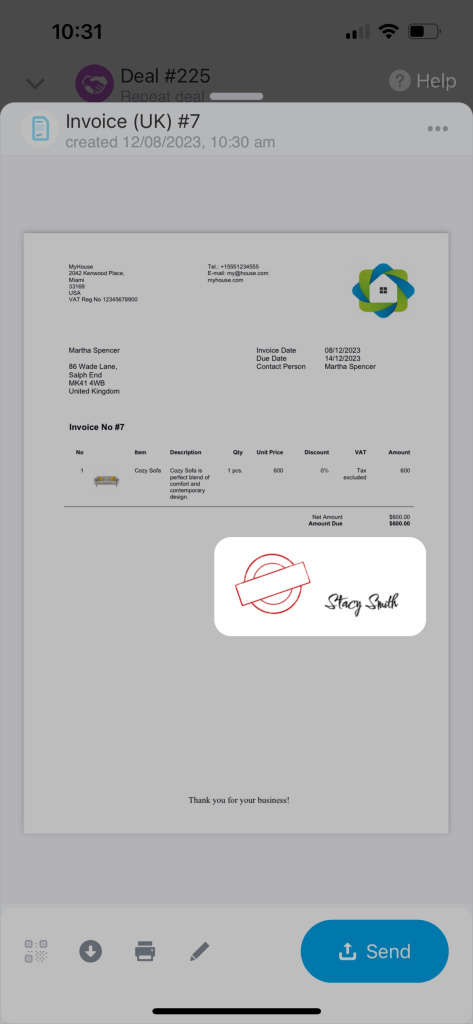
In addition to the basic features, CRM documents provide the ability to include your company's stamp and signature.
Upload your stamp and the CEO's signature when adding your company details, and then you can choose to insert them into a document. Tap the three dots (...) and enable the Stamp and signature option.
In brief
-
Create, share, and sign documents with your customers on the web and mobile CRM. The system automatically fills them out with your company details and CRM data.
-
In the web version, you can send a document via SMS, email, or Open Channel. When using the mobile app, you can share it via SMS, email, or different apps installed on your smartphone.
-
In addition to the basic features, CRM documents allow you to add your company stamp and signature or use Bitrix24 e-Signature to process documents.


