Contacts in Bitrix24 are CRM items that contain information about individuals such as customers, partners, vendors, and other counterparties. The contact form can store their data, interaction history, and other information.
In this article:
Contact types
To quickly find the necessary contacts and work with a specific group, you can divide them into several types. By default, there are three types:
- Customers
- Vendors
- Partners
To change contact types or add new ones:
- Go to the CRM section > More > Settings > CRM settings.
- In the Start point section, select Statuses and Dropdowns.
- Open the Contact Type tab.
- Click the pencil icon to edit the default types.
- Select Add field to add a new contact type.
- Save the changes.
You can also segment your customers using custom fields. For example, create a field to indicate each client’s priority level.
Create a contact
Contacts in CRM can be created manually or automatically.
Create manually. This method is suitable if a customer visited your office or you received the contact details after an event.
- Go to the CRM > Customers > Contacts.
- Click the Create button.
- Fill in the Name, Phone, and Email fields. You can also provide additional information like position, company, or leave a comment.
- Save the changes.
You can change contact information at any time in the CRM item form.
Import. If you have a file with a contact database, you can upload it to Bitrix24.
- Go to the CRM > Customers > Contacts.
- Click Settings (⚙️) and select the import source.
Migrate from another CRM. If you used another CRM before, you can transfer your data using special applications.
- Go to the CRM > Customers > Contacts.
- Click Settings (⚙️) > Migrate from other CRM.
- Select the Import and export category in the Bitrix24 Market catalog.
- Choose an app for data transfer and follow the instructions.
Migration to Bitrix24 from other CRM systems
Receive from a CRM form. Contacts can be created automatically through a CRM form on the site. When a customer fills out the form to order a product or book a service, all information is saved in the contact form.
- Go to the CRM > Sales > Sales channels > CRM forms.
- Open the CRM entities tab and select an option that includes creating a contact: Customer, Deal + Customer, or Estimate + Customer.
Configure the Contacts section
Before getting started, you need to configure access permissions and the contact form. This can be done by the Bitrix24 administrator and an employee with permission to change CRM preferences.
Configure access permissions. To ensure employees have access only to the necessary contacts, configure access permissions.
- Go to the CRM > Customers > Contacts.
- Select Settings (⚙️) > Access permissions.
Role-based access permissions in CRM
Configure the contact form. You can add, hide, or group fields by sections.
CRM item form features and settings
Work with contacts
When working with contacts, you can:
Filter contacts. Use filters to find contacts by specific criteria.
- Go to CRM > Customers > Contacts.
- Click on the search bar.
- Set parameters and click Search.
View history. Changes related to the contact form are recorded on the History tab. You can view the date, author, type, and description of the event.
Export contacts. You can export a list of contacts from Bitrix24.
Before exporting, make sure:
- You have permission to export contacts.
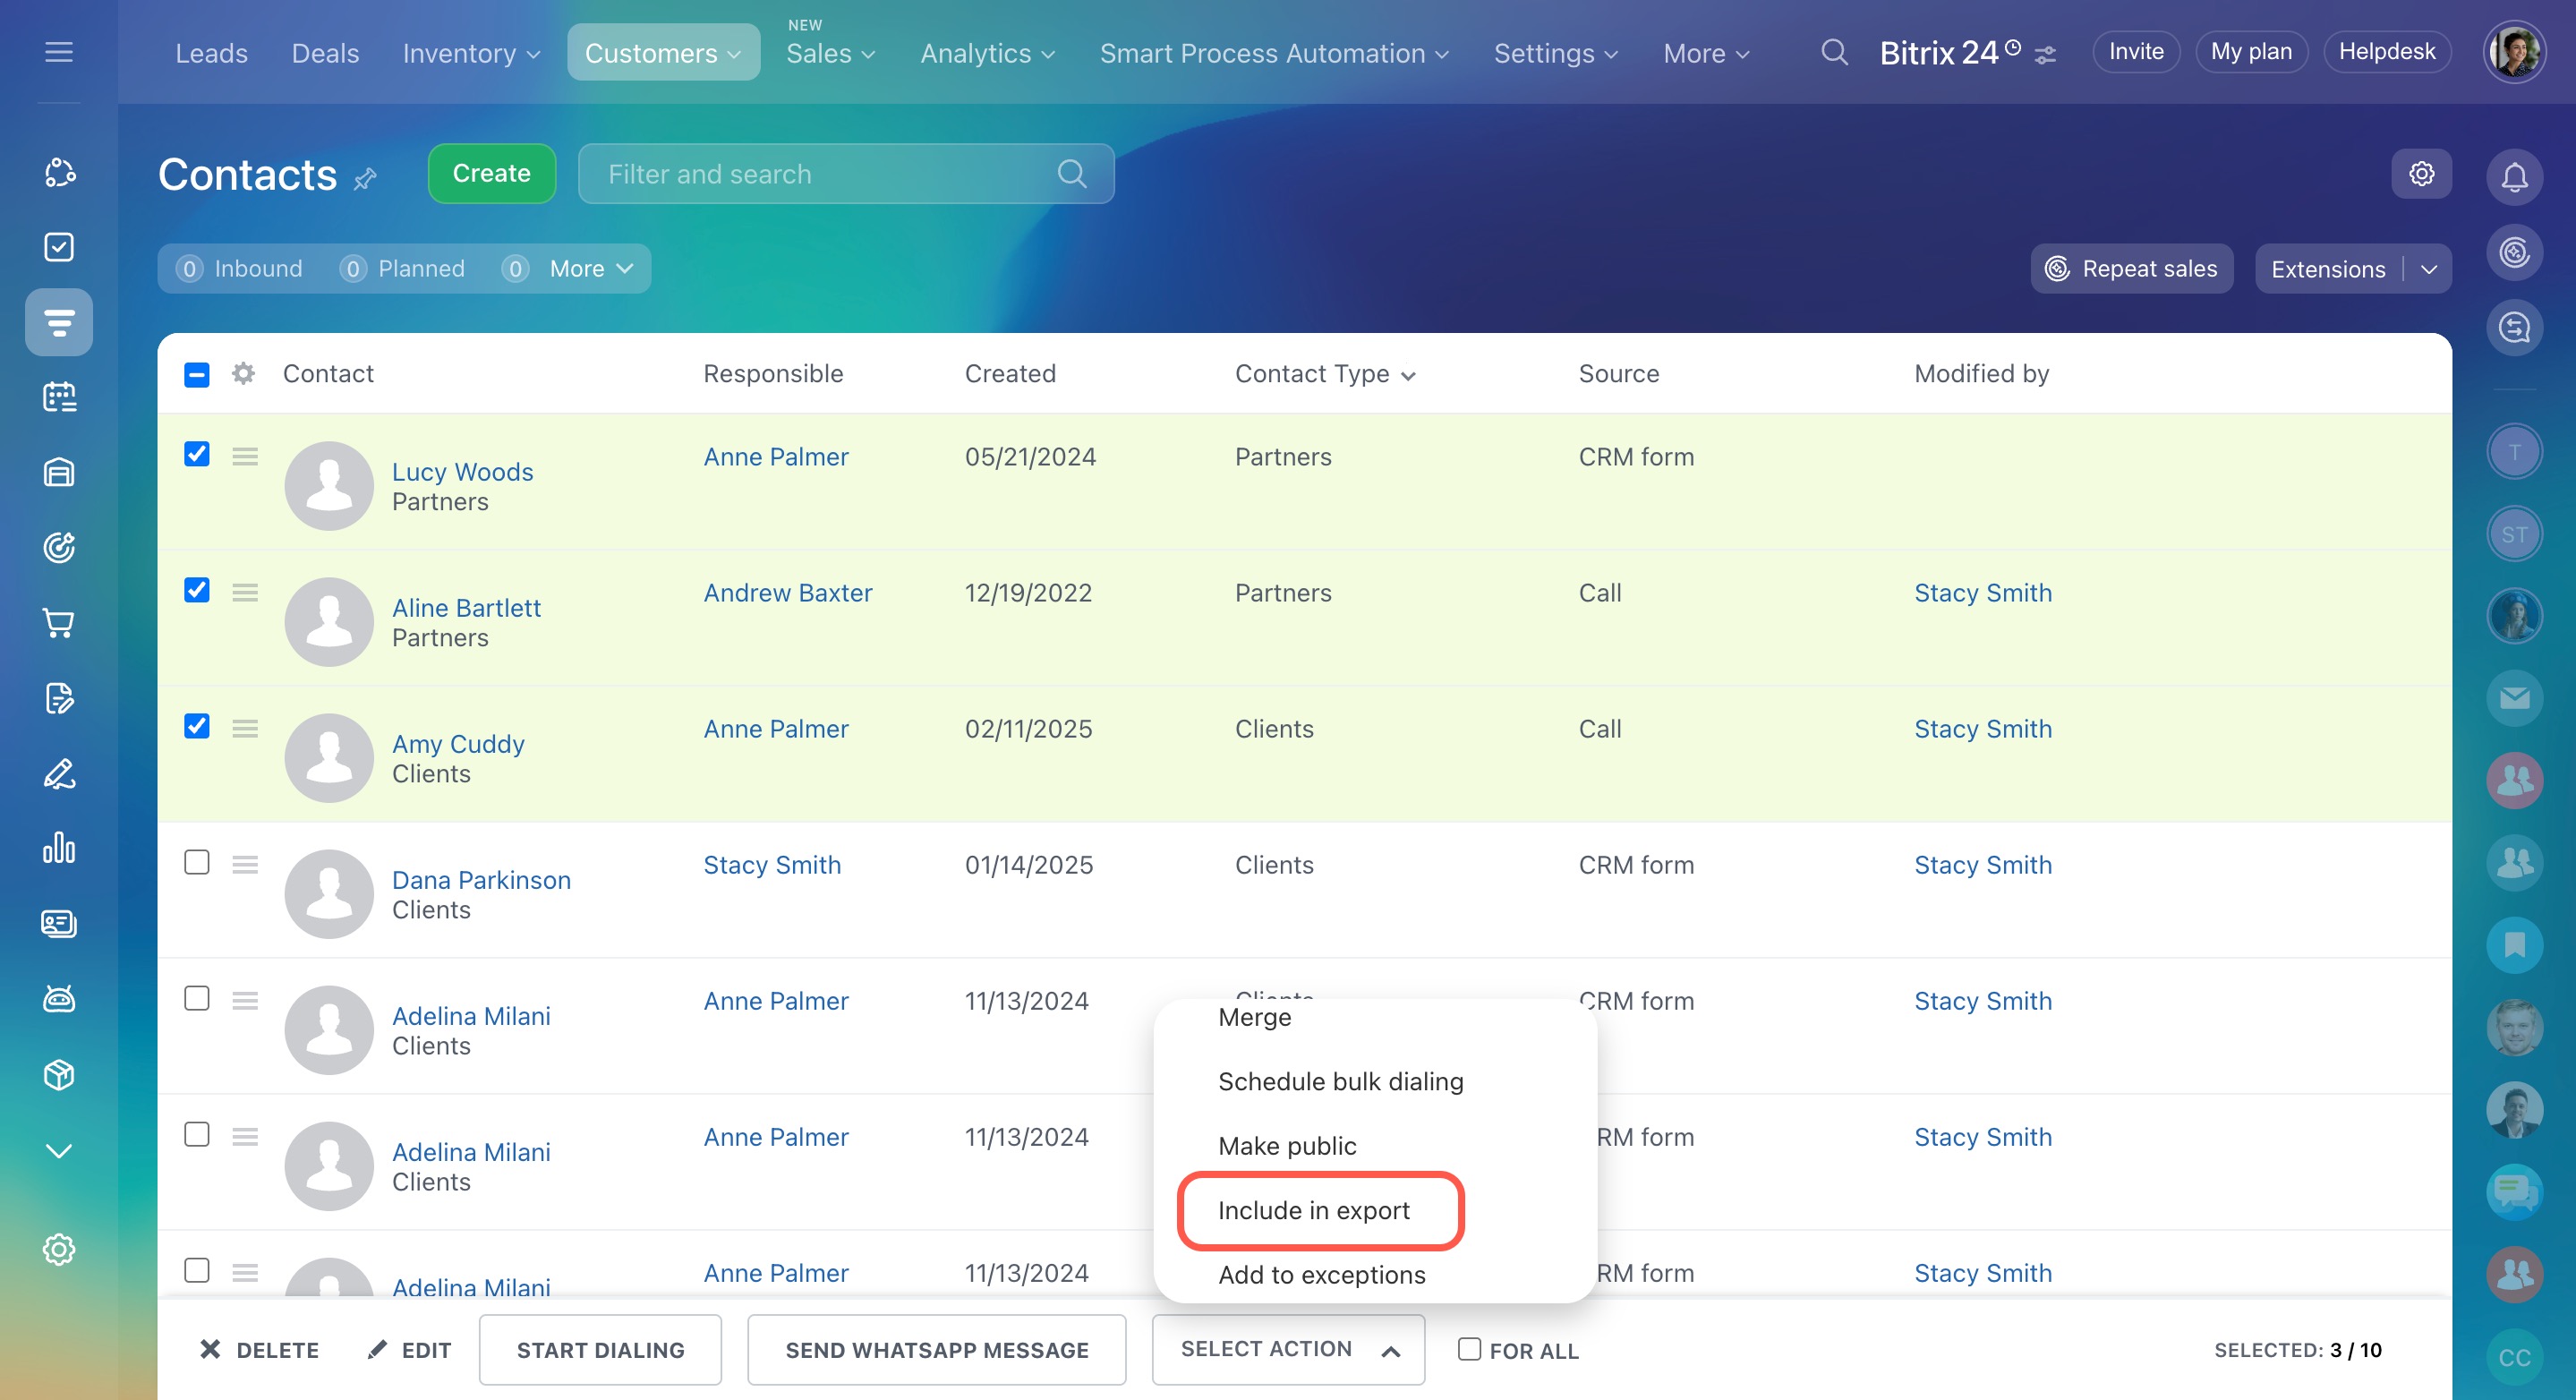
- The Include in export option is enabled in contact forms. Use group actions to turn this on in all forms.
- Go to CRM > Customer > Contacts.
- Select contacts for export.
- Click Settings (⚙️) and choose the export format.
Link contacts to deals and companies. Linking contacts to deals and companies helps track communication history.
To link a contact to a company, open the contact form and select the company from the list in the Company field.
To link a contact to a deal:
- Go to the CRM section > Deals.
- Open the deal you want to link.
- Select the contact in the Client field and click Save.
To view all CRM items linked to a contact, open the Dependencies tab in the contact form.
Plan an activity. Plan an activity like a call or a meeting to contact a customer. Click Activity in the timeline, select a date, fill in the description, and click Save.
In brief
- Contacts in Bitrix24 are CRM items that contain information about individuals such as customers, partners, vendors, and other counterparties. The contact form can store their data, communication history, and other information.
- Contacts can be divided into several types. You can use standard types or create your own.
- They can be created manually or automatically: imported, exported from another CRM, or added from a CRM form.
- To ensure employees have access only to the necessary contacts, configure access permissions.
- You can add, hide, or group fields by sections.
- When working with contacts, you can filter them, view communication history, export data, link them to deals and companies, and plan activities.


