
Inventory management helps you track products in your warehouse. It records receipts, sales, transfers, and write-offs. Stock data updates in real time.
With inventory management, you can:
- See current stock levels. Data updates after every operation.
- Reserve products for a specific customer while a deal is still in progress.
- Find losses faster by spotting discrepancies and checking their causes.
- Track gross margin for each product, including cost and gross profit.
Bitrix24 plans and pricing
Add products to the catalog
The catalog is a single list of products and services for CRM and your online store. You can use catalog products in your online store or website.
Inventory access permissions
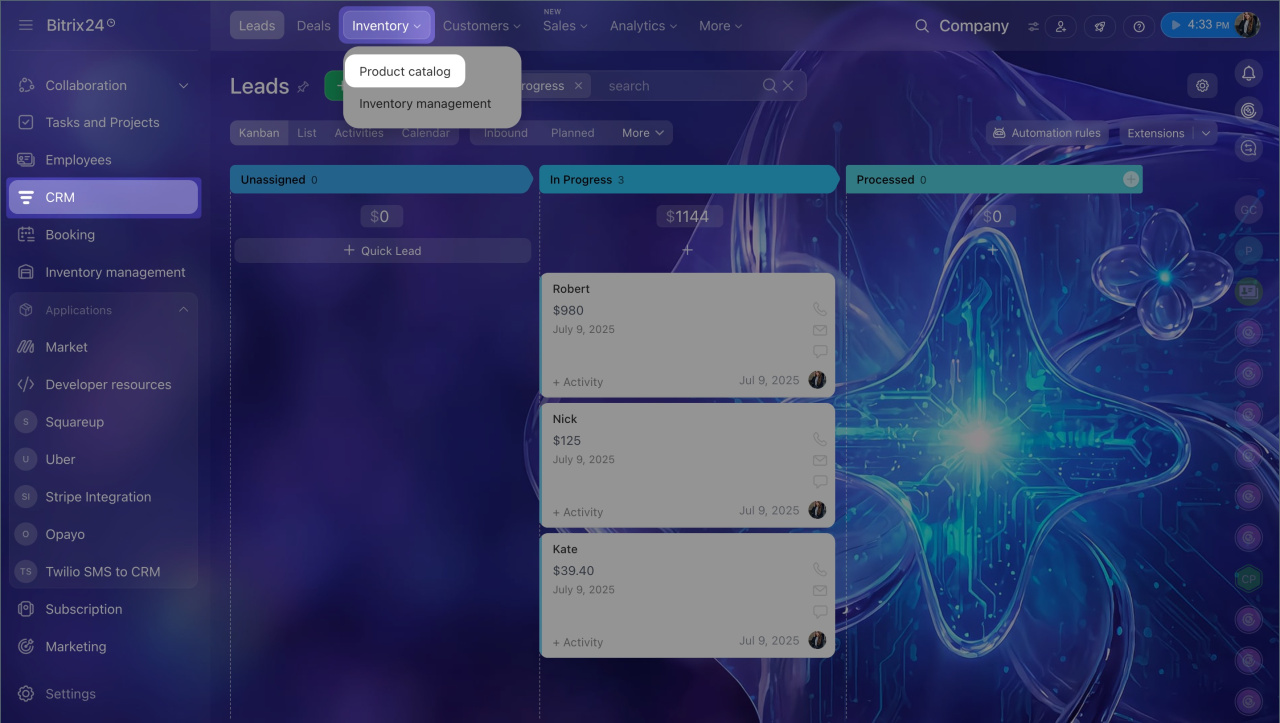
1. Go to CRM > Inventory > Product catalog.
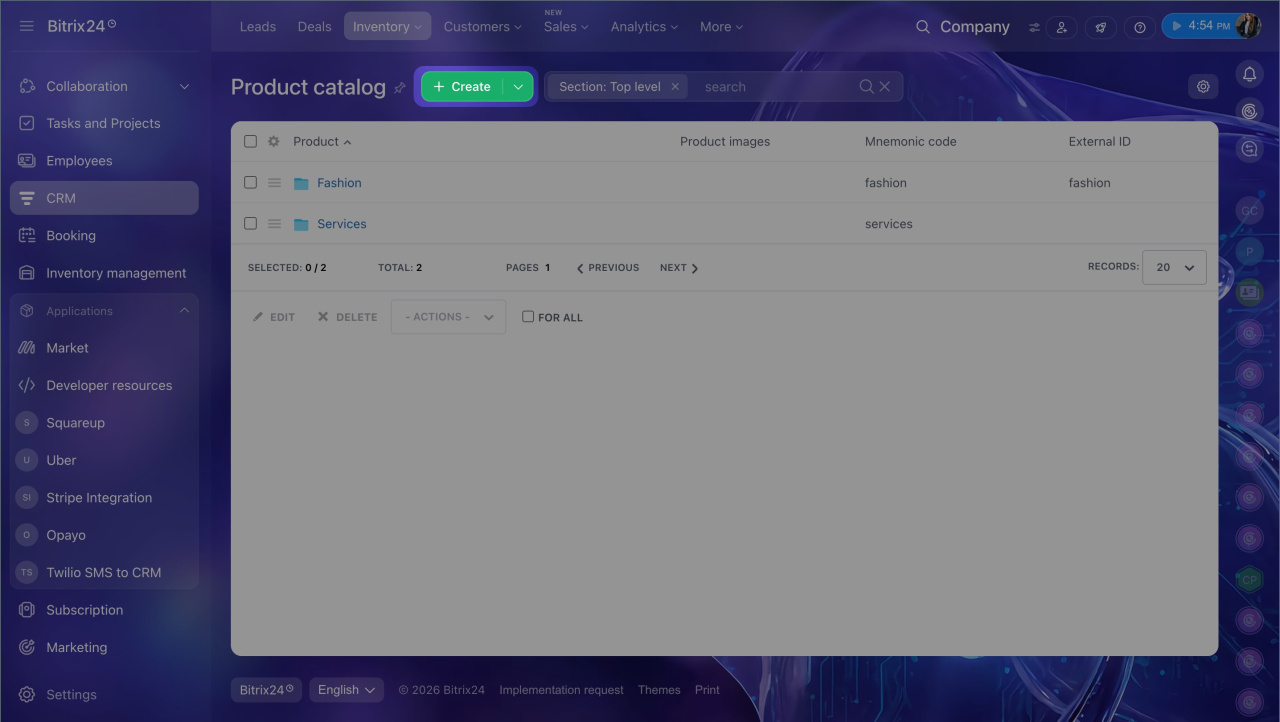
2. Click Create.
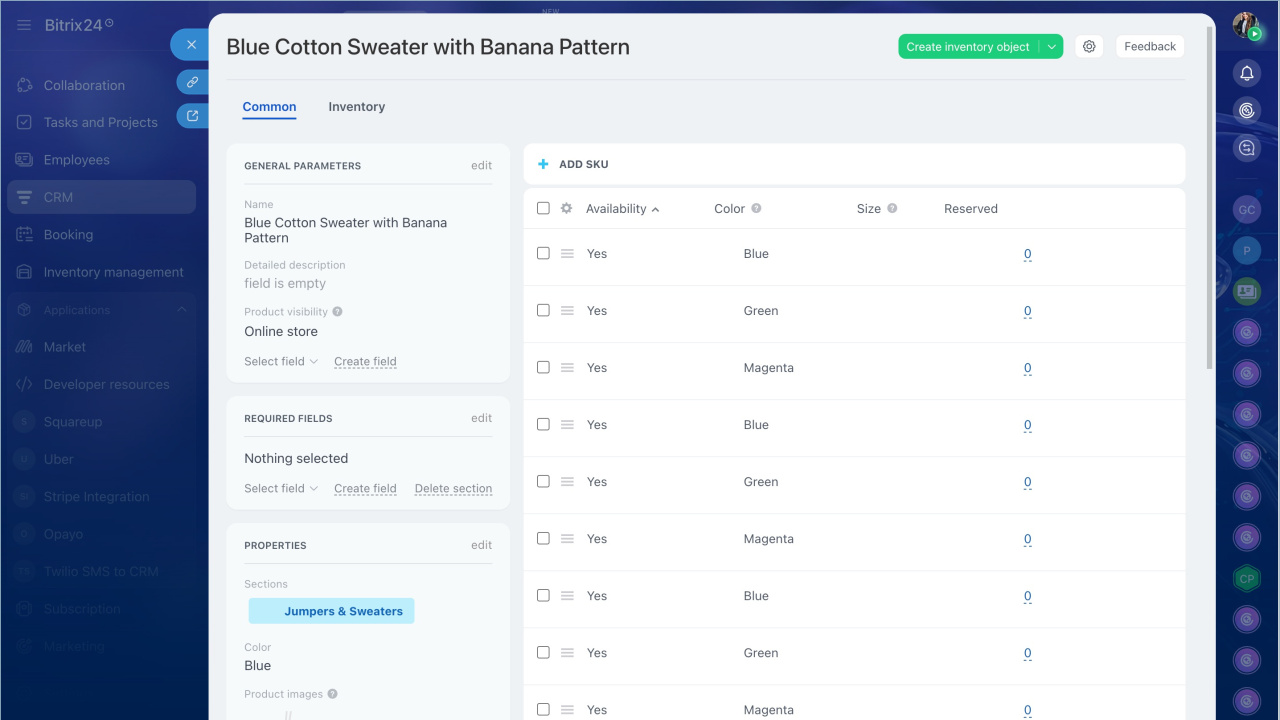
For each product, you can add a price, SKU, barcode, dimensions, photo, and variants such as size or color.
Add product to the catalog
If you have a large catalog, organize products into sections and subsections so managers can find items faster in deals. If you have many products, import them in bulk instead of adding them one by one.
Product catalog
Product import
Enable Inventory management
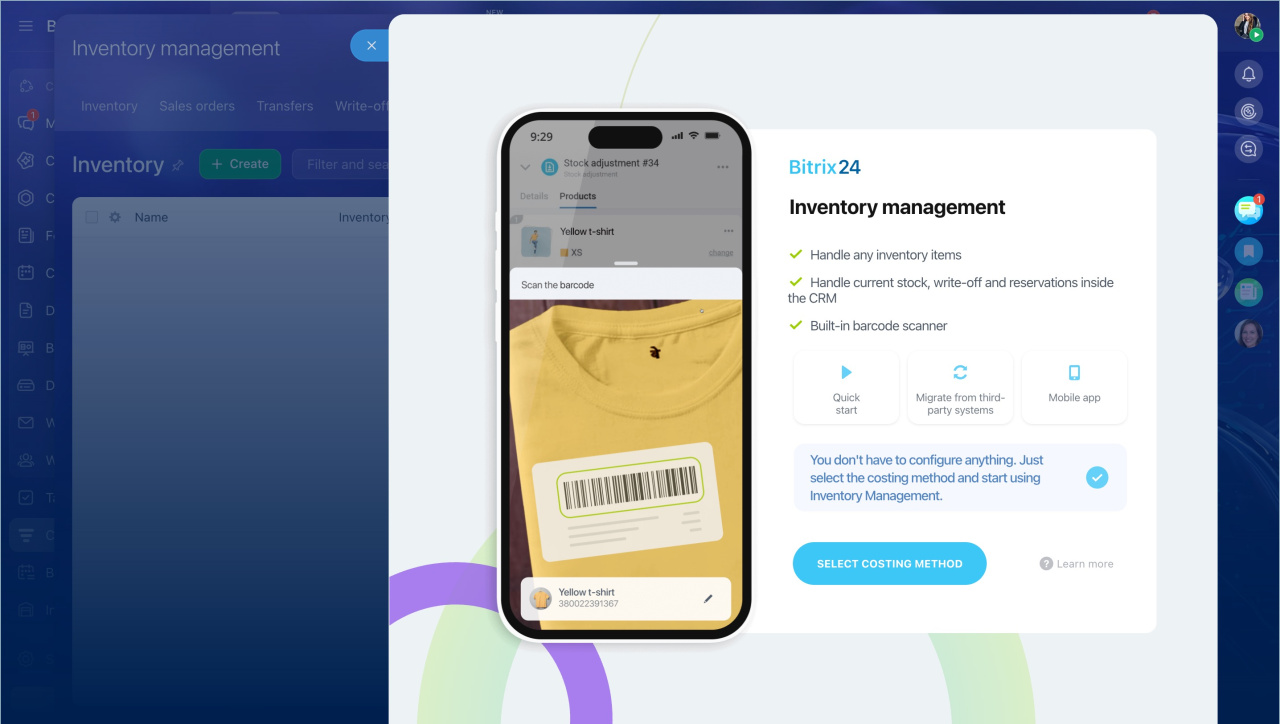
After you add products to the catalog, enable Inventory management. The first time you open this section, Bitrix24 asks you to choose a working mode and a costing method.
Configure access permissions to Inventory Management
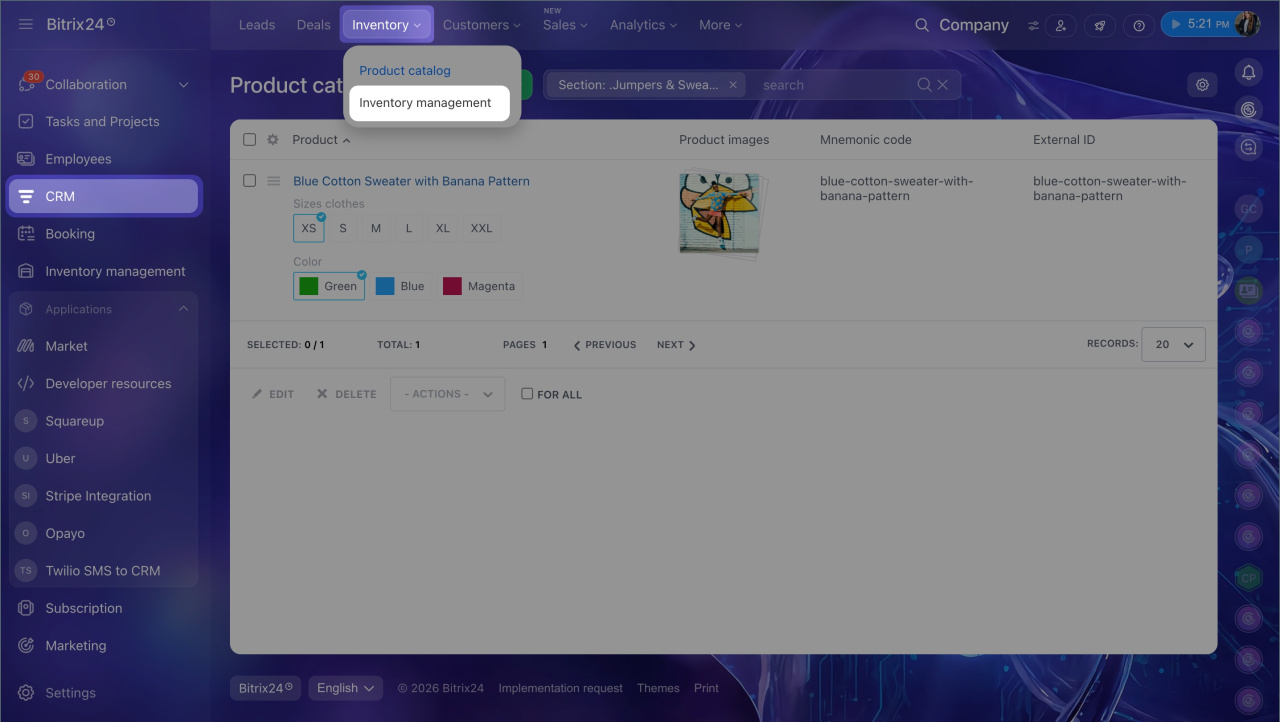
1. Go to CRM or Sites and Stores and open Inventory > Inventory management.
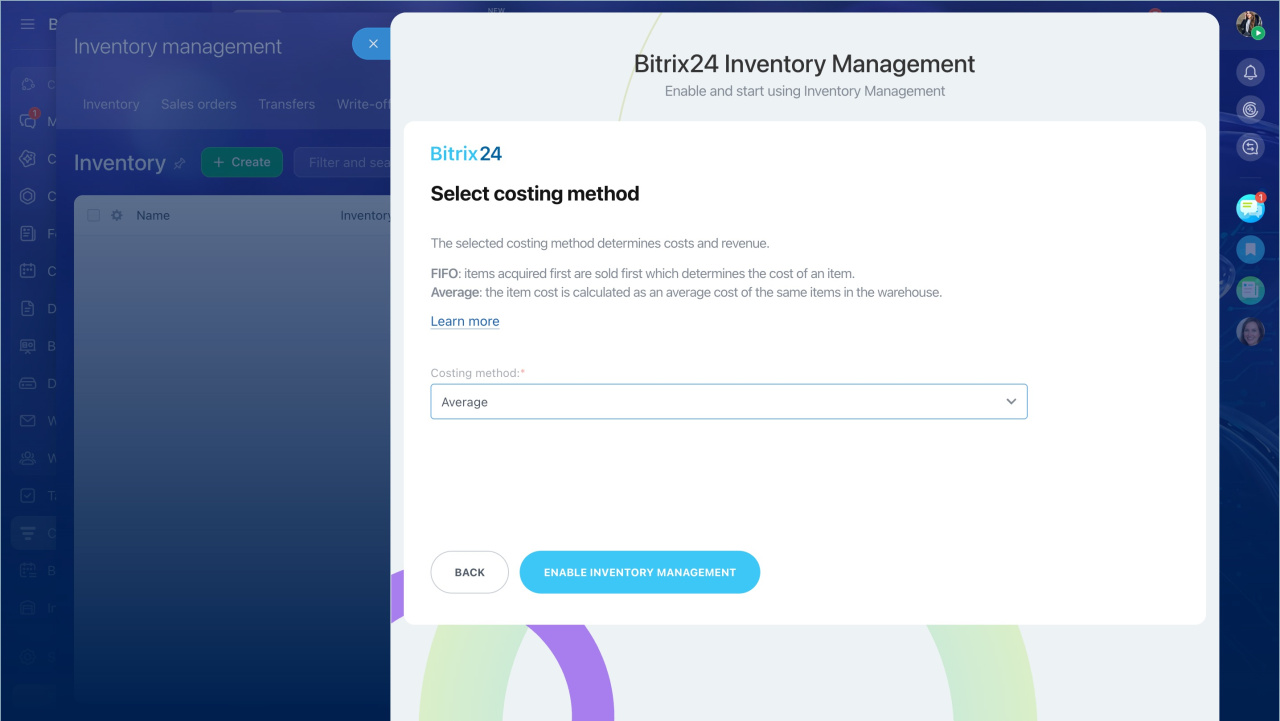
2. Select a costing method — how product cost is calculated at the time of sale:
- FIFO: items acquired first are sold first which determines the cost of an item.
- Average: the item cost is calculated as an average cost of the same items in the warehouse.
To change the costing method after enabling inventory management, you need to disable and re-enable it.
Costing methods and gross profit report
3. Click Enable Inventory management.
4. Confirm the stock reset — before enabling inventory management, Bitrix24 resets current stock levels to zero. Document drafts are saved.
Enter opening stock balances
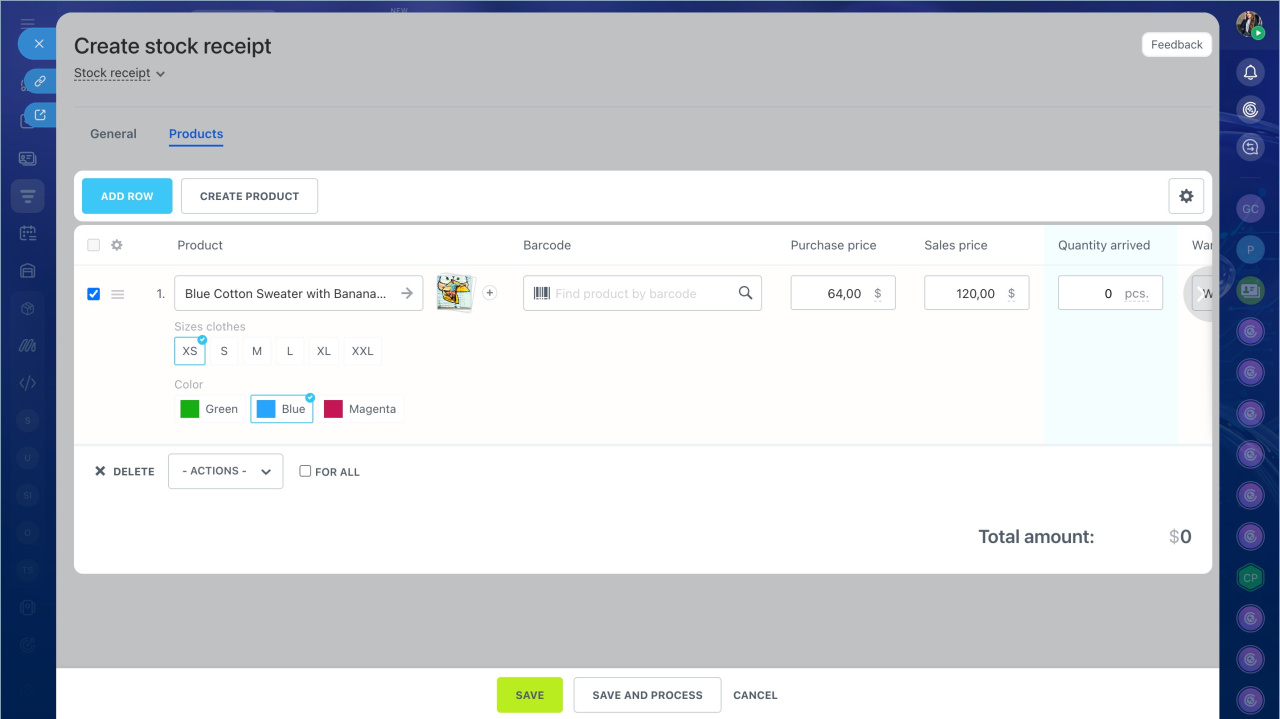
To make inventory management reflect your actual stock, record how many products you already have. Create a stock receipt document to do this.
If you already have products in Bitrix24 with non-zero stock levels, reset them before you start. Otherwise the data will be incorrect.
Reset balances
If your data is stored in another system, you can transfer it to Bitrix24.
Migrate data from other systems to Bitrix24 Inventory management
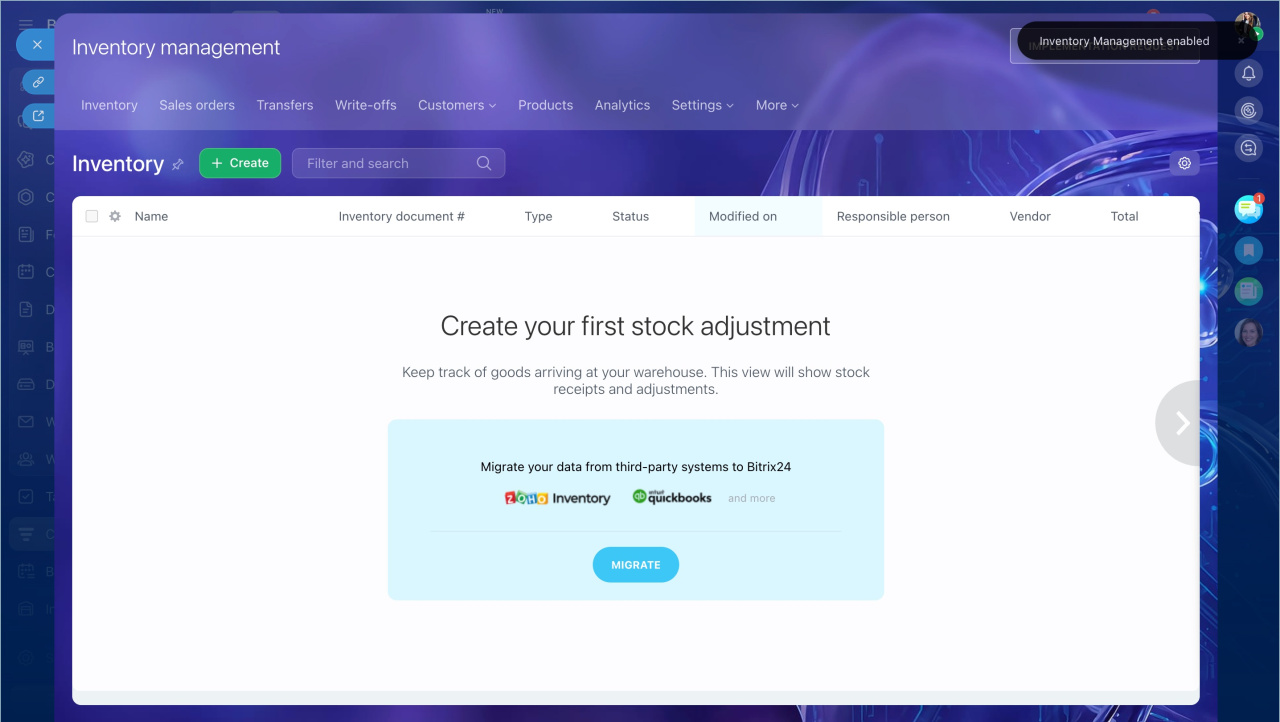
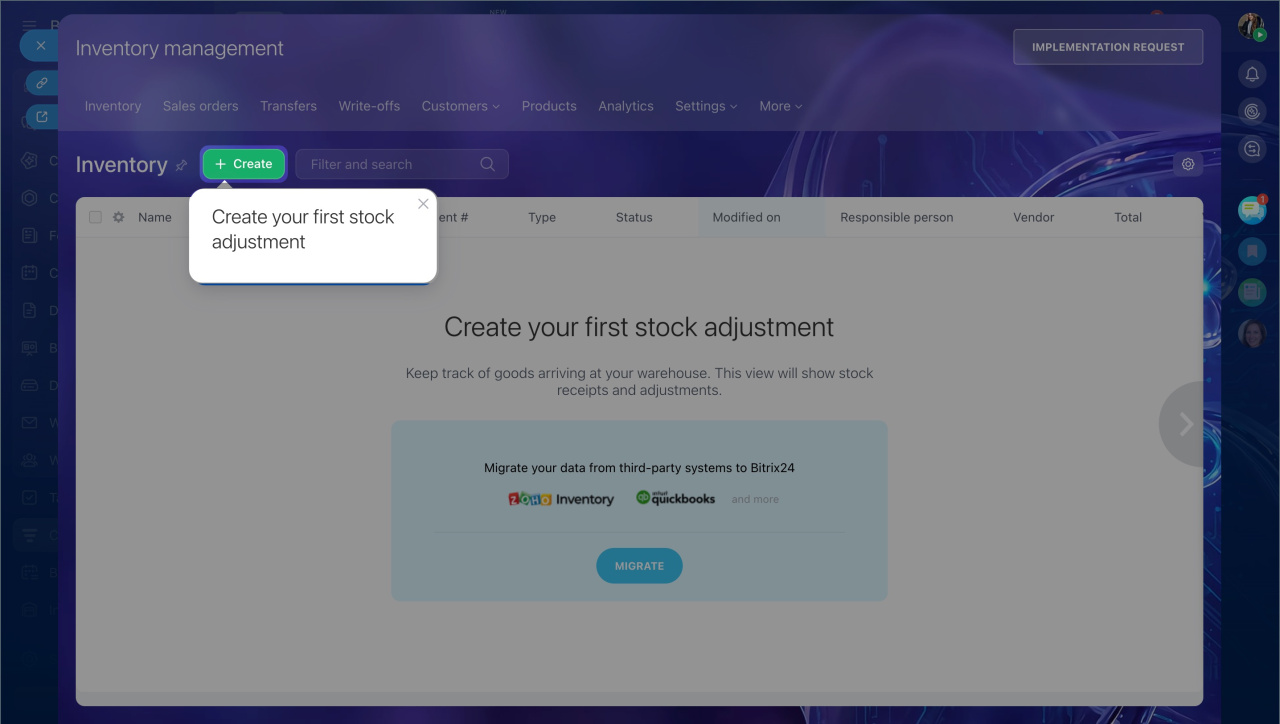
After you enable inventory management, the Receipts section opens and prompts you to add the first stock receipt.
Create a stock adjustment
1. Click Create.
2. In the document, enter the products, quantity, purchase price, and warehouse.
3. Click Save and post.
After posting the document, the products appear in the warehouse and become available for deals in CRM.
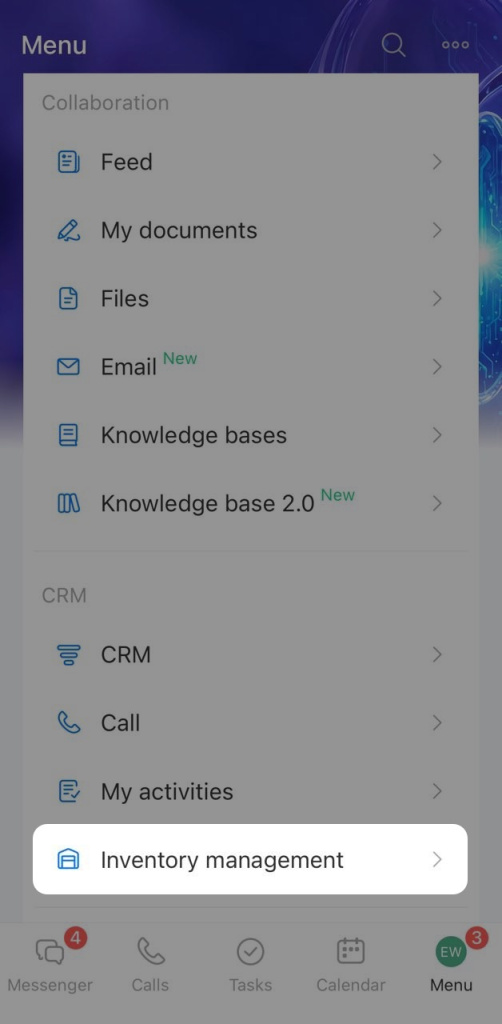
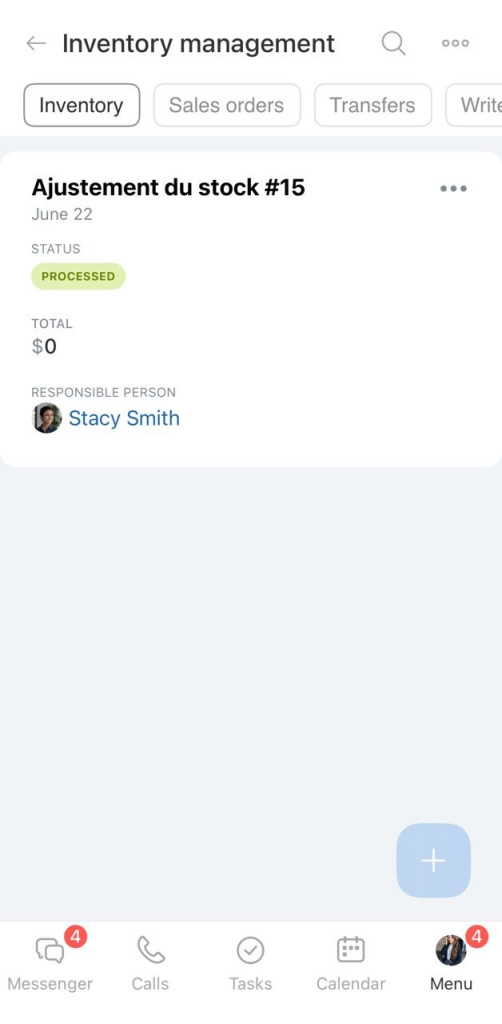
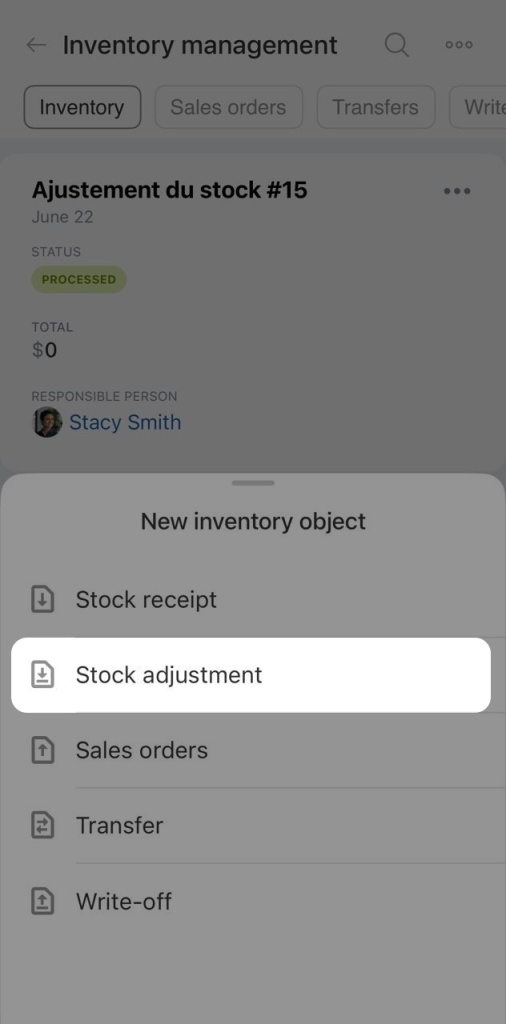
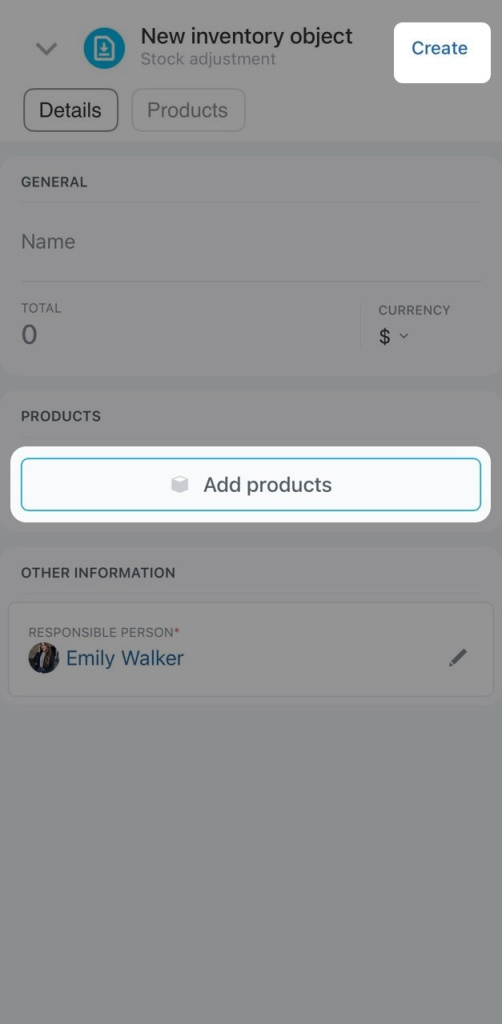
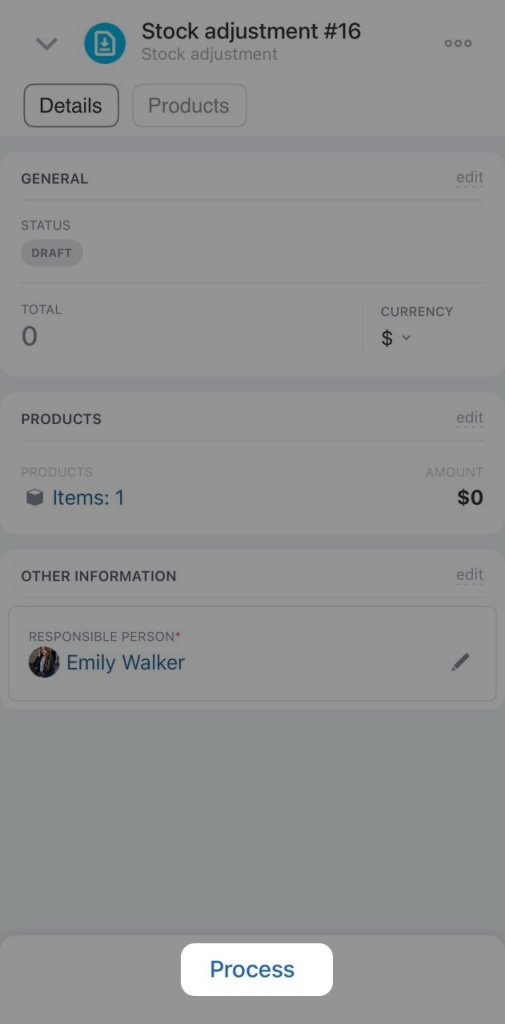
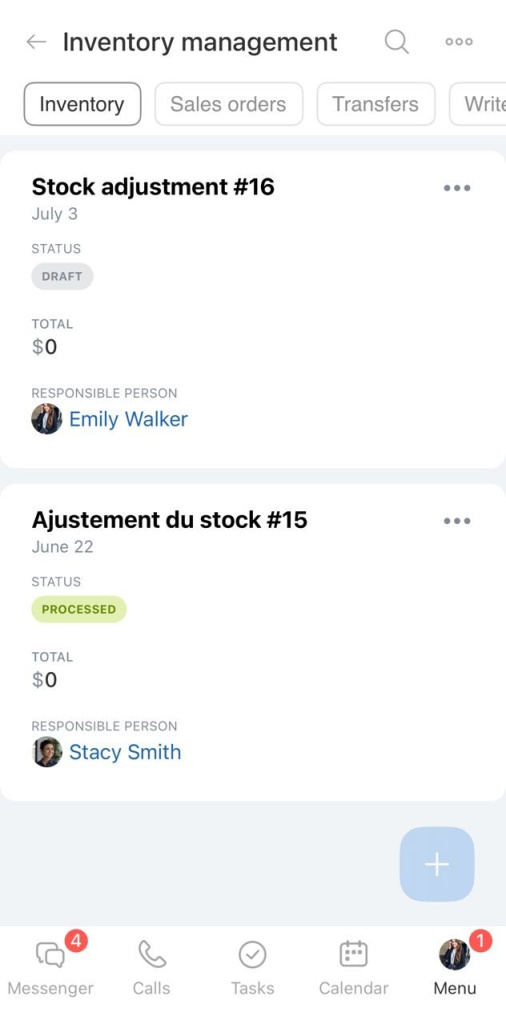
In the Inventory management section, tap Plus (+). Select the document type Stock adjustment.
Tap Add products and enter the products, quantity, warehouse, and purchase price. Tap Create, then Process.
Configure access permissions
Access permissions define what each employee can do. Set them up in advance so employees work only with the data they need and do not make accidental changes.
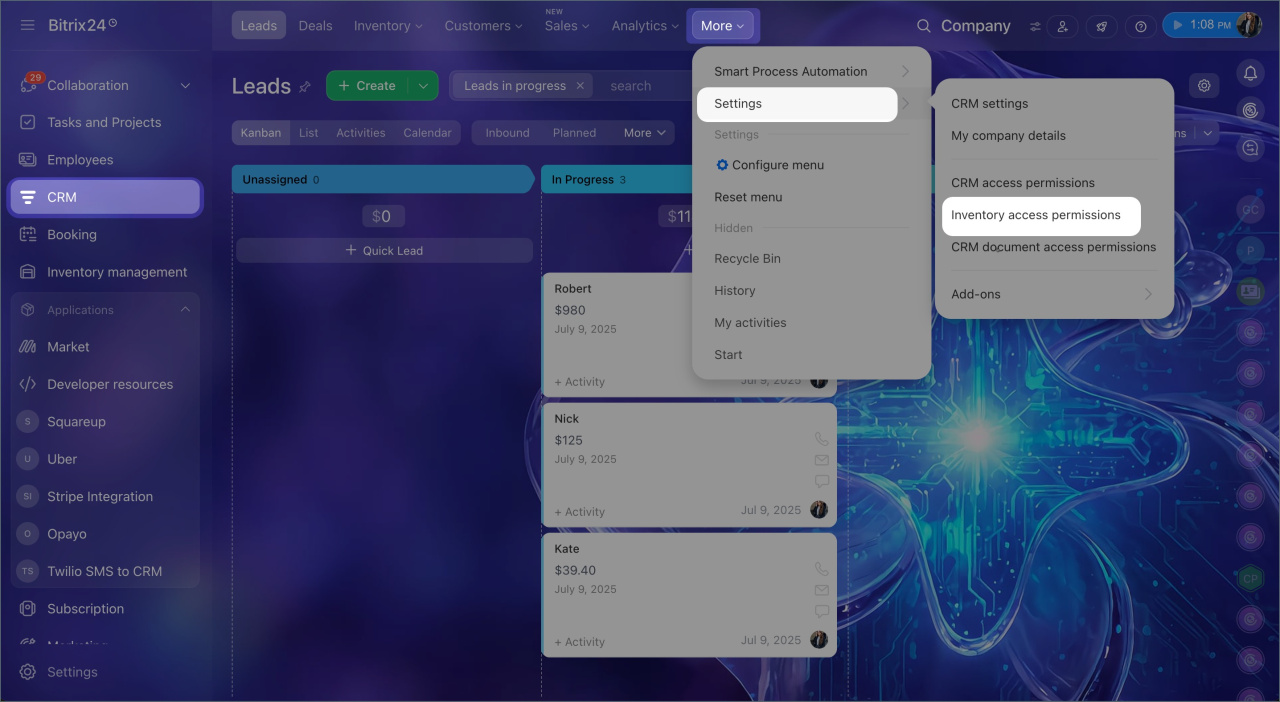
Go to CRM > More > Settings > Inventory access permissions.
If the default roles do not fit your needs, create custom roles.
Configure access permissions to Inventory Management
Allocate access permissions for Inventory management
Work with documents
After you add products, enter stock balances, and set up permissions, you can start daily inventory tracking. All product operations are recorded through documents. The Inventory management section has five document types, each recording a specific operation:
- Stock receipt — records products that arrived at the warehouse not from a supplier: opening balances or surpluses found during inventory.
- Receipt — records products received from a supplier. Stock levels increase.
- Sales — records a sale to a customer. When a deal closes in CRM, a sales document is created automatically and stock levels decrease.
- Transfer — records a product transfer between warehouses.
- Write-off — records product losses unrelated to sales: defects, damage, or shortages.
For each document, you can create a printable form — an invoice or act — and print it, email it to a customer, or share a link.
Create a stock receipt
Work with sales orders
Transfers
Write-offs
Print Inventory management documents
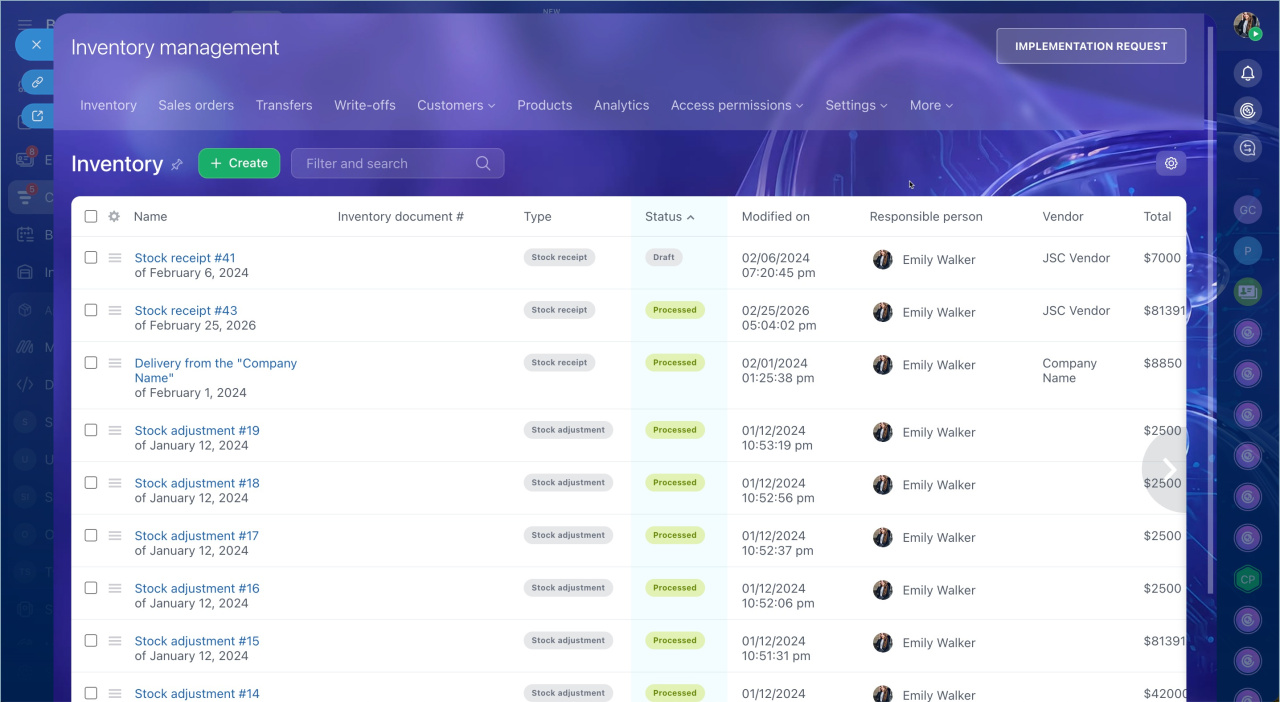
Go to the Inventory management section. All Inventory documents appear here. Use the tabs at the top to open the document type you need: Inventory, Sales order, Transfer, or Write-off.
Work with products in CRM
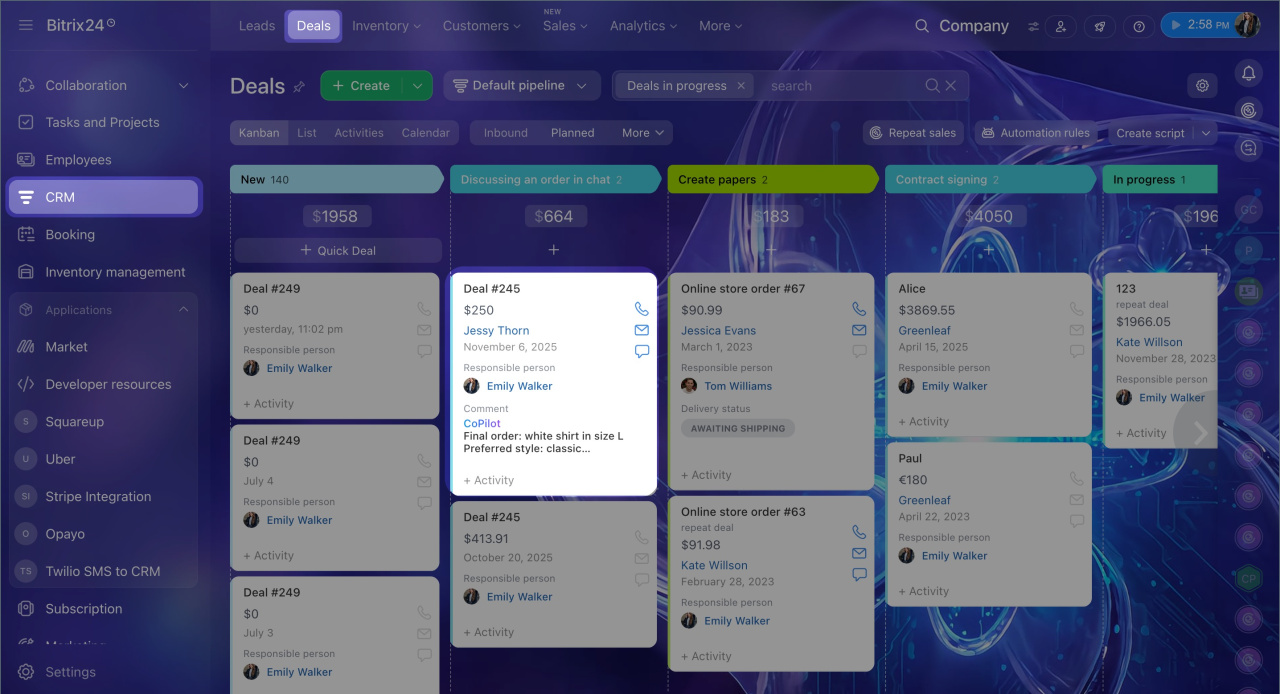
Products from the catalog are available right inside deals. Managers can check stock levels and reserve products without leaving the deal.
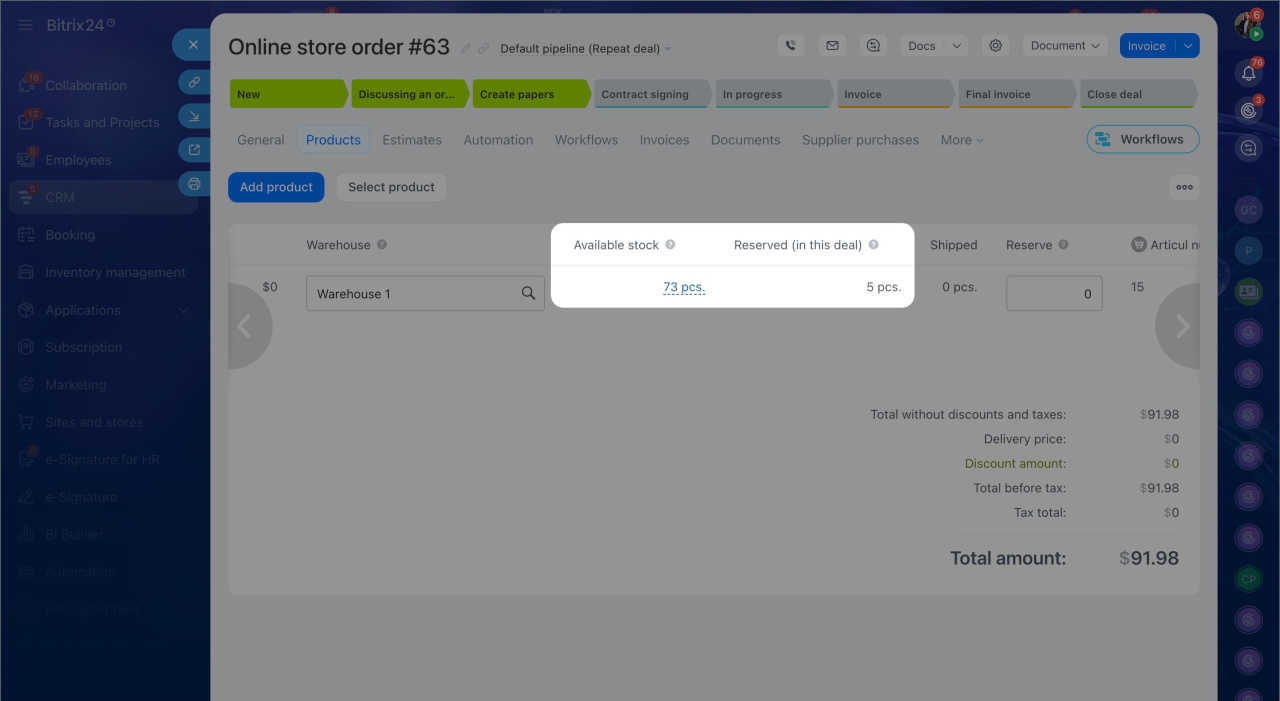
Reserve a product. When a manager adds a product to a deal, they can reserve it for a specific customer. A reserved product lowers the available stock, so another manager cannot sell it by mistake.
By default, a reservation lasts three days, but you can change this period. The reservation ends automatically when the deal is closed or when the product is removed from the deal.
Reserve products in deals
Find deals with reserved products
1. Go to CRM > Deals and open the deal you need.
2. Open the Products tab.
3. Add a product, select a warehouse, and enter the quantity in the Reserve field.
1. Go to CRM > Deals and open the deal you need.
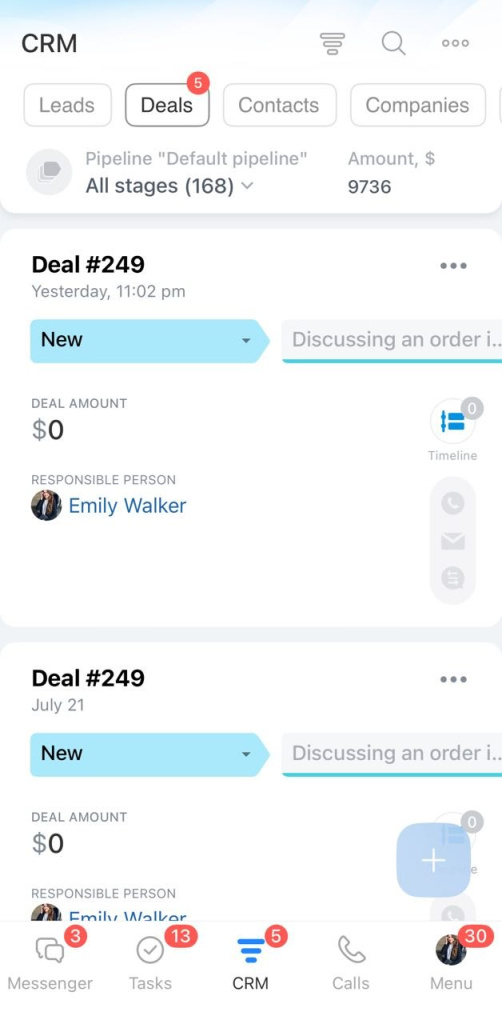
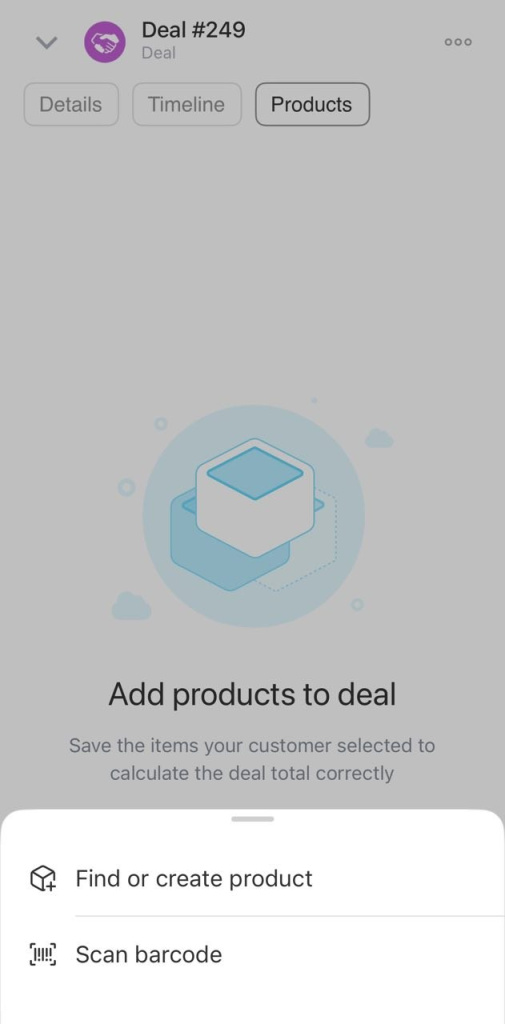
2. Open the Products tab and tap Plus (+).
3. Tap Find or create a product and select the product you need.
4. Tap the product name.
5. In the Stock and reservation section, enter the quantity in the Reserve field and tap Done.
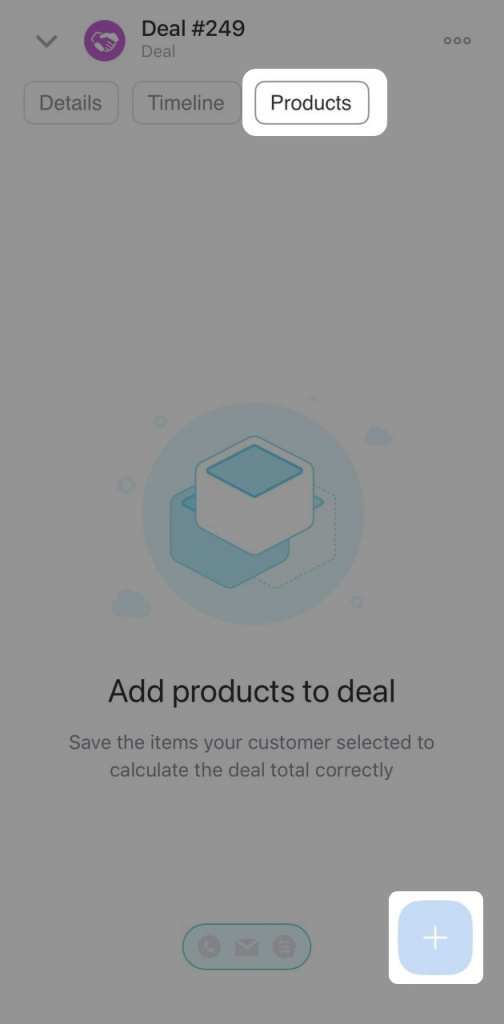
Process a sales order when closing a deal. When a deal moves to the final stage, Bitrix24 automatically creates a sales order and deducts the products from the warehouse. If there is not enough stock, you cannot close the deal until you fix the issue.
To close a deal with a sales order, move it to the final stage. Bitrix24 will check stock availability and create the sales order automatically.
Inventory management documents in deals
In brief
- Inventory management helps you track stock levels, plan purchases, and avoid selling products that are out of stock.
- When you enable inventory management, select the mode.
- Right after you enable it, set the costing method: average cost or FIFO.
- Add products to the catalog and create a stock adjustment to record actual stock levels.
- Set up access permissions for employees who work with the warehouse.
- Use the right document type to record receipts, sales, transfers, and write-offs. You can also generate and print a form for each document type.
- Products from the catalog are available directly in CRM deals. Managers can reserve them for a specific customer, and Bitrix24 creates a sales order automatically when the deal is closed.