Bitrix24 CRM provides a comprehensive set of tools to simplify and enhance your customer management processes. These tools help you efficiently distribute orders among employees, send personalized emails and SMS to clients, generate essential documents, and much more.
On the Sales automation page, you can:
- Add and configure automation rules and triggers
- Specify variables and constants
- Ensure that automation is set up correctly
Bitrix24 plans and pricing
- Go to the CRM section.
- Select the desired item, such as leads or deals.
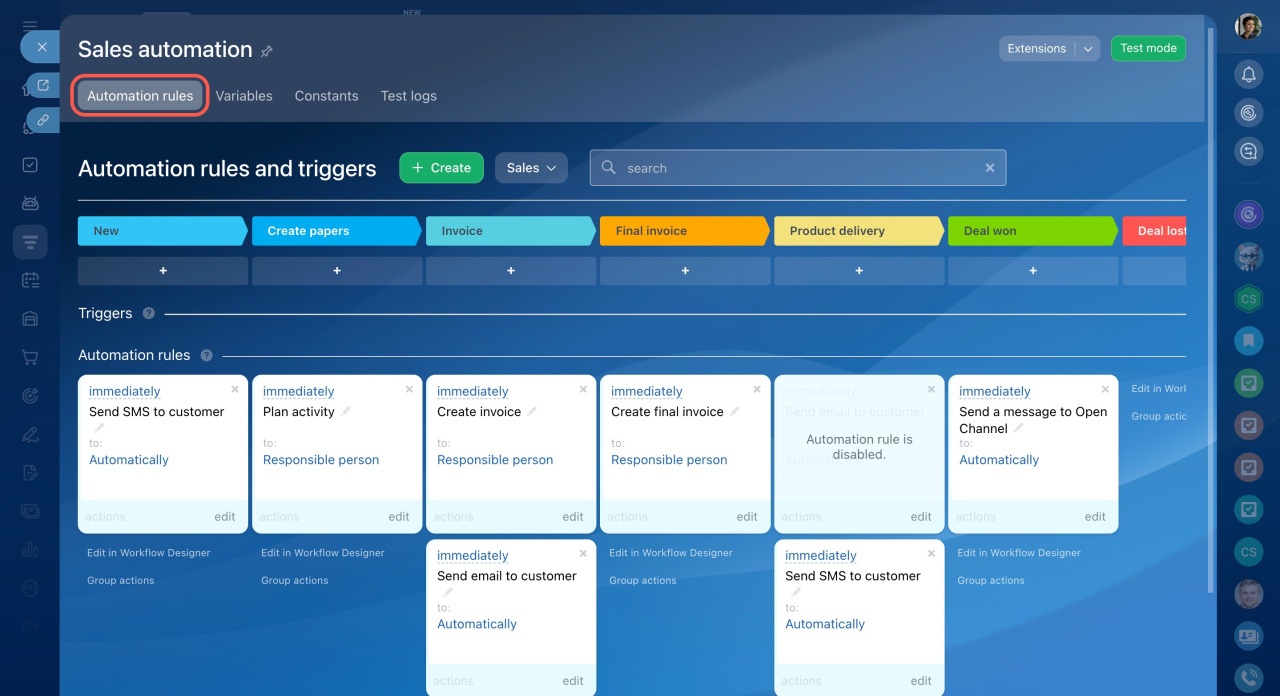
- Open the Automation rules tab.
Automation rules and triggers
On this tab, you can configure rules and triggers for each stage. Automation rules perform actions when a CRM item reaches a specific stage, like sending emails and SMS, creating documents, and more.
Triggers monitor customer actions and changes in CRM, like email link clicks, incoming calls, invoice payments, and more. When a specific action occurs, the trigger moves a CRM item to its designated stage.
Automation rules in CRM
Triggers in CRM
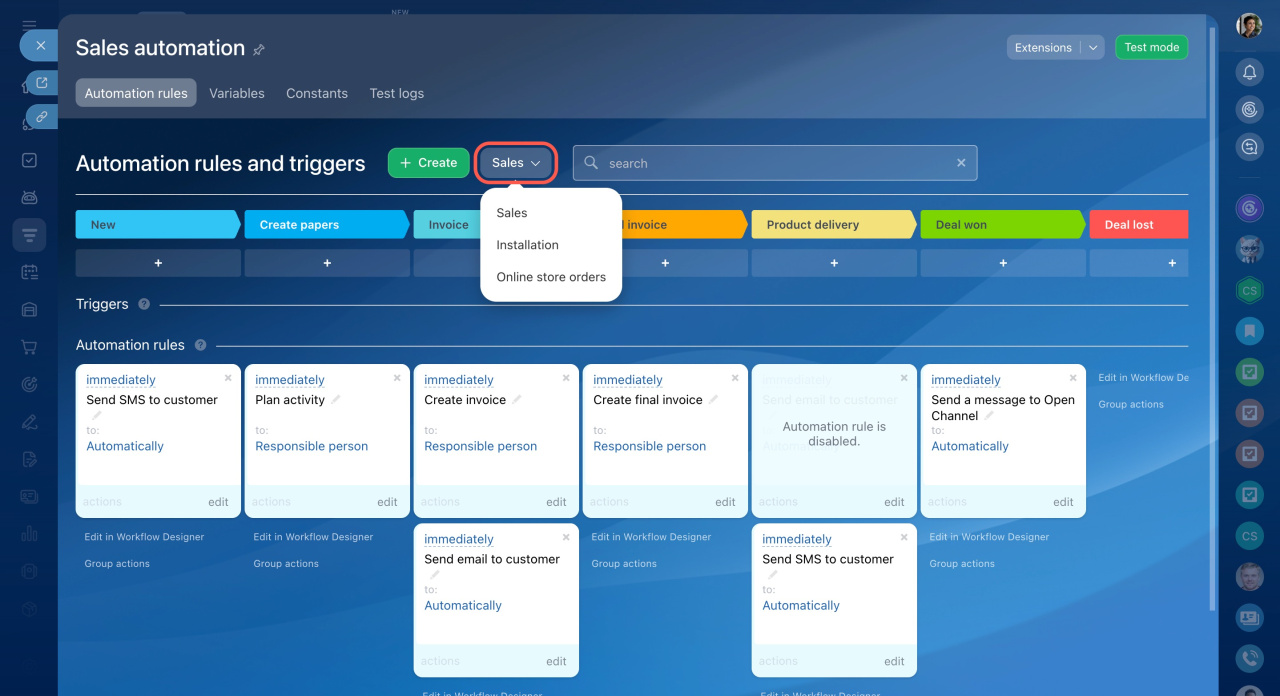
Select a pipeline. In deals, you can configure rules and triggers for each sales pipeline.
Sales pipelines
Find automation rules and triggers. To quickly find the added rules or triggers, enter their names in the search bar.
Under each stage, you can select additional actions.
Edit in Workflow Designer. Use the Workflow Designer to add activities that aren't available in the automation rules interface. For example, add the "Loop" activity to automate processes that require repeating the same actions multiple times, like checking data or sending notifications.
In Workflow Designer, you can edit both a single rule and a chain of rules at one stage.
Workflow designer
Group actions. Use this option to apply changes to multiple or all rules and triggers at a stage. For example, you can transfer all automation rules from deals to leads.
Group actions for automation rules
Variables and constants
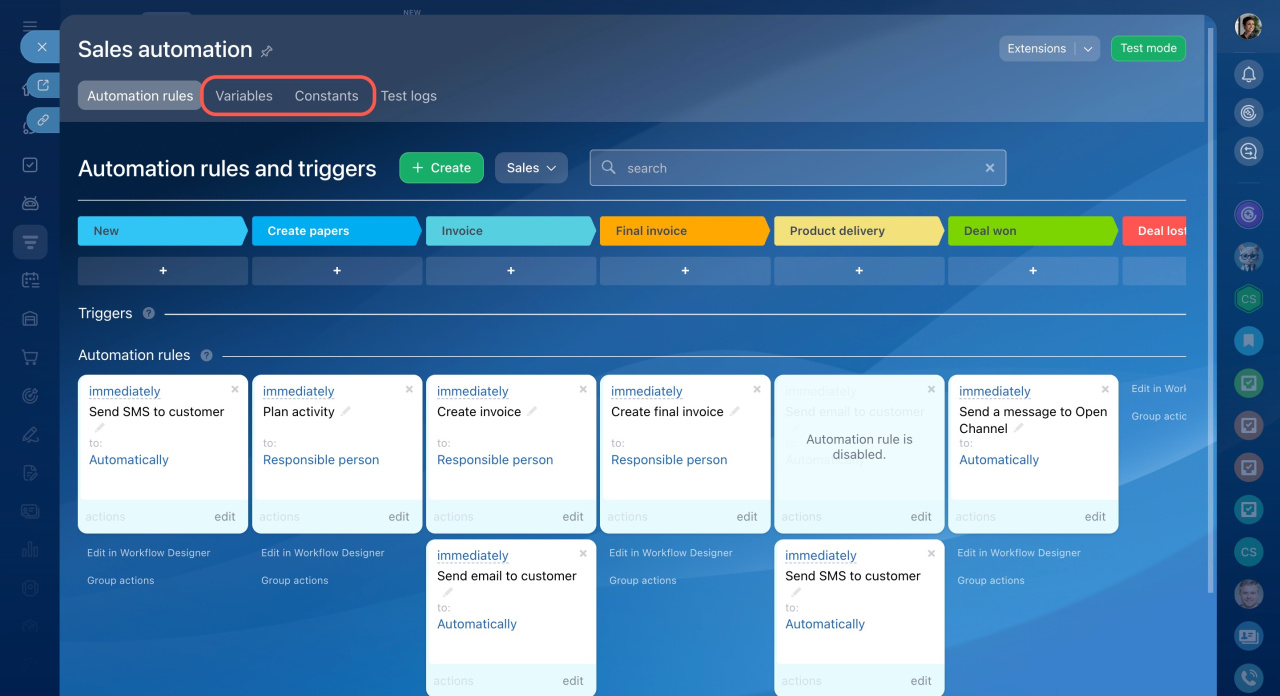
On the Variables and Constants tabs, you can store information to use in conditions, various fields, and math operations.
Constants are values that don't change or rarely change, like a tax rate, a specific date or an employee's role. For example, create a "Chief Accountant" constant and assign this role to a specific employee.
Variables, on the other hand, are values that can change during the work process. For example, a variable might be the percentage of a sale that an agent receives as payment. Depending on the deal amount, this percentage varies. The "Modify item" rule will automatically calculate the payment amount using these variable values.
Variables and constants in automation rules
Automation rule test mode
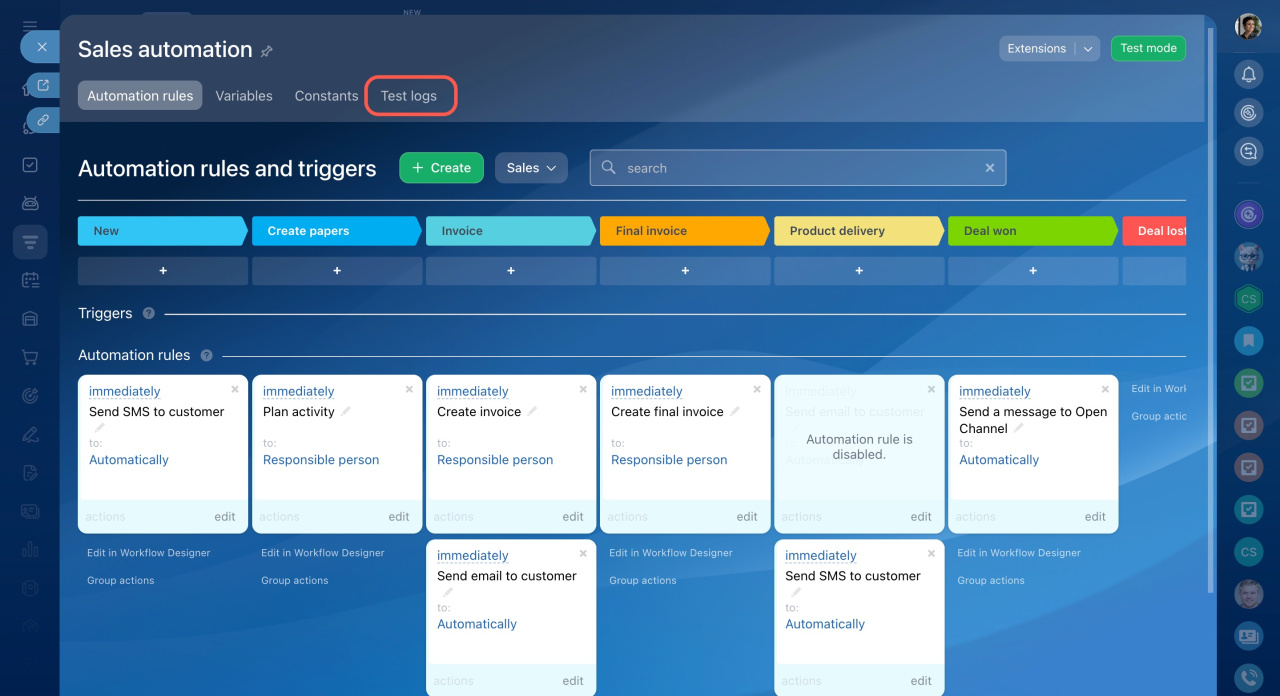
The test mode lets you try out automation rules to ensure they work correctly. You can choose to test with demo deals or real-life deals. Follow each step of the automation rule actions and fix any errors you find.
The Test logs section keeps records of the test results.
Automation rule test mode
In brief
-
Bitrix24 CRM provides tools to automate customer processes, such as distributing orders, sending communications, and generating documents.
-
On the Sales Automation page, you can add automation rules and triggers, specify variables and constants, and run automation rule test mode.
-
Check if Sales automation is available on your plan.
-
On the Automation rules tab, configure rules and triggers for each stage of a CRM item.
-
On the Variables and Constants tabs, store information for use in conditions, fields, and math operations.
-
Use the Automation rule test mode to check actions and fix errors.


