
The Bitrix24 workflow builder has been fully redesigned. The interface and logic are updated. You now get a single workspace where you can view the entire workflow at once. You can manage long and complex workflows without switching between tabs.
A single workflow can include actions from different Bitrix24 tools. For example, it can create a task, update a deal stage, and send a customer notification. This helps you build end-to-end workflows across multiple departments.
Below is an overview of the new builder and how to use it.
Updated interface
The new workflow builder is more visual and easier to use. You can build the entire workflow in one window and access all actions directly on the screen.
To open the builder:
- Go to Automation > Workflows > Workflow templates.
- Click Add to create a new workflow or open an existing one.
- The visual editor opens.
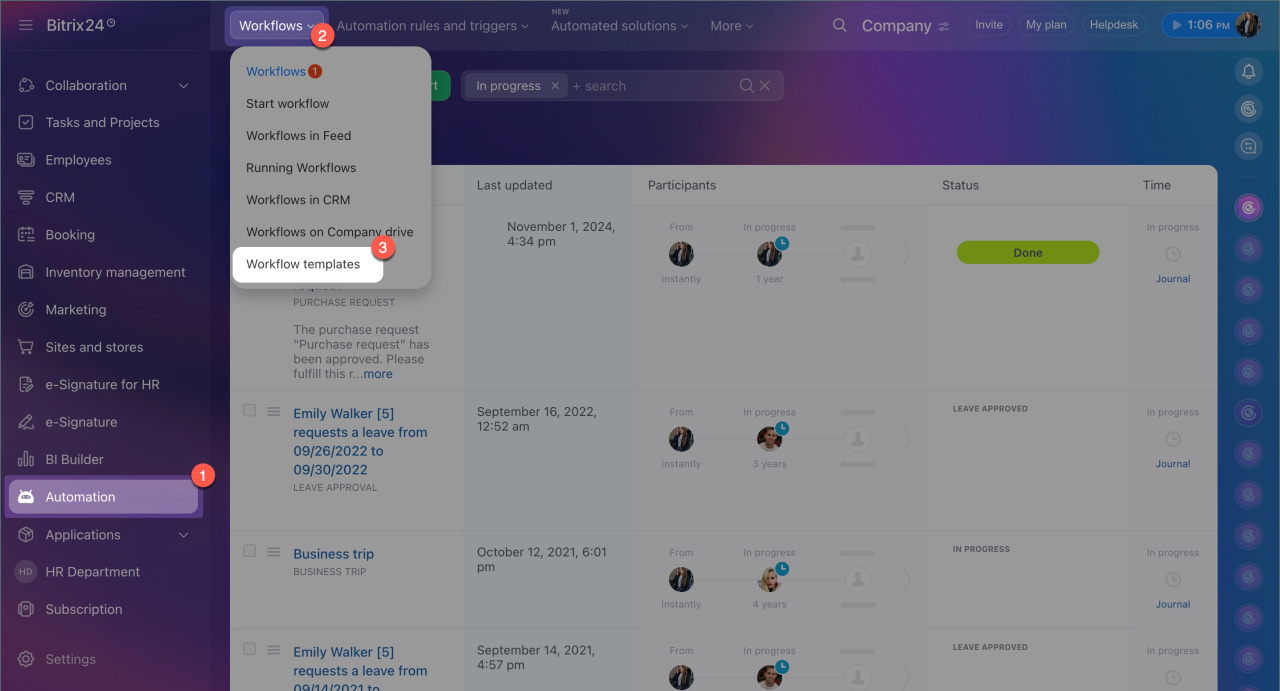
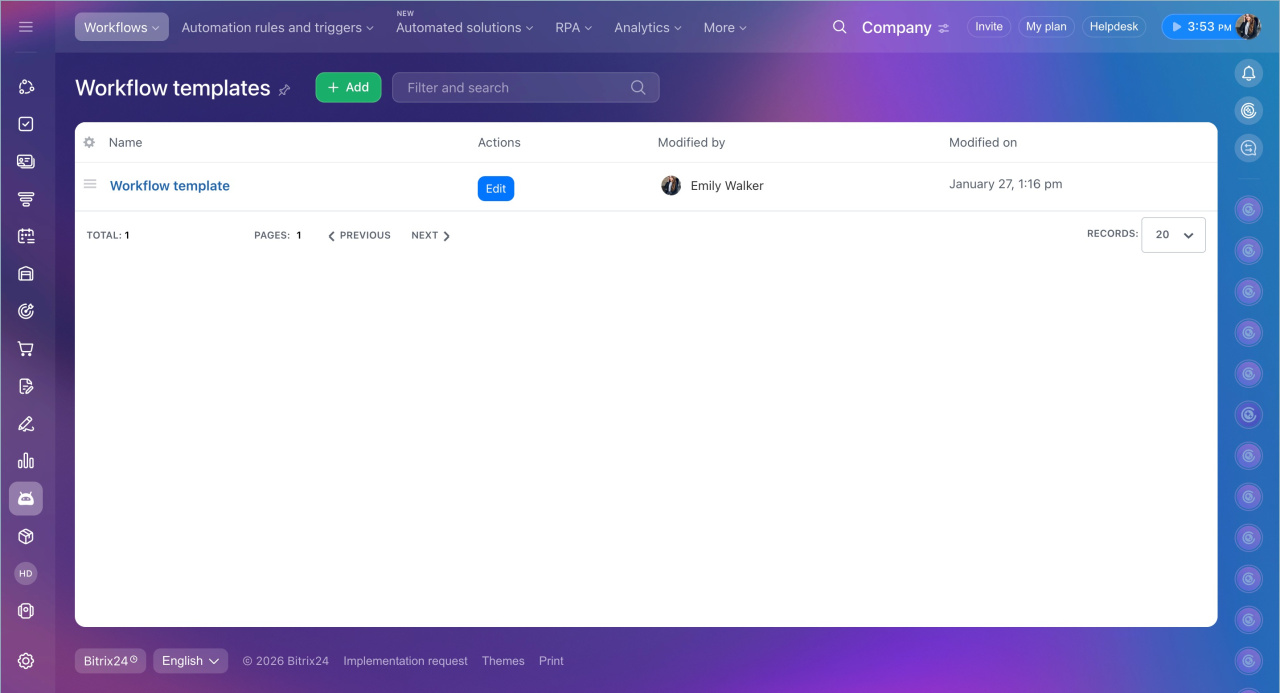
The editor has three main areas:
Workspace.This is where you build the workflow. It contains action blocks called nodes. Each node performs a specific task, such as sending a notification, creating a task, or updating a status. You define the sequence and connections between nodes to build the workflow logic.
You can zoom in or out to view the entire workflow. This is useful for large or complex processes.
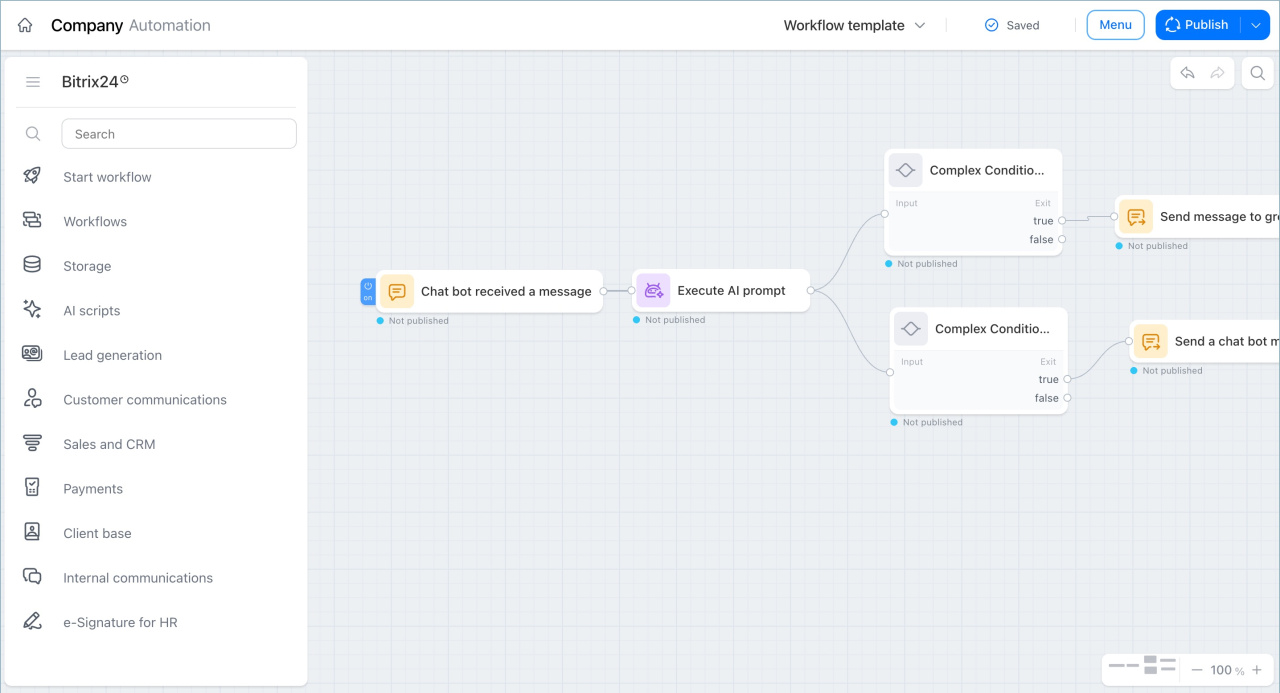
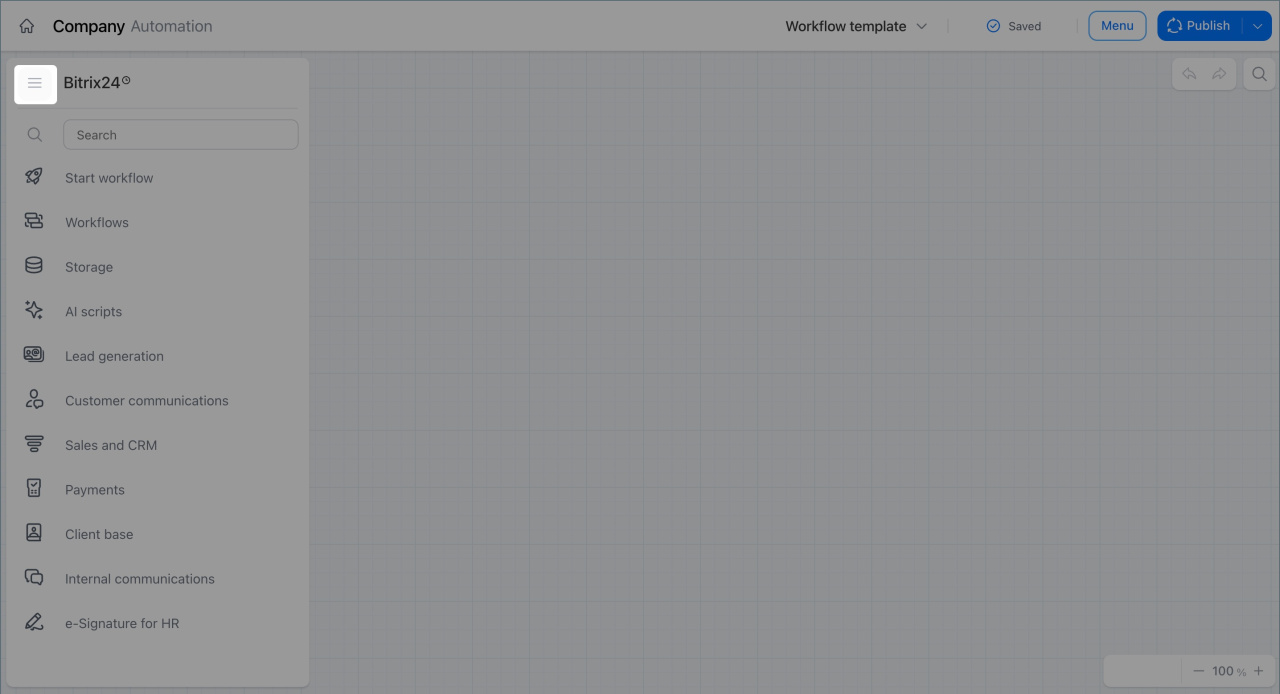
Action menu. The left panel shows available nodes. These are grouped by tools and use cases, for example:
- Sales and CRM: deals, leads, contacts.
- Customer communication: calls, emails, messages.
- Internal communication: chats, workgroups, notifications.
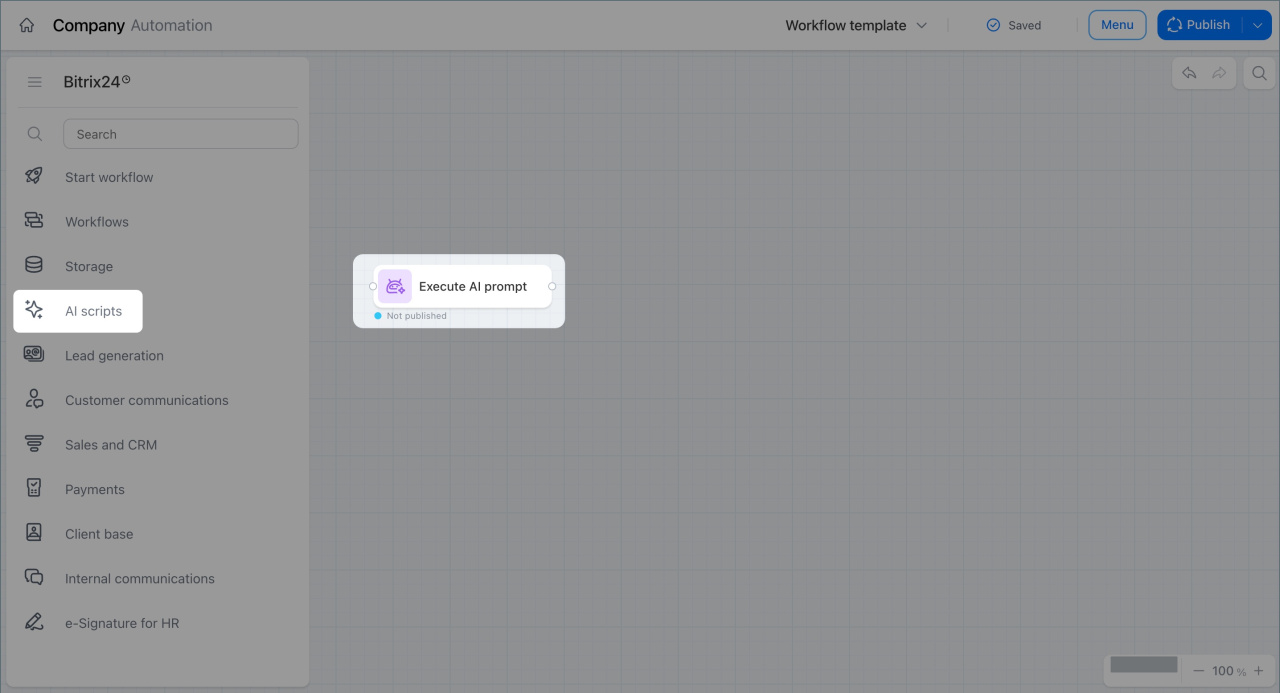
- AI scripts: automation using AI for analysis and responses.
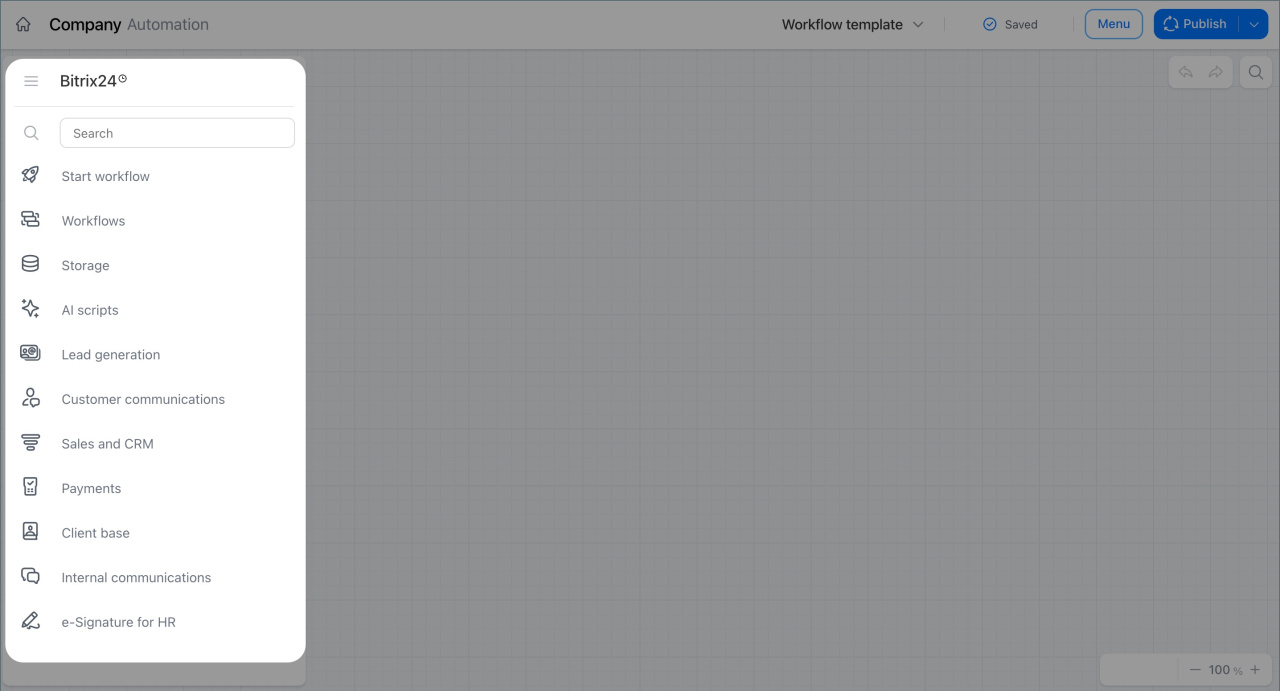
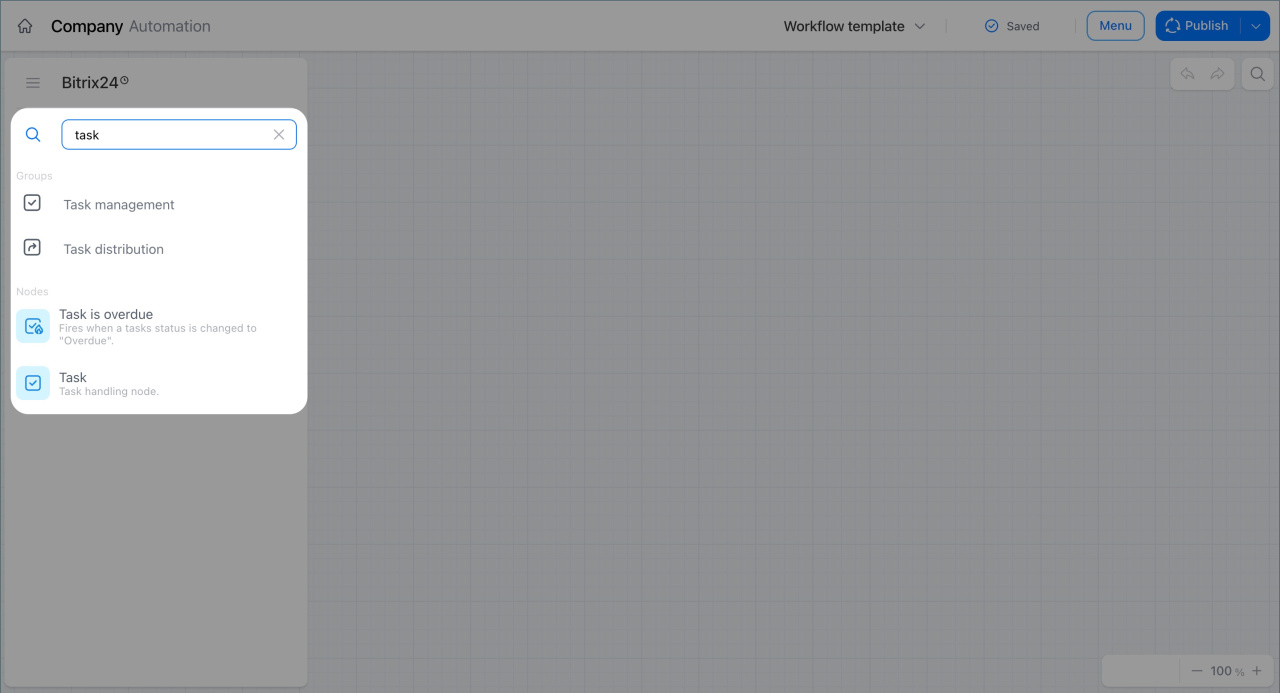
Use the search bar to quickly find a node. Click the Magnifying glass icon and enter the action name.
To get more space, click Menu (≡).
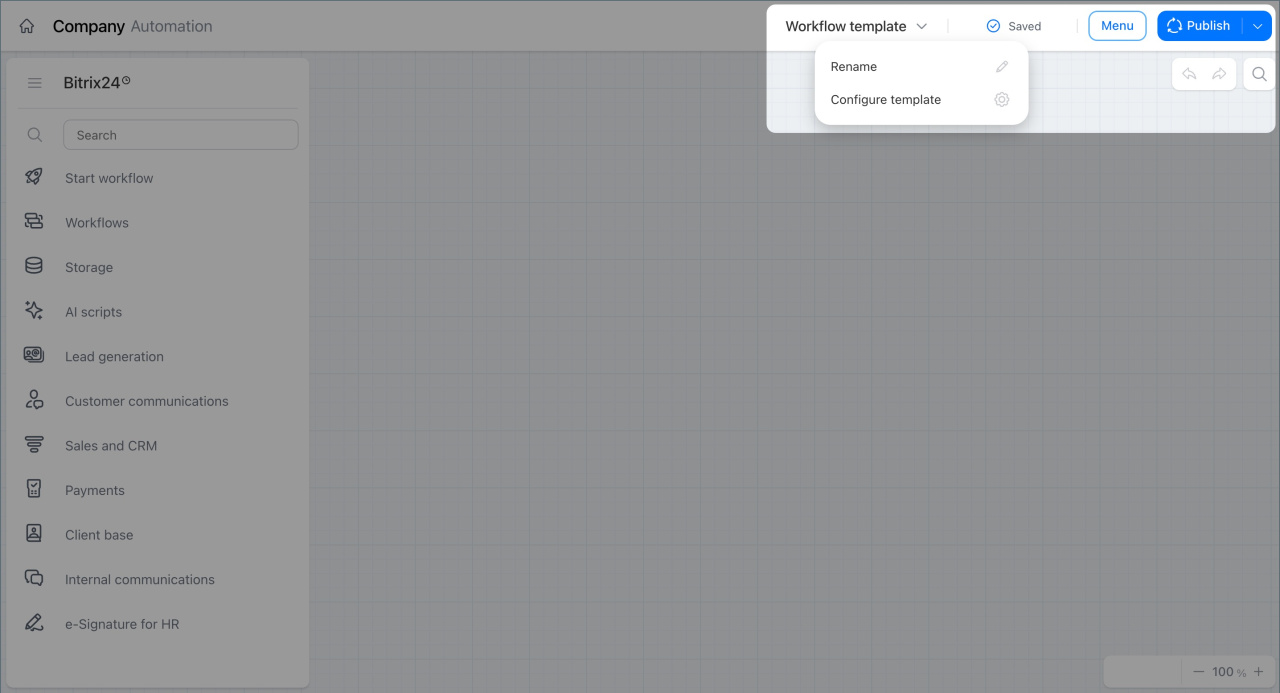
Control panel. The top panel includes tools for managing the workflow template. You can:
- Rename the workflow for easier identification in the list.
- Ensure changes are saved.
- Apply all new settings and changes to the template.
The builder saves changes automatically, but to run the updated script, you need to publish the template.
Autosave and publishing
Nodes in workflows
Nodes are the building blocks of a workflow. Each node performs a specific action, such as sending a notification, updating a status, or creating a CRM record.
Working with actions has become easier:
Multiple actions in one block. You can add several actions to a single node. For example, create a task and set its status to In progress.
Parallel branches. You can run multiple actions at the same time. For example, send a contract for approval and legal review simultaneously.
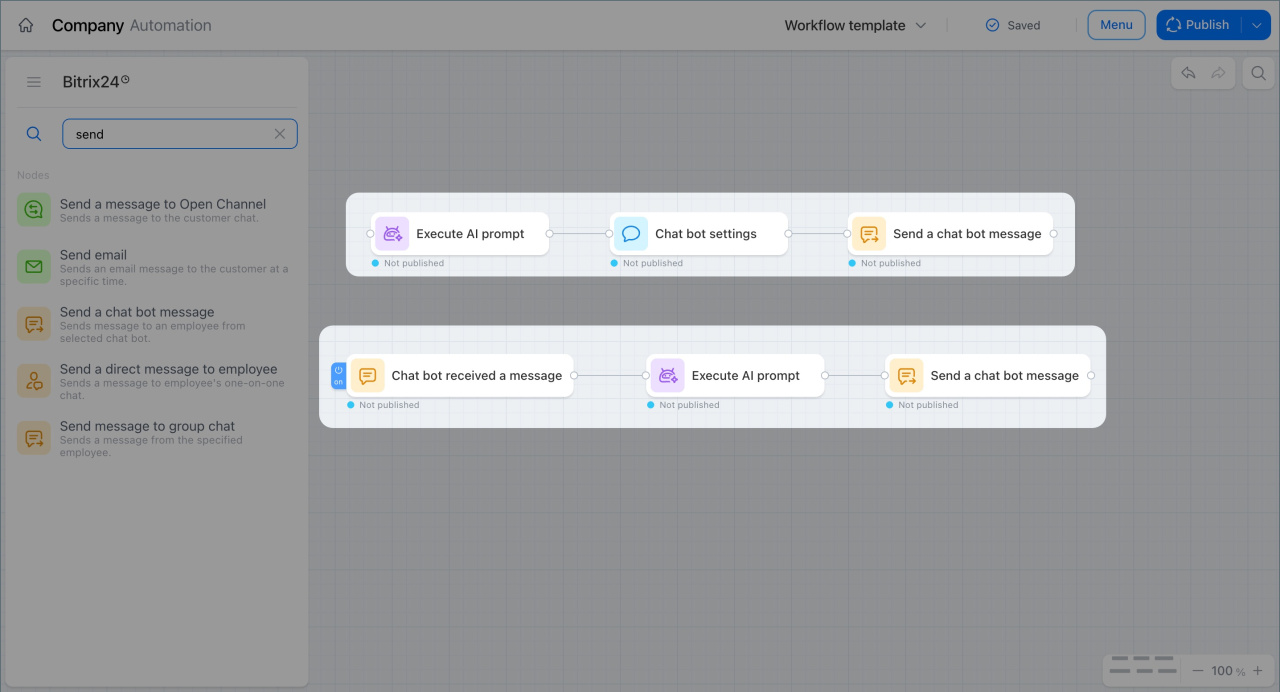
Triggers. Trigger nodes track events and start actions automatically. For example, when a deal field changes, the workflow can send a notification or create a task.
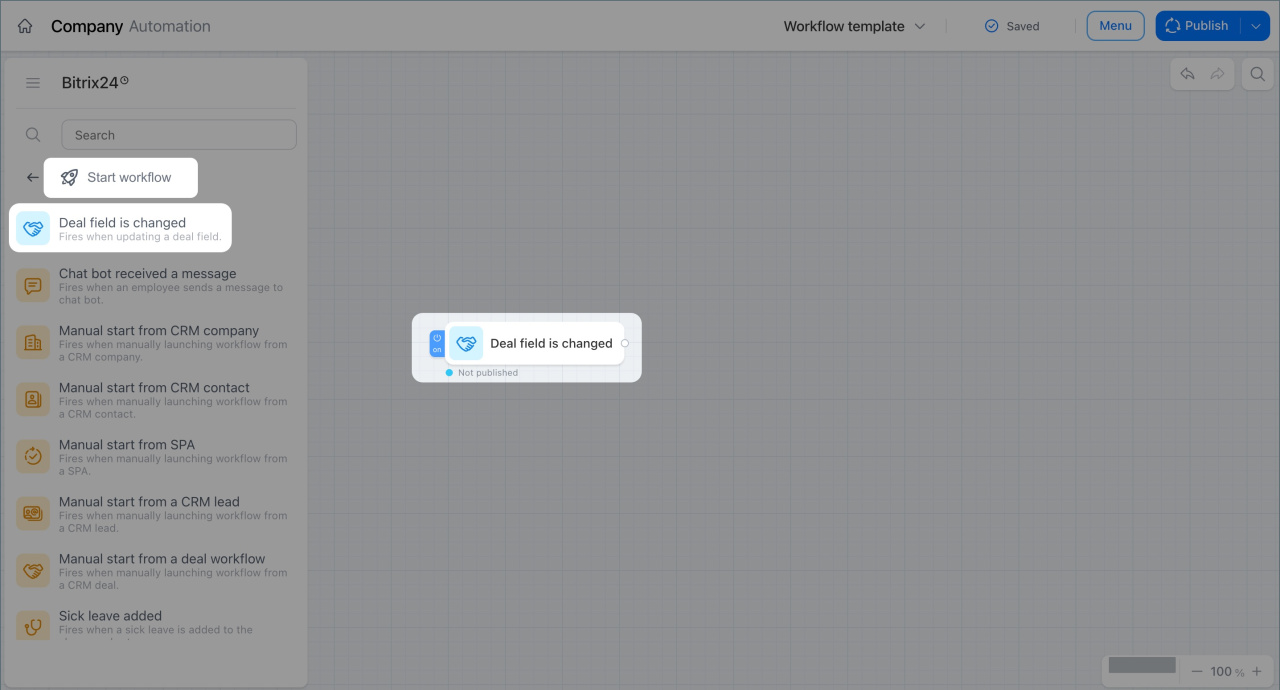
AI nodes. AI nodes can analyze data and perform actions automatically. For example, if a message says “I want to take a vacation,” the system can start a vacation workflow.
Working with nodes
To build a workflow, select and configure nodes.
Select a node. Drag a node from the action menu to the workspace. To edit it, double-click the node or click Three dots (...) > Open.
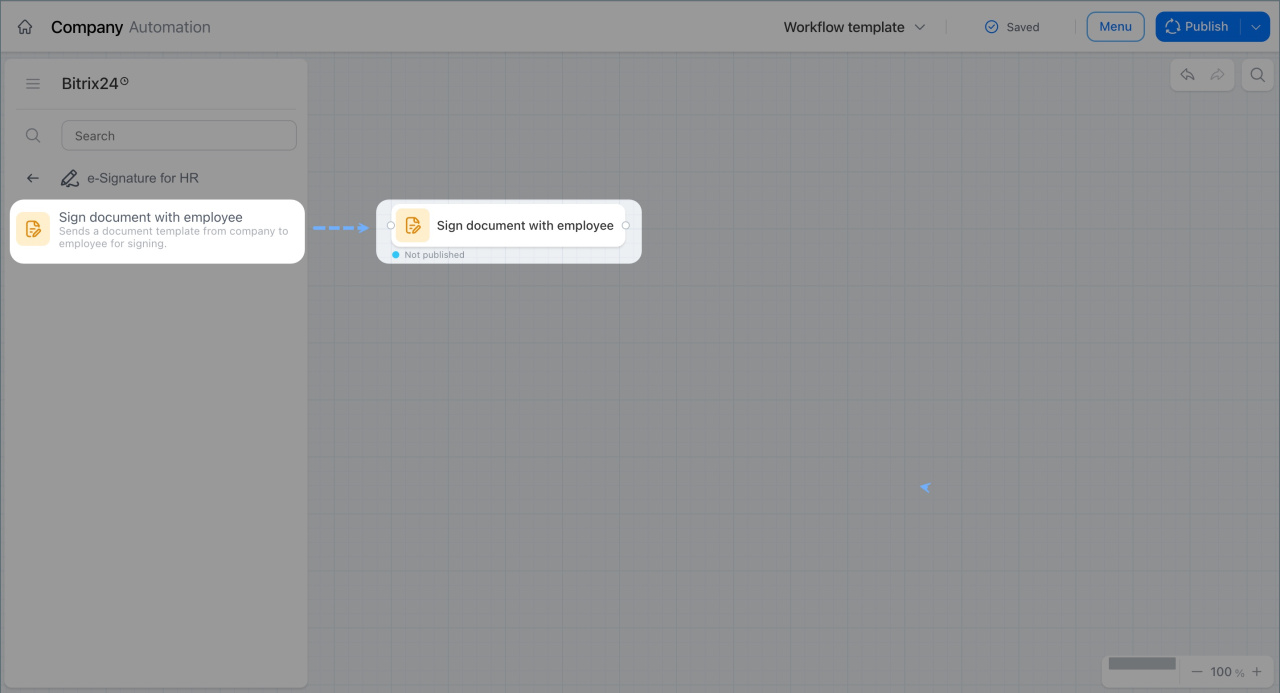 Drag a node to the workspace
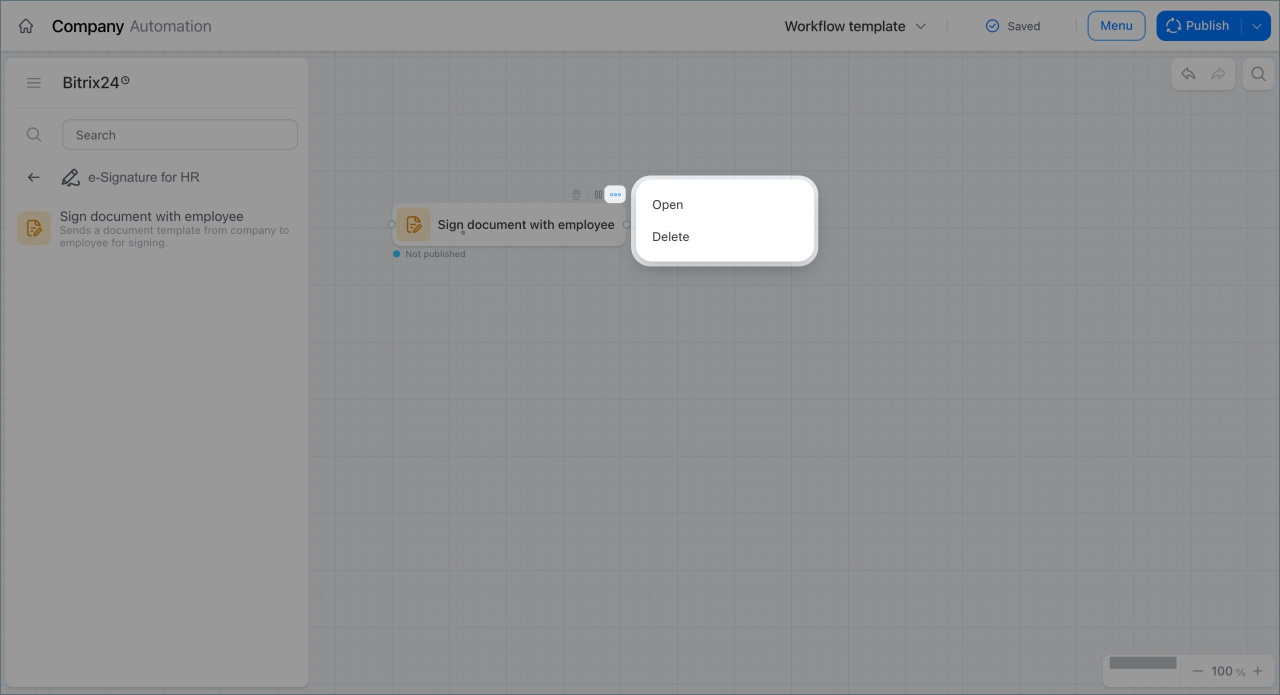 Open node settings
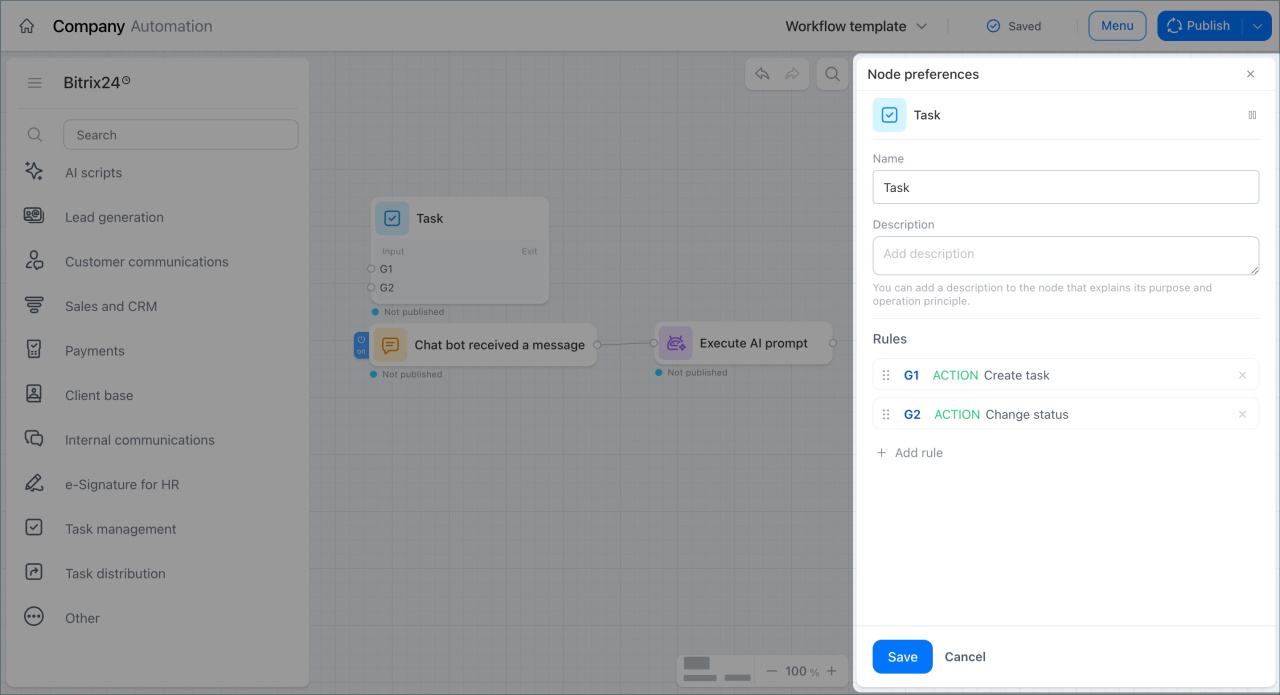
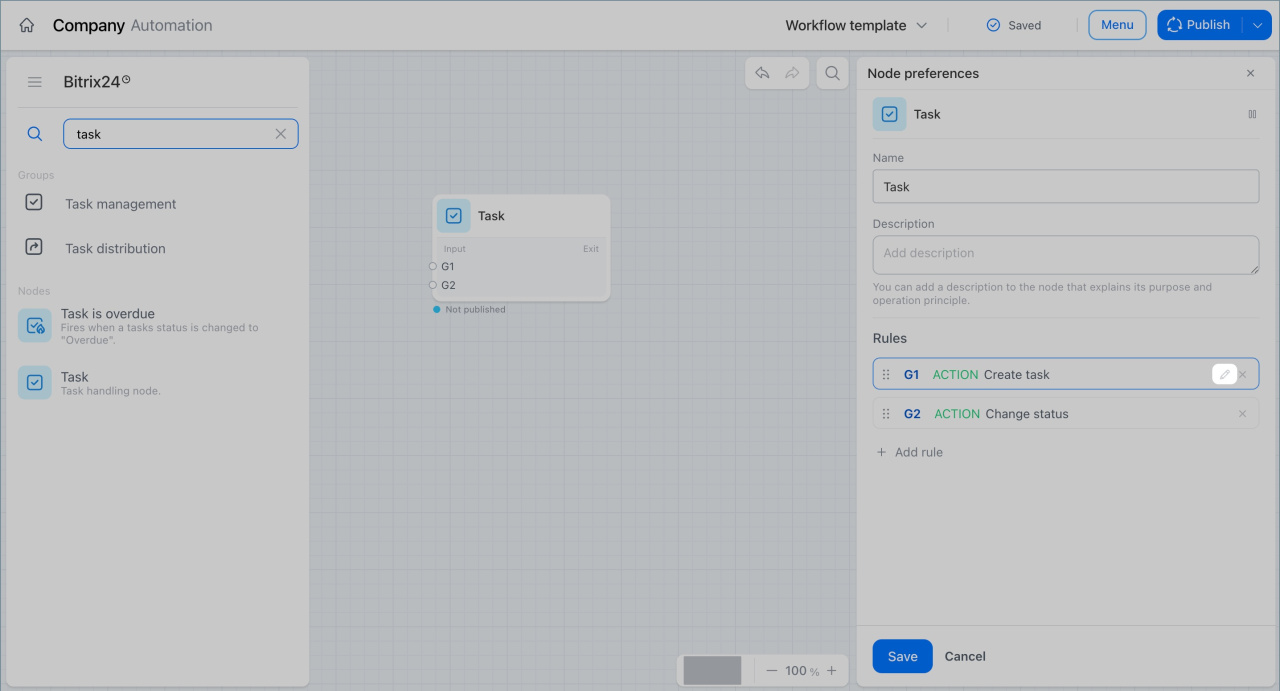
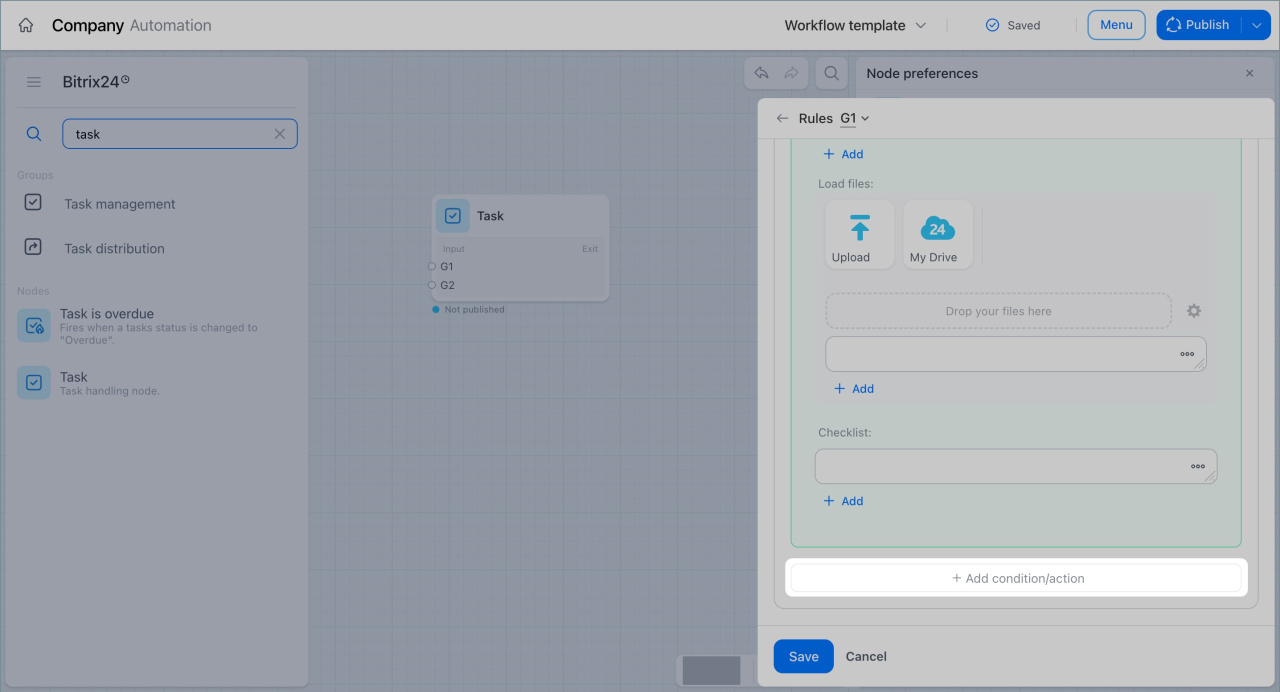
Configure a node. Each node has settings that define how it works. You can set:
- Action: what the node does
- Condition: when the action runs
- Exit points: what happens next based on the result
This allows you to set different node logic for various situations within a single process. For example, in a task-related node, you can configure the "Create a task for the accountant to prepare documents" action. It will only be performed under certain conditions. If the "Purchase type" field in the purchase request is filled or the request is at the required stage. Then, two exit points are configured:
- If the condition is met and the task is created, the workflow moves to the branch for purchase processing.
- If the condition is not met, the workflow moves to the branch for data verification.
This way, one node responds to different events and performs the necessary steps in each script.
Autosave and publishing
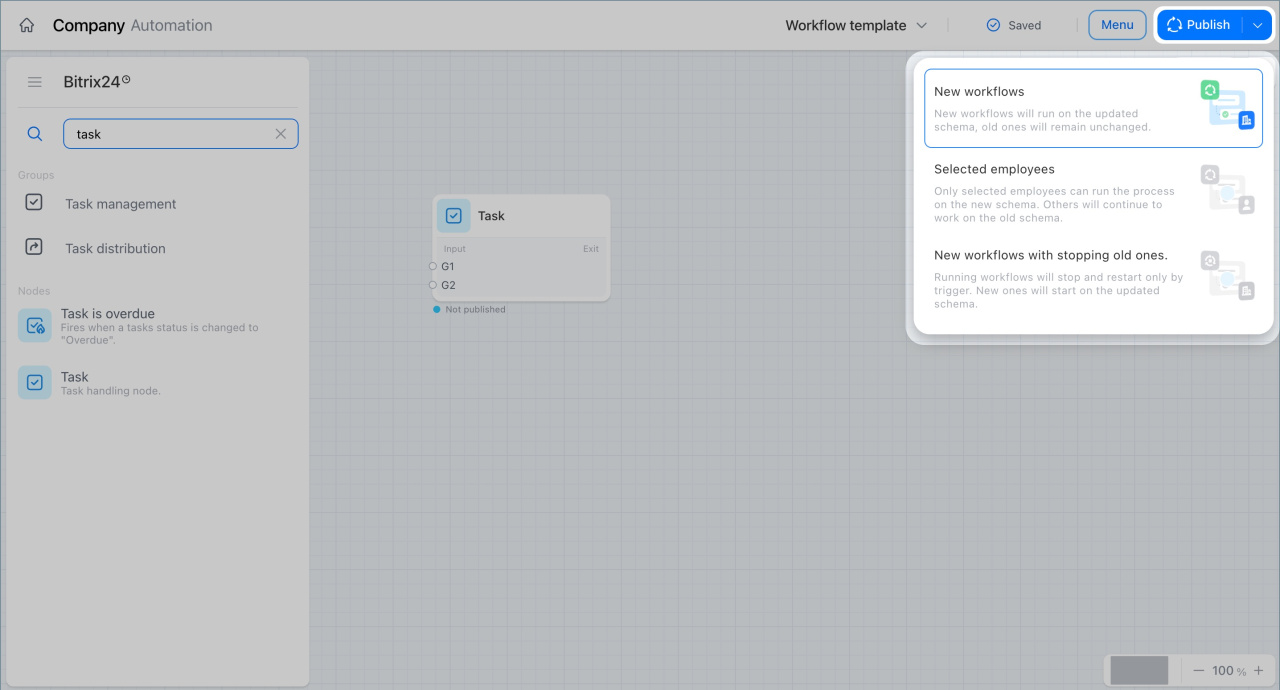
The builder saves all changes automatically. You can leave the page and return later—your draft remains unchanged. Only you can see the draft until you publish it.
To apply changes, publish the workflow. New runs will use the updated version, while active workflows continue with the previous settings.
In brief
- The workflow builder is now a single workspace with a full workflow view.
- Nodes are more flexible. You can add multiple actions and create parallel branches.
- Trigger nodes automate actions based on events.
- AI nodes can analyze data and run actions automatically.
- Changes are saved automatically. Publish the workflow to apply updates.
- Only Bitrix24 administrators can use the new editor.