Using the calendar in Google Looker Studio, you can specify the time period for the report and get the data for certain dates only. You can also choose the desired report page, so the report on your account will always open on the right page and with the correct dates.
How to manage the calendar in Google Looker Studio
Click on the Edit button.
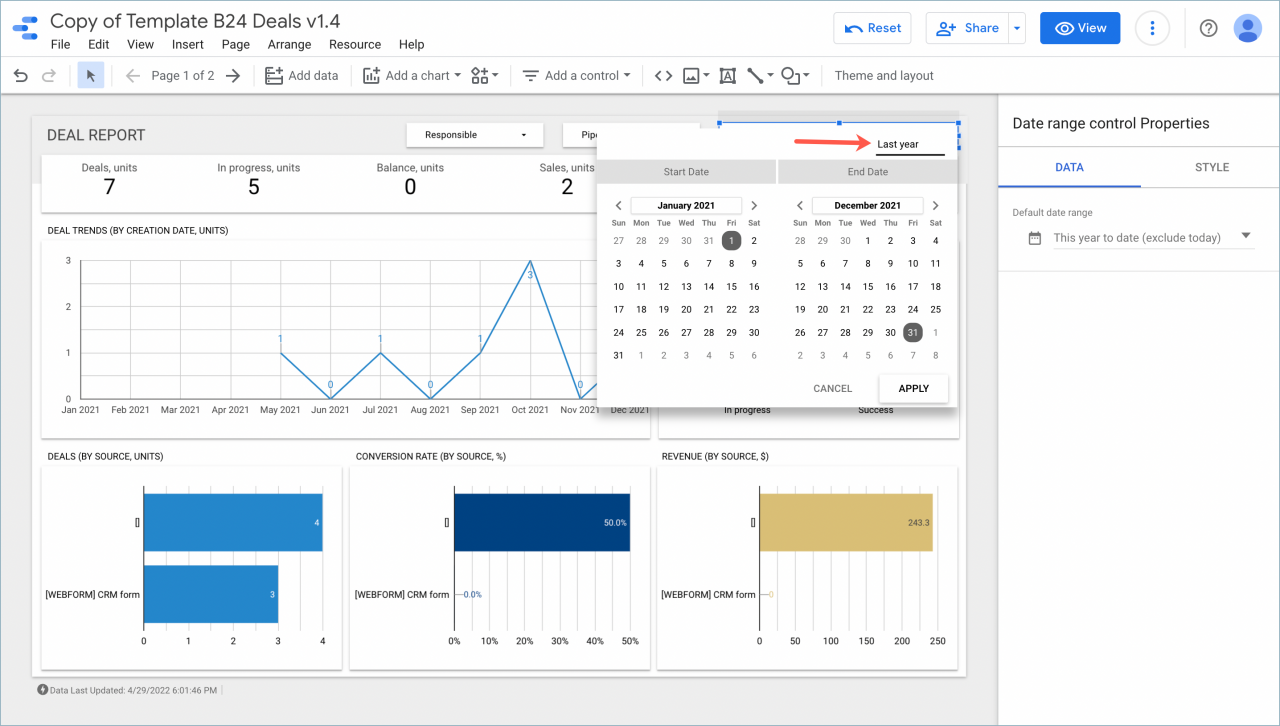
Then click on the field with the dates and specify the period for which you want to get data in the Date range block.
When you enter dates into the calendar, the data is sampled as follows:
- Leads – by date of change
- Deals – by date of creation
How to filter the report by deals (by closing date), you can read in the article: Filter deal report in Google Looker Studio.
Once you add the report to your account, it will open with the dates set.
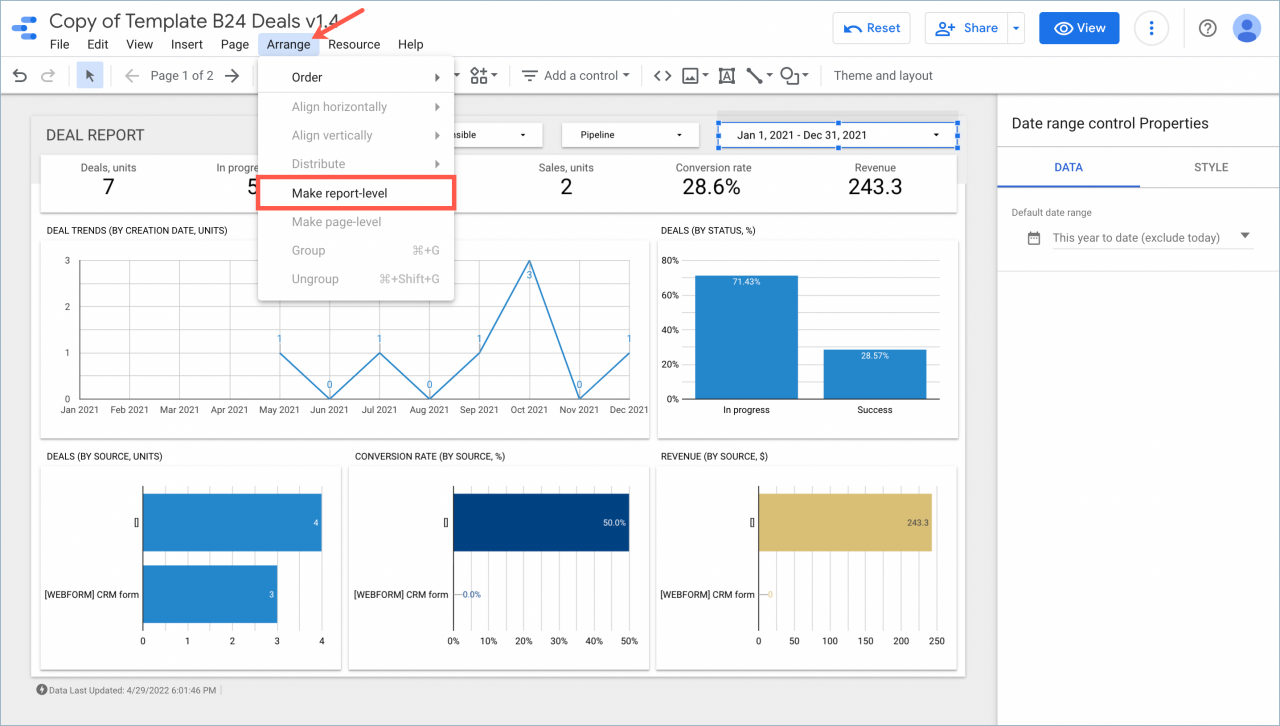
The calendar in Google Looker Studio is customized separately for each report page, but you can go to the Arrange tab and use the Make report-level option. In this case, the set date range will be applied to all report pages.
How to embed a specific report page from Google Looker Studio
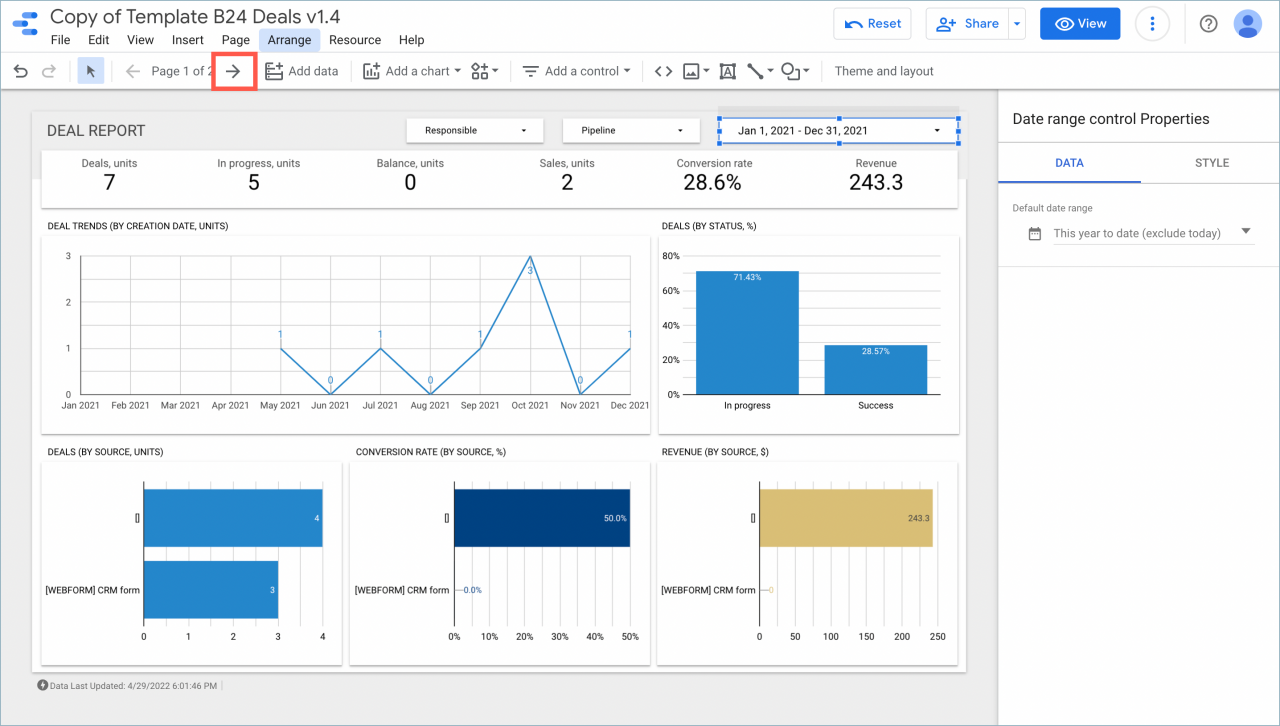
First, select the desired report page.
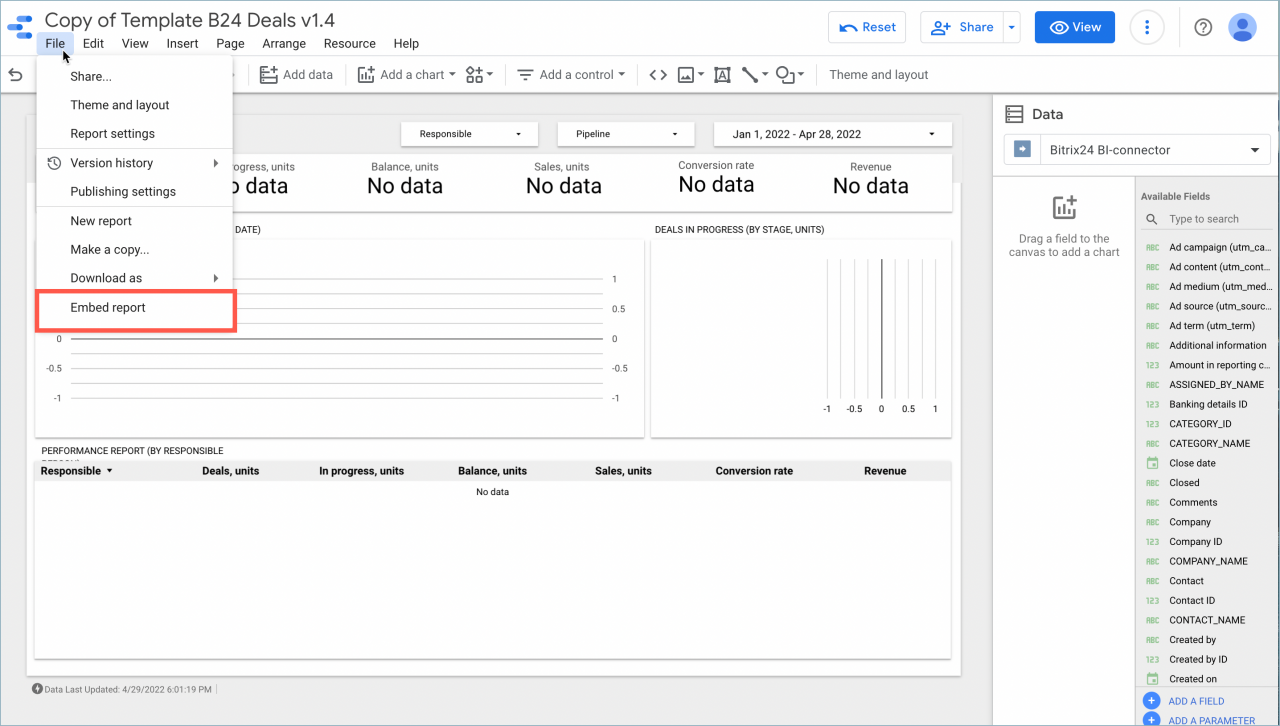
Then, in the File tab > Embed report, copy the link to embed it.
Once you add the report to your account, it will always open on the selected page. You can also switch report pages in Bitrix24 using the buttons on the bottom of the page.


