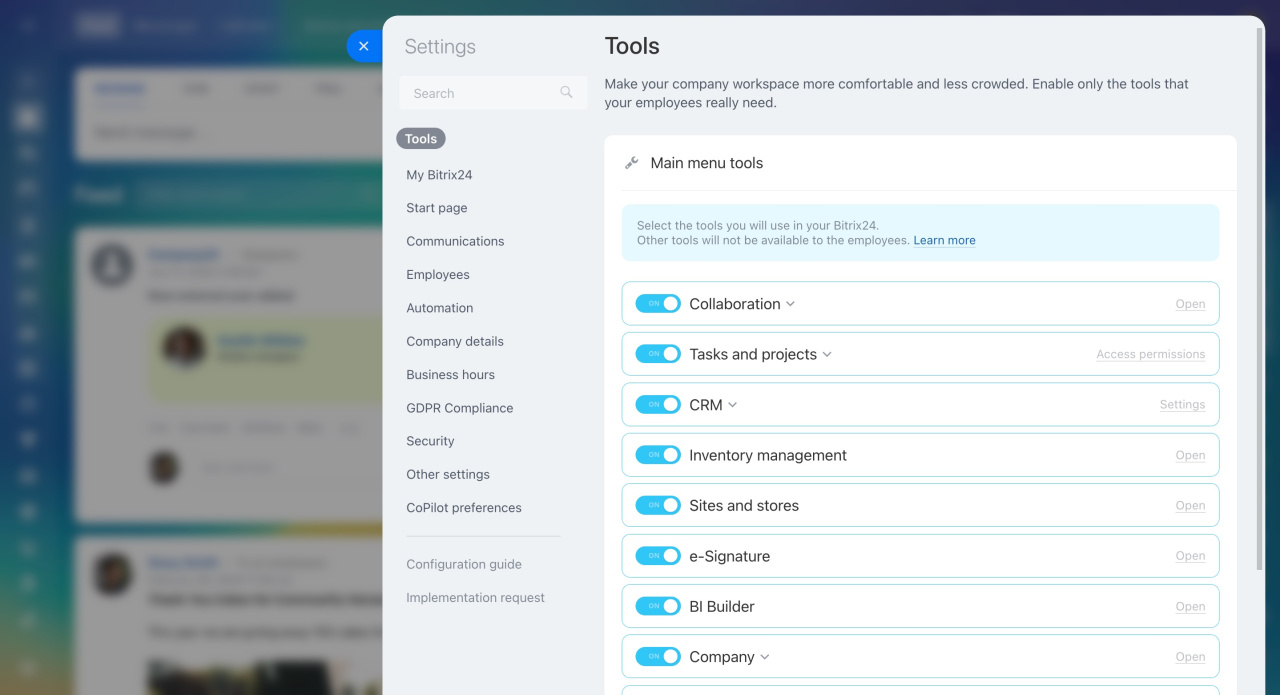
Bitrix24 Settings page gathers all configurations into a single, user-friendly section. Accessing it is now quicker with the help of the new intuitive widget. No need to reconfigure your account—all previously set access rights and restrictions will remain intact.
To open Bitrix24 Settings, click on the toggles icon next to your account name and select Settings in the widget.
Use the search bar to find the tool settings. It will take you to the desired section.
Tools
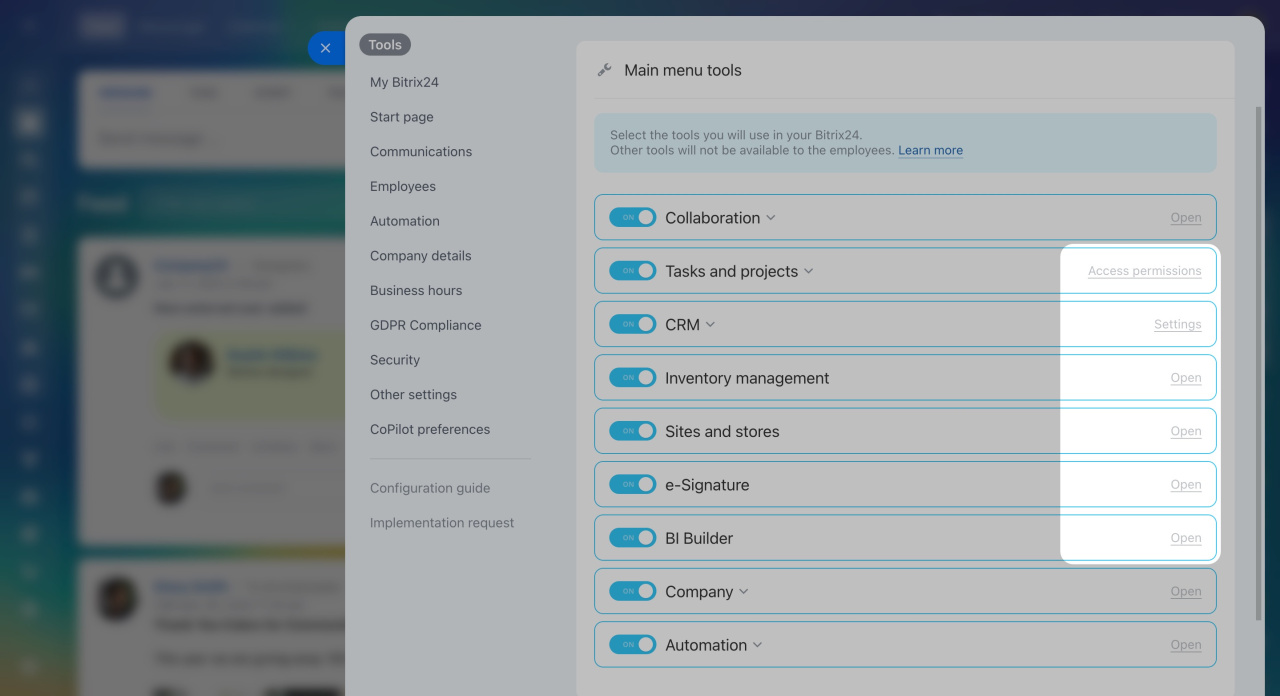
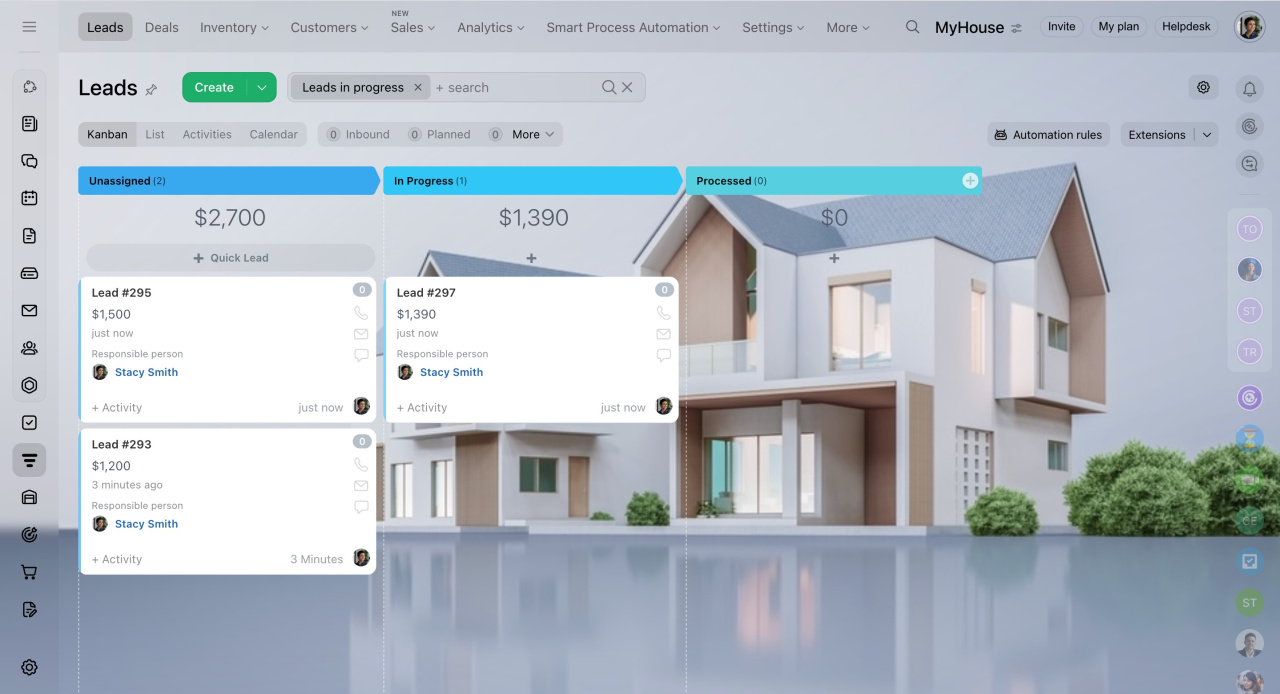
In the Tools tab, you can configure the main menu for your company. Hide the tools you don't plan to use. Click the button on the right of the section to open its internal settings.
Configure sections in the Bitrix24 main menu
My Bitrix24
Customize your Bitrix24 account to exclusively represent your company and ensure clarity for employees. In this section, you can do the following:
- Change Bitrix24 name or logo
- Rename your account domain or switch to your own
- Set the default account theme for all users, i.e., choose one of the preset themes or upload a custom background
Start page
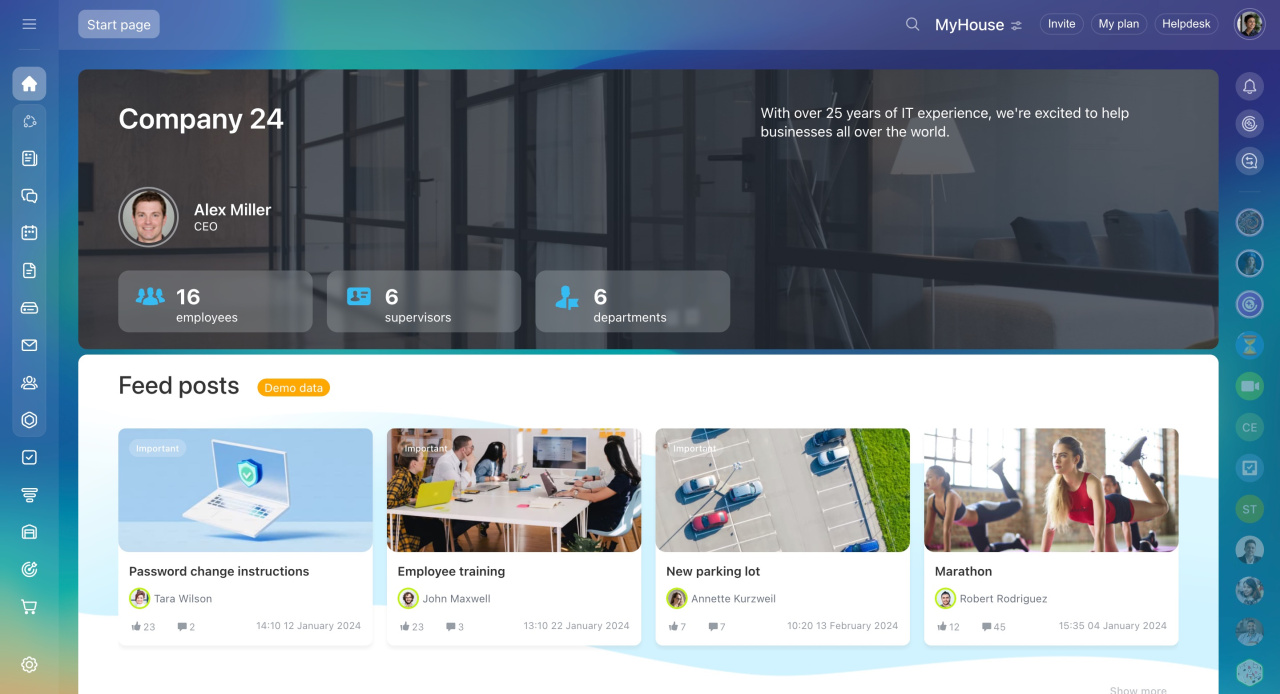
Start page: the Vibe is the first page users see when they log in to your Bitrix24. Here, you can gather useful information and set up quick access to various tools. Everything important is in one place, so there's no need to open the main menu. The start page helps new employees learn about the company and get started quickly.
Start page: the Vibe. Select and configure a template
Configure the Feed widget on the Start page
Communications
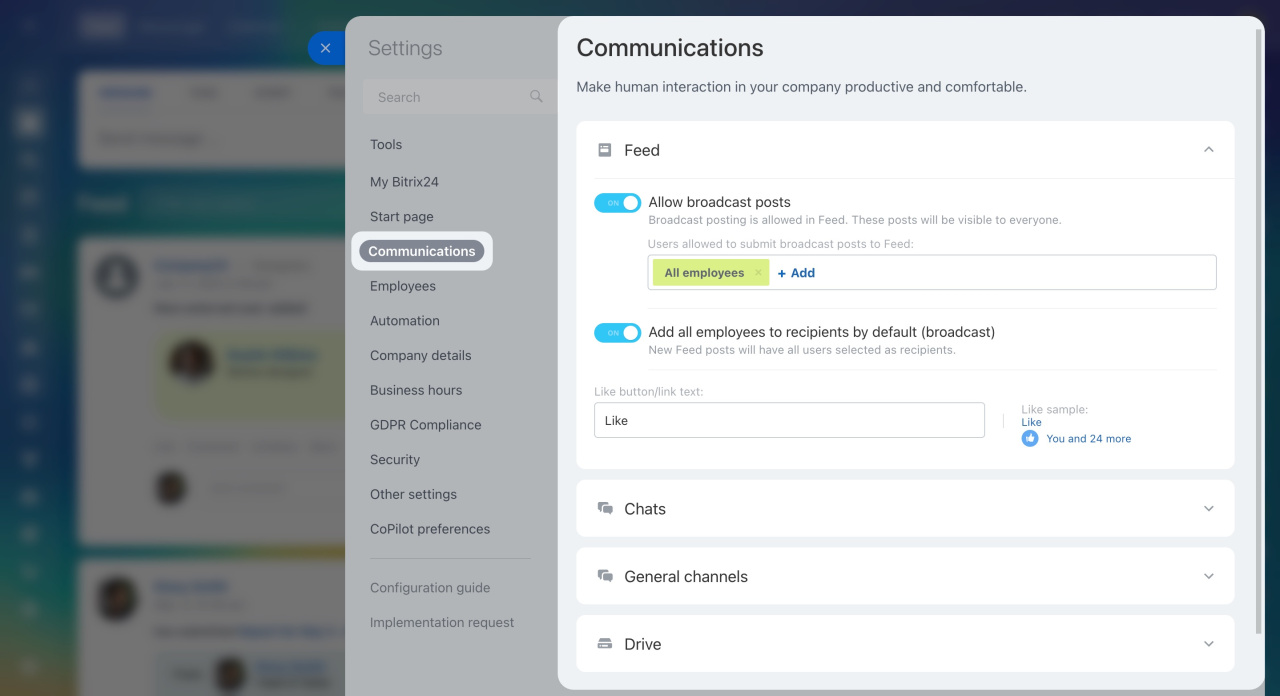
Set up a convenient format for internal communications in this tab. Decide how employees will work in the Feed, Chat, and Drive sections.
General chat
Create a task overdue chat
Connect a workgroup drive to the personal drive
Document locking
Search document text on Drive
Employees
Control the methods of inviting new employees and the access of external users to your Bitrix24 in the Employees section.
Invite new users to Bitrix24
Collabs: Getting started
Extranet users in Bitrix24
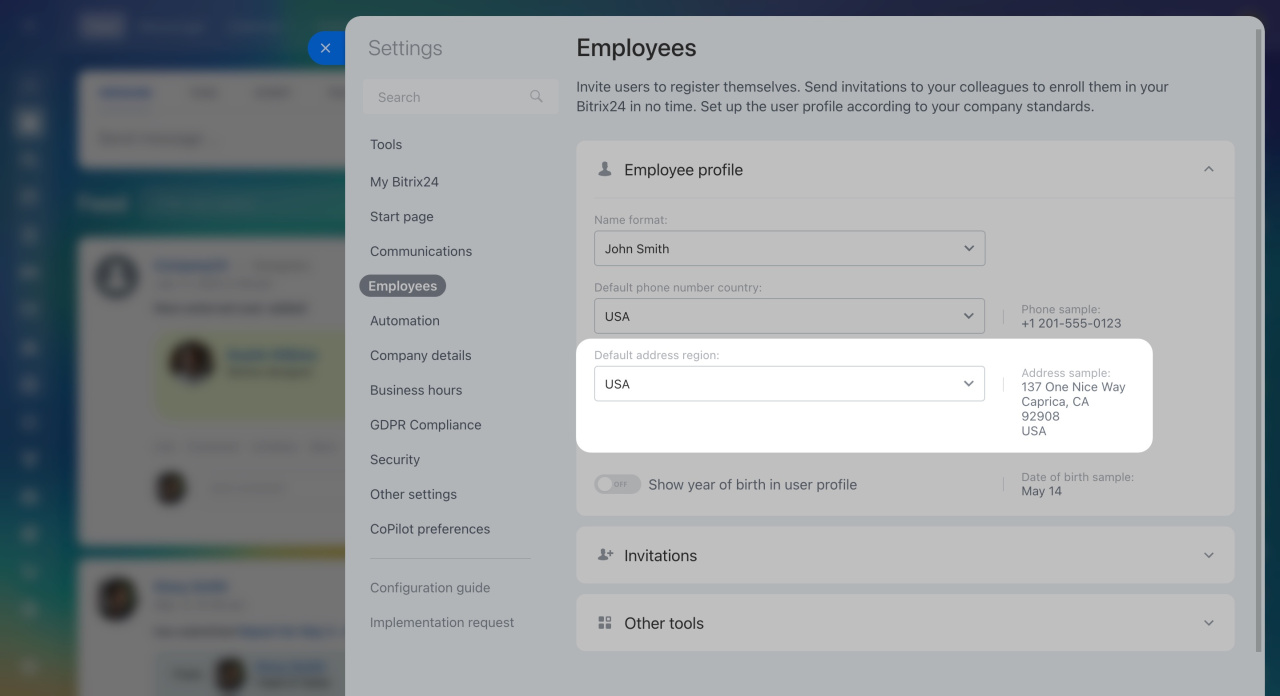
You can also change how names, phone numbers, and addresses look in user profiles. The address format settings will be used in CRM client forms as well.
Default address region
Expand the Employee profile section and select the suitable default address region.
| Region | Address sample |
|---|---|
| USA |
137 One Nice Way Caprica, CA 92908 USA |
| Europe |
Musterstr. 321 54321 Musterstadt Deutschland |
| UK |
49 Featherstone Street LONDON EC1Y 8SY UNITED KINGDOM |
| Germany |
Musterstr. 321 54321 Musterstadt Deutschland |
| Brazil |
Avenida Presidente Affonso Camargo, 749 Cristo Rei Curitiba - Parana 80050-370 Brazil |
| Russia |
Lesnaya st., 5, 176 Moscow Russian Federation 125075 |
| Russia (variant 2) |
125075 Russian Federation Moscow Lesnaya st., 5, 176 |
Automation
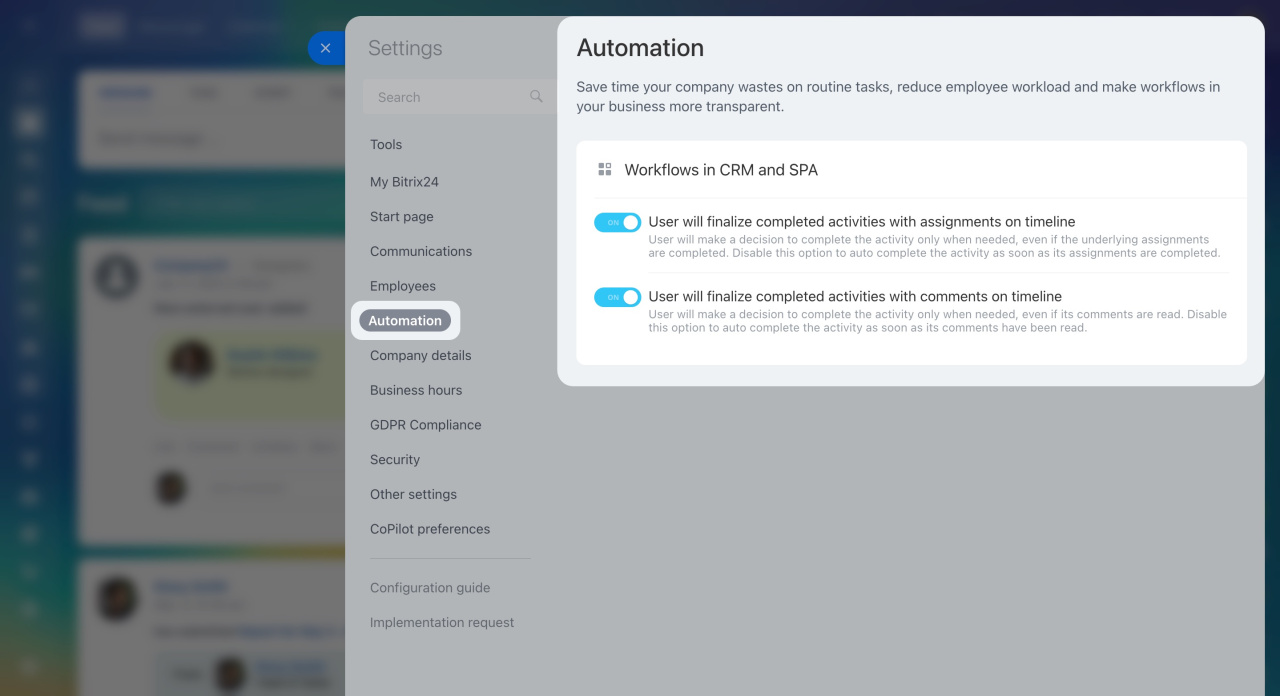
In the Automation section, you can choose to complete activities with comments and assignments manually or automatically in the CRM item form.
Workflow events in CRM item form
Company details
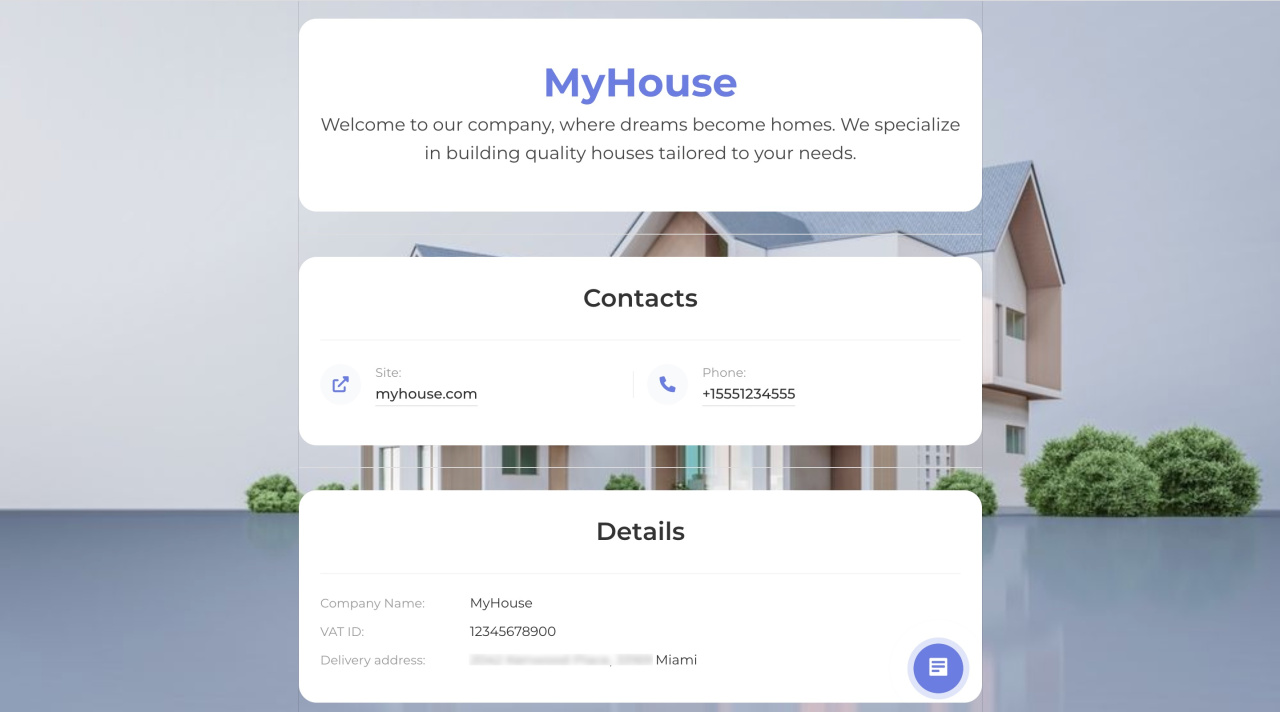
Here, you can create a landing page with information about your company. Share the link to it with your customers or colleagues so that they can quickly copy your company details and enter them into a contract.
Create a landing page with company details
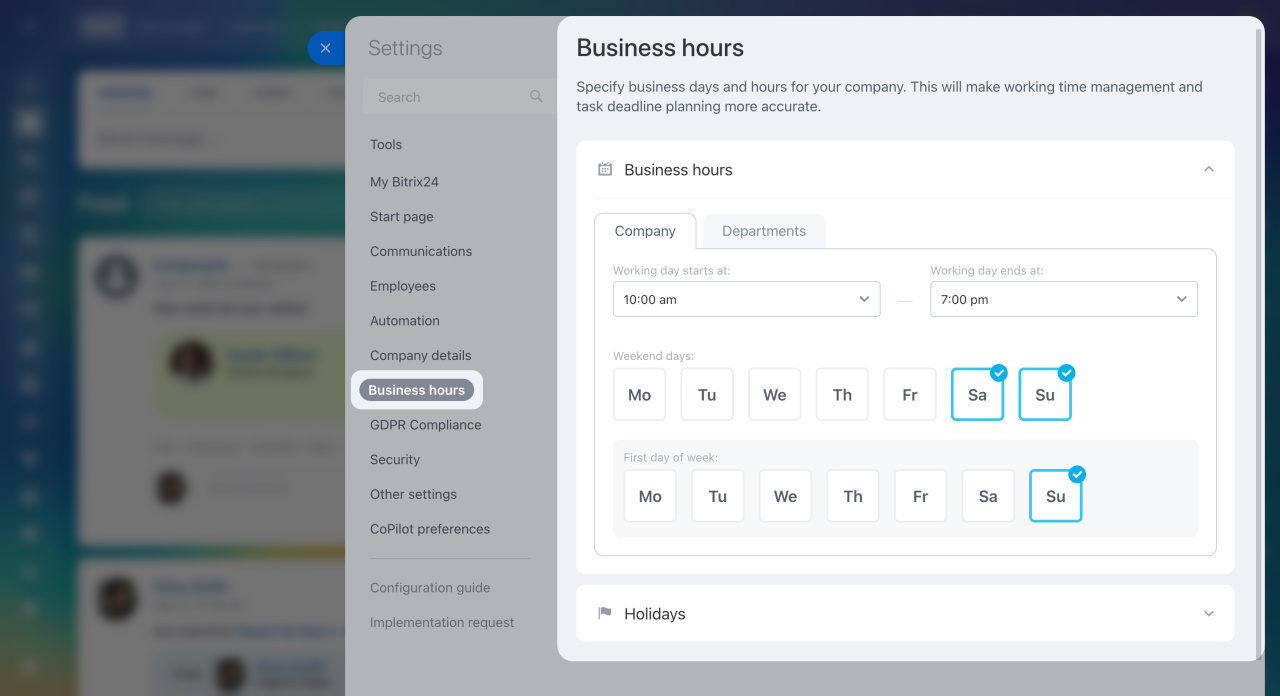
Business hours
Set the working hours for your company and departments in this section. This helps you plan meetings and set task deadlines more accurately.
GDPR Compliance
As Bitrix24 has many clients in the European Union, we follow GDPR compliance rules and maintain GDRP section on our website. Your Data Processing Agreement is accepted by you as a part of our main terms of service.
Security
In this section, you can track the login history of employees and allow them to work in your Bitrix24 only from certain IP addresses. Protect employees accounts and ensure a secure network.
Also, use the blacklistIn Bitrix24, the blacklist is is a collection of email addresses that couldn't receive your emails. This may occur if an address you entered is incorrect or there are issues with the recipient's domain. The list updates automatically. If you find an address is correct, you can manually remove it from the list. to automatically block emails from being sent to addresses that cause delivery errors.
Secure your Bitrix24 account
Login history
Event log
Restrict access to Bitrix24 by IP address
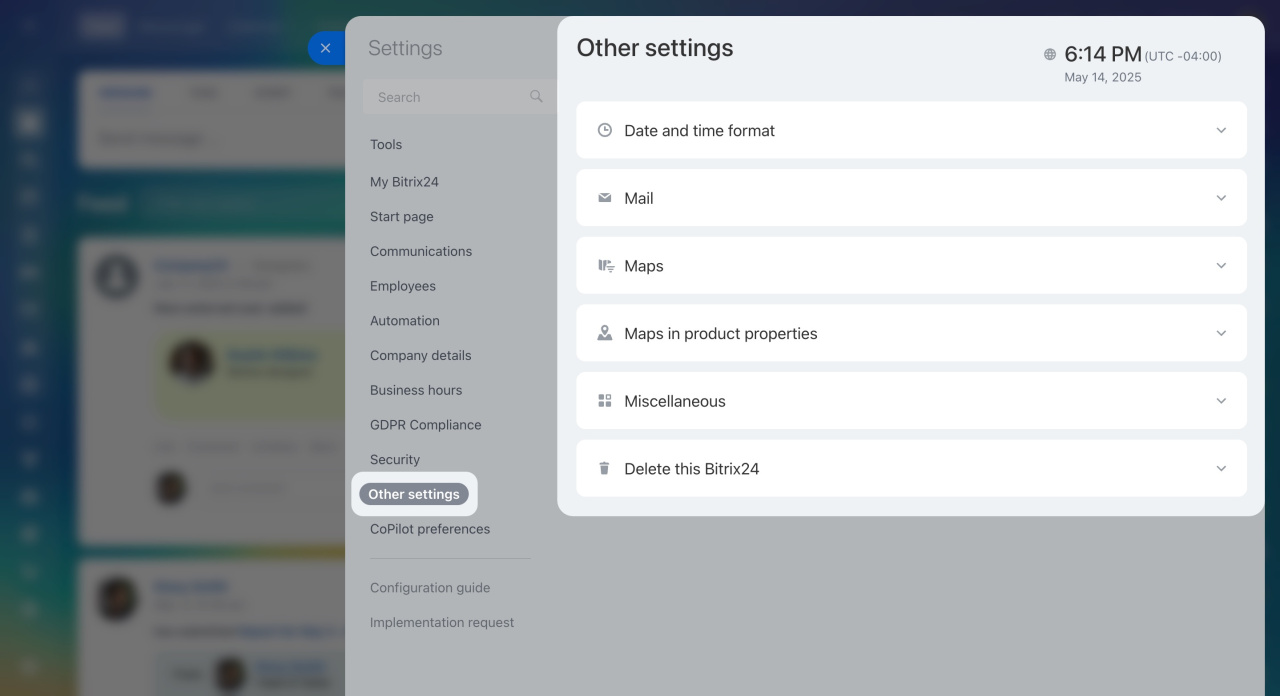
Other settings
This section allows you to configure the following parameters:
-
Set the date and time format in your Bitrix24.
-
Configure outgoing email management. For example, enable the option to track link clicks in outgoing emails.
-
Select a service provider for client addresses in CRM. These can be OpenStreetMap or Google Maps services.
-
Allow employees to measure stress levels and show the results in their profiles.
-
Delete your Bitrix24 account if you no longer need it.
-
Limit access to installing applications from the Market, and so on.
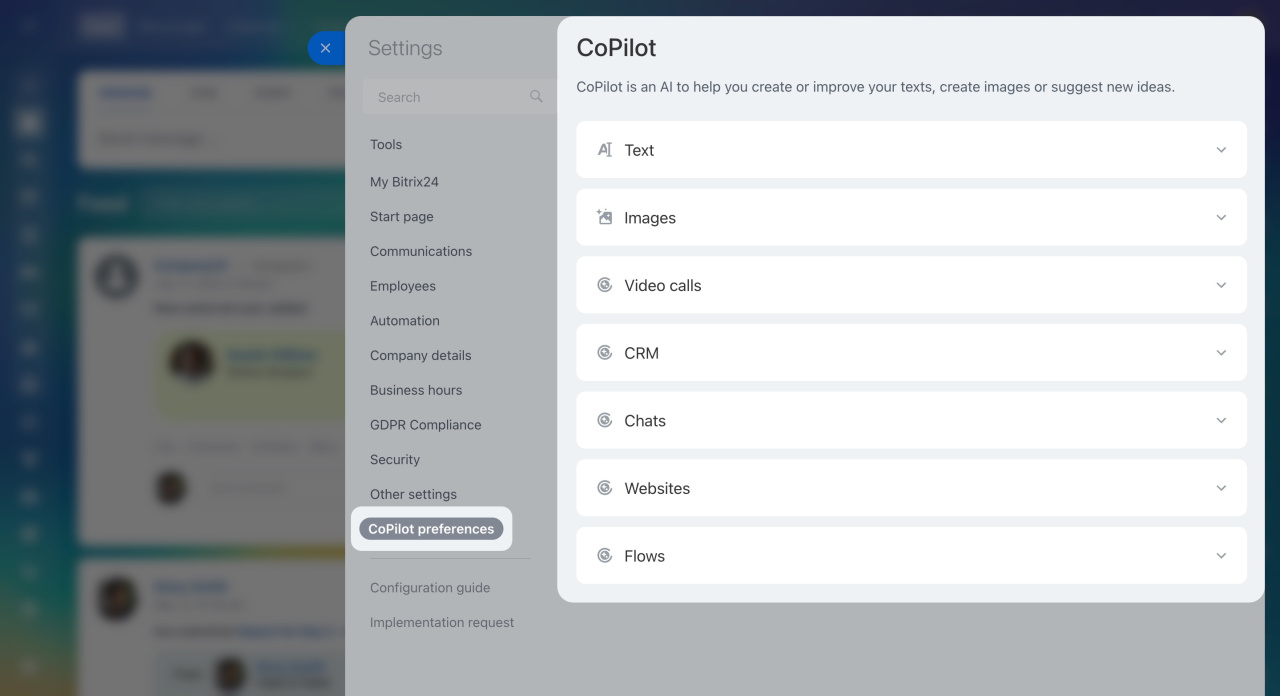
CoPilot preferences
In this section, you can:
-
Select the tools in which employees can use CoPilot to create text and images.
-
Activate CoPilot in CRM. It will transcribe the phone call, create a call summary, and fill in the CRM fields.
-
Allow or restrict employees' use of the chat with CoPilot.
-
Choose the AI provider.
See these topics to learn more:
CoPilot, your personal assistant with AI
FAQ: CoPilot
CoPilot in CRM
Chat with CoPilot
CoPilot in Tasks
CoPilot in Feed
CoPilot in Flows
In brief
-
Manage your Bitrix24 account settings in a single, user-friendly section accessible from the new widget.
-
No need to configure your Bitrix24 again. All access rights and restrictions previously set will remain.
-
Only employees with administrator rights have access to these settings.
-
The Bitrix24 Settings page consists of several main sections: Tools, My Bitrix24, Start page, Communications, Employees, Company details, Business hours, GDPR Compliance, Security, Other settings, and CoPilot preferences.

